light Ram 2500 2020 User Guide
[x] Cancel search | Manufacturer: RAM, Model Year: 2020, Model line: 2500, Model: Ram 2500 2020Pages: 553, PDF Size: 21.99 MB
Page 28 of 553
26GETTING TO KNOW YOUR VEHICLE
2. Perform one of the following methods to
lock the vehicle:
Push the lock button on the interior power door lock switch with the driver
and/or passenger door open.
Push the lock button on the exterior Passive Entry Door Handle with a valid
key fob available in the same exterior
zone. Refer to "Keyless Enter-N-Go —
Passive Entry" in “Doors” in this chapter
for further information.
Push the lock button on the key fob.
3. If any doors are open, close them.
The vehicle security alarm will set when you use
the power door locks, or use the key fob to lock
the doors. After all the doors are locked and
closed, the vehicle security light, in the instru -
ment panel cluster, will flash rapidly for about
16 seconds to indicate that the alarm is being
set. After the alarm is set, the vehicle security
light will flash at a slower rate to indicate that
the system is armed.
To Disarm The System
The vehicle security alarm can be disarmed
using any of the following methods:
1. Push the unlock button on the key fob.
2. Grasp the Passive Entry Door Handle with a valid key fob within 5 ft (1.5 m) of the
Passive Entry door handle. If equipped,
refer to "Keyless Enter-N-Go — Passive
Entry" in "Doors" in this chapter for further
information.
3. Cycle the ignition out of the OFF position.
The vehicle security alarm is designed to protect
your vehicle. However, you can create condi -
tions where the system will give you a false
alarm. If one of the previously described arming
sequences has occurred, the vehicle security
alarm will arm regardless of whether you are in
the vehicle or not. If you remain in the vehicle
and open a door, the alarm will sound. If this
occurs, disarm the vehicle security alarm.
If the vehicle security alarm is armed and the
battery becomes disconnected, the vehicle
security alarm will remain armed when the
battery is reconnected; the exterior lights will flash, and the horn will sound. If this occurs,
disarm the vehicle security alarm.
Rearming Of The System
If something triggers the alarm, and no action is
taken to disarm it, the vehicle security alarm will
turn the horn off after 29 seconds, 5 seconds
between cycles, up to 8 cycles if the trigger
remains active and then the vehicle security
alarm will rearm itself.
Security System Manual Override
The vehicle security alarm will not arm/disarm if
you lock/unlock the doors using the manual
door lock.
20_DJD2_OM_EN_USC_t.book Page 26
Page 35 of 553
GETTING TO KNOW YOUR VEHICLE33
(Continued)
Manual Front Seat Recline Adjustment
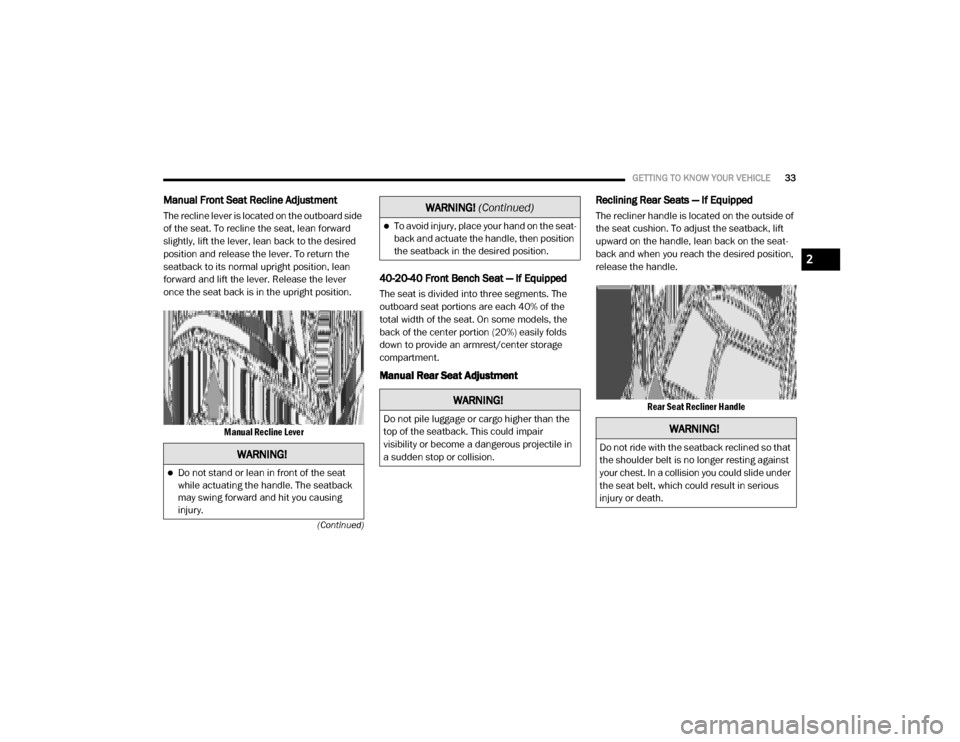
The recline lever is located on the outboard side
of the seat. To recline the seat, lean forward
slightly, lift the lever, lean back to the desired
position and release the lever. To return the
seatback to its normal upright position, lean
forward and lift the lever. Release the lever
once the seat back is in the upright position.
Manual Recline Lever
40-20-40 Front Bench Seat — If Equipped
The seat is divided into three segments. The
outboard seat portions are each 40% of the
total width of the seat. On some models, the
back of the center portion (20%) easily folds
down to provide an armrest/center storage
compartment.
Manual Rear Seat Adjustment Reclining Rear Seats — If Equipped
The recliner handle is located on the outside of
the seat cushion. To adjust the seatback, lift
upward on the handle, lean back on the seat
-
back and when you reach the desired position,
release the handle.
Rear Seat Recliner Handle
WARNING!
Do not stand or lean in front of the seat
while actuating the handle. The seatback
may swing forward and hit you causing
injury.
To avoid injury, place your hand on the seat -
back and actuate the handle, then position
the seatback in the desired position.
WARNING!
Do not pile luggage or cargo higher than the
top of the seatback. This could impair
visibility or become a dangerous projectile in
a sudden stop or collision.
WARNING! (Continued)
WARNING!
Do not ride with the seatback reclined so that
the shoulder belt is no longer resting against
your chest. In a collision you could slide under
the seat belt, which could result in serious
injury or death.
2
20_DJD2_OM_EN_USC_t.book Page 33
Page 40 of 553
38GETTING TO KNOW YOUR VEHICLE
NOTE:
If the vehicle is equipped with a 12-inch radio,
there will only be control buttons through the
touchscreen.
Push the heated seat button once to turn
the HI setting on.
Push the heated seat button a second
time to turn the MED setting on.
Push the heated seat button a third time
to turn the LO setting on.
Push the heated seat button a fourth time
to turn the heating elements off.
NOTE:
The engine must be running for the heated
seats to operate.
The level of heat selected will stay on until
the operator changes it.
Vehicles Equipped With Remote Start
On models that are equipped with remote start,
the driver’s seat can be programmed to come
on during a remote start. This feature can be programmed through the
Uconnect system. Refer to “Uconnect Settings”
in “Multimedia” for further information.
Rear Heated Seats
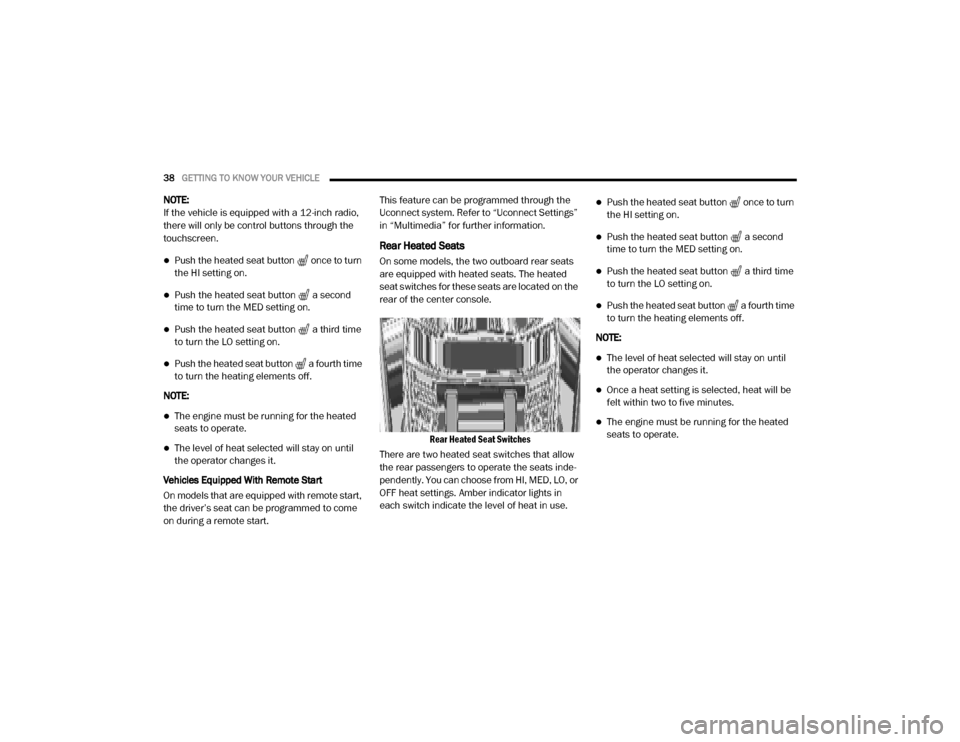
On some models, the two outboard rear seats
are equipped with heated seats. The heated
seat switches for these seats are located on the
rear of the center console.
Rear Heated Seat Switches
There are two heated seat switches that allow
the rear passengers to operate the seats inde -
pendently. You can choose from HI, MED, LO, or
OFF heat settings. Amber indicator lights in
each switch indicate the level of heat in use.
Push the heated seat button once to turn
the HI setting on.
Push the heated seat button a second
time to turn the MED setting on.
Push the heated seat button a third time
to turn the LO setting on.
Push the heated seat button a fourth time
to turn the heating elements off.
NOTE:
The level of heat selected will stay on until
the operator changes it.
Once a heat setting is selected, heat will be
felt within two to five minutes.
The engine must be running for the heated
seats to operate.
20_DJD2_OM_EN_USC_t.book Page 38
Page 46 of 553
44GETTING TO KNOW YOUR VEHICLE
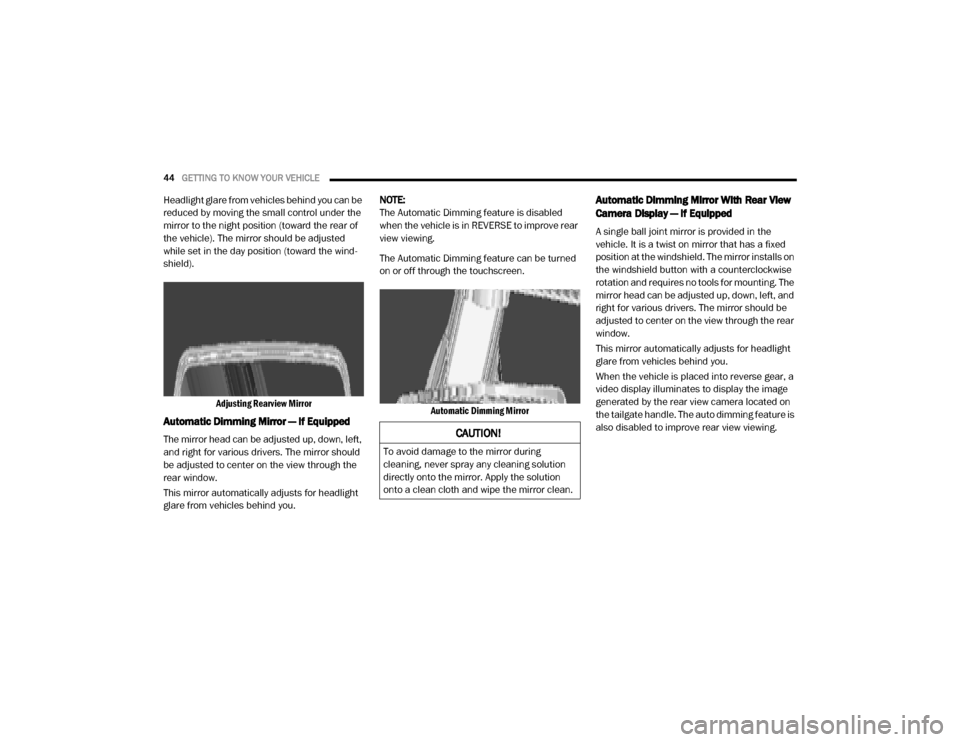
Headlight glare from vehicles behind you can be
reduced by moving the small control under the
mirror to the night position (toward the rear of
the vehicle). The mirror should be adjusted
while set in the day position (toward the wind -
shield).
Adjusting Rearview Mirror
Automatic Dimming Mirror — If Equipped
The mirror head can be adjusted up, down, left,
and right for various drivers. The mirror should
be adjusted to center on the view through the
rear window.
This mirror automatically adjusts for headlight
glare from vehicles behind you. NOTE:
The Automatic Dimming feature is disabled
when the vehicle is in REVERSE to improve rear
view viewing.
The Automatic Dimming feature can be turned
on or off through the touchscreen.
Automatic Dimming Mirror
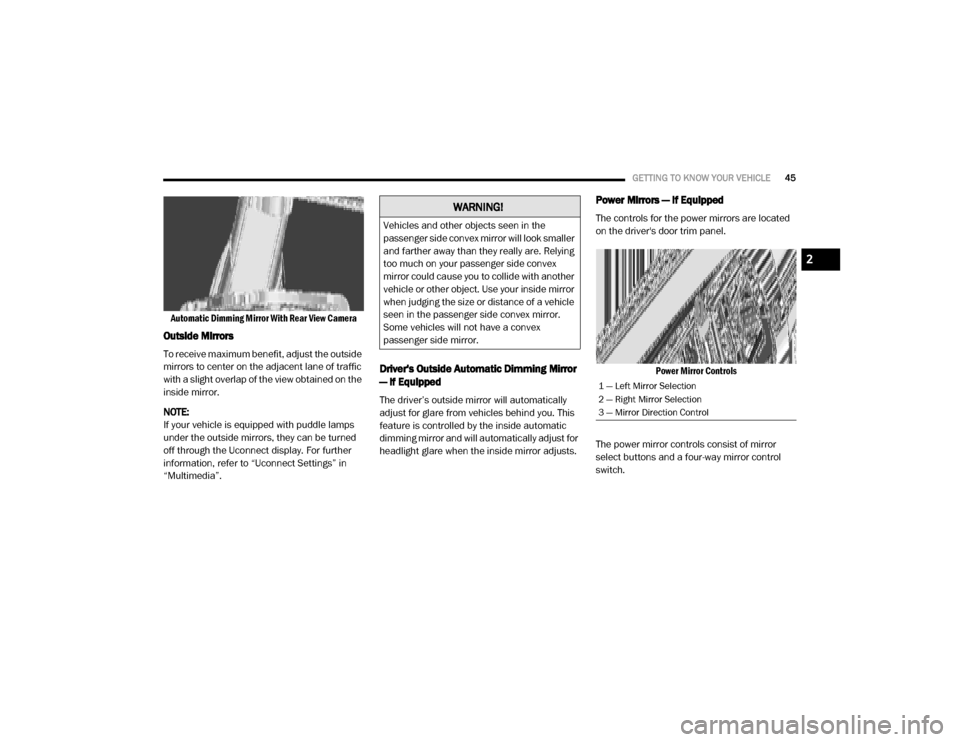
Automatic Dimming Mirror With Rear View
Camera Display — If Equipped
A single ball joint mirror is provided in the
vehicle. It is a twist on mirror that has a fixed
position at the windshield. The mirror installs on
the windshield button with a counterclockwise
rotation and requires no tools for mounting. The
mirror head can be adjusted up, down, left, and
right for various drivers. The mirror should be
adjusted to center on the view through the rear
window.
This mirror automatically adjusts for headlight
glare from vehicles behind you.
When the vehicle is placed into reverse gear, a
video display illuminates to display the image
generated by the rear view camera located on
the tailgate handle. The auto dimming feature is
also disabled to improve rear view viewing.
CAUTION!
To avoid damage to the mirror during
cleaning, never spray any cleaning solution
directly onto the mirror. Apply the solution
onto a clean cloth and wipe the mirror clean.
20_DJD2_OM_EN_USC_t.book Page 44
Page 47 of 553
GETTING TO KNOW YOUR VEHICLE45
Automatic Dimming Mirror With Rear View Camera
Outside Mirrors
To receive maximum benefit, adjust the outside
mirrors to center on the adjacent lane of traffic
with a slight overlap of the view obtained on the
inside mirror.
NOTE:
If your vehicle is equipped with puddle lamps
under the outside mirrors, they can be turned
off through the Uconnect display. For further
information, refer to “Uconnect Settings” in
“Multimedia”.
Driver's Outside Automatic Dimming Mirror
— If Equipped
The driver’s outside mirror will automatically
adjust for glare from vehicles behind you. This
feature is controlled by the inside automatic
dimming mirror and will automatically adjust for
headlight glare when the inside mirror adjusts.
Power Mirrors — If Equipped
The controls for the power mirrors are located
on the driver's door trim panel.
Power Mirror Controls
The power mirror controls consist of mirror
select buttons and a four-way mirror control
switch.WARNING!
Vehicles and other objects seen in the
passenger side convex mirror will look smaller
and farther away than they really are. Relying
too much on your passenger side convex
mirror could cause you to collide with another
vehicle or other object. Use your inside mirror
when judging the size or distance of a vehicle
seen in the passenger side convex mirror.
Some vehicles will not have a convex
passenger side mirror.
1 — Left Mirror Selection
2 — Right Mirror Selection
3 — Mirror Direction Control
2
20_DJD2_OM_EN_USC_t.book Page 45
Page 49 of 553
GETTING TO KNOW YOUR VEHICLE47
NOTE:
Fold the trailer towing mirrors rearward prior to
entering an automated car wash.
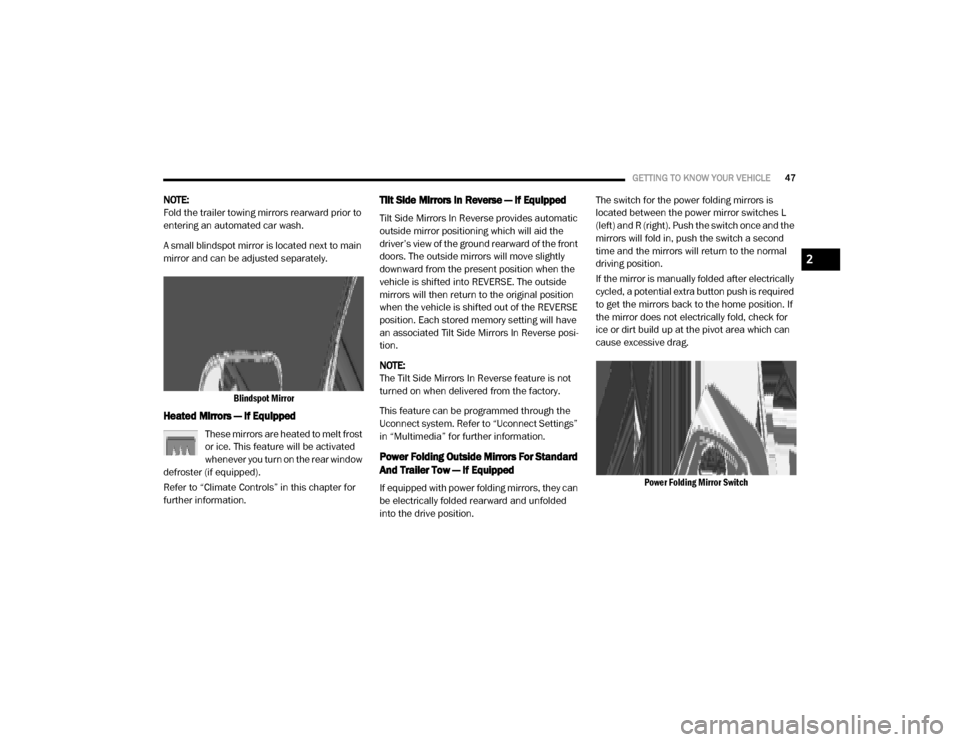
A small blindspot mirror is located next to main
mirror and can be adjusted separately.
Blindspot Mirror
Heated Mirrors — If Equipped
These mirrors are heated to melt frost
or ice. This feature will be activated
whenever you turn on the rear window
defroster (if equipped).
Refer to “Climate Controls” in this chapter for
further information.
Tilt Side Mirrors In Reverse — If Equipped
Tilt Side Mirrors In Reverse provides automatic
outside mirror positioning which will aid the
driver’s view of the ground rearward of the front
doors. The outside mirrors will move slightly
downward from the present position when the
vehicle is shifted into REVERSE. The outside
mirrors will then return to the original position
when the vehicle is shifted out of the REVERSE
position. Each stored memory setting will have
an associated Tilt Side Mirrors In Reverse posi -
tion.
NOTE:
The Tilt Side Mirrors In Reverse feature is not
turned on when delivered from the factory.
This feature can be programmed through the
Uconnect system. Refer to “Uconnect Settings”
in “Multimedia” for further information.
Power Folding Outside Mirrors For Standard
And Trailer Tow — If Equipped
If equipped with power folding mirrors, they can
be electrically folded rearward and unfolded
into the drive position. The switch for the power folding mirrors is
located between the power mirror switches L
(left) and R (right). Push the switch once and the
mirrors will fold in, push the switch a second
time and the mirrors will return to the normal
driving position.
If the mirror is manually folded after electrically
cycled, a potential extra button push is required
to get the mirrors back to the home position. If
the mirror does not electrically fold, check for
ice or dirt build up at the pivot area which can
cause excessive drag.
Power Folding Mirror Switch
2
20_DJD2_OM_EN_USC_t.book Page 47
Page 50 of 553
48GETTING TO KNOW YOUR VEHICLE
Resetting The Power Folding Outside Mirrors
You may need to reset the power folding mirrors
if the following occurs:
The mirrors are accidentally blocked while
folding.
The mirrors are accidentally manually
folded/unfolded.
The mirrors come out of the unfolded posi -
tion.
The mirrors shake and vibrate at normal
driving speeds.
To Reset The Power Folding Mirrors:
1. Using the power folding mirror switch, move the mirror to its normal driving
(home) position.
2. Using the power folding mirror switch, move the mirror to the full retract position (this
may require multiple button pushes). This
resets them to their normal position.
NOTE:
The power fold mirrors are designed to
operate while the vehicle is stationary or trav -
eling at moderate speeds. If you attempt to power fold the mirrors at high speeds they
may not fully open or close. You should slow
down to a moderate speed and complete the
operation.
When pushing the power fold button 10 or
more times in one minute the system shuts
down for one minute to protect the motors
from overheating.
Outside Mirrors Folding Feature
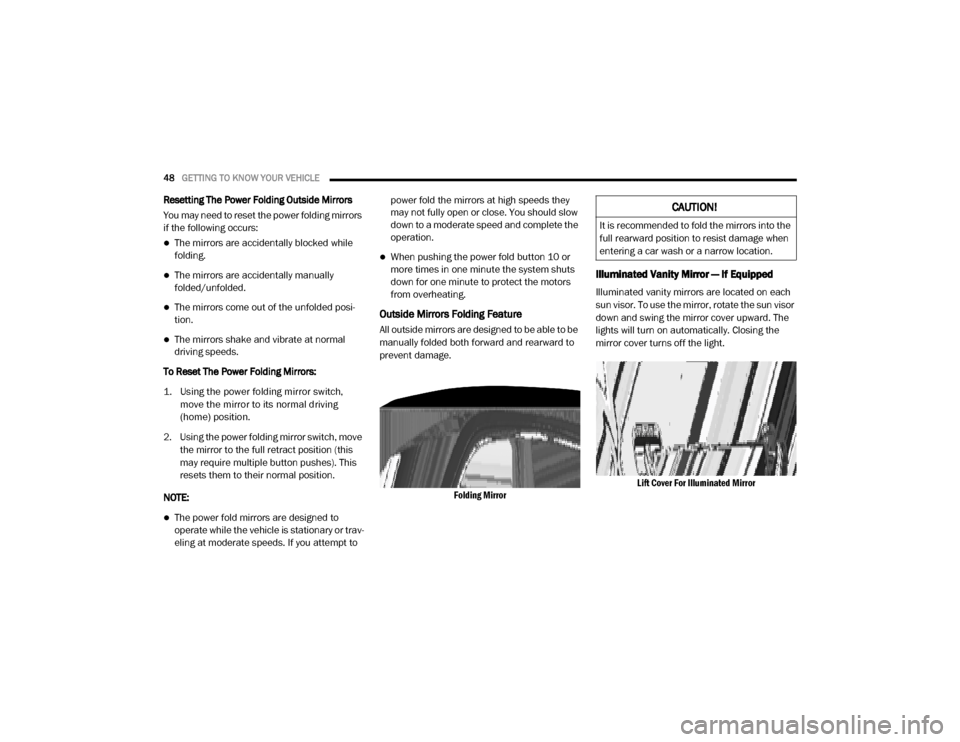
All outside mirrors are designed to be able to be
manually folded both forward and rearward to
prevent damage.
Folding Mirror
Illuminated Vanity Mirror — If Equipped
Illuminated vanity mirrors are located on each
sun visor. To use the mirror, rotate the sun visor
down and swing the mirror cover upward. The
lights will turn on automatically. Closing the
mirror cover turns off the light.
Lift Cover For Illuminated Mirror
CAUTION!
It is recommended to fold the mirrors into the
full rearward position to resist damage when
entering a car wash or a narrow location.
20_DJD2_OM_EN_USC_t.book Page 48
Page 51 of 553
GETTING TO KNOW YOUR VEHICLE49
“Slide-On-Rod” Features Of Sun Visor — If
Equipped
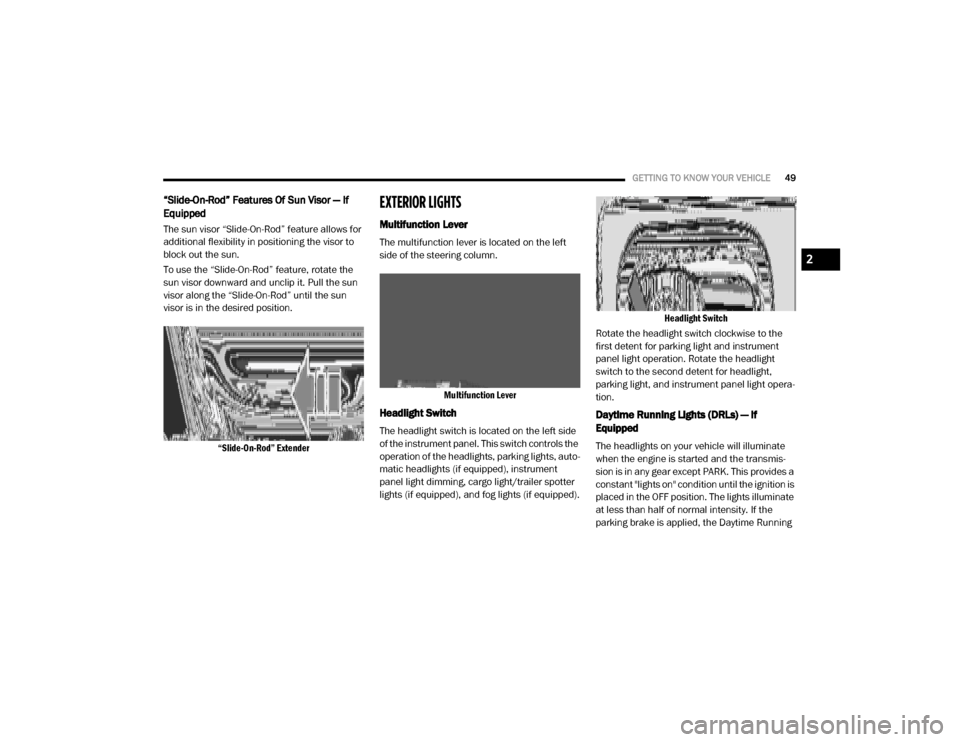
The sun visor “Slide-On-Rod” feature allows for
additional flexibility in positioning the visor to
block out the sun.
To use the “Slide-On-Rod” feature, rotate the
sun visor downward and unclip it. Pull the sun
visor along the “Slide-On-Rod” until the sun
visor is in the desired position.
“Slide-On-Rod” Extender
EXTERIOR LIGHTS
Multifunction Lever
The multifunction lever is located on the left
side of the steering column.
Multifunction Lever
Headlight Switch
The headlight switch is located on the left side
of the instrument panel. This switch controls the
operation of the headlights, parking lights, auto -
matic headlights (if equipped), instrument
panel light dimming, cargo light/trailer spotter
lights (if equipped), and fog lights (if equipped).
Headlight Switch
Rotate the headlight switch clockwise to the
first detent for parking light and instrument
panel light operation. Rotate the headlight
switch to the second detent for headlight,
parking light, and instrument panel light opera -
tion.
Daytime Running Lights (DRLs) — If
Equipped
The headlights on your vehicle will illuminate
when the engine is started and the transmis -
sion is in any gear except PARK. This provides a
constant "lights on" condition until the ignition is
placed in the OFF position. The lights illuminate
at less than half of normal intensity. If the
parking brake is applied, the Daytime Running
2
20_DJD2_OM_EN_USC_t.book Page 49
Page 52 of 553
50GETTING TO KNOW YOUR VEHICLE
Lights (DRLs) will turn off. Also, if a turn signal is
activated, the DRL lamp on the same side of the
vehicle may turn off for the duration of the turn
signal activation. Once the turn signal is no
longer active, the DRL lamp will illuminate.
NOTE:
If allowed by law in the country in which the
vehicle was purchased, the Daytime Running
Lights can be turned on and off using the Ucon -
nect System, refer to “Uconnect Settings” in
“Multimedia” for further information.
High/Low Beam Switch
Push the multifunction lever toward the instru-
ment panel to switch the headlights to high
beam. Pulling the multifunction lever back
toward the steering wheel will turn the low
beams back on, or shut the high beams off.
Automatic High Beam Headlamp Control —
If Equipped
The Automatic High Beam Headlamp Control
system provides increased forward lighting at
night by automating high beam control through
the use of a digital camera mounted on the
inside rearview mirror or forward facing camera.
This camera detects vehicle specific light and automatically switches from high beams to low
beams until the approaching vehicle is out of
view.
NOTE:
The Automatic High Beam Headlamp Control
can be turned on or off by selecting “ON”
under “Auto Dim High Beams” within your
Uconnect settings, as well as turning the
headlight switch to the AUTO position. Refer
to “Uconnect Settings” in “Multimedia” for
further information.
Broken, muddy, or obstructed headlights and
taillights of vehicles in the field of view will
cause headlights to remain on longer (closer
to the vehicle). Also, dirt, film, and other
obstructions on the windshield or camera
lens will cause the system to function improp
-
erly.
To opt out of the Advanced Auto High Beam
Sensitivity Control (default) and enter
Reduced High Beam Sensitivity Control (not
recommended), on vehicles equipped with
mirror controlled automatic high beams and
without the forward facing camera, toggle the
high beam lever six full on/off cycles within 10 seconds of placing the ignition in the ON
position. The system will return to the default
setting when the ignition is OFF.
If the windshield or Automatic High Beam Head -
lamp Control mirror is replaced, the mirror must
be re-aimed to ensure proper performance. See
a local authorized dealer.
To Activate
1. The Automatic High Beams are enabled through the Uconnect system. Refer to
“Uconnect Settings” in “Multimedia” for
further information.
2. Turn the headlight switch to the AUTO head -
light position.
3. Push the multifunction lever away from you (toward front of vehicle) to engage the high
beam mode.
NOTE:
The Automatic High Beams will not activate until
the vehicle is at or above 12 mph (20 km/h).
20_DJD2_OM_EN_USC_t.book Page 50
Page 53 of 553
GETTING TO KNOW YOUR VEHICLE51
To Deactivate
1. Pull the multifunction lever toward you (or
rearward in vehicle) to manually deactivate
the system (normal operation of low
beams).
2. Push back on the multifunction lever to reactivate the system.
The Automatic High Beams can also be deacti -
vated through the Uconnect system. Refer to
“Uconnect Settings” in “Multimedia” for further
information.
Flash-To-Pass
You can signal another vehicle with your head -
lights by lightly pulling the multifunction lever
toward you. This will cause the high beam head -
lights to turn on, and remain on, until the lever
is released.
Automatic Headlights — If Equipped
This system automatically turns your headlights
on or off based on ambient light levels. To turn
the system on, turn the headlight switch to the
extreme clockwise position aligning the indi -
cator with the AUTO on the headlight switch.
When the system is on, the Headlight Time
Delay feature is also on. This means your head -lights will stay on for up to 90 seconds after the
ignition is placed in the OFF position. To turn the
Automatic System off, turn the headlight switch
counterclockwise to the O (off) position.
NOTE:
The engine must be running before the head
-
lights will come on in the Automatic mode.
Directional LED Headlamp System — If
Equipped
This is a system consisting of LED (low/high
beam) headlights that incorporate dynamic
cornering with 5-degree inboard/15-degree
outboard swivel. The headlights continuously
and automatically adapt to the driving condi -
tions around bends or when cornering based on
steering wheel angle.
The system directs the headlights to light up the
road in the best way, taking into account the
speed of the vehicle and the bend or corner
angle, as well as the speed of the vehicle while
the steering wheel is being turned.
The adaptive lights are automatically activated
when the vehicle is traveling above approxi -
mately 5 mph (8 km/h).
This system can be turned on/off through the
Uconnect settings under “Steering Directed Lights”. Refer to Uconnect Settings in “Multi
-
media” for further information.
Parking Lights And Panel Lights
To turn on the parking lights and instrument
panel lights, from the O (off) position, rotate the
headlight switch clockwise to the first detent. To
turn off the parking lights, rotate the headlight
switch back to the O (off) position.
Headlights On With Wipers (Available With
Automatic Headlights Only)
When this feature is active, the headlights will
turn on approximately 10 seconds after the
wipers are turned on if the headlight switch is
placed in the AUTO position. In addition, the
headlights will turn off when the wipers are
turned off, if they were turned on by this feature.
NOTE:
This feature can be programmed through the
Uconnect system. Refer to “Uconnect Settings”
in “Multimedia” for further information.
Headlight Delay
To aid in your exit, your vehicle is equipped with
a headlight delay that will leave the headlights
on for up to 90 seconds. This delay is initiated
when the ignition is turned off while the head -
2
20_DJD2_OM_EN_USC_t.book Page 51