battery Ram 2500 2020 Workshop Manual
[x] Cancel search | Manufacturer: RAM, Model Year: 2020, Model line: 2500, Model: Ram 2500 2020Pages: 553, PDF Size: 21.99 MB
Page 368 of 553

366IN CASE OF EMERGENCY
MANUAL PARK RELEASE — 8 – SPEED
TRANSMISSION
To push or tow the vehicle in cases where the
transmission will not shift out of PARK (such as
a depleted battery), a Manual Park Release is
available.
Manual Park Release Panel Cover
Manual Park Release Pull Strap
Follow these steps to activate the Manual Park
Release:
1. Firmly apply the parking brake.
2. Using a small screwdriver or similar tool,
remove the Manual Park Release access
cover, which is just above the parking brake
release handle, below and to the left of the
steering column.
3. Press and maintain firm pressure on the brake pedal.
4. Using the screwdriver or similar tool, push the Manual Park Release lever locking tab
(just below the middle of the lever) to the
right.
5. While holding the locking tab in the disen -
gaged position, pull the tether strap to
rotate the lever rearward, until it locks in
place pointing towards the driver's seat.
Release the locking tab and verify that the
Manual Park Release lever is locked in the
released position.
6. The vehicle is now out of PARK and can be towed. Release the parking brake only when
the vehicle is securely connected to a tow
vehicle.
WARNING!
Always secure your vehicle by fully applying
the parking brake before activating the
Manual Park Release. In addition, you should
be seated in the driver’s seat with your foot
firmly on the brake pedal when activating the
Manual Park Release. Activating the Manual
Park Release will allow your vehicle to roll
away if it is not secured by the parking brake,
or by proper connection to a tow vehicle.
Activating the Manual Park Release on an
unsecured vehicle could lead to serious injury
or death for those in or around the vehicle.
20_DJD2_OM_EN_USC_t.book Page 366
Page 372 of 553

370IN CASE OF EMERGENCY
If the key fob is unavailable or the vehicle's
battery is discharged, refer to ”Manual Park
Release” in this section for instructions on
shifting the transmission out of PARK for
towing.
Two-Wheel Drive Models
The manufacturer recommends towing your
vehicle with all four wheels OFF the ground
using a flatbed.
If flatbed equipment is not available, and the
transmission is operable, the vehicle may be
towed (with rear wheels ON the ground) under
the following conditions:
The transmission must be in NEUTRAL. NOTE:
Refer to “Manual Park Release” in this section
for instructions on shifting the transmission to
NEUTRAL when the engine is OFF.
The towing speed must not exceed 30 mph
(48 km/h).
The towing distance must not exceed
30 miles (48 km) for 8–speed transmission.
The towing distance must not exceed
15 miles (24 km) for 6–speed transmission.
If the transmission is not operable, or the
vehicle must be towed faster than 30 mph
(48 km/h) or farther than 30 miles (48 km) for 8–speed transmission, tow with the rear wheels
OFF the ground. Acceptable methods are to tow
the vehicle on a flatbed, or with the front wheels
raised and the rear wheels on a towing dolly, or
(when using a suitable steering wheel stabilizer
to hold the front wheels in the straight position)
with the rear wheels raised and the front wheels
on the ground.
Four-Wheel Drive Models
The manufacturer recommends towing with all
wheels OFF the ground. Acceptable methods
are to tow the vehicle on a flatbed or with one
end of vehicle raised and the opposite end on a
towing dolly.
If flatbed equipment is not available, and the
transfer case is operable, the vehicle may be
towed (in the forward direction, with ALL wheels
on the ground), IF the transfer case is in
NEUTRAL (N) and the transmission is in PARK.
Refer to “Recreational Towing” in “Starting And
Operating” for further information and detailed
instructions.
CAUTION!
Do not use sling type equipment when
towing. Vehicle damage may occur.
When securing the vehicle to a flat bed
truck, do not attach to front or rear suspen -
sion components. Damage to your vehicle
may result from improper towing.
CAUTION!
Towing this vehicle in violation of the above
requirements can cause severe transmission
damage. Damage from improper towing is not
covered under the New Vehicle Limited
Warranty.
20_DJD2_OM_EN_USC_t.book Page 370
Page 376 of 553
374IN CASE OF EMERGENCY
Replacing Exterior Bulbs
Base Quad: Low Beam Headlamp, High
Beam Headlamp, Front Park And Turn — If
Equipped
Low Beam
1. Open the hood.
2. Disconnect and isolate the negative battery
cable.
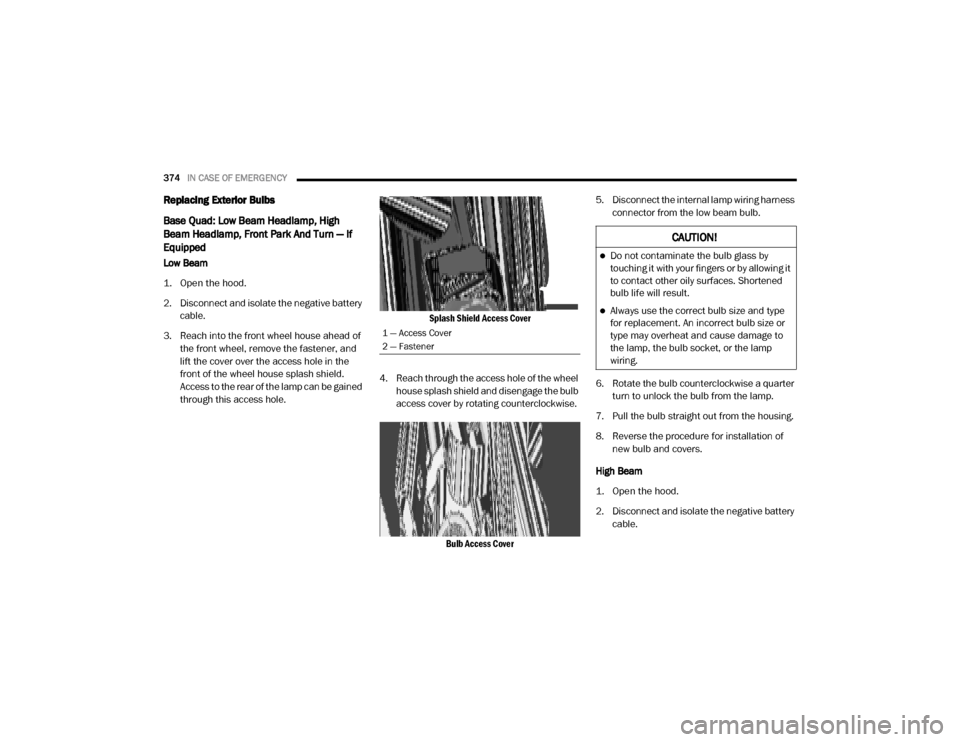
3. Reach into the front wheel house ahead of the front wheel, remove the fastener, and
lift the cover over the access hole in the
front of the wheel house splash shield.
Access to the rear of the lamp can be gained
through this access hole.
Splash Shield Access Cover
4. Reach through the access hole of the wheel house splash shield and disengage the bulb
access cover by rotating counterclockwise.
Bulb Access Cover
5. Disconnect the internal lamp wiring harness
connector from the low beam bulb.
6. Rotate the bulb counterclockwise a quarter turn to unlock the bulb from the lamp.
7. Pull the bulb straight out from the housing.
8. Reverse the procedure for installation of new bulb and covers.
High Beam
1. Open the hood.
2. Disconnect and isolate the negative battery cable.
1 — Access Cover
2 — Fastener
CAUTION!
Do not contaminate the bulb glass by
touching it with your fingers or by allowing it
to contact other oily surfaces. Shortened
bulb life will result.
Always use the correct bulb size and type
for replacement. An incorrect bulb size or
type may overheat and cause damage to
the lamp, the bulb socket, or the lamp
wiring.
20_DJD2_OM_EN_USC_t.book Page 374
Page 377 of 553
IN CASE OF EMERGENCY375
3. Look under the hood and behind the head -
lamp to find the high beam bulb access
cover.
4. Reach behind the headlamp and disengage the access cover by rotating counterclock -
wise.
5. Disconnect the internal lamp wiring harness connector from the high beam bulb.
6. Rotate the bulb counterclockwise a quarter turn to unlock the bulb from the lamp.
7. Pull the bulb straight out from the housing.
8. Reverse the procedure for installation of new bulb and covers. Front Park And Turn
1. Open the hood.
2. Disconnect and isolate the negative battery
cable.
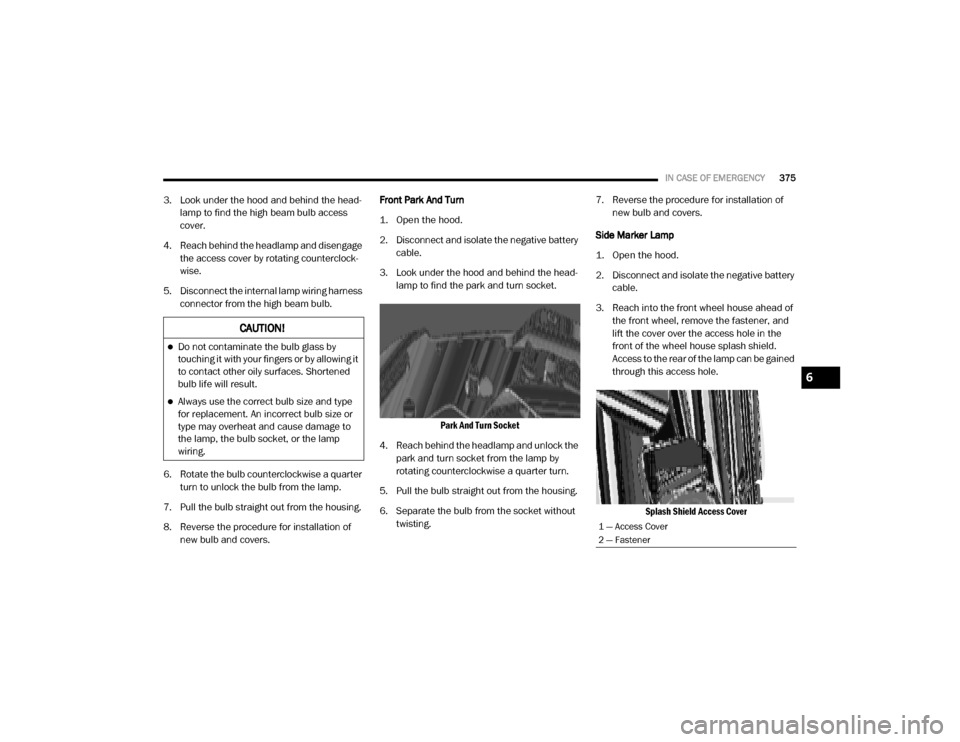
3. Look under the hood and behind the head -
lamp to find the park and turn socket.
Park And Turn Socket
4. Reach behind the headlamp and unlock the park and turn socket from the lamp by
rotating counterclockwise a quarter turn.
5. Pull the bulb straight out from the housing.
6. Separate the bulb from the socket without twisting. 7. Reverse the procedure for installation of
new bulb and covers.
Side Marker Lamp
1. Open the hood.
2. Disconnect and isolate the negative battery cable.
3. Reach into the front wheel house ahead of the front wheel, remove the fastener, and
lift the cover over the access hole in the
front of the wheel house splash shield.
Access to the rear of the lamp can be gained
through this access hole.
Splash Shield Access Cover
CAUTION!
Do not contaminate the bulb glass by
touching it with your fingers or by allowing it
to contact other oily surfaces. Shortened
bulb life will result.
Always use the correct bulb size and type
for replacement. An incorrect bulb size or
type may overheat and cause damage to
the lamp, the bulb socket, or the lamp
wiring.
1 — Access Cover
2 — Fastener
6
20_DJD2_OM_EN_USC_t.book Page 375
Page 383 of 553
SERVICING AND MAINTENANCE381
NOTE:
Using white lithium grease, lubricate the door
hinge roller pivot joints twice a year to prevent
premature wear.
At Every Oil Change Interval As Indicated
By Oil Change Indicator System:
Change oil and filter.
Rotate the tires. Rotate at the first sign of
irregular wear, even if it occurs before the
oil indicator system turns on.
Inspect battery and clean and tighten termi -
nals as required.
Inspect the CV/Universal joints.
Inspect brake pads, shoes, rotors, drums,
hoses and park brake.
Inspect engine cooling system protection
and hoses.
Inspect exhaust system.
At Every Oil Change Interval As Indicated
By Oil Change Indicator System:
Inspect engine air cleaner if using in dusty
or off-road conditions. If required, replace
air cleaner filter.
Inspect and replace the Evaporative
System Fresh Air Filter as necessary,
replacement may be more frequent if
vehicle is operated in extreme dusty condis -
tions.
At Every Oil Change Interval As Indicated
By Oil Change Indicator System:
7
20_DJD2_OM_EN_USC_t.book Page 381
Page 393 of 553
SERVICING AND MAINTENANCE391
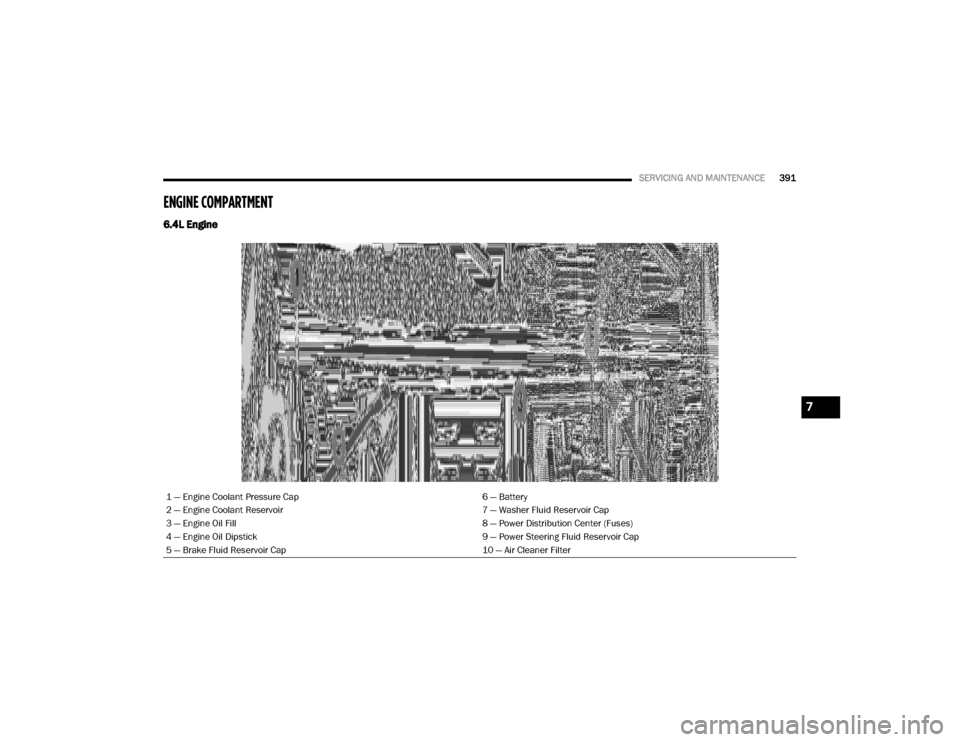
ENGINE COMPARTMENT
6.4L Engine
1 — Engine Coolant Pressure Cap 6 — Battery
2 — Engine Coolant Reservoir 7 — Washer Fluid Reservoir Cap
3 — Engine Oil Fill 8 — Power Distribution Center (Fuses)
4 — Engine Oil Dipstick 9 — Power Steering Fluid Reservoir Cap
5 — Brake Fluid Reservoir Cap 10 — Air Cleaner Filter
7
20_DJD2_OM_EN_USC_t.book Page 391
Page 394 of 553
392SERVICING AND MAINTENANCE
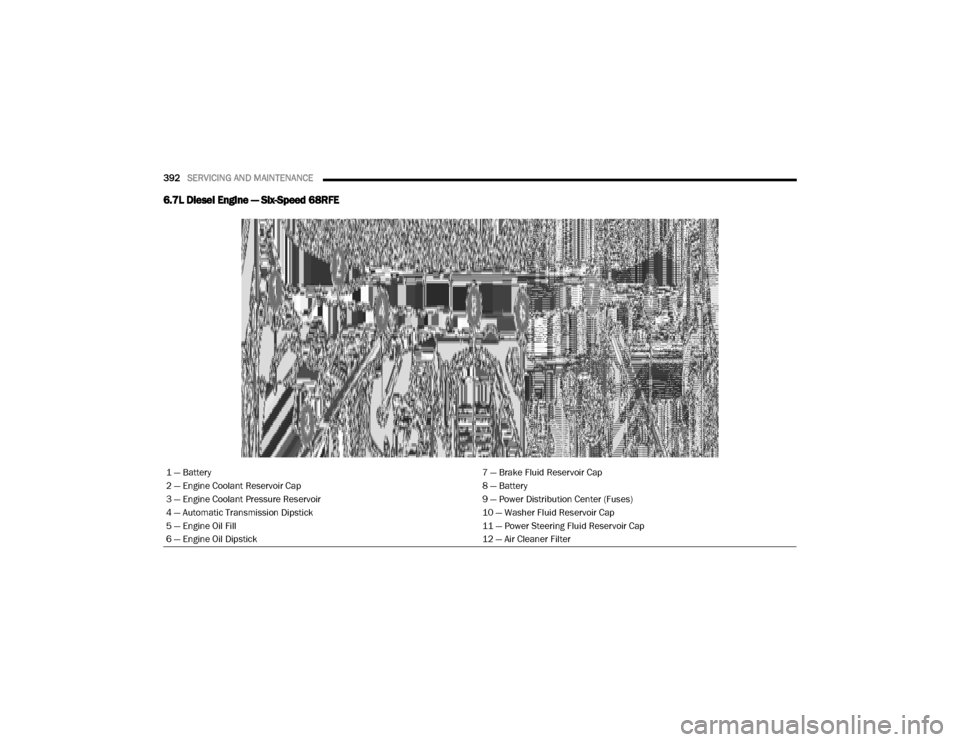
6.7L Diesel Engine — Six-Speed 68RFE
1 — Battery 7 — Brake Fluid Reservoir Cap
2 — Engine Coolant Reservoir Cap 8 — Battery
3 — Engine Coolant Pressure Reservoir 9 — Power Distribution Center (Fuses)
4 — Automatic Transmission Dipstick 10 — Washer Fluid Reservoir Cap
5 — Engine Oil Fill 11 — Power Steering Fluid Reservoir Cap
6 — Engine Oil Dipstick 12 — Air Cleaner Filter
20_DJD2_OM_EN_USC_t.book Page 392
Page 395 of 553
SERVICING AND MAINTENANCE393
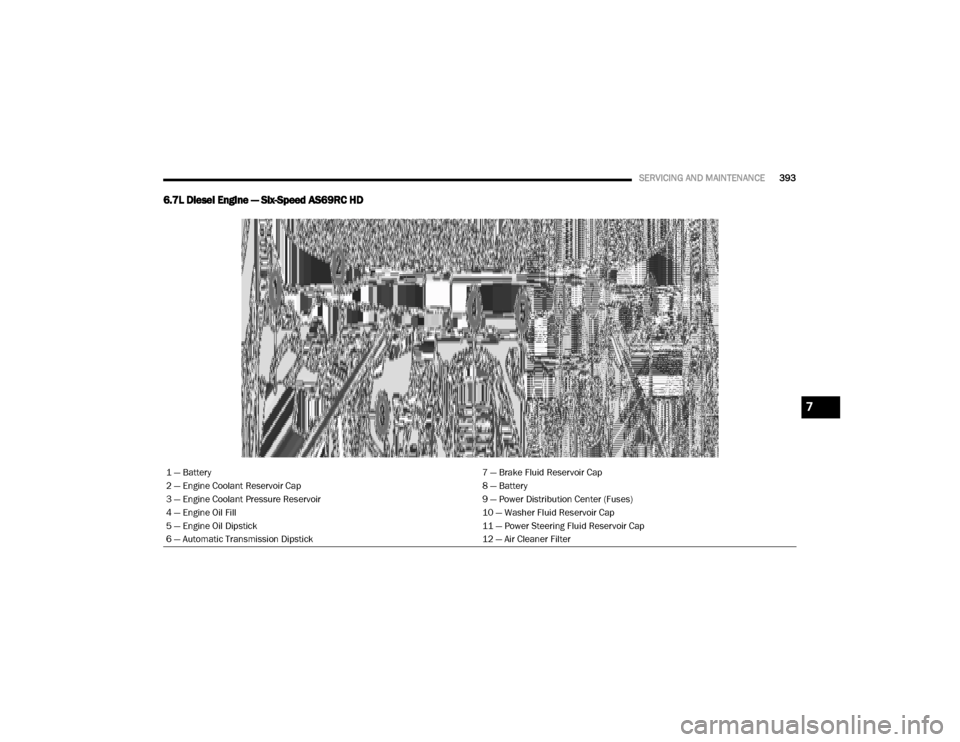
6.7L Diesel Engine — Six-Speed AS69RC HD
1 — Battery 7 — Brake Fluid Reservoir Cap
2 — Engine Coolant Reservoir Cap 8 — Battery
3 — Engine Coolant Pressure Reservoir 9 — Power Distribution Center (Fuses)
4 — Engine Oil Fill 10 — Washer Fluid Reservoir Cap
5 — Engine Oil Dipstick 11 — Power Steering Fluid Reservoir Cap
6 — Automatic Transmission Dipstick 12 — Air Cleaner Filter
7
20_DJD2_OM_EN_USC_t.book Page 393
Page 397 of 553

SERVICING AND MAINTENANCE395
After the engine has warmed up, operate the
defroster for a few minutes to reduce the possi -
bility of smearing or freezing the fluid on the
cold windshield. Windshield washer solution
used with water as directed on the container,
aids cleaning action, reduces the freezing point
to avoid line clogging, and is not harmful to
paint or trim.
Maintenance-Free Battery
Your vehicle is equipped with a mainte-
nance-free battery. You will never have to add
water, nor is periodic maintenance required.
Pressure Washing
WARNING!
Commercially available windshield washer
solvents are flammable. They could ignite and
burn you. Care must be exercised when filling
or working around the washer solution.
WARNING!
Battery fluid is a corrosive acid solution and
can burn or even blind you. Do not allow
battery fluid to contact your eyes, skin, or
clothing. Do not lean over a battery when
attaching clamps. If acid splashes in eyes
or on skin, flush the area immediately with
large amounts of water. Refer to “Jump
Starting Procedure” in “In Case Of Emer -
gency” for further information.
Battery gas is flammable and explosive.
Keep flame or sparks away from the
battery. Do not use a booster battery or any
other booster source with an output greater
than 12 Volts. Do not allow cable clamps to
touch each other.
Battery posts, terminals, and related acces -
sories contain lead and lead compounds.
Wash hands after handling.
CAUTION!
It is essential when replacing the cables on
the battery that the positive cable is
attached to the positive post and the nega -
tive cable is attached to the negative post.
Battery posts are marked positive (+) and
negative (-) and are identified on the battery
case. Cable clamps should be tight on the
terminal posts and free of corrosion.
If a “fast charger” is used while the battery
is in the vehicle, disconnect both vehicle
battery cables before connecting the
charger to the battery. Do not use a “fast
charger” to provide starting voltage.
CAUTION!
Cleaning the engine compartment with a high
pressure washer is not recommended.
Precautions have been taken to safeguard all
parts and connections however, the
pressures generated by these machines is
such that complete protection against water
ingress cannot be guaranteed.
7
20_DJD2_OM_EN_USC_t.book Page 395
Page 441 of 553
SERVICING AND MAINTENANCE439
Standard No. 109. Grades B and A repre -
sent higher levels of performance on the
laboratory test wheel, than the minimum
required by law.
STORING THE VEHICLE
If you are storing your vehicle for more than
21 days, we recommend that you take the
following steps to minimize the drain on your
vehicle's battery:
Disconnect the negative cable from battery.
Any time you store your vehicle or keep it out
of service (i.e., vacation) for two weeks or
more, run the air conditioning system at idle
for about five minutes in the fresh air and high blower setting. This will ensure
adequate system lubrication to minimize the
possibility of compressor damage when the
system is started again.
BODYWORK
Protection From Atmospheric Agents
Vehicle body care requirements vary according
to geographic locations and usage. Chemicals
that make roads passable in snow and ice and
those that are sprayed on trees and road
surfaces during other seasons are highly corro
-
sive to the metal in your vehicle. Outside
parking, which exposes your vehicle to airborne
contaminants, road surfaces on which the
vehicle is operated, extreme hot or cold weather
and other extreme conditions will have an
adverse effect on paint, metal trim, and under -
body protection.
The following maintenance recommendations
will enable you to obtain maximum benefit from
the corrosion resistance built into your vehicle.
What Causes Corrosion?
Corrosion is the result of deterioration or
removal of paint and protective coatings from
your vehicle. The most common causes are:
Road salt, dirt and moisture accumulation.
Stone and gravel impact.
Insects, tree sap and tar.
Salt in the air near seacoast localities.
Atmospheric fallout/industrial pollutants.
Body And Underbody Maintenance
Cleaning Headlights
Your vehicle is equipped with plastic headlights
and fog lights that are lighter and less suscep
-
tible to stone breakage than glass headlights.
Plastic is not as scratch resistant as glass and
therefore different lens cleaning procedures
must be followed.
To minimize the possibility of scratching the
lenses and reducing light output, avoid wiping
with a dry cloth. To remove road dirt, wash with
a mild soap solution followed by rinsing.
Do not use abrasive cleaning components,
solvents, steel wool or other aggressive mate -
rial to clean the lenses.
WARNING!
The temperature grade for this tire is
established for a tire that is properly inflated
and not overloaded. Excessive speed,
under-inflation, or excessive loading, either
separately or in combination, can cause heat
buildup and possible tire failure.
7
20_DJD2_OM_EN_USC_t.book Page 439