language Ram 2500 2020 Owner's Manual
[x] Cancel search | Manufacturer: RAM, Model Year: 2020, Model line: 2500, Model: Ram 2500 2020Pages: 553, PDF Size: 21.99 MB
Page 462 of 553

460MULTIMEDIA
NOTE:
Only one category may be selected at a time.
When making a selection, press the button on
the touchscreen to enter the desired menu.
Once in the desired menu, press and release
the preferred setting until the button is high -lighted. Once the setting is complete, either
press the Back Arrow or the Done button on the
touchscreen or push the Back button on the
faceplate to return to the previous menu.
Pressing the Up or Down Arrow buttons on the
touchscreen on the right side of the screen will
allow you to toggle up or down through the list
of available settings.
NOTE:
All settings should be changed with the ignition
in the ON/RUN position.
Display
After pressing the Display button on the touchscreen, the following settings will be available.
Units
After pressing Units on the touchscreen, the following will be available:
Setting Name
Selectable Options
Display ModeAutoManual
Set Language English, Français, Español
Touchscreen Beep OnOff
Fuel Saver Display OnOff
NOTE:
The “Fuel Saver Display” feature will allow you to enable fuel saver mode and will be displayed in the instrument cluster display.
Setting Name Selectable Options
UnitsUSMetric Custom
Speed MPH km/h
Distance mi km
20_DJD2_OM_EN_USC_t.book Page 460
Page 475 of 553
MULTIMEDIA473
Uconnect 4/4C/4C NAV Settings
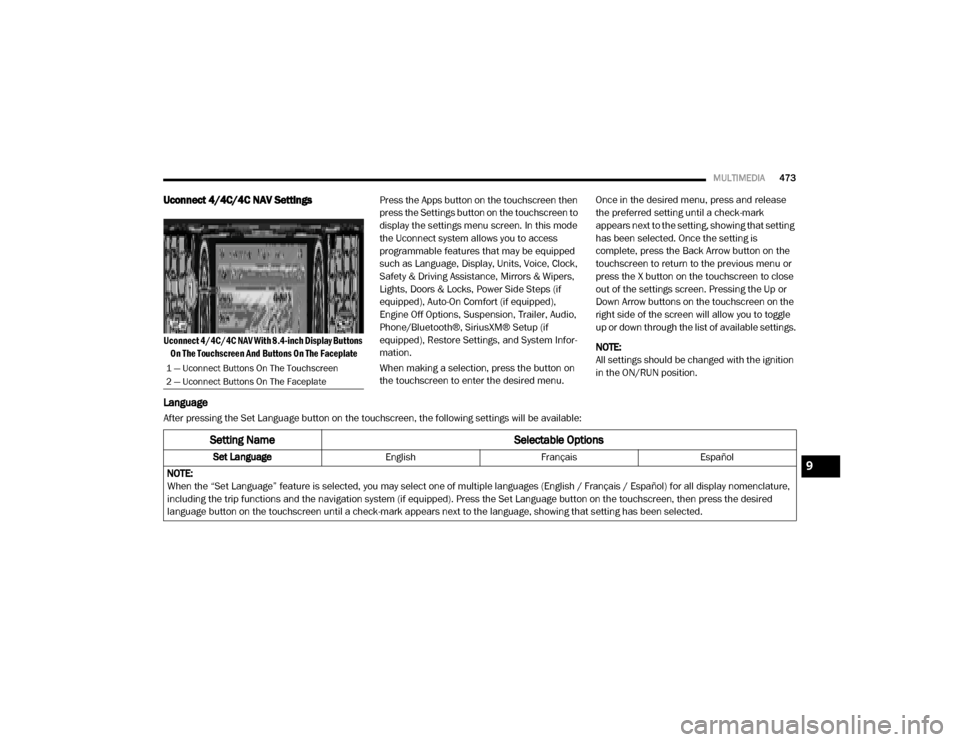
Uconnect 4/4C/4C NAV With 8.4-inch Display Buttons
On The Touchscreen And Buttons On The Faceplate
Press the Apps button on the touchscreen then
press the Settings button on the touchscreen to
display the settings menu screen. In this mode
the Uconnect system allows you to access
programmable features that may be equipped
such as Language, Display, Units, Voice, Clock,
Safety & Driving Assistance, Mirrors & Wipers,
Lights, Doors & Locks, Power Side Steps (if
equipped), Auto-On Comfort (if equipped),
Engine Off Options, Suspension, Trailer, Audio,
Phone/Bluetooth®, SiriusXM® Setup (if
equipped), Restore Settings, and System Infor
-
mation.
When making a selection, press the button on
the touchscreen to enter the desired menu. Once in the desired menu, press and release
the preferred setting until a check-mark
appears next to the setting, showing that setting
has been selected. Once the setting is
complete, press the Back Arrow button on the
touchscreen to return to the previous menu or
press the X button on the touchscreen to close
out of the settings screen. Pressing the Up or
Down Arrow buttons on the touchscreen on the
right side of the screen will allow you to toggle
up or down through the list of available settings.
NOTE:
All settings should be changed with the ignition
in the ON/RUN position.
Language
After pressing the Set Language button on the touchscreen, the following settings will be available:
1 — Uconnect Buttons On The Touchscreen
2 — Uconnect Buttons On The Faceplate
Setting Name
Selectable Options
Set LanguageEnglishFrançais Español
NOTE:
When the “Set Language” feature is selected, you may select one of multiple languages (English / Français / Español) for all display nomenclature,
including the trip functions and the navigation system (if equipped). Press the Set Language button on the touchscreen, then press the desired
language button on the touchscreen until a check-mark appears next to the language, showing that setting has been selected.9
20_DJD2_OM_EN_USC_t.book Page 473
Page 495 of 553
MULTIMEDIA493
Uconnect 4C NAV With 12-inch Display
Settings
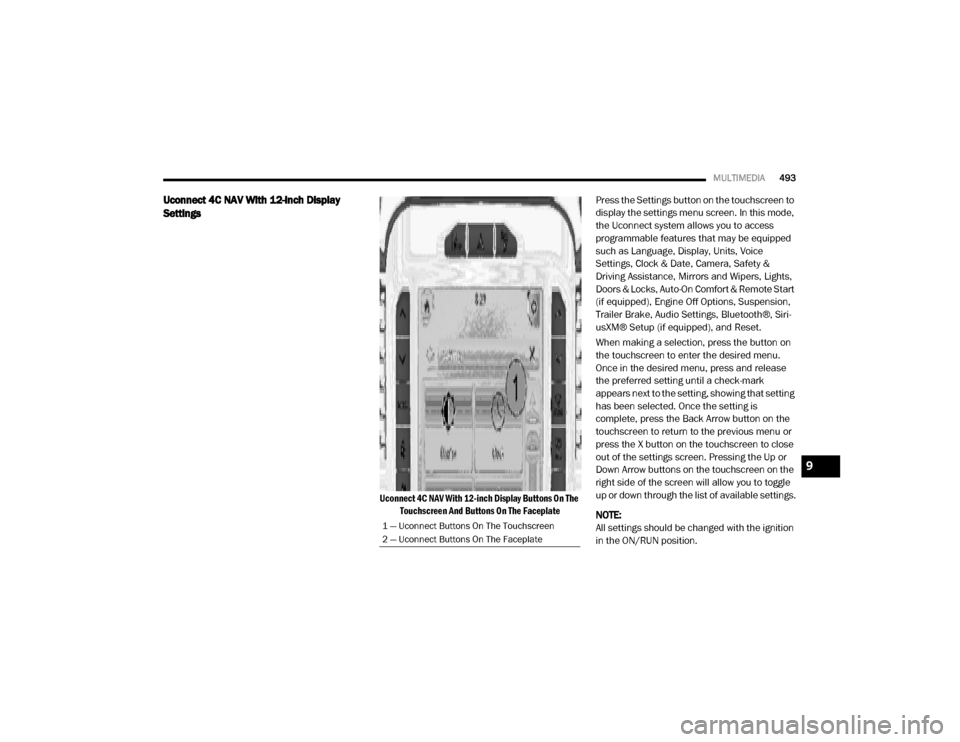
Uconnect 4C NAV With 12-inch Display Buttons On The
Touchscreen And Buttons On The Faceplate
Press the Settings button on the touchscreen to
display the settings menu screen. In this mode,
the Uconnect system allows you to access
programmable features that may be equipped
such as Language, Display, Units, Voice
Settings, Clock & Date, Camera, Safety &
Driving Assistance, Mirrors and Wipers, Lights,
Doors & Locks, Auto-On Comfort & Remote Start
(if equipped), Engine Off Options, Suspension,
Trailer Brake, Audio Settings, Bluetooth®, Siri-
usXM® Setup (if equipped), and Reset.
When making a selection, press the button on
the touchscreen to enter the desired menu.
Once in the desired menu, press and release
the preferred setting until a check-mark
appears next to the setting, showing that setting
has been selected. Once the setting is
complete, press the Back Arrow button on the
touchscreen to return to the previous menu or
press the X button on the touchscreen to close
out of the settings screen. Pressing the Up or
Down Arrow buttons on the touchscreen on the
right side of the screen will allow you to toggle
up or down through the list of available settings.
NOTE:
All settings should be changed with the ignition
in the ON/RUN position.
1 — Uconnect Buttons On The Touchscreen
2 — Uconnect Buttons On The Faceplate
9
20_DJD2_OM_EN_USC_t.book Page 493
Page 496 of 553

494MULTIMEDIA
Language
After pressing the Language button on the touchscreen, the following settings will be available:
Display
After pressing the Display button on the touchscreen, the following settings will be available:
Setting Name Selectable Options
LanguageEnglishEspañol Français
NOTE:
When the Language feature is selected, you may select one of multiple languages (English / Français / Español) for all display nomenclature, including
the trip functions and the navigation system (if equipped). Press the Language button on the touchscreen, then press the desired language button
on the touchscreen until a check-mark appears next to the language, showing that setting has been selected.
Setting Name Selectable Options
Display Brightness ModeAutoManual
NOTE:
Select Auto or Manual display mode and this allows adjustment of overall screen brightness. Display Brightness Headlight ON -+
NOTE:
To make changes to the "Display Brightness With Headlights ON" setting, the headlights must be on and the interior dimmer switch must not be in
the "party" or "parade" position. Display Brightness Headlight OFF -+
NOTE:
To make changes to the "Display Brightness With Headlights OFF" setting, the headlights must be off and the interior dimmer switch must not be in
the "party" or "parade" position.
20_DJD2_OM_EN_USC_t.book Page 494
Page 516 of 553
514MULTIMEDIA
TUNE/SCROLL Control
Turn the rotary TUNE/SCROLL control knob
clockwise to increase or counterclockwise to
decrease the radio station frequency. Push the
ENTER/BROWSE button to choose a selection.
Seek Functions
Seek Up
Press and release the Seek Up button on the
touchscreen to tune the radio to the next listen -
able station or channel.
During a Seek Up function, if the radio reaches
the starting station after passing through the
entire band two times, the radio will stop at the
station where it began.
Fast Seek Up
Press and hold the Seek Up button on the
touchscreen to advance the radio through the
available stations or channels at a faster rate.
The radio stops at the next available station or
channel when the button on the touchscreen is
released.
Seek Down
Press and release the Seek Down button on the
touchscreen to tune the radio to the next listen -
able station or channel. During a Seek Down function, if the radio
reaches the starting station after passing
through the entire band two times, the radio will
stop at the station where it began.
Fast Seek Down
Press and hold the Seek Down button on the
touchscreen to advance the radio through the
available stations or channels at a faster rate.
The radio stops at the next available station or
channel when the button on the touchscreen is
released.
Direct Tune Functions
Press the Tune button on the touchscreen to
directly tune to a specific radio station. A
keypad will appear. On the keypad, enter in your
desired radio station, and the system will auto
-
matically tune to it.
SiriusXM® Satellite Radio Mode — If
Equipped
SiriusXM® Satellite Radio uses direct satel -
lite-to-receiver broadcasting technology to
provide clear, coast to coast radio content. Siri -
usXM® is a subscription based service.
Get over 160 channels on your satellite radio,
and enjoy all you want, all in one place. Hear
commercial-free music, sports, news, talk, and entertainment. Get all the premium program
-
ming, including Howard Stern, every NFL®
game, every MLB®, every NHL® game, every
NASCAR® race, Martha Stewart, Oprah Radio,
and more. Get 20+ extra channels, including
SiriusXM® Latino, offering 20 channels of
commercial-free music, news, talk, comedy,
sports, and more dedicated to Spanish
language programming.
SiriusXM® services require subscriptions, sold
separately after the trial included with the new
vehicle purchase. If you decide to continue your
service at the end of your trial subscription, the
plan you choose will automatically renew and
bill at then-current rates until you call Siri -
usXM® at 1-866-635-2349 to cancel. See Siri -
usXM® Customer Agreement for complete
terms at www.siriusxm.com (US Residents) or
www.siriusxm.ca (Canadian Residents). All fees
and programming subject to change. Our satel -
lite service is available only to those at least 18
and older in the 48 contiguous USA and D.C.
Our Sirius satellite service is also available in
Puerto Rico (with coverage limitations). Our
Internet radio service is available throughout
our satellite service area and in Alaska and
Hawai. © 2019 SiriusXM® Radio Inc. Siri -
20_DJD2_OM_EN_USC_t.book Page 514
Page 534 of 553
532MULTIMEDIA
NOTE:
Only use the numbering listed, otherwise the
system does not transpose the message.
TIP:
Your mobile phone must have the full imple-
mentation of the Message Access Profile (MAP)
to take advantage of this feature. For details
about MAP, visit UconnectPhone.com .
Apple® iPhone® iOS 6 or later supports reading
incoming text messages only. For further infor -
mation on how to enable this feature on your
Apple® iPhone®, refer to your iPhone’s® “User
Manual”.
TIP:
Voice Text Reply is not compatible with
iPhone®, but if your vehicle is equipped with
Siri® Eyes Free, you can use your voice to send
a text message.
Climate (4C/4C NAV)
Adjust vehicle temperatures hands-free and
keep everyone comfortable while you keep
moving ahead. (If vehicle is equipped with
climate control.) Push the VR button on the steering wheel.
After the beep, say one of the following
commands:
“
Set driver temperature to 70 degrees ”
“Set passenger temperature to 70 degrees ”
TIP:
Voice Command for Climate may only be used
to adjust the interior temperature of your
vehicle. Voice Command will not work to adjust
the heated seats or steering wheel if equipped.
Navigation (4C NAV)
The Uconnect navigation feature helps you save
time and become more productive when you
know exactly how to get to where you want to go.
1. To enter a destination, push the VR button
on the steering wheel. After the beep,
say: “ Find address
800 Chrysler Drive
Auburn Hills, Michigan.”
2. Then follow the system prompts.
TIP:
To start a POI search, push the VR button on
the steering wheel. After the beep, say: “ Find
nearest coffee shop.”
Siri® Eyes Free — If Equipped
Siri lets you use your voice to send text
messages, select media, place phone calls and
much more. Siri uses your natural language to
understand what you mean and responds back
to confirm your requests. The system is
designed to keep your eyes on the road and
your hands on the wheel by letting Siri help you
perform useful tasks.
To enable Siri, push and hold, then release the
Uconnect Voice Recognition (VR) button on the
steering wheel. After you hear a double beep
you can ask Siri to play podcasts and music, get
directions, read text messages and many other
useful requests.
Using Do Not Disturb
With Do Not Disturb, you can disable notifica -
tions from incoming calls and texts, allowing
you to keep your eyes on the road and hands on
the wheel. For your convenience, there is a
counter display to keep track of your missed
calls and text messages while you were using
Do Not Disturb.
Do Not Disturb can automatically reply with a
text message, a call, or both, when declining an
incoming call and send it to voicemail.
20_DJD2_OM_EN_USC_t.book Page 532
Page 535 of 553

MULTIMEDIA533
Automatic reply messages can be:
“I am driving right now, I will get back to you
shortly”.
Create a custom auto reply message up to
160 characters.
While in Do Not Disturb, Conference Call can be
selected so you can still place a second call
without being interrupted by incoming calls.
NOTE:
Only the beginning of your custom message
will be seen on the touchscreen.
Reply with text message is not compatible
with iPhones®.
Auto reply with text message is only available
on phones that support Bluetooth® MAP.
Android Auto™ — If Equipped
NOTE:
Feature availability depends on your carrier and
mobile phone manufacturer. Some Android
Auto™ features may or may not be available in
every region and/or language. Android Auto™ allows you to use your voice to
interact with Android’s™ best-in-class speech
technology through your vehicle’s voice recogni
-
tion system, and use your smartphone’s data
plan to project your Android™-powered smart -
phone and a number of its apps onto your Ucon -
nect touchscreen. Connect your Android™ 5.0
(Lollipop) or higher to one of the media USB
ports, using the factory-provided USB cable, and
press the new Android Auto™ icon that replaces
your “Phone” icon on the main menu bar to
begin Android Auto™. Push and hold the VR
button on the steering wheel, or press and hold
the “Microphone” icon within Android Auto™, to
activate Android’s™ VR, which recognizes
natural voice commands, to use a list of your
smartphone’s features:
Maps
Music
Phone
Text Messages
Additional Apps
Refer to your Uconnect Owner’s Manual Supple -
ment for further information. NOTE:
Requires compatible smartphone running
Android™ 5.0 (Lollipop) or higher and download
app on Google Play. Android™, Android Auto™,
and Google Play are trademarks of Google Inc.
Apple CarPlay® — If Equipped
NOTE:
Feature availability depends on your carrier and
mobile phone manufacturer. Some Apple
CarPlay® features may or may not be available
in every region and/or language.
Apple CarPlay® allows you to use your voice to
interact with Siri through your vehicle’s voice
recognition system, and use your smartphone
to project your iPhone® and many apps onto
your Uconnect touchscreen (smartphone’s data
plan will be used for certain apps). Connect your
iPhone® 5 or higher to one of the media USB
ports, using the Apple® factory-provided Light
-
ning cable, and press the new Apple CarPlay®
icon that replaces your Phone icon on the main
menu bar to begin Apple CarPlay®. Push and
hold the VR button on the steering wheel, or
9
20_DJD2_OM_EN_USC_t.book Page 533
Page 541 of 553
CUSTOMER ASSISTANCE539
PUBLICATION ORDER FORMS
To order the following manuals, you may use
either the website or the phone numbers listed
below.
Service Manuals
These comprehensive Service Manuals provide
the information that students and professional
technicians need in diagnosing/trouble -
shooting, problem solving, maintaining,
servicing, and repairing FCA US LLC vehicles. A
complete working knowledge of the vehicle,
system, and/or components is written in
straightforward language with illustrations,
diagrams, and charts. Diagnostic Procedure Manuals
Diagnostic Procedure Manuals are filled with
diagrams, charts and detailed illustrations.
These practical manuals make it easy for
students and technicians to find and fix prob-
lems on computer-controlled vehicle systems
and features. They show exactly how to find and
correct problems the first time, using
step-by-step troubleshooting and driveability
procedures, proven diagnostic tests and a
complete list of all tools and equipment.
Owner's Manuals
These Owner's Manuals have been prepared
with the assistance of service and engineering
specialists to acquaint you with specific FCA US
LLC vehicles. Included are starting, operating,
emergency and maintenance procedures as
well as specifications, capabilities and safety
tips.
Call toll free at:
1-800-890-4038 (US)
1-800-387-1143 (Canada)
Or
Visit us on the Worldwide Web at:
www.techauthority.com (US)
10
20_DJD2_OM_EN_USC_t.book Page 539