manual radio set Ram 2500 2020 Owner's Manual
[x] Cancel search | Manufacturer: RAM, Model Year: 2020, Model line: 2500, Model: Ram 2500 2020Pages: 553, PDF Size: 21.99 MB
Page 476 of 553

474MULTIMEDIA
Display
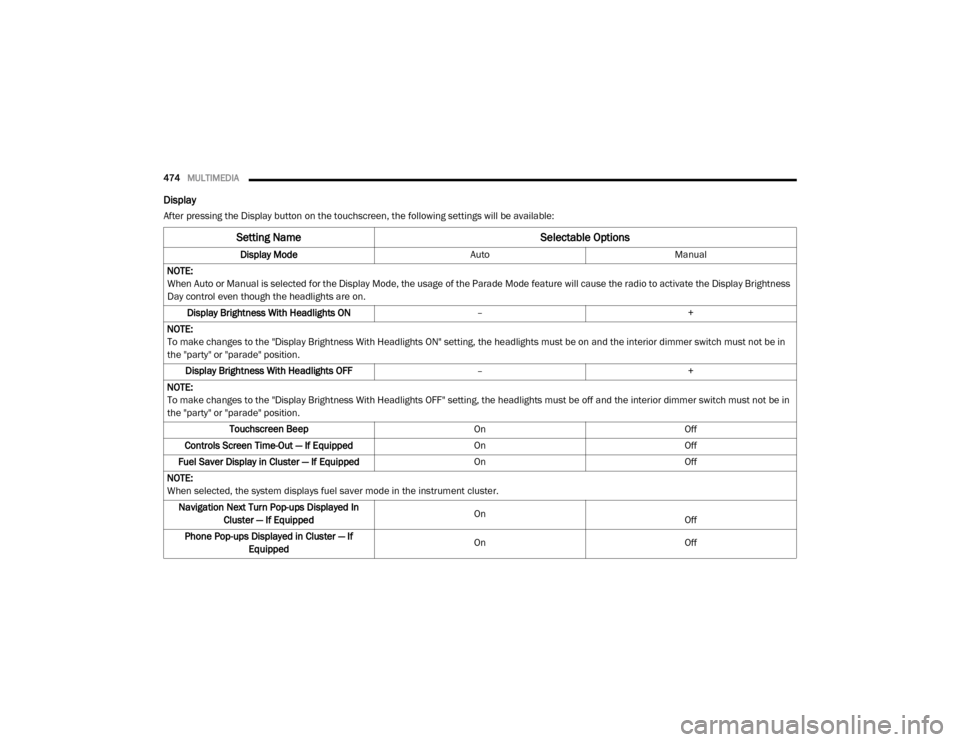
After pressing the Display button on the touchscreen, the following settings will be available:
Setting Name Selectable Options
Display ModeAutoManual
NOTE:
When Auto or Manual is selected for the Display Mode, the usage of the Parade Mode feature will cause the radio to activate the Display Brightness
Day control even though the headlights are on. Display Brightness With Headlights ON –+
NOTE:
To make changes to the "Display Brightness With Headlights ON" setting, the headlights must be on and the interior dimmer switch must not be in
the "party" or "parade" position. Display Brightness With Headlights OFF –+
NOTE:
To make changes to the "Display Brightness With Headlights OFF" setting, the headlights must be off and the interior dimmer switch must not be in
the "party" or "parade" position. Touchscreen Beep OnOff
Controls Screen Time-Out — If Equipped OnOff
Fuel Saver Display in Cluster — If Equipped OnOff
NOTE:
When selected, the system displays fuel saver mode in the instrument cluster. Navigation Next Turn Pop-ups Displayed In Cluster — If Equipped On
Off
Phone Pop-ups Displayed in Cluster — If Equipped On
Off
20_DJD2_OM_EN_USC_t.book Page 474
Page 514 of 553

512MULTIMEDIA
Safe Usage Of The Uconnect System
Read all instructions in this manual carefully
before using your system to ensure proper
usage.
The Uconnect system is a sophisticated elec -
tronic device. Do not let young children use
the system.
Permanent hearing loss may occur if you play
your music or the system at loud volumes.
Exercise caution when setting the volume on
the system.
Keep drinks, rain and other sources of mois -
ture away from the system. Besides damage
to the system, moisture can cause electric
shocks as with any electronic device.
NOTE:
Many features of this system are speed depen -
dent. For your own safety, it is not possible to
use some of the touchscreen features while the
vehicle is in motion.
Exposure To Radio Frequency Radiation
The internal wireless radio operates within
guidelines found in radio frequency safety stan -
dards and recommendations, which reflect the
consensus of the scientific community. The radio manufacturer believes the internal wire
-
less radio is safe for use by consumers. The
level of energy emitted is far less than the elec -
tromagnetic energy emitted by wireless devices
such as mobile phones. However, the use of
wireless radios may be restricted in some situa-
tions or environments, such as aboard
airplanes. If you are unsure of restrictions, you
are encouraged to ask for authorization before
turning on the wireless radio.
Care And Maintenance
Touchscreen
Do not press the touchscreen with any hard
or sharp objects (pen, USB stick, jewelry,
etc.), which could scratch the touchscreen
surface!
Do not spray any liquid or caustic chemicals
directly on the screen! Use a clean and dry
microfiber lens cleaning cloth in order to
clean the touchscreen.
If necessary, use a lint-free cloth dampened
with a cleaning solution, such as isopropyl
alcohol or an isopropyl alcohol and water
solution ratio of 50:50. Be sure to follow the
solvent manufacturer's precautions and
directions.
UCONNECT 3 WITH 5-INCH DISPLAY
Introduction
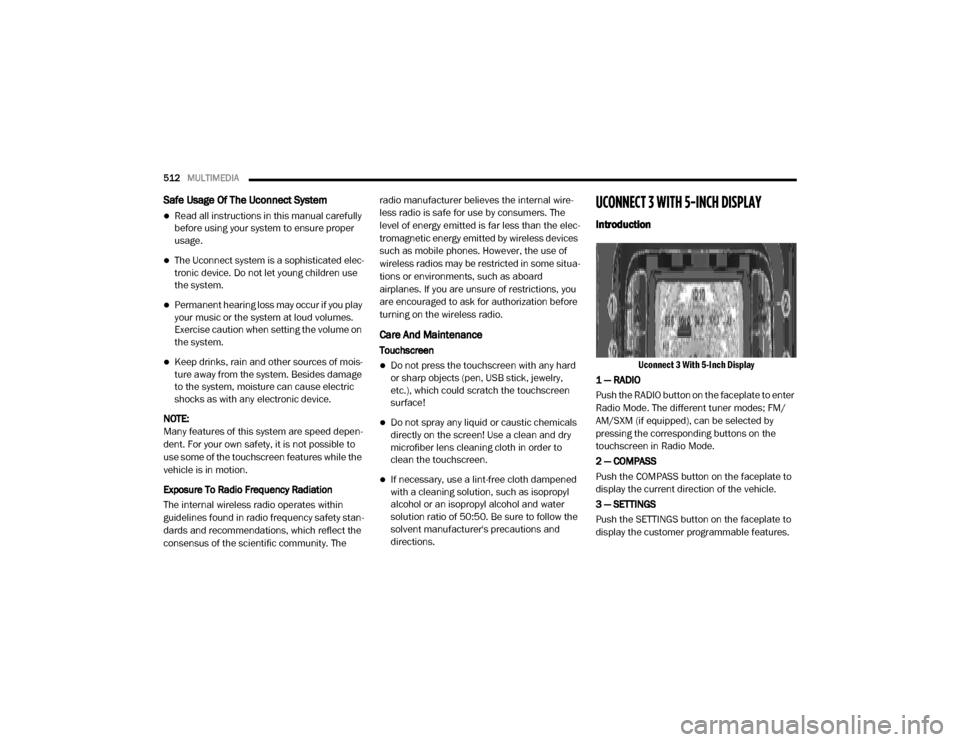
Uconnect 3 With 5-Inch Display
1 — RADIO
Push the RADIO button on the faceplate to enter
Radio Mode. The different tuner modes; FM/
AM/SXM (if equipped), can be selected by
pressing the corresponding buttons on the
touchscreen in Radio Mode.
2 — COMPASS
Push the COMPASS button on the faceplate to
display the current direction of the vehicle.
3 — SETTINGS
Push the SETTINGS button on the faceplate to
display the customer programmable features.
20_DJD2_OM_EN_USC_t.book Page 512
Page 520 of 553

518MULTIMEDIA
Bluetooth® Mode
Bluetooth® Streaming Audio (BTSA) or Blue -
tooth® Mode is entered by pairing a Bluetooth®
device containing music to the Uconnect
system.
Before proceeding, the Bluetooth® device must
be paired with the Uconnect Phone to communi -
cate with the Uconnect system.
Refer to Phone Mode chapter in this manual for
pairing procedure.
Once the Bluetooth® device is paired to the
Uconnect system, push the MEDIA button
located on the faceplate. Once in Media Mode,
press the Source button on the touchscreen
and select the Bluetooth® button.
NOTE:
For mobile phone compatibility and pairing
instructions, please visit UconnectPhone.com.
AUX Mode
AUX Mode is entered by inserting a AUX device
using a stereo cable with a 3.5 mm audio jack
into the AUX port or by pushing the MEDIA button located on the faceplate. Once in Media
Mode, press the Source button on the touch
-
screen, and select the AUX button.
Inserting Auxiliary Device
Gently insert the Auxiliary device cable into the
AUX Port. If you insert an Auxiliary device with
the ignition on, the unit will switch to AUX mode
and begin to play when you insert the device
cable.
Controlling The Auxiliary Device
The control of the Auxiliary device (e.g.,
selecting playlists, play, fast forward, etc.)
cannot be provided by the radio; use the device
controls instead. Adjust the volume with the
VOLUME rotary knob or with the volume of the
attached device.
The radio unit is acting as the amplifier for audio
output from the Auxiliary device. Therefore, if
the volume control on the Auxiliary device is set
too low, there will be insufficient audio signal for
the radio unit to play the music on the device.
Phone Mode
Operating Phone Mode
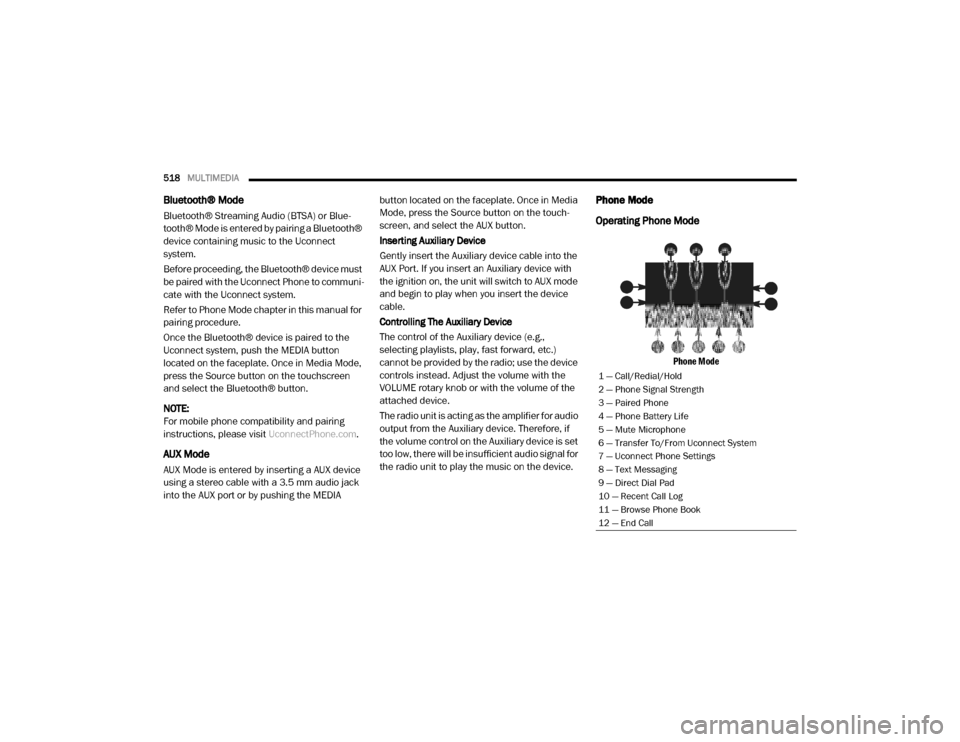
Phone Mode
1 — Call/Redial/Hold
2 — Phone Signal Strength
3 — Paired Phone
4 — Phone Battery Life
5 — Mute Microphone
6 — Transfer To/From Uconnect System
7 — Uconnect Phone Settings
8 — Text Messaging
9 — Direct Dial Pad
10 — Recent Call Log
11 — Browse Phone Book
12 — End Call
20_DJD2_OM_EN_USC_t.book Page 518
Page 527 of 553

MULTIMEDIA525
STEERING WHEEL AUDIO CONTROLS — IF
EQUIPPED
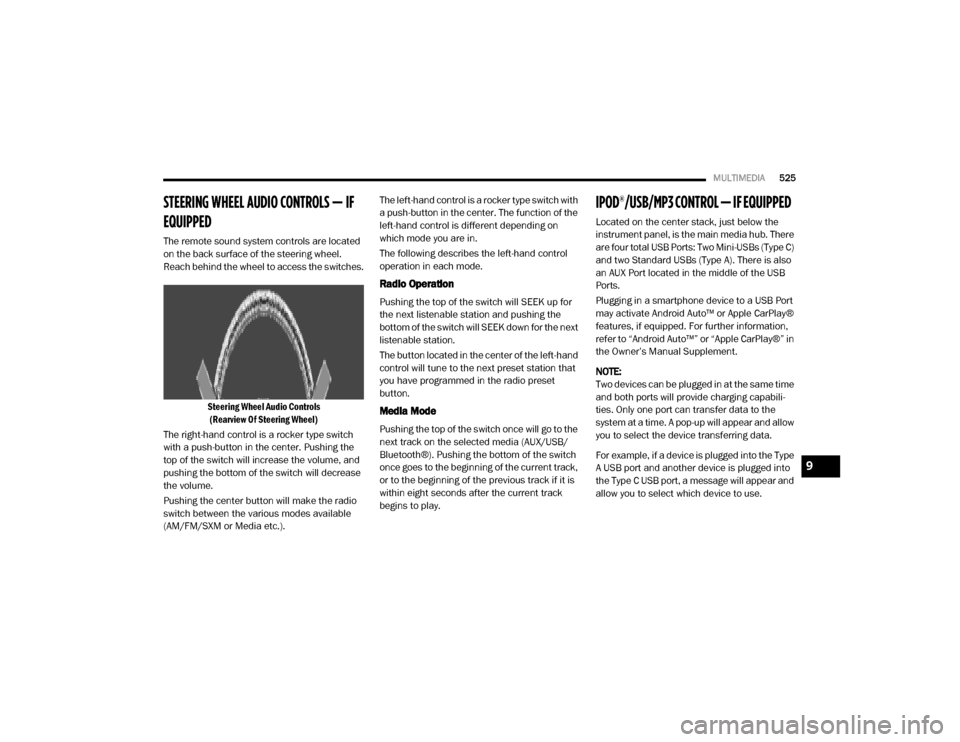
The remote sound system controls are located
on the back surface of the steering wheel.
Reach behind the wheel to access the switches.
Steering Wheel Audio Controls(Rearview Of Steering Wheel)
The right-hand control is a rocker type switch
with a push-button in the center. Pushing the
top of the switch will increase the volume, and
pushing the bottom of the switch will decrease
the volume.
Pushing the center button will make the radio
switch between the various modes available
(AM/FM/SXM or Media etc.). The left-hand control is a rocker type switch with
a push-button in the center. The function of the
left-hand control is different depending on
which mode you are in.
The following describes the left-hand control
operation in each mode.
Radio Operation
Pushing the top of the switch will SEEK up for
the next listenable station and pushing the
bottom of the switch will SEEK down for the next
listenable station.
The button located in the center of the left-hand
control will tune to the next preset station that
you have programmed in the radio preset
button.
Media Mode
Pushing the top of the switch once will go to the
next track on the selected media (AUX/USB/
Bluetooth®). Pushing the bottom of the switch
once goes to the beginning of the current track,
or to the beginning of the previous track if it is
within eight seconds after the current track
begins to play.
IPOD®/USB/MP3 CONTROL — IF EQUIPPED
Located on the center stack, just below the
instrument panel, is the main media hub. There
are four total USB Ports: Two Mini-USBs (Type C)
and two Standard USBs (Type A). There is also
an AUX Port located in the middle of the USB
Ports.
Plugging in a smartphone device to a USB Port
may activate Android Auto™ or Apple CarPlay®
features, if equipped. For further information,
refer to “Android Auto™” or “Apple CarPlay®” in
the Owner’s Manual Supplement.
NOTE:
Two devices can be plugged in at the same time
and both ports will provide charging capabili
-
ties. Only one port can transfer data to the
system at a time. A pop-up will appear and allow
you to select the device transferring data.
For example, if a device is plugged into the Type
A USB port and another device is plugged into
the Type C USB port, a message will appear and
allow you to select which device to use.
9
20_DJD2_OM_EN_USC_t.book Page 525