ignition Ram 3500 2016 Manual PDF
[x] Cancel search | Manufacturer: RAM, Model Year: 2016, Model line: 3500, Model: Ram 3500 2016Pages: 919, PDF Size: 6.67 MB
Page 311 of 919
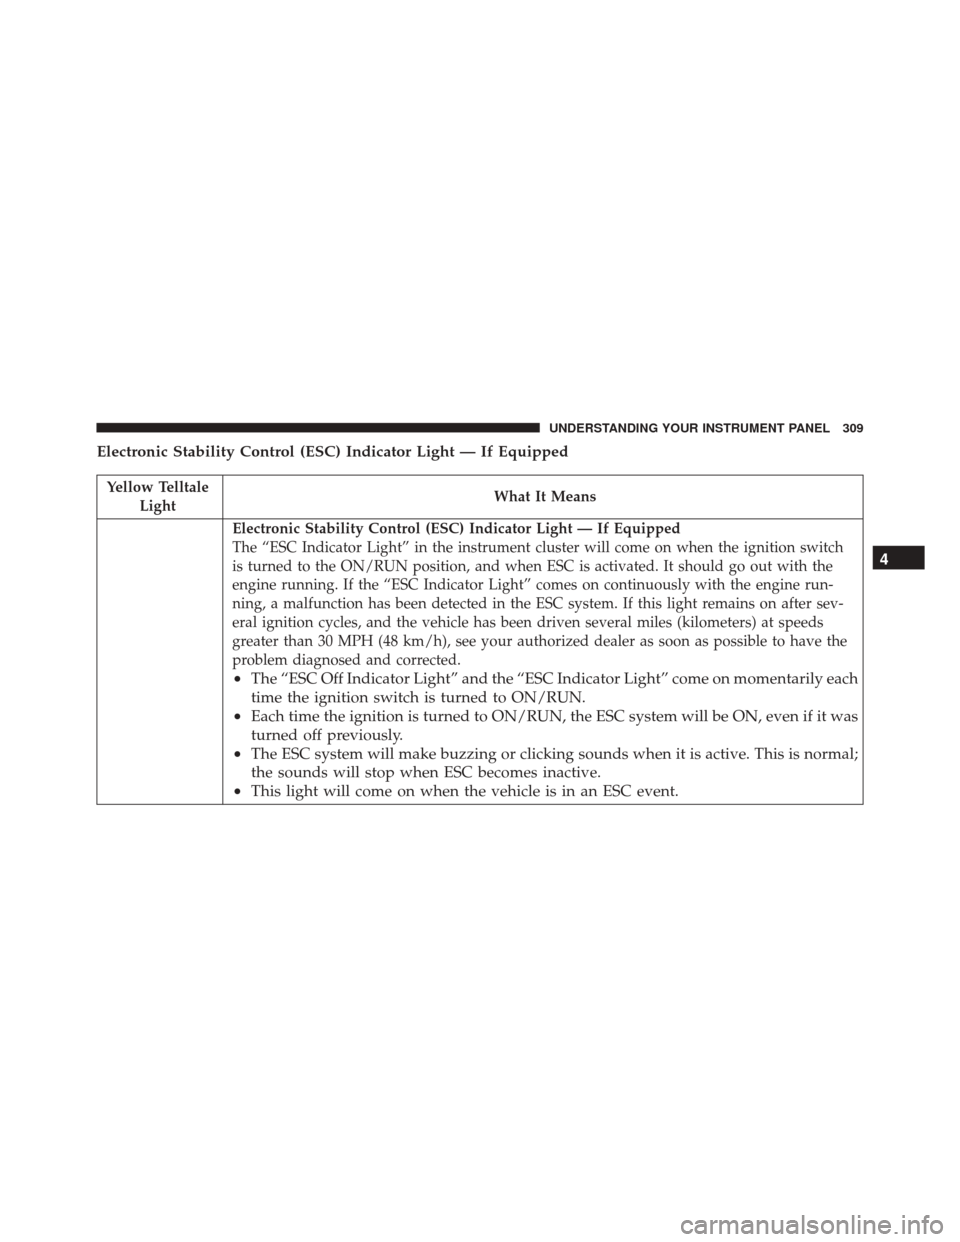
Electronic Stability Control (ESC) Indicator Light — If Equipped
Yellow TelltaleLight What It Means
Electronic Stability Control (ESC) Indicator Light — If Equipped
The “ESC Indicator Light” in the instrument cluster will come on when the ignition switch
is turned to the ON/RUN position, and when ESC is activated. It should go out with the
engine running. If the “ESC Indicator Light” comes on continuously with the engine run-
ning, a malfunction has been detected in the ESC system. If this light remains on after sev-
eral ignition cycles, and the vehicle has been driven several miles (kilometers) at speeds
greater than 30 MPH (48 km/h), see your authorized dealer as soon as possible to have the
problem diagnosed and corrected.
•
The “ESC Off Indicator Light” and the “ESC Indicator Light” come on momentarily each
time the ignition switch is turned to ON/RUN.
• Each time the ignition is turned to ON/RUN, the ESC system will be ON, even if it was
turned off previously.
• The ESC system will make buzzing or clicking sounds when it is active. This is normal;
the sounds will stop when ESC becomes inactive.
• This light will come on when the vehicle is in an ESC event. 4
UNDERSTANDING YOUR INSTRUMENT PANEL 309
Page 316 of 919
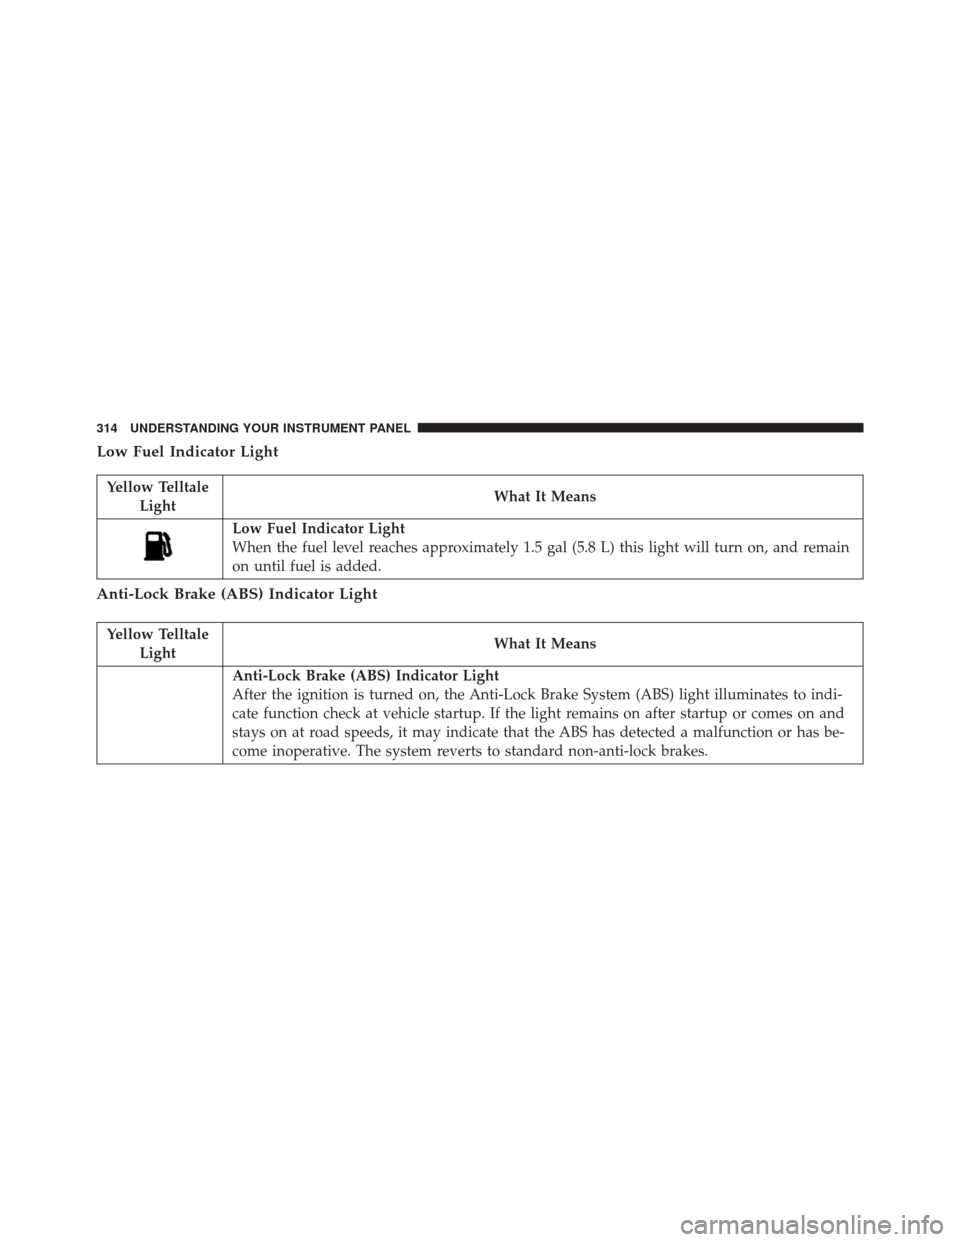
Low Fuel Indicator Light
Yellow TelltaleLight What It Means
Low Fuel Indicator Light
When the fuel level reaches approximately 1.5 gal (5.8 L) this light will turn on, and remain
on until fuel is added.
Anti-Lock Brake (ABS) Indicator Light
Yellow Telltale
Light What It Means
Anti-Lock Brake (ABS) Indicator Light
After the ignition is turned on, the Anti-Lock Brake System (ABS) light illuminates to indi-
cate function check at vehicle startup. If the light remains on after startup or comes on and
stays on at road speeds, it may indicate that the ABS has detected a malfunction or has be-
come inoperative. The system reverts to standard non-anti-lock brakes.
314 UNDERSTANDING YOUR INSTRUMENT PANEL
Page 337 of 919
the EVIC’s compass/outside temp line. Examples of this
message type are “Right Front Turn Signal Lamp Out”
and “Low Tire Pressure.”
•Unstored Messages
This message type is displayed indefinitely or until the
condition that activated the message is cleared. Examples
of this message type are “Turn Signal On” (if a turn signal
is left on) and “Lights On” (if driver leaves the vehicle).
• Unstored Messages Until RUN
These messages deal primarily with the Remote Start
feature. This message type is displayed until the ignition
is in the RUN state. Examples of this message type are
“Remote Start Aborted - Door Ajar” and “Press Brake
Pedal and Push Button to Start.”
• Five Second Unstored Messages
When the appropriate conditions occur, this type of
message takes control of the main display area for five seconds and then returns to the previous screen. An
example of this message type is “Automatic High Beams
On.”
Oil Life Reset
Your vehicle is equipped with an engine oil change
indicator system. The “Oil Change Required” message
will display in the EVIC after a single chime has sounded,
to indicate the next scheduled oil change interval. The
engine oil change indicator system is duty cycle based,
which means the engine oil change interval may fluctu-
ate, dependent upon your personal driving style.
NOTE:
Use the steering wheel EVIC controls for the
following procedure(s).
Vehicles Equipped With Passive Entry
1. Without depressing the brake pedal, push the EN- GINE START/STOP button and place the ignition to
the ON/RUN position (do not start the engine).4
UNDERSTANDING YOUR INSTRUMENT PANEL 335
Page 338 of 919
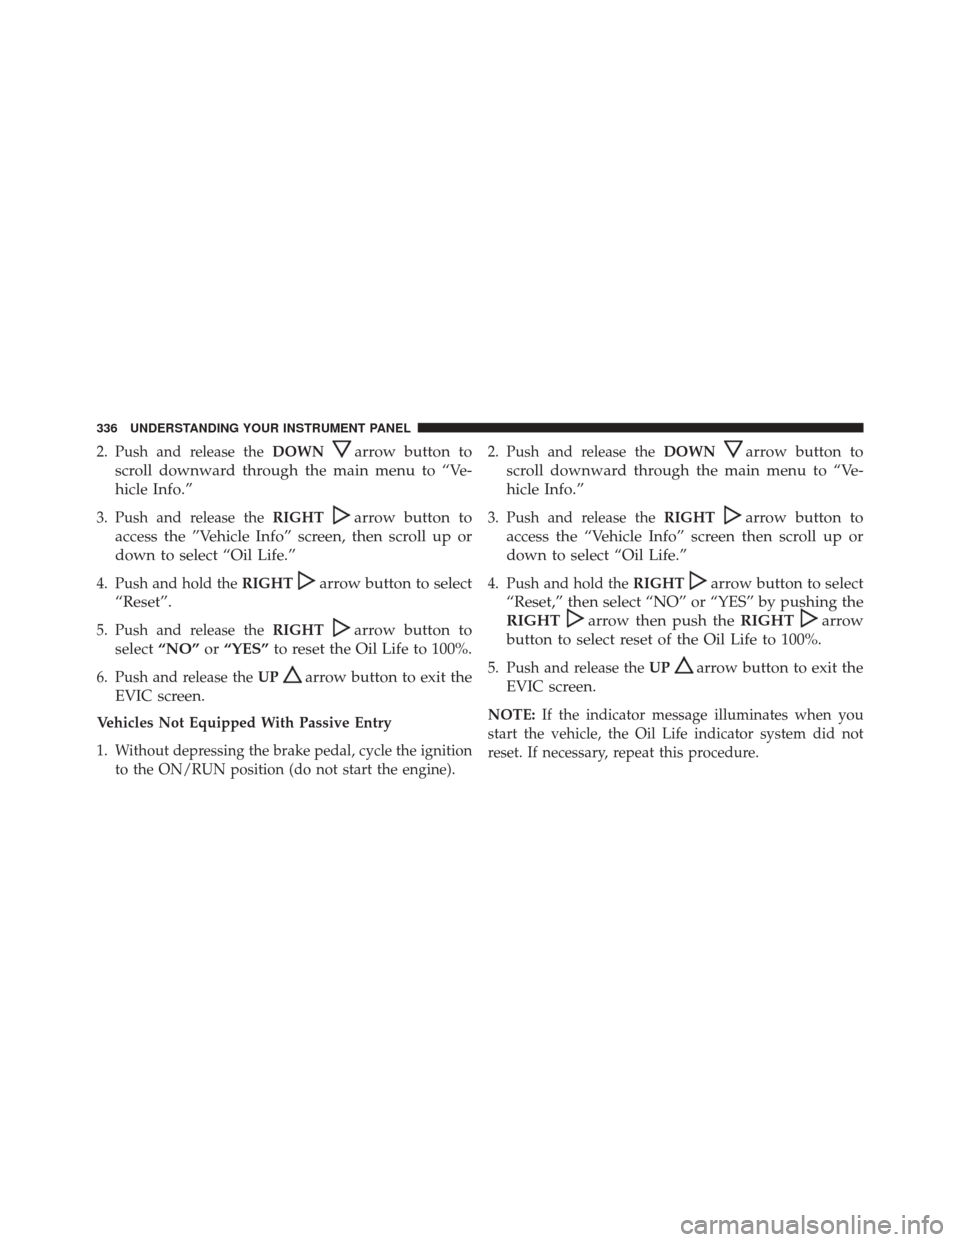
2. Push and release theDOWNarrow button to
scroll downward through the main menu to “Ve-
hicle Info.”
3. Push and release the RIGHTarrow button to
access the ”Vehicle Info” screen, then scroll up or
down to select “Oil Life.”
4. Push and hold the RIGHTarrow button to select
“Reset”.
5. Push and release the RIGHTarrow button to
select “NO” or“YES” to reset the Oil Life to 100%.
6. Push and release the UParrow button to exit the
EVIC screen.
Vehicles Not Equipped With Passive Entry
1. Without depressing the brake pedal, cycle the ignition to the ON/RUN position (do not start the engine). 2. Push and release the
DOWN
arrow button to
scroll downward through the main menu to “Ve-
hicle Info.”
3. Push and release the RIGHTarrow button to
access the “Vehicle Info” screen then scroll up or
down to select “Oil Life.”
4. Push and hold the RIGHTarrow button to select
“Reset,” then select “NO” or “YES” by pushing the
RIGHT
arrow then push the RIGHTarrow
button to select reset of the Oil Life to 100%.
5. Push and release the UParrow button to exit the
EVIC screen.
NOTE: If the indicator message illuminates when you
start the vehicle, the Oil Life indicator system did not
reset. If necessary, repeat this procedure.
336 UNDERSTANDING YOUR INSTRUMENT PANEL
Page 343 of 919

•Key in Ignition
• Key in Ignition Lights On
• Remote Start Active Key To Run
• Remote Start Active Push Start Button
• Remote Start Aborted Fuel Low
• Remote Start Aborted Too Cold
• Remote Start Aborted Door Open
• Remote Start Aborted Hood Open
• Remote Start Aborted Trunk Open
• Remote Start Aborted Time Expired
• Remote Start Disabled Start To Reset
• Service Airbag System
• Service Airbag Warning Light •
Driver Seatbelt Unbuckled
• Passenger Seatbelt Unbuckled
• Front Seatbelts Unbuckled
• Door Open
• Doors Open
• Gear Not Available
• Shift Not Allowed
• Shift To Neutral Then Drive Or Reverse
• Autostick Unavailable Service Required
• Automatic Unavailable Use Autostick Service Req.
• Transmission Getting Hot Push Brake
• Trans. Hot Stop Safely Shift To Park Wait To Cool
• Transmission Cool Ready To Drive
4
UNDERSTANDING YOUR INSTRUMENT PANEL 341
Page 358 of 919

reviewed from the “Messages” main menu item. As long
as there is a stored message, an “i” will be displayed in
the DID’s compass/outside temp line. Examples of this
message type are “Right Front Turn Signal Lamp Out”
and “Low Tire Pressure.”
•Unstored Messages
This message type is displayed indefinitely or until the
condition that activated the message is cleared. Examples
of this message type are “Turn Signal On” (if a turn signal
is left on) and “Lights On” (if driver leaves the vehicle).
• Unstored Messages Until RUN
These messages deal primarily with the Remote Start
feature. This message type is displayed until the ignition
is in the RUN state. Examples of this message type are
“Remote Start Aborted - Door Ajar” and “Press Brake
Pedal and Push Button to Start.” •
Five Second Unstored Messages
When the appropriate conditions occur, this type of
message takes control of the main display area for five
seconds and then returns to the previous screen. An
example of this message type is “Automatic High Beams
On.”
Oil Life Reset
Your vehicle is equipped with an engine oil change
indicator system. The “Oil Change Required” message
will flash in the DID display for approximately 10
seconds after a single chime has sounded, to indicate the
next scheduled oil change interval. The engine oil change
indicator system is duty cycle based, which means the
engine oil change interval may fluctuate, dependent
upon your personal driving style.
NOTE: Use the steering wheel DID controls for the
following procedure(s).
356 UNDERSTANDING YOUR INSTRUMENT PANEL
Page 359 of 919
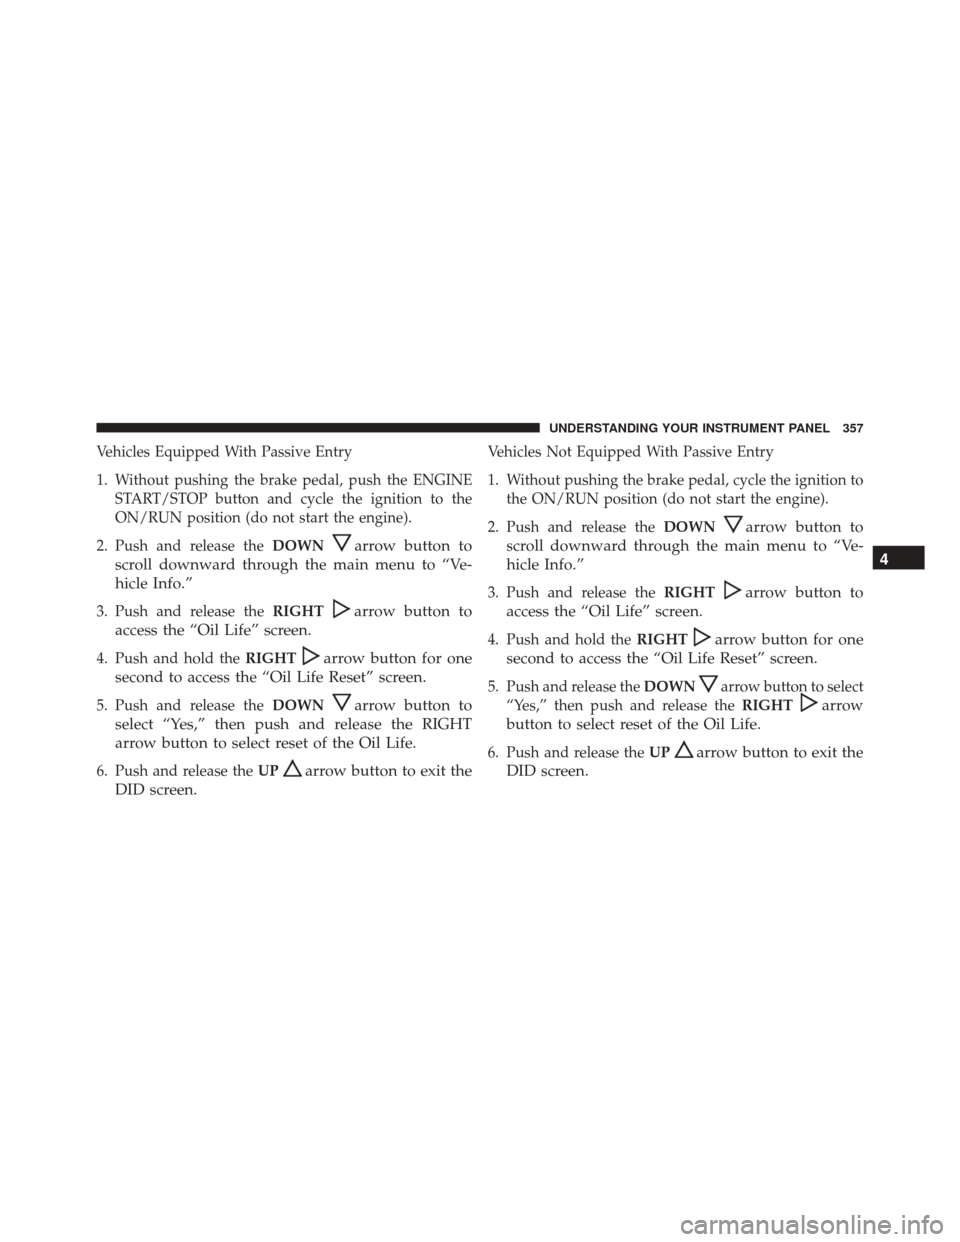
Vehicles Equipped With Passive Entry
1. Without pushing the brake pedal, push the ENGINESTART/STOP button and cycle the ignition to the
ON/RUN position (do not start the engine).
2. Push and release the DOWN
arrow button to
scroll downward through the main menu to “Ve-
hicle Info.”
3. Push and release the RIGHTarrow button to
access the “Oil Life” screen.
4. Push and hold the RIGHTarrow button for one
second to access the “Oil Life Reset” screen.
5. Push and release the DOWNarrow button to
select “Yes,” then push and release the RIGHT
arrow button to select reset of the Oil Life.
6. Push and release the UParrow button to exit the
DID screen.
Vehicles Not Equipped With Passive Entry
1. Without pushing the brake pedal, cycle the ignition to the ON/RUN position (do not start the engine).
2. Push and release the DOWN
arrow button to
scroll downward through the main menu to “Ve-
hicle Info.”
3. Push and release the RIGHTarrow button to
access the “Oil Life” screen.
4. Push and hold the RIGHTarrow button for one
second to access the “Oil Life Reset” screen.
5. Push and release the DOWNarrow button to select
“Yes,” then push and release the RIGHT
arrow
button to select reset of the Oil Life.
6. Push and release the UParrow button to exit the
DID screen. 4
UNDERSTANDING YOUR INSTRUMENT PANEL 357
Page 361 of 919
•Battery Voltage Low
• Service Electronic Throttle Control
• Lights On
• Right Turn Signal Light Out
• Left Turn Signal Light Out
• Turn Signal On
• Sound Horn with Remote Lock: Off; 1st Push; 2nd
Push
• Vehicle Not in Park
• Key in Ignition
• Key in Ignition Lights On
• Remote Start Active Key to Run
• Remote Start Active Push Start Button •
Remote Start Aborted Fuel Low
• Remote Start Aborted Too Cold
• Remote Start Aborted Door Open
• Remote Start Aborted Hood Open
• Remote Start Aborted Trunk Open
• Remote Start Aborted Time Expired
• Remote Start Disabled Start to Reset
• Service Airbag System
• Service Airbag Warning Light
• Driver Seatbelt Unbuckled
• Passenger Seatbelt Unbuckled
• Front Seatbelts Unbuckled
• Door Open
4
UNDERSTANDING YOUR INSTRUMENT PANEL 359
Page 383 of 919
When making a selection, press the button on the touch-
screen to enter the desired mode. Once in the desired
mode, press and release the preferred setting until the
button is highlighted. Once the setting is complete, either
press the back arrow or Done button on the touchscreen
or the Back button on the faceplate to return to the
previous menu. Pressing the Up or Down Arrow buttons
on the touchscreen on the right side of the screen will
allow you to toggle up or down through the list of
available settings.
NOTE:All settings should be changed with the ignition
in the “Run” position.
Display
After pressing the “Display” button on the touchscreen
the following settings will be available. •
Display Mode
When in this display you may select the Auto or Manual
display settings. To change Mode status, press and re-
lease the “Auto” or “Manual” button on the touchscreen.
• Set Language
When in this display, you may select one of multiple
languages (English/Français/Español) for all display no-
menclature, including the trip functions and the naviga-
tion system (if equipped). Press the “Language” button
on the touchscreen and select from “English,” “Français,”
or “Español.”
• Touchscreen Beep
When in this display, you may turn on or shut off the
sound heard when a touchscreen button is pressed. To
change the Mode status, press and release the “On” or
“Off” button on the touchscreen.
4
UNDERSTANDING YOUR INSTRUMENT PANEL 381
Page 385 of 919

•Set Date
When in this display, you may set the date manually.
Press the “Set Date” button then press the corresponding
arrows above and below the current date to adjust.
Safety/Assistance
After pressing the “Safety/Assistance” button on the
touchscreen the following settings will be available:
• ParkSense — If Equipped
The ParkSense system will scan for objects behind the
vehicle when the transmission shift lever/gear selector is
in REVERSE and the vehicle speed is less than 11 mph
(18 km/h). It will provide an alert (audible and/or
visual) to indicate the proximity to other objects. The
system can be enabled with Sound Only, or Sound and
Display. To change the ParkSense status, press and re-
lease the “Sound Only” or “Sounds and Display” button. Refer to “ParkSense” in “Understanding The Features Of
Your Vehicle” for system function and operating infor-
mation.
•
Front ParkSense Chime Volume
The Front ParkSense Chime Volume settings can be
selected from the EVIC/DID or Uconnect System — if
equipped. The chime volume settings include LOW,
MEDIUM, and HIGH. The factory default volume setting
is MEDIUM. To change the mode status, press the “Front
ParkSense Volume” button and select the “Low” “Med”
or “High” buttons on the touchscreen. ParkSense will
retain its last known configuration state through ignition
cycles.
• Rear ParkSense Chime Volume — If Equipped
The Rear ParkSense Chime Volume settings can be se-
lected from the EVIC/DID or Uconnect System — if
equipped. The chime volume settings include LOW,
MEDIUM, and HIGH. The factory default volume setting4
UNDERSTANDING YOUR INSTRUMENT PANEL 383