buttons Ram 3500 2020 Service Manual
[x] Cancel search | Manufacturer: RAM, Model Year: 2020, Model line: 3500, Model: Ram 3500 2020Pages: 568
Page 530 of 568
528MULTIMEDIA
Audio Settings
1. Push the SETTINGS button on the right side
of the radio faceplate. If the settings button
is not present, push the MORE button on
the faceplate, then the Settings button on
the touchscreen.
2. Scroll down and press the Audio button on the touchscreen to open the Audio menu.
3. The Audio Menu shows the following options for you to customize your audio
settings:
Auto Play — Press the Auto Play button on
the touchscreen to select between ON or
OFF. This feature determines if music
automatically starts playing from a device
when it is first connected to the Media
hub’s USB port.
Equalizer — Press the Equalizer button on
the touchscreen to adjust the Bass, Mid
and Treble. Use the + or – buttons on the
touchscreen to adjust the equalizer to
your desired settings. Press the Back
Arrow button on the touchscreen when
done.
Balance/Fade — Press the Balance/Fade
button on the touchscreen to adjust the
sound from the speakers. Use the Arrow
button on the touchscreen to adjust the
sound level from the front and rear or
right and left side speakers. Press the
Center C button on the touchscreen to
reset the balance and fade to the factory
setting. Press the Back Arrow button on
the touchscreen when done.
Speed Adjust Volume — Press the Speed
Adjusted Volume button on the touch -
screen to select between OFF, 1, 2 or 3.
This will decrease the radio volume rela -
tive to a decrease in vehicle speed. Press
the Back Arrow button on the touch-
screen when done.
Loudness — Press the Loudness button
on the touchscreen to select the Loud -
ness feature. When this feature is acti -
vated, it improves sound quality at lower
volumes.
Clock Settings
1. Push the SETTINGS button on the faceplate, or push the MORE button on the
faceplate, and then the SETTINGS button
on the touchscreen.
2. Select the Clock and Date button on the touchscreen.
3. Next, select Set Time to change the time.
4. Select Set Date to change the date.
5. To set the time, select the Seek Up or Seek Down arrows as appropriate. Select “12 hrs
vs 24 hrs”, “AM” or “PM” or select the “Time
Zones” (if equipped).
6. Select the Done button when complete.
20_DJD2_OM_EN_USC_t.book Page 528
Page 534 of 568
532MULTIMEDIA
Phone Mode Activation
Press the PHONE button on the front panel to
activate the Phone mode.
Main Functions
The buttons on the display can be used to:
Compose phone numbers using the graphic
keypad on the display.
Display and call the contacts in the mobile
phone phonebook.
Display and call contacts from the Recent
Calls menu.
Pair up to 10 phones/audio devices to make
access and connection easier and quicker.
Transfer calls from the system to the mobile
phone and vice versa.
Deactivate the microphone audio for privacy.
The mobile phone audio is transmitted through
the vehicle’s audio system. The system
automatically mutes the radio when the Phone
function is used.
Connecting/Disconnecting A Mobile
Phone Or Bluetooth® Device
Pairing A Phone
To begin using your Uconnect Phone, you must
pair your compatible Bluetooth®-enabled
mobile phone. Mobile phone pairing is the
process of establishing a wireless connection
between a cellular phone and the Uconnect
system.
To complete the pairing process, you need to
reference your mobile phone Owner's Manual.
Please visit UconnectPhone.com for complete mobile phone compatibility information.
NOTE:
You must have Bluetooth® enabled on your
phone to complete this procedure.
The vehicle must be in PARK.
1. Place the ignition in the ACC or ON/RUN position.
2. Push the PHONE button on the faceplate.
If there are no phones currently
connected with the system, a pop-up
appears asking if you would like to pair a
mobile phone.
3. Select “Yes” to begin the pairing process.
4. Search for available devices on your Bluetooth®-enabled mobile phone.
Press the Settings button on your mobile
phone.
Select “Bluetooth®” and ensure it is
enabled. Once enabled, the mobile
phone will begin to search for Bluetooth®
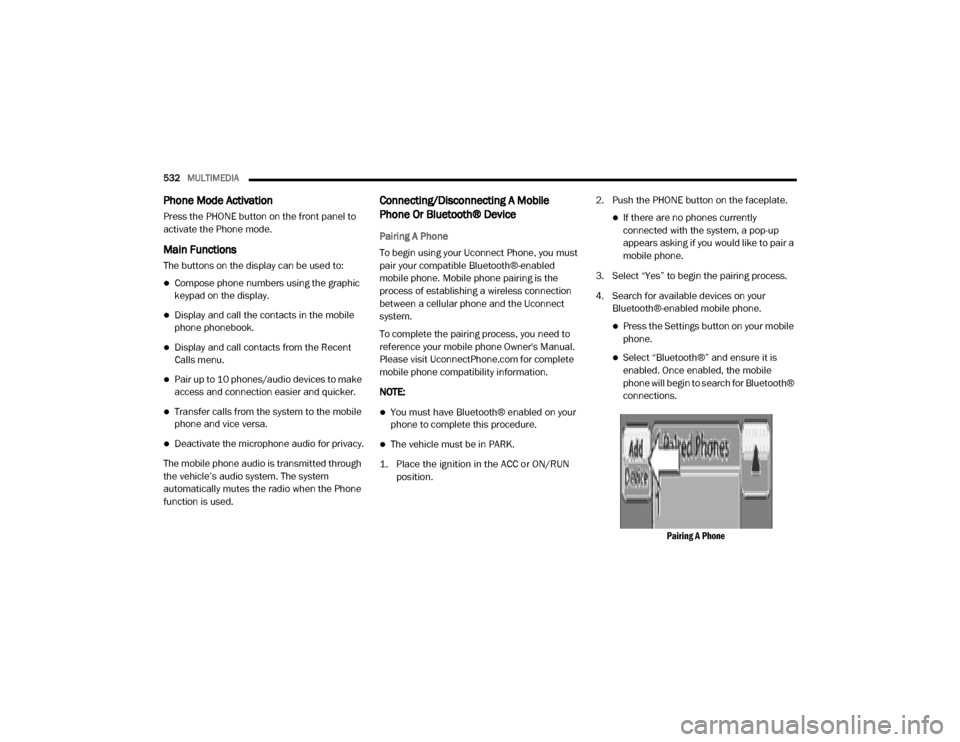
connections.
Pairing A Phone
20_DJD2_OM_EN_USC_t.book Page 532
Page 537 of 568
MULTIMEDIA535
If equipped and specifically supported by your
phone, Uconnect Phone asks you if you want to
download names (text names) and number
entries from your mobile phone’s phonebook.
Specific Bluetooth®-enabled phones with
Phonebook Access Profile may support this
feature.
NOTE:
If supported, the download and update
begins as soon as the Bluetooth® wireless
phone connection is made to the Uconnect
Phone. For example, after you start the
vehicle. You may be asked for permission to
initiate the phonebook download.
A maximum of 2,000 contact names with six
numbers per contact will be downloaded and
updated every time a phone is connected to
the Uconnect Phone.
Depending on the maximum number of
entries downloaded, there may be a short
delay before the latest downloaded names
can be used. Until then, if available, the previ -
ously downloaded phonebook is available for
use.
Only the phonebook of the currently
connected mobile phone is accessible.
Only the mobile phone’s phonebook is down -
loaded. SIM card phonebook is not part of
the mobile phonebook.
This downloaded phonebook cannot be
edited or deleted on the Uconnect Phone.
These can only be edited on the mobile
phone. The changes are transferred and
updated to Uconnect Phone on the next
phone connection.
Deletion Of Phone Data (Phonebook And
Recent Calls)
Select "Delete Phone Data" on the display to
delete the list of recent calls and the phonebook
copy.
Making A Phone Call
Dialing The Phone Number Using The
"Keyboard" Icon On The Display
Enter the phone number using the graphic
keypad displayed. Proceed as follows:
1. Press the Keyboard icon on the display and
use the number buttons to enter the
number.
2. Press the Call button to make a call.
Call By Saying A Phonebook Name Or Phone
Number
1. Push the PHONE button on the steering wheel.
2. After the beep, say “dial” (or “call” a full name or phone number).
Recent Calls
The list of the last calls made for each of the
following call types can be displayed:
Calls received
Calls made
Calls without a reply
All calls
To access these types of calls, press the Recent
Calls button on the Phone menu main screen.
9
20_DJD2_OM_EN_USC_t.book Page 535
Page 538 of 568
536MULTIMEDIA
Making A Second Call While Current Call Is In
Progress
When a phone conversation is active, a second
phone call can be made as follows:
Select the number/contact from the list of
recent calls.
Select the contact from the phonebook.
Press the Hold button and dial the number
using the graphic keyboard of the display.
Redial
To call the number/contact of last call made,
press the Redial button.
Answering An Incoming Call
Call Controls
The buttons on the display allow the following
phone call functions to be managed:
Answer
End
Ignore
Put on hold/resume
Deactivate/activate the microphone
Transfer the call
Switch from one call to the other
Conference/merge two active calls
Answering Or Ignoring A Call With No Call
Currently In Progress
When an incoming call rings or is announced on
the Uconnect system, push the Answer button
on the touchscreen, or push the PHONE button
on the steering wheel.
Answering Or Ignoring An Incoming Call With A
Call Currently In Progress
When an incoming call rings or is announced on
the Uconnect system, push the Answer button
on the touchscreen, or push the PHONE button
on the steering wheel to answer the call and put
the ongoing call on hold.
NOTE:
Not all mobile phones may support the manage -
ment of an incoming call when another phone
conversation is active.
Managing Two Phone Calls
If two calls are in progress (one active and one
on hold), it is possible to switch between them
pressing the Call On Hold button or to merge the
two calls in a conference pressing the Merge
Calls button.
NOTE:
Check whether the mobile phone in use
supports the management of a second call and
the "Conference" mode.
Transferring/Call Continuation
Transferring
The ongoing calls can be transferred from the
mobile phone to the system and vice versa
without ending the call.
To transfer the call, press the Transfer button.
Call Continuation
After the engine is switched off, it is still possible
to continue a phone call.
The call continues until it is ended manually or
for a maximum period of about 20 minutes.
When the system is switched off, the call is
transferred to the mobile phone.
20_DJD2_OM_EN_USC_t.book Page 536
Page 543 of 568
MULTIMEDIA541
NOTE:
This equipment has been tested and found to
comply with the limits for a Class B digital
device, pursuant to Part 15 of the FCC Rules.
These limits are designed to provide reason -
able protection against harmful interference
in a residential installation. This equipment
generates, uses and can radiate radio
frequency energy and, if not installed and
used in accordance with the instructions,
may cause harmful interference to radio
communications. However, there is no guar -
antee that interference will not occur in a
particular installation.
If this equipment does cause harmful inter -
ference to radio or television reception,
which can be determined by turning the
equipment off and on, the user is encour -
aged to try to correct the interference by one
or more of the following measures:
a. Increase the separation between the equipment and receiver.
b. Consult an authorized dealer or an expe -
rienced radio technician for help.
VOICE RECOGNITION QUICK TIPS
INTRODUCING UCONNECT
Start using Uconnect Voice Recognition (VR)
with these helpful quick tips. It provides the key
Voice Commands and tips you need to know to
control your Uconnect system.
If you see the NAV icon on the bottom bar, or in
the Apps menus, of your touchscreen, you have
the Uconnect 4C NAV With 8.4-inch Display or
the Uconnect 4C NAV With 12-inch Display
system. If not, you have a Uconnect 4C With
8.4-inch Display system.
GET STARTED
All you need to control your Uconnect system
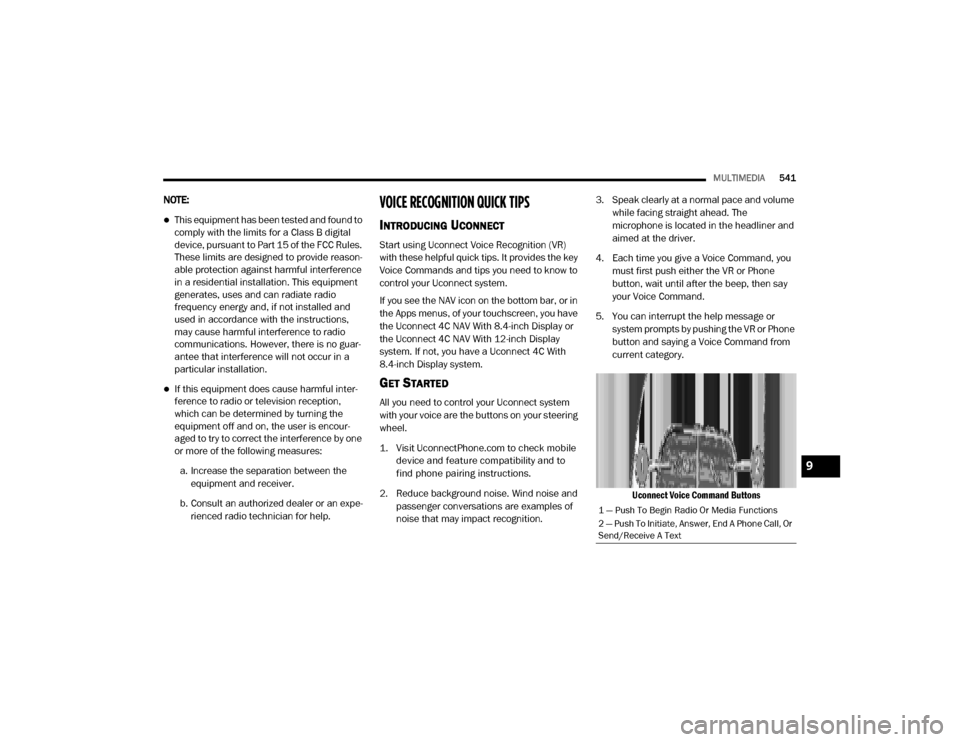
with your voice are the buttons on your steering
wheel.
1. Visit
UconnectPhone.com
to check mobile
device and feature compatibility and to
find phone pairing instructions.
2. Reduce background noise. Wind noise and passenger conversations are examples of
noise that may impact recognition. 3. Speak clearly at a normal pace and volume
while facing straight ahead. The
microphone is located in the headliner and
aimed at the driver.
4. Each time you give a Voice Command, you must first push either the VR or Phone
button, wait until after the beep, then say
your Voice Command.
5. You can interrupt the help message or system prompts by pushing the VR or Phone
button and saying a Voice Command from
current category.
Uconnect Voice Command Buttons
1 — Push To Begin Radio Or Media Functions
2 — Push To Initiate, Answer, End A Phone Call, Or
Send/Receive A Text
9
20_DJD2_OM_EN_USC_t.book Page 541