fuel filter location Ram 3500 2020 Owner's Manual
[x] Cancel search | Manufacturer: RAM, Model Year: 2020, Model line: 3500, Model: Ram 3500 2020Pages: 568
Page 10 of 568

8
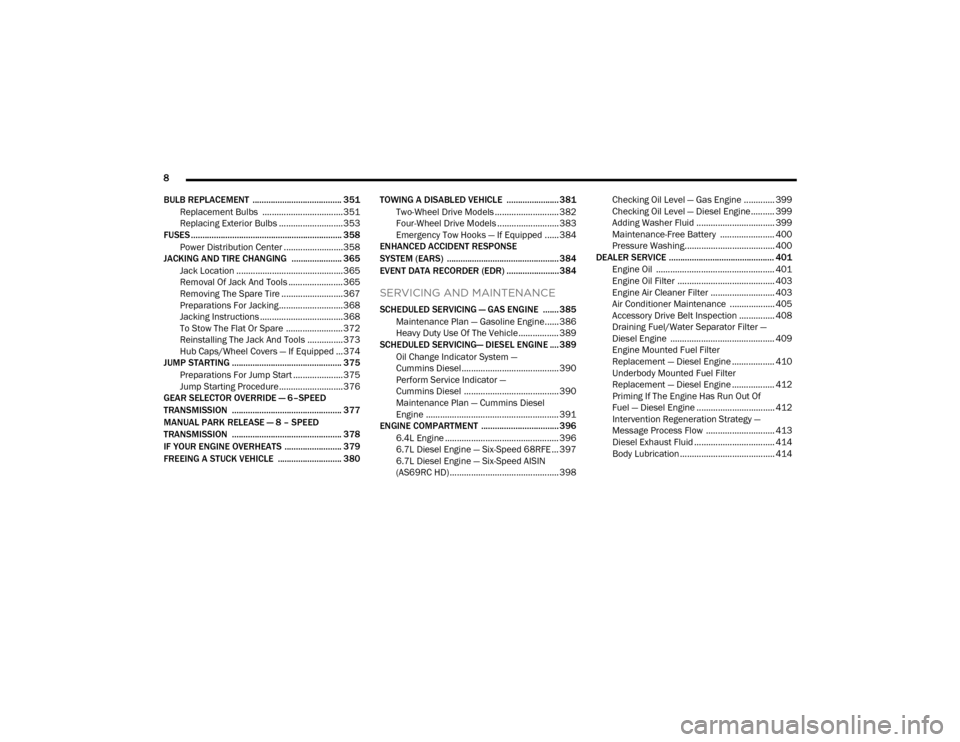
BULB REPLACEMENT ....................................... 351 Replacement Bulbs ..................................351Replacing Exterior Bulbs ...........................353
FUSES .................................................................. 358
Power Distribution Center .........................358
JACKING AND TIRE CHANGING ...................... 365
Jack Location .............................................365Removal Of Jack And Tools .......................365
Removing The Spare Tire ..........................367
Preparations For Jacking...........................368
Jacking Instructions ...................................368
To Stow The Flat Or Spare ........................ 372Reinstalling The Jack And Tools ...............373
Hub Caps/Wheel Covers — If Equipped ...374
JUMP STARTING ................................................ 375
Preparations For Jump Start .....................375Jump Starting Procedure...........................376
GEAR SELECTOR OVERRIDE — 6–SPEED
TRANSMISSION ................................................ 377
MANUAL PARK RELEASE — 8 – SPEED
TRANSMISSION ................................................ 378
IF YOUR ENGINE OVERHEATS ......................... 379
FREEING A STUCK VEHICLE ............................ 380 TOWING A DISABLED VEHICLE .......................381
Two-Wheel Drive Models ........................... 382
Four-Wheel Drive Models .......................... 383Emergency Tow Hooks — If Equipped ...... 384
ENHANCED ACCIDENT RESPONSE
SYSTEM (EARS) ................................................. 384
EVENT DATA RECORDER (EDR) .......................384
SERVICING AND MAINTENANCE
SCHEDULED SERVICING — GAS ENGINE .......385
Maintenance Plan — Gasoline Engine...... 386
Heavy Duty Use Of The Vehicle................. 389
SCHEDULED SERVICING— DIESEL ENGINE .... 389
Oil Change Indicator System —
Cummins Diesel......................................... 390 Perform Service Indicator —
Cummins Diesel ........................................ 390 Maintenance Plan — Cummins Diesel
Engine ........................................................ 391
ENGINE COMPARTMENT .................................. 396
6.4L Engine ................................................ 396
6.7L Diesel Engine — Six-Speed 68RFE ... 397
6.7L Diesel Engine — Six-Speed AISIN
(AS69RC HD) .............................................. 398 Checking Oil Level — Gas Engine ............. 399
Checking Oil Level — Diesel Engine .......... 399
Adding Washer Fluid ................................. 399Maintenance-Free Battery ....................... 400Pressure Washing...................................... 400
DEALER SERVICE .............................................. 401
Engine Oil .................................................. 401
Engine Oil Filter ......................................... 403Engine Air Cleaner Filter ........................... 403
Air Conditioner Maintenance ................... 405
Accessory Drive Belt Inspection ............... 408Draining Fuel/Water Separator Filter —
Diesel Engine ............................................ 409 Engine Mounted Fuel Filter
Replacement — Diesel Engine .................. 410 Underbody Mounted Fuel Filter
Replacement — Diesel Engine .................. 412 Priming If The Engine Has Run Out Of
Fuel — Diesel Engine ................................. 412 Intervention Regeneration Strategy —
Message Process Flow ............................. 413 Diesel Exhaust Fluid .................................. 414
Body Lubrication ........................................ 414
20_DJD2_OM_EN_USC_t.book Page 8
Page 120 of 568

118GETTING TO KNOW YOUR INSTRUMENT PANEL
Stored Messages
Push and release the up or down arrow button
until the Messages Menu item is highlighted.
This feature shows the number of stored
warning messages. Push and release the right
or left arrow buttons to cycle through stored
messages.
Screen Setup Menu Item
Push and release the up or down arrow button
until the Screen Setup menu item is highlighted
in the instrument cluster display. Push and
release the right arrow button to enter the
Screen Setup submenu. The Screen Setup
feature allows you to change what information
is displayed in the instrument cluster as well as
the location that information is displayed.
Current Gear — If Equipped
Off (Default Setting)
On
Odometer
Unit Without Decimal (Default Setting)
Unit With Decimal Favorite Menu
Speedometer
Vehicle Info
Driver Assist (Show/Hide) — If Equipped
Fuel Economy (Show/Hide)
Trip Info (Show/Hide)
Trailer Tow (Show/Hide) — If Equipped
Audio (Show/Hide)
Messages
Screen Setup
Commercial Settings — If Equipped
NOTE:
Menus with (Show/Hide) can push the Right
arrow button to choose whether to show or hide
this menu in the instrument cluster display.
Upper Left
None
Compass (Default Setting) — If Equipped
Outside Temp — If Equipped
Time
Range To Empty
Average MPG
Current MPG
Trip A Distance
Trip B Distance
Trailer Trip — If Equipped
Trailer Brake — If Equipped
Oil Pressure — If Equipped
Coolant Temperature — If Equipped
Oil Temperature — If Equipped
Battery Voltage — If Equipped
Transmission Temperature — If Equipped
Oil Life — If Equipped
Exhaust Brake — If Equipped
Turbo Boost — If Equipped
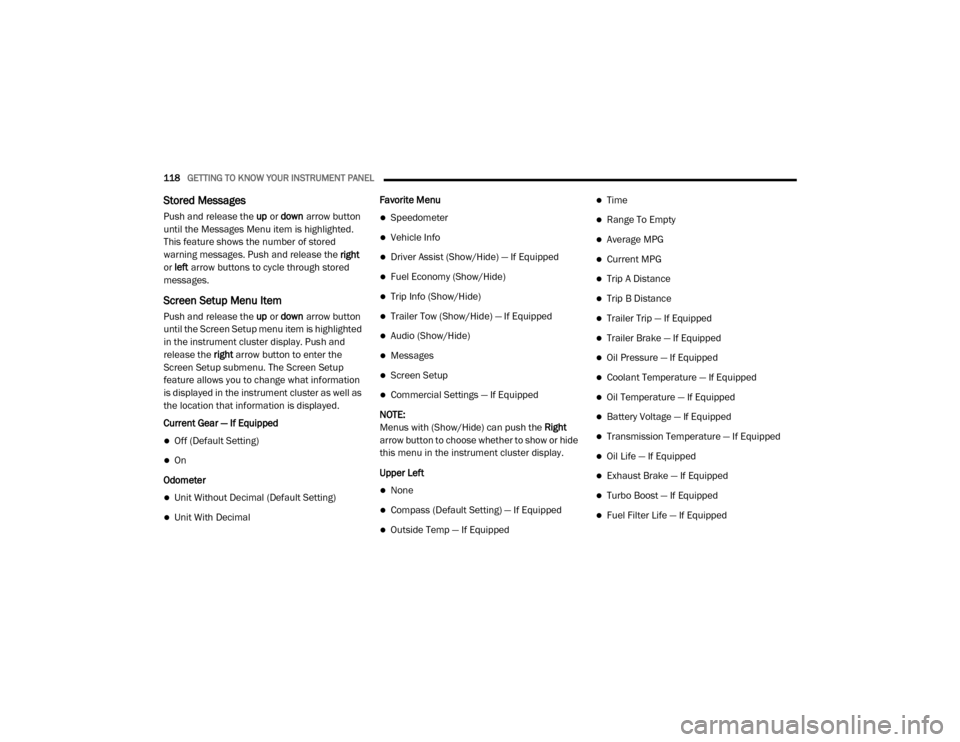
Fuel Filter Life — If Equipped
20_DJD2_OM_EN_USC_t.book Page 118
Page 411 of 568

SERVICING AND MAINTENANCE409
When inspecting accessory drive belts, small
cracks that run across ribbed surface of belt
from rib to rib, are considered normal. These
are not a reason to replace belt. However,
cracks running along a rib (not across) are not
normal. Any belt with cracks running along a rib
must be replaced. Also have the belt replaced if
it has excessive wear, frayed cords or severe
glazing.
Accessory Belt (Serpentine Belt)
Conditions that would require replacement:
Rib chunking (one or more ribs has sepa -
rated from belt body)
Rib or belt wear
Longitudinal belt cracking (cracks between
two ribs)
Belt slips
“Groove jumping" (belt does not maintain
correct position on pulley)
Belt broken (note: identify and correct
problem before new belt is installed)
Noise (objectionable squeal, squeak, or
rumble is heard or felt while drive belt is in
operation)
Some conditions can be caused by a faulty
component such as a belt pulley. Belt pulleys
should be carefully inspected for damage and
proper alignment.
Belt replacement on some models requires the
use of special tools, we recommend having your
vehicle serviced at an authorized dealer.
DRAINING FUEL/WATER SEPARATOR
F
ILTER — DIESEL ENGINE
There are two fuel filter assemblies. One is
located on the driver's side of the engine. The
best access to this water drain valve is from
under the hood. The second one is on the under
body, located in front of the rear axle above the
drive shaft on pick-up models. The Chassis Cab models second filter location is on the frame
behind the front axle. The best access to this
water drain valve is from under the vehicle.
If water is detected in the water separator while
the engine is running, or while the ignition
switch is in the ON position, the “Water In Fuel
Indicator Light” will illuminate and an audible
chime will be heard five times. At this point you
should stop the engine and drain the water from
both of the filters.
CAUTION!
Do not drain the fuel/water separator filter
when the engine is running.
Diesel fuel will damage blacktop paving
surfaces. Drain the filter into an appro-
priate container.
CAUTION!
If the “Water In Fuel Indicator Light” remains
on, DO NOT START the engine before you
drain water from the fuel filters to avoid
engine damage.
7
20_DJD2_OM_EN_USC_t.book Page 409