tow Ram 4500 Chassis Cab 2020 Owner's Manual
[x] Cancel search | Manufacturer: RAM, Model Year: 2020, Model line: 4500 Chassis Cab, Model: Ram 4500 Chassis Cab 2020Pages: 516, PDF Size: 29.24 MB
Page 4 of 516
2
INTRODUCTION
HOW TO USE THIS MANUAL ...............................11
Essential Information .................................. 11
Symbols ........................................................ 11
WARNINGS AND CAUTIONS ...............................11
VAN CONVERSIONS/CAMPERS .........................11
VEHICLE MODIFICATIONS/ALTERATIONS .......11
GETTING TO KNOW YOUR VEHICLE
VEHICLE USER GUIDE — IF EQUIPPED ...............12
KEYS ......................................................................13
Key Fob......................................................... 13
IGNITION SWITCH ...............................................17
Keyless Push Button Ignition ...................... 17
REMOTE START — IF EQUIPPED (GASOLINE) ...18
How To Use Remote Start ........................... 18
Remote Start Abort Message ...................... 19
To Enter Remote Start Mode ...................... 19
To Exit Remote Start Mode Without
Driving
The Vehicle .................................................. 19 To Exit Remote Start Mode And Drive The
Vehicle .......................................................... 20 Remote Start Comfort Systems —
If Equipped ................................................... 20 General Information .................................... 20 REMOTE START — IF EQUIPPED (DIESEL)......... 20
How To Use Remote Start ........................... 21
Remote Start Abort Message...................... 21
To Enter Remote Start Mode ...................... 21
To Exit Remote Start Mode Without
Driving The Vehicle ...................................... 22 To Exit Remote Start Mode And Drive The
Vehicle .......................................................... 22 Remote Start Comfort Systems —
If Equipped ................................................... 22
SENTRY KEY.......................................................... 22
Key Programming ....................................... 23
Replacement Keys ..................................... 23
General Information .................................... 23
VEHICLE SECURITY ALARM .............................. 24
To Arm The System ...................................... 24
To Disarm The System ................................ 24
Rearming Of The System............................. 25
Security System Manual Override .............. 25
DOORS .................................................................. 25
Manual Door Locks...................................... 25
Power Door Locks — If Equipped ............... 26
Keyless Enter-N-Go — Passive Entry .......... 26
Automatic Door Locks — If Equipped ....... 29
Child-Protection Door Lock ........................ 29
SEATS ................................................................ 30
Manual Front Seat Adjustment................... 30
Power Driver Seat Adjustment —
If Equipped ................................................... 31 Driver Memory Seats — If Equipped .......... 32
Heated Seats — If Equipped ....................... 34
Ventilated Seats — If Equipped................... 35 HEAD RESTRAINTS ..........................................36
Front Head Restraints ................................. 36
Rear Head Restraint Adjustment ............... 37
Rear Head Restraint Removal .................... 37
STEERING WHEEL .............................................38
Tilt Steering Column .................................. 38
Heated Steering Wheel — If Equipped ...... 38
DRIVER ADJUSTABLE PEDALS —
IF EQUIPPED .........................................................39
MIRRORS ..............................................................40
Inside Day/Night Mirror — If Equipped ...... 40
Automatic Dimming Mirror —
If Equipped .................................................. 40 Automatic Dimming Mirror With Rear View
Camera Display — If Equipped ................... 40 Outside Mirrors ........................................... 41
Driver's Outside Automatic Dimming
Mirror — If Equipped .................................... 41 Power Mirrors — If Equipped ...................... 41
Power Convex Mirror Switch —
If Equipped ................................................... 42 Trailer Towing Mirrors.................................. 42
Heated Mirrors — If Equipped .................... 43
Tilt Side Mirrors In Reverse —
If Equipped ................................................... 43 Outside Mirrors Folding Feature ................. 43
Illuminated Vanity Mirror —
If Equipped ................................................... 44
2020_RAM_CHASSIS_CAB_OM_USA=GUID-6C67832B-7839-4CCF-BEFC-CDF988F949EA=1=en=.book Page 2
Page 8 of 516
6
REFUELING THE VEHICLE —
DIESEL ENGINE ................................................. 269 Fuel Filler Cap ............................................269
Avoid Using Contaminated Fuel ................269Bulk Fuel Storage — Diesel Fuel ...............269
Diesel Exhaust Fluid ..................................270Diesel Exhaust Fluid Storage ....................270
Adding Diesel Exhaust Fluid (DEF) ........... 271
VEHICLE LOADING .......................................... 273
Gross Vehicle Weight Rating (GVWR) ......273Payload .......................................................273Gross Axle Weight Rating (GAWR) ............273
Tire Size ......................................................273
Rim Size......................................................273
Inflation Pressure ......................................273
Curb Weight................................................273
Loading .......................................................273
TRAILER TOWING ............................................ 274
Common Towing Definitions .....................274Trailer Hitch Type and Maximum
Trailer Weight .............................................278 Trailer Towing Weights (Maximum Trailer
Weight Ratings) .......................................279 Trailer And Tongue Weight .......................279
Towing Requirements ...............................279
Towing Tips ................................................284 SNOWPLOW ....................................................... 286
Before Plowing ........................................... 286
Snowplow Prep Package Model
Availability .................................................. 286 Over The Road Operation With Snowplow
Attached ..................................................... 287 Operating Tips ............................................ 287General Maintenance................................ 287
RECREATIONAL TOWING (BEHIND
MOTORHOME, ETC.) .......................................... 288
Towing This Vehicle Behind Another
Vehicle ........................................................ 288 Recreational Towing — Two-Wheel Drive
Models ........................................................ 289 Recreational Towing — Four-Wheel Drive
Models ........................................................ 289
DRIVING TIPS ...................................................... 292
Driving On Slippery Surfaces ................... 292
Driving Through Water .............................. 292
IN CASE OF EMERGENCY
HAZARD WARNING FLASHERS .................... 294
ASSIST AND SOS SYSTEM — IF EQUIPPED..... 294General Information .................................. 299
BULB REPLACEMENT ......................................300
Replacement Bulbs .............................. 300
Replacing Exterior Bulbs ........................... 301
FUSES ..................................................................305
Power Distribution Center ......................... 306 JACKING AND TIRE CHANGING ...................... 314
4500/5500 Models .................................. 315
Preparations For Jacking .......................... 315
Jacking Instructions 4500 And
5500 Series ............................................... 315 To Stow The Flat Or Spare —
If Equipped ................................................ 318 Hub Caps/Wheel Covers —
If Equipped ............................................... 318
JUMP STARTING ............................................... 319
Preparations For Jump Start ..................... 320
Jump Starting Procedure .......................... 320
IF YOUR ENGINE OVERHEATS ......................... 321
GEAR SELECTOR OVERRIDE — 6–SPEED
TRANSMISSION ................................................ 322
MANUAL PARK RELEASE — 8 – SPEED
TRANSMISSION ................................................ 323
FREEING A STUCK VEHICLE ............................ 324
TOWING A DISABLED VEHICLE ...................... 326
Two-Wheel Drive Models ........................... 327
Four-Wheel Drive Models .......................... 327
Emergency Tow Hooks — If Equipped ...... 328
ENHANCED ACCIDENT RESPONSE SYSTEM
(EARS) ................................................................ 328
EVENT DATA RECORDER (EDR) ....................... 328
2020_RAM_CHASSIS_CAB_OM_USA=GUID-6C67832B-7839-4CCF-BEFC-CDF988F949EA=1=en=.book Page 6
Page 17 of 516
GETTING TO KNOW YOUR VEHICLE15
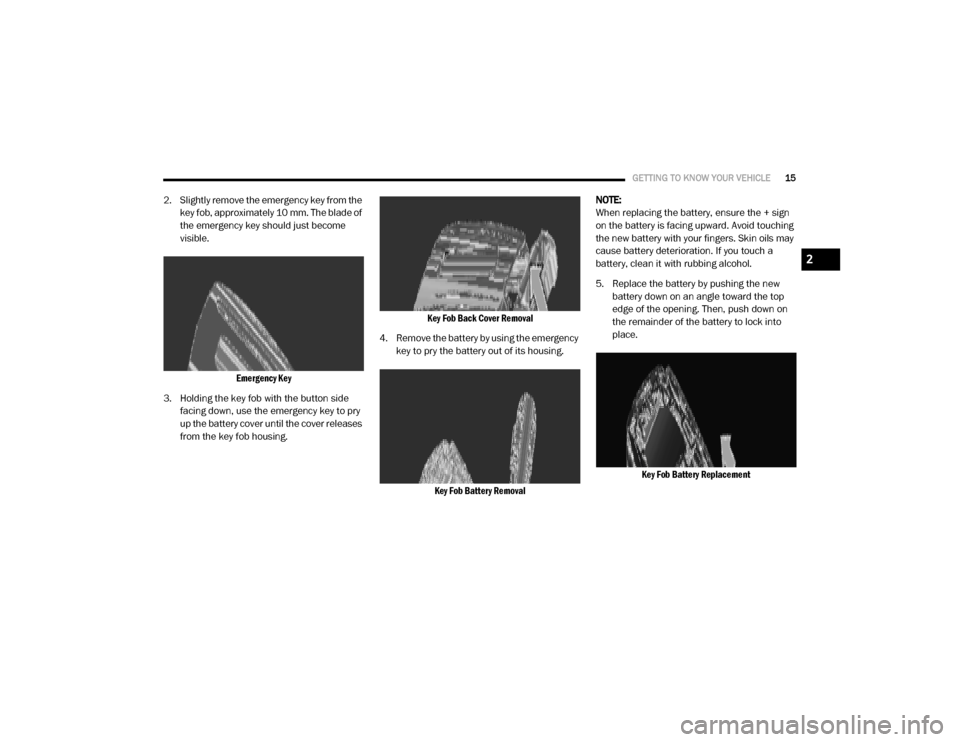
2. Slightly remove the emergency key from the
key fob, approximately 10 mm. The blade of
the emergency key should just become
visible.
Emergency Key
3. Holding the key fob with the button side facing down, use the emergency key to pry
up the battery cover until the cover releases
from the key fob housing.
Key Fob Back Cover Removal
4. Remove the battery by using the emergency key to pry the battery out of its housing.
Key Fob Battery Removal
NOTE:
When replacing the battery, ensure the + sign
on the battery is facing upward. Avoid touching
the new battery with your fingers. Skin oils may
cause battery deterioration. If you touch a
battery, clean it with rubbing alcohol.
5. Replace the battery by pushing the new
battery down on an angle toward the top
edge of the opening. Then, push down on
the remainder of the battery to lock into
place.
Key Fob Battery Replacement
2
2020_RAM_CHASSIS_CAB_OM_USA=GUID-6C67832B-7839-4CCF-BEFC-CDF988F949EA=1=en=.book Page 15
Page 38 of 516
36GETTING TO KNOW YOUR VEHICLE
HEAD RESTRAINTS
Head restraints are designed to reduce the risk
of injury by restricting head movement in the
event of a rear impact. Head restraints should
be adjusted so that the top of the head restraint
is located above the top of your ear.
NOTE:
Do not reverse the head restraints (making the
rear of the head restraint face forward) in an
attempt to gain additional clearance to the back
of your head.
Front Head Restraints
Four-Way Head Restraints — If Equipped
Your vehicle may be equipped with front
four-way driver and passenger head restraints.
To raise the head restraint, pull upward on the
head restraint. To lower the head restraint,
push the adjustment button, located at the
base of the head restraint, and push downward
on the head restraint.
To adjust the head restraint forward, pull the
top of the head restraint toward the front of the
vehicle as desired and release. To adjust the
head restraint rearward, pull the top of the head
restraint to the forward most position and
release. The head restraint will return to the
rear most position.
NOTE:
If your vehicle is equipped with a front bench
seat, the center head restraint is not adjustable
or removable.
Two-Way Head Restraints — If Equipped
Your vehicle may be equipped with front
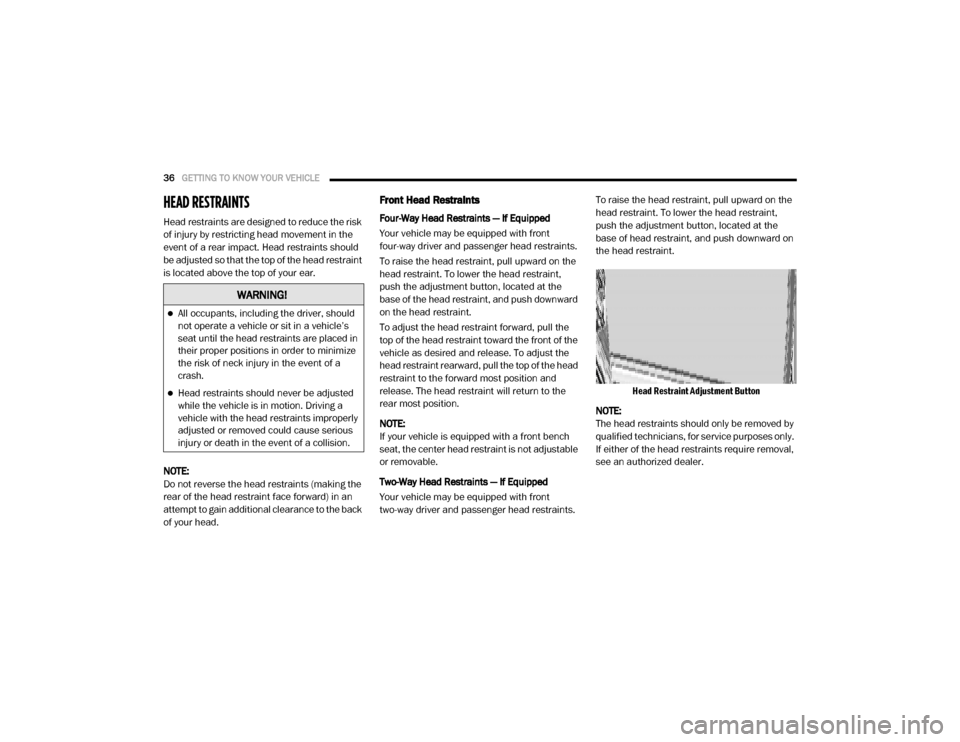
two-way driver and passenger head restraints. To raise the head restraint, pull upward on the
head restraint. To lower the head restraint,
push the adjustment button, located at the
base of head restraint, and push downward on
the head restraint.
Head Restraint Adjustment Button
NOTE:
The head restraints should only be removed by
qualified technicians, for service purposes only.
If either of the head restraints require removal,
see an authorized dealer.
WARNING!
All occupants, including the driver, should
not operate a vehicle or sit in a vehicle’s
seat until the head restraints are placed in
their proper positions in order to minimize
the risk of neck injury in the event of a
crash.
Head restraints should never be adjusted
while the vehicle is in motion. Driving a
vehicle with the head restraints improperly
adjusted or removed could cause serious
injury or death in the event of a collision.
2020_RAM_CHASSIS_CAB_OM_USA=GUID-6C67832B-7839-4CCF-BEFC-CDF988F949EA=1=en=.book Page 36
Page 39 of 516
GETTING TO KNOW YOUR VEHICLE37
Rear Head Restraint Adjustment
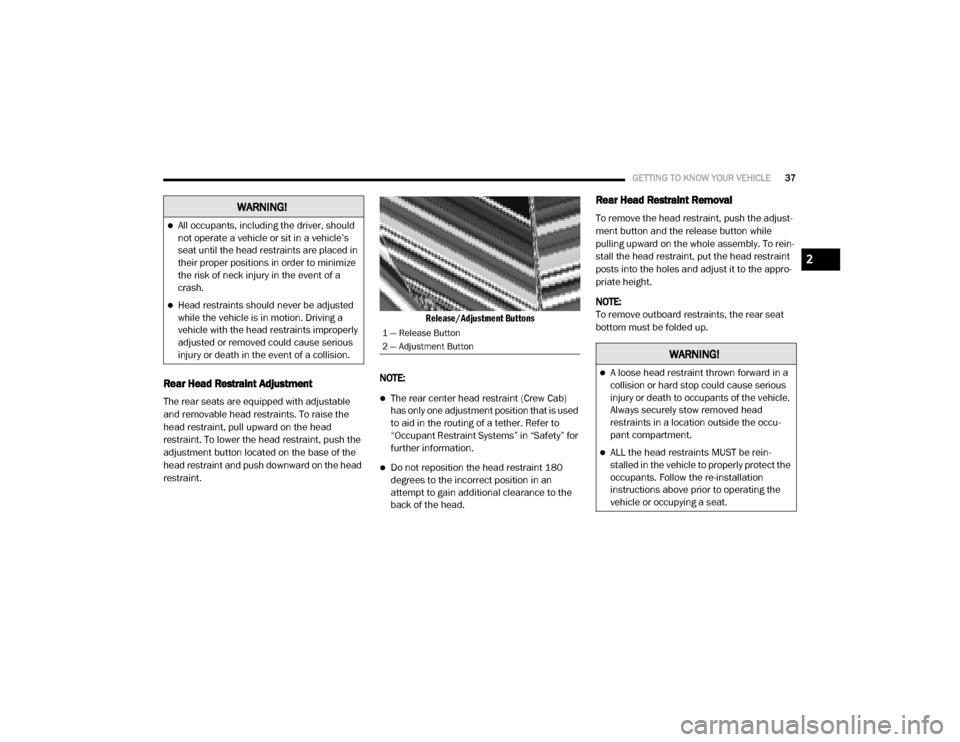
The rear seats are equipped with adjustable
and removable head restraints. To raise the
head restraint, pull upward on the head
restraint. To lower the head restraint, push the
adjustment button located on the base of the
head restraint and push downward on the head
restraint.
Release/Adjustment Buttons
NOTE:The rear center head restraint (Crew Cab)
has only one adjustment position that is used
to aid in the routing of a tether. Refer to
“Occupant Restraint Systems” in “Safety” for
further information.
Do not reposition the head restraint 180
degrees to the incorrect position in an
attempt to gain additional clearance to the
back of the head.
Rear Head Restraint Removal
To remove the head restraint, push the adjust -
ment button and the release button while
pulling upward on the whole assembly. To rein -
stall the head restraint, put the head restraint
posts into the holes and adjust it to the appro -
priate height.
NOTE:
To remove outboard restraints, the rear seat
bottom must be folded up.WARNING!
All occupants, including the driver, should
not operate a vehicle or sit in a vehicle’s
seat until the head restraints are placed in
their proper positions in order to minimize
the risk of neck injury in the event of a
crash.
Head restraints should never be adjusted
while the vehicle is in motion. Driving a
vehicle with the head restraints improperly
adjusted or removed could cause serious
injury or death in the event of a collision.
1 — Release Button
2 — Adjustment Button
WARNING!
A loose head restraint thrown forward in a
collision or hard stop could cause serious
injury or death to occupants of the vehicle.
Always securely stow removed head
restraints in a location outside the occu -
pant compartment.
ALL the head restraints MUST be rein -
stalled in the vehicle to properly protect the
occupants. Follow the re-installation
instructions above prior to operating the
vehicle or occupying a seat.
2
2020_RAM_CHASSIS_CAB_OM_USA=GUID-6C67832B-7839-4CCF-BEFC-CDF988F949EA=1=en=.book Page 37
Page 40 of 516

38GETTING TO KNOW YOUR VEHICLE
STEERING WHEEL
Tilt Steering Column
This feature allows you to tilt the steering
column upward or downward. The tilt lever is
located on the steering column, below the multi -
function lever.
Pull the lever toward the steering wheel to
unlock the steering column. With one hand
firmly on the steering wheel, move the steering
column up or down, as desired. Release the
lever to lock the steering column firmly in place.
Tilt Steering Lever
Heated Steering Wheel — If Equipped
The steering wheel contains a heating element
that helps warm your hands in cold weather.
The heated steering wheel has only one
temperature setting. Once the heated steering
wheel has been turned on, it will stay on until
the operator turns it off. The heated steering
wheel may not turn on when it is already warm.
The heated steering wheel control button is
located on the center instrument panel below
the touchscreen, as well as within the climate or
controls screen of the touchscreen.
Press the heated steering wheel button
once to turn the heating element on.
Press the heated steering wheel button a
second time to turn the heating element off. NOTE:
The engine must be running for the heated
steering wheel to operate.
Vehicles Equipped With Remote Start
On models that are equipped with remote start,
the heated steering wheel can be programmed
to come on during a remote start.
This feature can be programmed through the
Uconnect system. Refer to “Uconnect Settings”
in “Multimedia” for further information.
WARNING!
Do not adjust the steering column while
driving. Adjusting the steering column while
driving or driving with the steering column
unlocked, could cause the driver to lose
control of the vehicle. Failure to follow this
warning may result in serious injury or death.
WARNING!
Persons who are unable to feel pain to the
skin because of advanced age, chronic
illness, diabetes, spinal cord injury, medica
-
tion, alcohol use, exhaustion, or other phys -
ical conditions must exercise care when
using the steering wheel heater. It may
cause burns even at low temperatures,
especially if used for long periods.
Do not place anything on the steering wheel
that insulates against heat, such as a
blanket or steering wheel covers of any type
and material. This may cause the steering
wheel heater to overheat.
2020_RAM_CHASSIS_CAB_OM_USA=GUID-6C67832B-7839-4CCF-BEFC-CDF988F949EA=1=en=.book Page 38
Page 41 of 516
GETTING TO KNOW YOUR VEHICLE39
DRIVER ADJUSTABLE PEDALS — IF
EQUIPPED
The adjustable pedals system is designed to
allow a greater range of driver comfort for
steering wheel tilt and seat position. This
feature allows the brake and accelerator pedals
to move toward or away from the driver to
provide improved position with the steering
wheel.
The adjustable pedal switch is located to the left
side of the steering column.
Adjustable Pedals Switch
NOTE:
The pedals can be adjusted with the ignition
OFF.
The pedals cannot be adjusted when the
vehicle is in REVERSE or when the Speed
Control System is on. The following messages
will appear on vehicles equipped with an
instrument cluster display if the pedals are
attempted to be adjusted when the system is
locked out: “Adjustable Pedal Disabled —
Cruise Control Engaged” or “Adjustable Pedal
Disabled — Vehicle In Reverse”.
NOTE:
Always adjust the pedals to a position that
allows full pedal travel.
Further small adjustments may be necessary
to find the best possible seat/pedal position.
For vehicles equipped with Driver Memory
Seat, you can use your remote keyless entry
key fob or the memory switch on the driver’s
door trim panel to return the adjustable
pedals to pre-programmed positions. Refer
to “Driver Memory Seat” in “Seats” in this
chapter for further information.
WARNING!
Do not adjust the pedals while the vehicle is
moving. You could lose control and have an
accident. Always adjust the pedals while the
vehicle is parked.
CAUTION!
Do not place any article under the adjustable
pedals or impede its ability to move, as it may
cause damage to the pedal controls. Pedal
travel may become limited if movement is
stopped by an obstruction in the adjustable
pedal's path.
2
2020_RAM_CHASSIS_CAB_OM_USA=GUID-6C67832B-7839-4CCF-BEFC-CDF988F949EA=1=en=.book Page 39
Page 42 of 516

40GETTING TO KNOW YOUR VEHICLE
MIRRORS
Inside Day/Night Mirror — If Equipped
The mirror head can be adjusted up, down, left,
and right for various drivers. The mirror should
be adjusted to center on the view through the
rear window.
Headlight glare from vehicles behind you can be
reduced by moving the small control under the
mirror to the night position (toward the rear of
the vehicle). The mirror should be adjusted
while set in the day position (toward the wind -
shield).
Adjusting Rearview Mirror
Automatic Dimming Mirror — If Equipped
The mirror head can be adjusted up, down, left,
and right for various drivers. The mirror should
be adjusted to center on the view through the
rear window.
This mirror automatically adjusts for headlight
glare from vehicles behind you.
NOTE:
The Automatic Dimming feature is disabled
when the vehicle is in REVERSE to improve rear
view viewing.
The Automatic Dimming feature can be turned
on or off through the touchscreen.
Automatic Dimming Mirror
Automatic Dimming Mirror With Rear View
Camera Display — If Equipped
A single ball joint mirror is provided in the
vehicle. It is a twist on mirror that has a fixed
position at the windshield. The mirror installs on
the windshield button with a counterclockwise
rotation and requires no tools for mounting. The
mirror head can be adjusted up, down, left, and
right for various drivers. The mirror should be
adjusted to center on the view through the rear
window.
This mirror automatically adjusts for headlight
glare from vehicles behind you.
CAUTION!
To avoid damage to the mirror during
cleaning, never spray any cleaning solution
directly onto the mirror. Apply the solution
onto a clean cloth and wipe the mirror clean.
2020_RAM_CHASSIS_CAB_OM_USA=GUID-6C67832B-7839-4CCF-BEFC-CDF988F949EA=1=en=.book Page 40
Page 44 of 516

42GETTING TO KNOW YOUR VEHICLE
Using the mirror control switch, push on any of
the four arrows for the direction that you want
the mirror to move.
Power Mirror Movement
Power Convex Mirror Switch — If Equipped
The Power Convex Mirror Switch is located on
the door trim panel, above the power mirror
controls. The switch enables the movement of
the convex portion of both the driver and
passenger outside mirrors.
Power Convex Mirror Switch
To adjust the convex portion of the outside
mirrors, push the Power Convex Mirror Switch.
Then, select the mirror you want to adjust by
using the L (left) or R (right) buttons.
To return the control to the large mirror, push
the Power Convex Mirror Switch a second time.
Trailer Tow Power Convex Mirror
NOTE:
If the Power Convex Mirror Switch is not pushed
a second time, the switch will automatically
default back to the larger portion of the outside
mirrors after a period of time.
Trailer Towing Mirrors
These mirrors are designed with an adjustable
mirror head to provide a greater vision range
when towing extra-wide loads. To change posi
-
tion inboard or outboard, the mirror head
should be rotated (flipped in or out).
Trailer Towing Position
NOTE:
Fold the trailer towing mirrors rearward prior to
entering an automated car wash.
2020_RAM_CHASSIS_CAB_OM_USA=GUID-6C67832B-7839-4CCF-BEFC-CDF988F949EA=1=en=.book Page 42
Page 47 of 516
GETTING TO KNOW YOUR VEHICLE45
Daytime Running Lights (DRLs)
The headlights on your vehicle will illuminate
when the engine is started and the transmis -
sion is in any gear except PARK. This provides a
constant "lights on" condition until the ignition is
placed in the OFF position. The lights illuminate
at less than half of normal intensity. If the
parking brake is applied, the Daytime Running
Lights (DRLs) will turn off. Also, if a turn signal is
activated, the DRL lamp on the same side of the
vehicle may turn off for the duration of the turn
signal activation. Once the turn signal is no
longer active, the DRL lamp will illuminate.
NOTE:
If allowed by law in the country in which the
vehicle was purchased, the Daytime Running
Lights can be turned on and off using the
Uconnect System, refer to “Uconnect Settings”
in “Multimedia” for further information.
High/Low Beam Switch
Push the multifunction lever toward the instru-
ment panel to switch the headlights to high
beam. Pulling the multifunction lever back
toward the steering wheel will turn the low
beams back on, or shut the high beams off.
Automatic High Beam Headlamp Control —
If Equipped
The Automatic High Beam Headlamp Control
system provides increased forward lighting at
night by automating high beam control through
the use of a digital camera mounted on the
inside rearview mirror or forward facing camera.
This camera detects vehicle specific light and
automatically switches from high beams to low
beams until the approaching vehicle is out of
view.
NOTE:
The Automatic High Beam Headlamp Control
can be turned on or off by selecting “ON”
under “Auto Dim High Beams” within your
Uconnect settings, as well as turning the
headlight switch to the AUTO position. Refer
to “Uconnect Settings” in “Multimedia” for
further information.
Broken, muddy, or obstructed headlights and
taillights of vehicles in the field of view will
cause headlights to remain on longer (closer
to the vehicle). Also, dirt, film, and other
obstructions on the windshield or camera
lens will cause the system to function improp -
erly.
To opt out of the Advanced Auto High Beam
Sensitivity Control (default) and enter
Reduced High Beam Sensitivity Control (not
recommended), on vehicles equipped with
mirror controlled automatic high beams and
without the forward facing camera, toggle the
high beam lever six full on/off cycles within
10 seconds of placing the ignition in the ON
position. The system will return to the default
setting when the ignition is OFF.
If the windshield or Automatic High Beam Head -
lamp Control mirror is replaced, the mirror must
be re-aimed to ensure proper performance. See
a local authorized dealer.
To Activate
1. The Automatic High Beams are enabled through the Uconnect system. Refer to
“Uconnect Settings” in “Multimedia” for
further information.
2. Turn the headlight switch to the AUTO head -
light position.
3. Push the multifunction lever away from you (toward front of vehicle) to engage the high
beam mode.
2
2020_RAM_CHASSIS_CAB_OM_USA=GUID-6C67832B-7839-4CCF-BEFC-CDF988F949EA=1=en=.book Page 45