set clock Ram C/V 2013 Owner's Manual
[x] Cancel search | Manufacturer: RAM, Model Year: 2013, Model line: C/V, Model: Ram C/V 2013Pages: 700, PDF Size: 5.34 MB
Page 224 of 700
Automatic Headlights — If Equipped
This system automatically turns your headlights on or off
based on ambient light levels. To turn the system on, turn
the headlight switch to the extreme counterclockwise
position aligning the indicator with the AUTO on the
headlight switch. When the system is on, the Headlight
Time Delay feature is also on. This means your headlights
will stay on for up to 90 seconds after you turn the
ignition switch OFF. To turn the Automatic System off,
turn the headlight switch clockwise to the O (OFF)
position.
NOTE:The engine must be running before the head-
lights will come on in the Automatic mode.
Headlights On With Wipers — If Equipped
When your headlights are in the AUTO mode and the
engine is running, the headlights will automatically turn
on when the wiper system is also turned on. Headlights
on when windshield wipers are on may be found on vehicles equipped with an automatic headlight system.
Refer to “Electronic Vehicle Information Center (EVIC)/
Customer-Programmable Features” in “Understanding
Your Instrument Panel” for further information.
Headlight Delay — If Equipped
This feature provides the safety of headlight illumination
for up to 90 seconds after exiting your vehicle.
To activate the delay feature, turn OFF the ignition switch
while the headlights are still on. Then turn off the
headlights within 45 seconds. The 90 second delay inter-
val begins when headlight switch is turned off. If the
headlights or parking lights are turned back on or the
ignition switch is turned ON, the delay will be cancelled.
When exiting the vehicle the driver can choose to have
the headlights remain on for 30, 60 or 90 seconds or not
remain on. To change the timer setting, see your autho-
rized dealer.
222 UNDERSTANDING THE FEATURES OF YOUR VEHICLE
Page 357 of 700
TIME Button
Press the TIME button to alternate display of the time
and radio frequency.
Clock Setting Procedure
1. Press and hold the TIME button until the hours blink.
2. Adjust the hours by turning the right side TUNE/SCROLL control knob.
3. After adjusting the hours, press the right side TUNE/ SCROLL control knob to set the minutes. The minutes
will begin to blink.
4. Adjust the minutes using the right side TUNE/ SCROLL control knob. Press the TUNE/SCROLL con-
trol knob to save time change.
5. To exit, press any button/knob, or wait five seconds.
RW/FF
Pressing the RW (Rewind) or FF (Fast Forward) buttons
causes the tuner to search for the next frequency in the
direction of the arrows. This feature operates in either
AM or FM frequencies.
TUNE Control
Turn the rotary TUNE/SCROLL control knob clockwise
to increase or counterclockwise to decrease the frequency.
Setting the Tone, Balance, and Fade
Push the rotary TUNE/SCROLL control knob and BASS
will display. Turn the TUNE/SCROLL control knob to
the right or left to increase or decrease the bass tones.
Push the rotary TUNE/SCROLL control knob a second
time and MID will display. Turn the TUNE/SCROLL
control knob to the right or left to increase or decrease the
mid-range tones.
4
UNDERSTANDING YOUR INSTRUMENT PANEL 355
Page 367 of 700
Clock Setting Procedure
1. Press and hold the TIME button until the hours blink.
2. Adjust the hours by turning the right side TUNE/SCROLL control knob.
3. After adjusting the hours, press the right side TUNE/ SCROLL control knob to set the minutes. The minutes
will begin to blink.
4. Adjust the minutes using the right side TUNE/ SCROLL control knob. Press the TUNE/SCROLL con-
trol knob to save time change.
5. To exit, press any button/knob or wait five seconds.
The clock can also be set by pressing the SETUP button.
For vehicles equipped with satellite radio, press the
SETUP button, use the TUNE/SCROLL control to select
SET CLOCK, and then follow the above procedure, starting at Step 2. For vehicles not equipped with satellite
radio, press the SETUP button and then follow the above
procedure, starting at Step 2.
INFO Button
Press the INFO button for an RDS station (one with call
letters displayed). The radio will return a Radio Text
message broadcast from an FM station (FM mode only).
RW/FF
Pressing the RW (Rewind) or FF (Fast Forward) buttons
causes the tuner to search for the next frequency in the
direction of the arrows. This feature operates in either
AM or FM frequencies.
TUNE Control
Turn the rotary TUNE/SCROLL control knob clockwise
to increase or counterclockwise to decrease the frequency.
4
UNDERSTANDING YOUR INSTRUMENT PANEL 365
Page 370 of 700
Bypressing the SEEK button when the Music Type icon is
displayed, the radio will be tuned to the next frequency
station with the same selected Music Type name. The
Music Type function only operates when in the FM mode.
If a preset button is activated while in the Music Type
(Program Type) mode, the Music Type mode will be
exited and the radio will tune to the preset station.
SETUP Button
Pressing the SETUP button allows you to select between
the following items:
• Set Clock — Pressing
the SELECT button will allow
you to set the clock. Adjust the hours by turning the
TUNE/SCROLL control knob. After adjusting the hours,
press the TUNE/SCROLL control knob to set the min-
utes. The minutes will begin to blink. Adjust the minutes
using the right side TUNE/SCROLL control knob. Press
the TUNE/SCROLL control knob to save time change.
AM/FM Button
Press the button to select either AM or FM mode.
SET/RND Button — To Set the Pushbutton
Memory
When you are receiving a station that you wish to
commit to pushbutton memory, press the SET/RND
button. The symbol SET 1 will now show in the display
window. Select the button (1–6) you wish to lock onto this
station and press and release that button. If a button is
not selected within five seconds after pressing the SET/
RND button, the station will continue to play but will not
be stored into pushbutton memory.
You may add a second station to each pushbutton by
repeating the above procedure with this exception: Press
the SET/RND button twice and SET 2 will show in the
display window. Each button can be set for SET 1 and
SET 2 in both AM and FM. This allows a total of 12 AM
368 UNDERSTANDING YOUR INSTRUMENT PANEL
Page 387 of 700
List Or Browse Mode
During Play mode, pressing any of the buttons described
below, will bring up List mode. List mode enables
scrolling through the list of menus and tracks on the
audio device.
•TUNE control knob: The TUNEcontrol knob functions
in a similar manner as the scroll wheel on the audio
device or external USB device.
• Turning it clockwise (forward) and counterclockwise
(backward) scrolls through the lists, displaying the
track detail on the radio display. Once the track to be
played is highlighted on the radio display, press the
TUNE control knob to select and start playing the
track. Turning the TUNEcontrol knob fast will scroll
through the list faster. During fast scroll, a slight
delay in updating the information on the radio
display may be noticeable. •
During all List modes, the iPod® displays all lists in
“wrap-around” mode. So if the track is at the bottom
of the list, just turn the wheel backward (counter-
clockwise) to get to the track faster.
• In List mode, the radio PRESETbuttons are used as
shortcuts to the following lists on the iPod® or
external USB device.
• Preset 1 – Playlists
• Preset 2 – Artists
• Preset 3 – Albums
• Preset 4 – Genres
• Preset 5 – Audiobooks
• Preset 6 – Podcasts
• Pressing a PRESET button will display the current
list on the top line and the first item in that list on the
second line.
• To exit List mode without selecting a track, press the
same PRESET button again to go back to Play mode.
4
UNDERSTANDING YOUR INSTRUMENT PANEL 385
Page 447 of 700
CAUTION!(Continued)
just behind the sliding door. Do not block or place
objects directly in front of the inlet grille or heater
outlets. The electrical system could overload, causing
damage to the blower motor.
Rear Temperature Control
The rear mode selection REAR,allows the settings to be
controlled by the rear mode control knob.
To change the temperature in the rear of the vehicle,
rotate the temperature control knob counterclockwise for
cold air, and clockwise for heated air.
When rear controls are locked by the front system, the
lock symbol on the temperature knob is illuminated, and
the rear overhead adjustments are inoperable.
Rear Mode Control
Headliner Mode
Air comes from the outlets in the headliner. Each
of these outlets can be individually adjusted to
direct the flow of air. Moving the air vanes of the outlets
to one side will shut off the airflow.
Bi-Level Mode
Air comes from both the headliner outlets and the
floor outlets.
NOTE: In many temperature positions, the Bi-Level
mode is designed to provide cooler air out of the head-
liner outlets and warmer air from the floor outlets.
Floor Mode
Air comes from the floor outlets.
4
UNDERSTANDING YOUR INSTRUMENT PANEL 445
Page 456 of 700
1. Press the Rear Temperature Lock button on the frontATC panel. This turns off the Rear Temperature Lock
icon in the rear temperature knob.
2. Rotate the Rear Blower, Rear Temperature and the Rear Mode Control knobs to suit your comfort needs.
3. ATC is selected by adjusting the rear blower knob counterclockwise to AUTO.
Once the desired temperature is displayed, the ATC
System will automatically achieve and maintain that
comfort level. When the system is set up for your comfort
level, it is not necessary to change the settings. You will
experience the greatest efficiency by simply allowing the
system to function automatically.
Rear ATC Control Features
1 - Blower Speed 3 - Rear Mode
2 - Rear Temperature 4 - Rear Temperature Lock
454 UNDERSTANDING YOUR INSTRUMENT PANEL
Page 458 of 700
Rear Temperature Control
To change the temperature in the rear of the vehicle,
rotate the temperature knob counterclockwise to lower
the temperature, and clockwise to increase the tempera-
ture. The rear temperature settings are displayed in the
front ATC panel.
When rear controls are locked by the front system, the
Rear Temperature Lock symbol on the temperature knob
is illuminated and any rear overhead adjustments are
ignored.
Rear Mode Control
•Auto Mode
The rear system automatically maintains the correct
mode and comfort level desired by the rear seat occu-
pants.
• Headliner Mode
Air comes from the outlets in the headliner. Each
of these outlets can be individually adjusted to
direct the flow of air. Moving the air vanes of the outlets
to one side will shut off the airflow.
456 UNDERSTANDING YOUR INSTRUMENT PANEL
Page 694 of 700
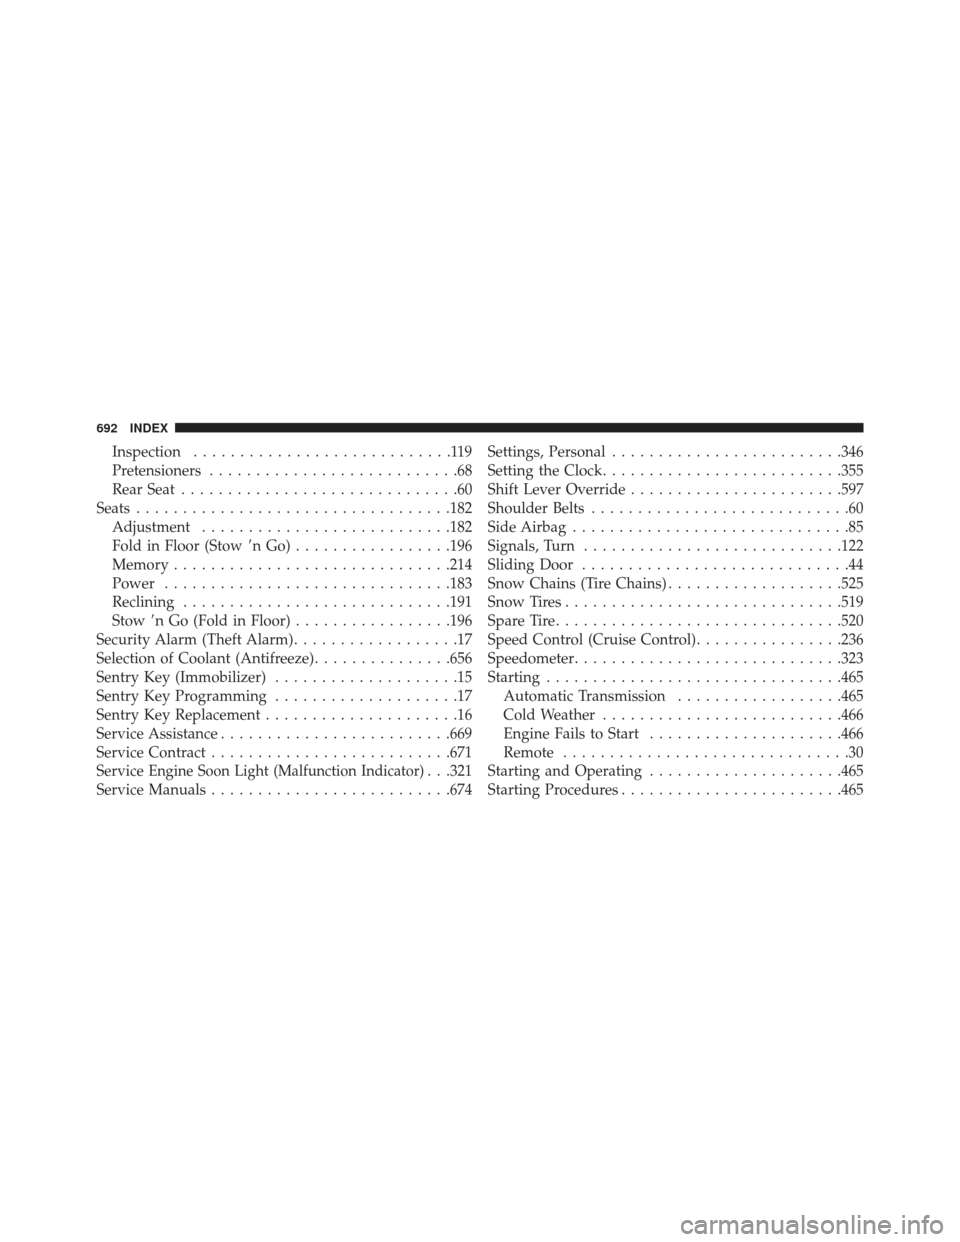
Inspection............................119
Pretensioners ...........................68
Rear Seat ..............................60
Seats ................................. .182
Adjustment .......................... .182
Fold in Floor (Stow nGo).................196
Memory ............................. .214
Power .............................. .183
Reclining ............................ .191
Stow n Go (Fold in Floor) .................196
Security Alarm (Theft Alarm) ..................17
Selection of Coolant (Antifreeze) ...............656
Sentry Key (Immobilizer) ....................15
Sentry Key Programming ....................17
Sentry Key Replacement .....................16
Service Assistance ........................ .669
Service Contract ......................... .671
Service
Engine Soon Light (Malfunction Indicator). . .321
Service Manuals ......................... .674Settings, Personal
........................ .346
Setting the Clock ......................... .355
Shift Lever Override ...................... .597
Shoulder Belts ............................60
Side Airbag ..............................85
Signals, Turn ........................... .122
Sliding Door .............................44
Snow Chains (Tire Chains) ...................525
Snow Tires ............................. .519
Spare Tire .............................. .520
Speed Control (Cruise Control) ................236
Speedometer ............................ .323
Starting ............................... .465
Automatic Transmission ..................465
Cold Weather ......................... .466
Engine Fails to Start .....................466
Remote ...............................30
Starting and Operating .....................465
Starting Procedures ....................... .465
692 INDEX