warning RAM CHASSIS CAB 2007 Owner's Guide
[x] Cancel search | Manufacturer: RAM, Model Year: 2007, Model line: CHASSIS CAB, Model: RAM CHASSIS CAB 2007Pages: 532, PDF Size: 2.69 MB
Page 67 of 532
rearward-facing infant restraints will also be equipped
with a tether strap, a hook and means for adjusting the
tension in the strap.
In general, you will first loosen the adjusters on the lower
straps and tether straps so that you can more easily attach
the hook or connector to the lower anchorages and tether
anchorages. Then tighten all three straps as you push the
child restraint rearward and downward into the seat.
Not all child restraint systems will be installed as we
have described here. Again, carefully follow the instruc-
tions that come with the child restraint system. WARNING!Improper installation of a child restraint to the
LATCH anchorages can lead to failure of an infant or
child restraint. The child could be badly injured or
killed. Follow the manufacturer’s directions exactly
when installing an infant or child restraint.
Child Restraint Tether Anchor
Child restraints having tether straps and hooks for con-
nection to tether anchors have been available for some
time. In fact, many child restraint manufacturers will
provide add-on tether strap kits for their older products.
Regular Cab models of Ram Pickups have two tether
anchorages, one each behind the front center and right
seats. Quad Cab and Mega Cab models have three
anchorages, one behind each of the rear seats. THINGS TO KNOW BEFORE STARTING YOUR VEHICLE 67
2
Page 68 of 532
WARNING!An incorrectly anchored tether strap could lead to
seat failure and injury to the child. In a collision, the
seat could come loose and allow the child to crash
into the inside of the vehicle or other passengers, or
even be thrown from the vehicle. Use only the
anchor positions directly behind the child seat to
secure a child restraint top tether strap. Follow the
instructions below. See your dealer for help if nec-
essary.
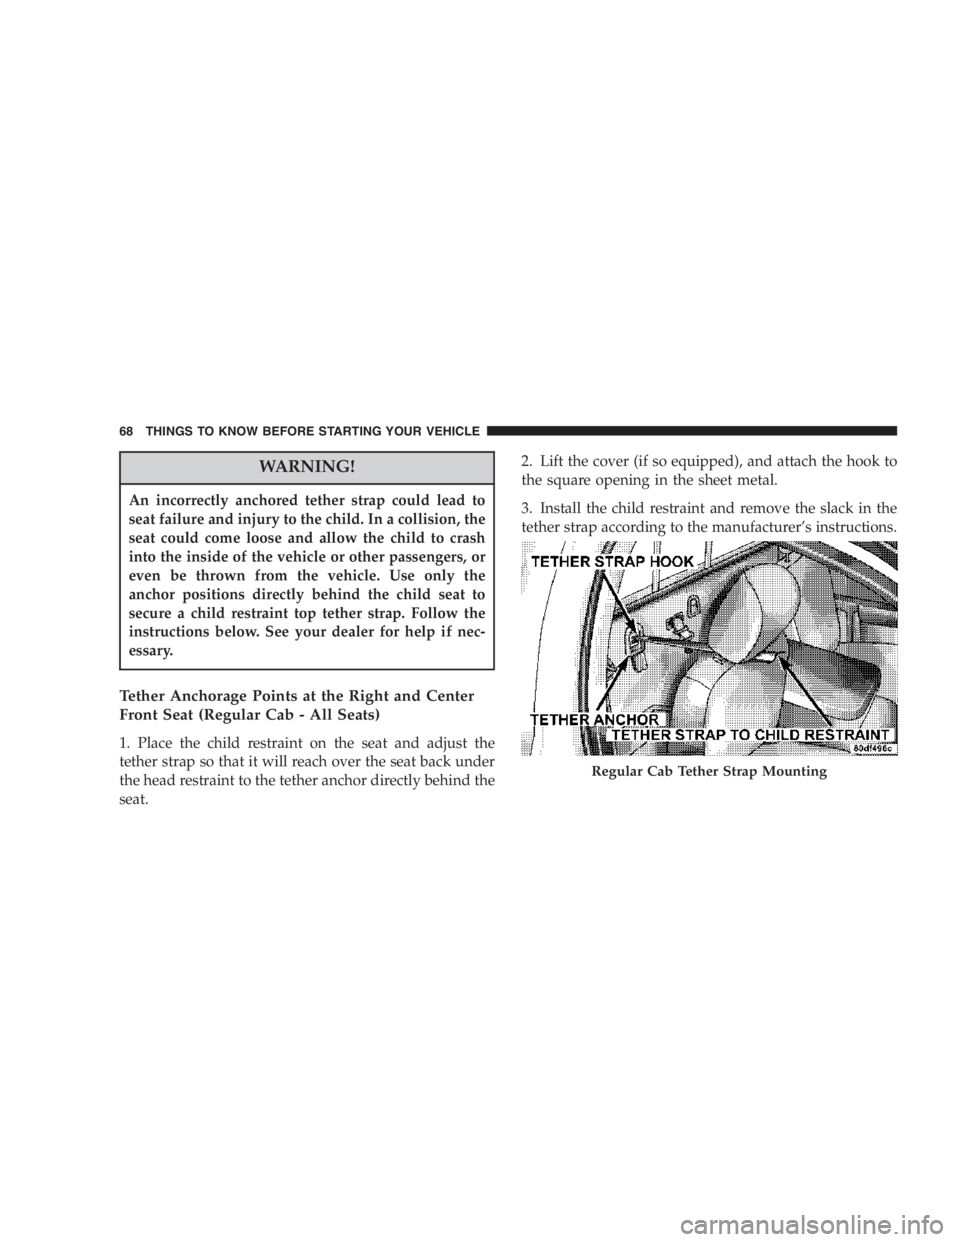
Tether Anchorage Points at the Right and Center
Front Seat (Regular Cab - All Seats)
1. Place the child restraint on the seat and adjust the
tether strap so that it will reach over the seat back under
the head restraint to the tether anchor directly behind the
seat. 2. Lift the cover (if so equipped), and attach the hook to
the square opening in the sheet metal.
3. Install the child restraint and remove the slack in the
tether strap according to the manufacturer’s instructions.
Regular Cab Tether Strap Mounting68 THINGS TO KNOW BEFORE STARTING YOUR VEHICLE
Page 74 of 532

CAUTION!• During the first 500 miles (805 km) your new
vehicle is driven, do not tow a trailer. Doing so
may damage your axles, drivetrain and vehicle.
• Limit your speed to 50 mph (80 km/h) during the
first 500 miles (805 km) of towing.
SAFETY TIPS
Transporting Passengers
This vehicle is designed to carry passengers in the cab
only. For safety reasons, NEVER TRANSPORT PASSEN-
GERS IN THE CARGO AREA. WARNING!It is extremely dangerous to ride in a cargo area,
inside or outside of a vehicle. In a collision, people
riding in these areas are more likely to be seriously
injured or killed.
Do not allow people to ride in any area of your
vehicle that is not equipped with seats and seat belts.
Be sure everyone in your vehicle is in a seat and
using a seat belt properly.
Lock Your Vehicle
Always remove the keys from the ignition and lock all
doors when leaving the vehicle unattended, even in your
own driveway or garage. Try to park your vehicle in a
well-lighted area and never invite theft by leaving ar-
ticles of value exposed.74 THINGS TO KNOW BEFORE STARTING YOUR VEHICLE
Page 75 of 532

Exhaust Gas
WARNING!Exhaust gases contain carbon monoxide, a poten-
tially toxic gas that by itself is colorless and odorless.
To avoid inhaling these gases, the following precau-
tions should be observed:
• Do not run the engine in a closed garage or in confined
areas any longer than needed to move your vehicle in
or out of the area.
• If it is necessary to sit in a parked vehicle with the
engine running for more than a short period, adjust
your climate control system to force outside air into the vehicle. Set the blower at high speed and the
controls in any position except OFF or MAX A/C.
• The best protection against carbon monoxide entry
into the vehicle body is a properly maintained engine
exhaust system.
Be aware of changes in the sound of the exhaust system;
exhaust fumes detected inside the vehicle; or damage to
the underside or rear of the vehicle. Have a competent
mechanic inspect the complete exhaust system and adja-
cent body areas for broken, damaged, deteriorated or
mispositioned parts. Open seams or loose connections
could permit exhaust fumes to seep into the passenger
compartment. In addition, inspect the exhaust system
each time the vehicle is raised for lubrication or oil
change. Replace or adjust as required. THINGS TO KNOW BEFORE STARTING YOUR VEHICLE 75
2
Page 85 of 532
WARNING!Vehicles and other objects seen in a right side convex
mirror will look smaller and farther away than they
really are. Relying too much on your right side
convex mirror could cause you to collide with an-
other vehicle or other object. Use your inside mirror
when judging the size or distance of a vehicle seen
in the right side convex mirror. Some vehicles will
not have a convex right side mirror.
Exterior Mirrors Folding Feature
All6x9inchexteriormirrorsarehi nged and may be
moved either forward or rearward to resist damage. The
hinges have three detent positions; full forward, full
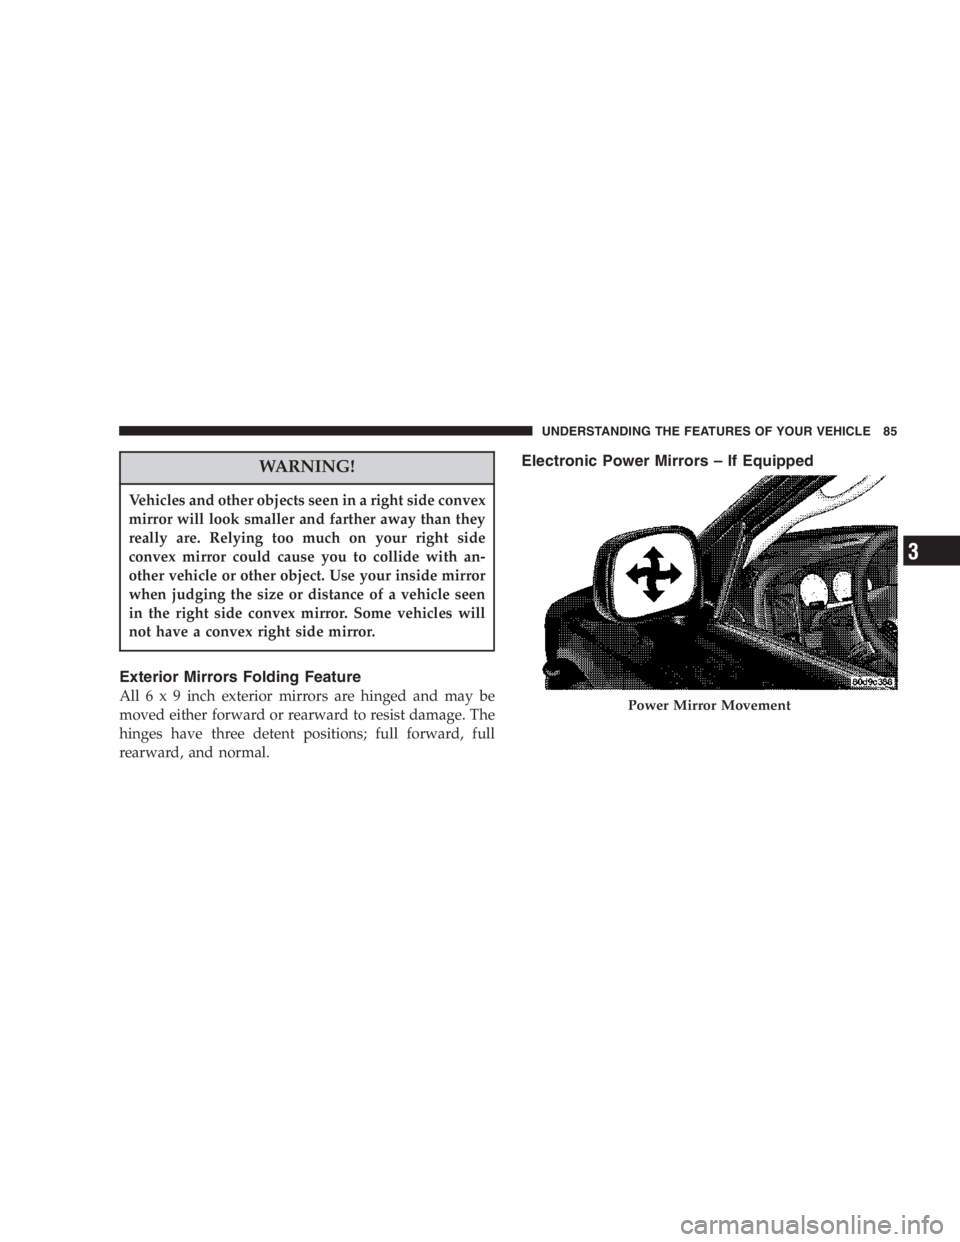
rearward, and normal. Electronic Power Mirrors – If Equipped
Power Mirror MovementUNDERSTANDING THE FEATURES OF YOUR VEHICLE 85
3
Page 113 of 532

SEATS
The seating options available in this truck are the result of
extensive customer research and evaluations.
Seats are also a primary part of the Occupant Restraint
(protection) System of the vehicle. They need to be used
properly for safe operation of the vehicle.
WARNING!It is extremely dangerous to ride in a cargo area,
inside or outside of a vehicle. In a collision, people
riding in these areas are more likely to be seriously
injured or killed.
Do not allow people to ride in any area of your
vehicle that is not equipped with seats and seat belts.
Be sure everyone in your vehicle is in a seat and
using a seat belt properly. 40-20-40 Front Seat
As the name implies, the seat is divided into 3 segments.
The outboard seat portions are each 40% of the total
width of the seat. The back of the center portion (20%)
easily folds down to provide an armrest/center storage
compartment (if equipped). Manual Seat AdjusterUNDERSTANDING THE FEATURES OF YOUR VEHICLE 113
3
Page 114 of 532
Each outboard seat is independently adjustable forward
or rearward and is equipped with a back recliner. The
manual forward or rearward seat adjustment handle is
found at the front edge of each seat cushion. Pull up on
the handle and slide the seat to get the most comfortable
position.
WARNING!Adjusting a seat while the vehicle is moving is
dangerous. The sudden movement of the seat could
cause you to lose control. The seat belt might not be
properly adjusted and you could be injured. Adjust
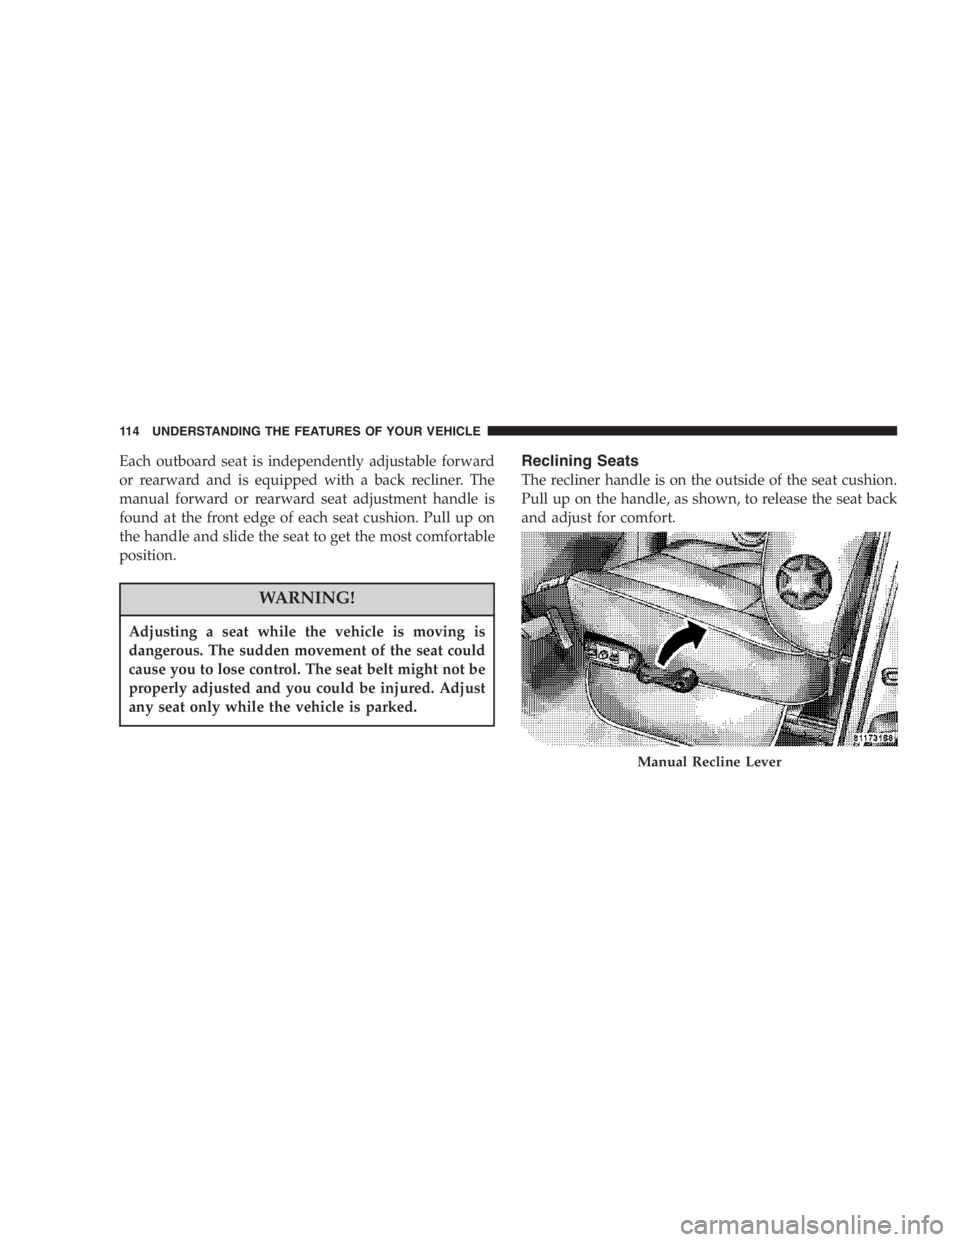
any seat only while the vehicle is parked. Reclining Seats
The recliner handle is on the outside of the seat cushion.
Pull up on the handle, as shown, to release the seat back
and adjust for comfort.
Manual Recline Lever114 UNDERSTANDING THE FEATURES OF YOUR VEHICLE
Page 115 of 532
WARNING!You can be seriously, even fatally, injured riding in a
seat with the seatback reclined. Do not ride with the
seatback reclined so that the shoulder belt is no
longer resting against your chest. If you ride in this
position, the shoulder harness will no longer be
restraining you. In a collision you could slide under
the seat belt and receive serious or fatal injuries.
Recline in a seat only when the vehicle is parked.
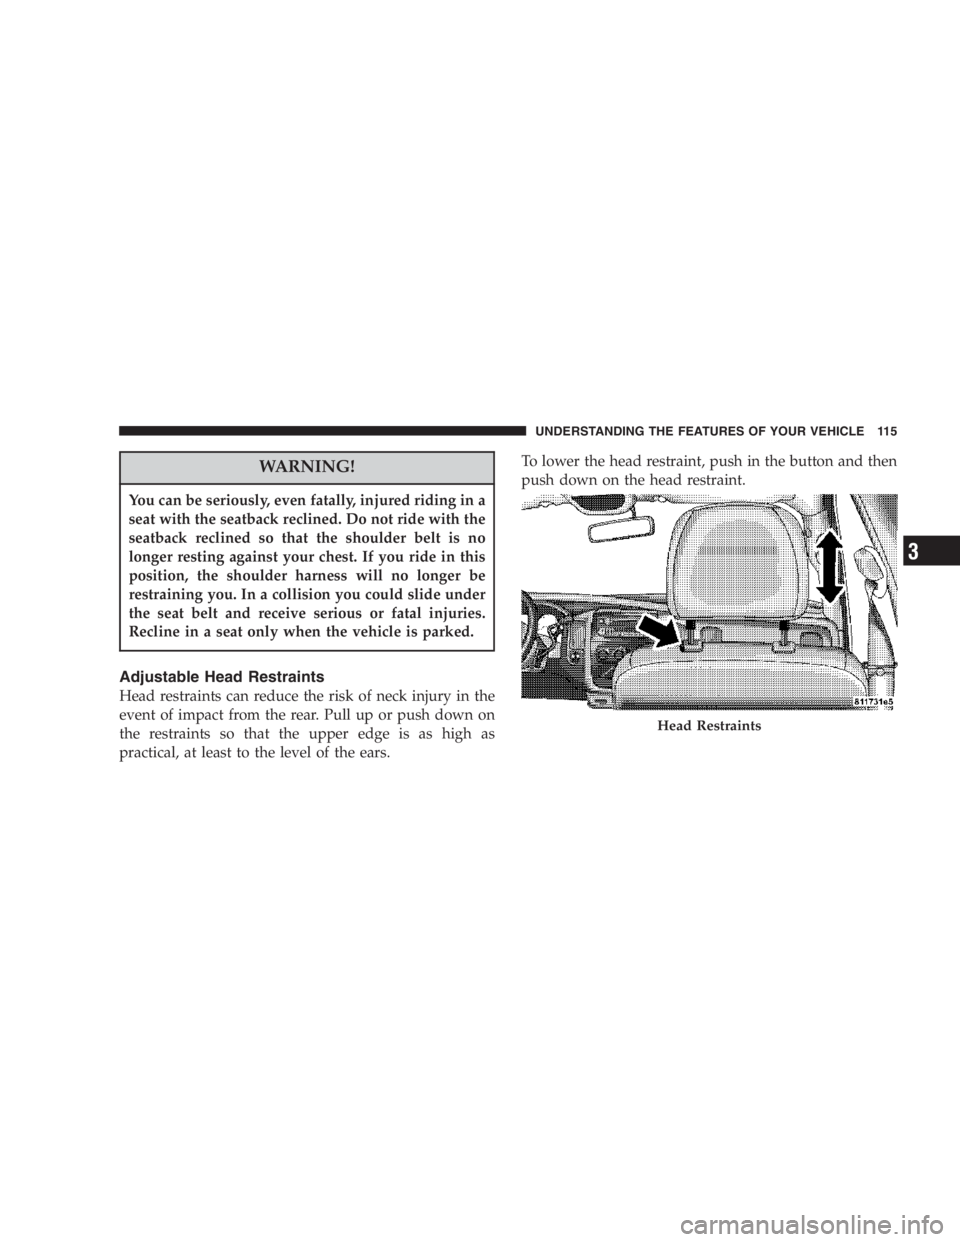
Adjustable Head Restraints
Head restraints can reduce the risk of neck injury in the
event of impact from the rear. Pull up or push down on
the restraints so that the upper edge is as high as
practical, at least to the level of the ears. To lower the head restraint, push in the button and then
push down on the head restraint.
Head RestraintsUNDERSTANDING THE FEATURES OF YOUR VEHICLE 115
3
Page 119 of 532

Each heated seat switch has two settings (HI and LOW).
Press the switch once to obtain High heat level, then
press the switch again to obtain Low heat level. Pressing
the switch a third time will turn the heated seats OFF. If
you do not purposefully turn the switch OFF, the seat
heating level will automatically change to the next lower
level, or OFF. The High heat level operates for 30 minutes
(approximate), the Low heat level operates for 30 min-
utes (approximate). The seat heat will also turn OFF
when the ignition is turned OFF. Both of the indicators
ON identifies High heat level. The lower indicator On
only, identifies Low heat level. Flashing indicator lights
on the switch indicate that the Heated Seat System needs
servicing. WARNING!Persons who are unable to feel pain to the skin
because of advanced age, chronic illness, diabetes,
spinal cord injury, medication, alcohol use, exhaus-
tion or other physical condition must exercise care
when using the seat heater. It may cause burns even
at low temperatures, especially if used for long
periods of time.
Do not place anything on the seat that insulates
against heat, such as a blanket or cushion. This may
cause the seat heater to overheat. UNDERSTANDING THE FEATURES OF YOUR VEHICLE 119
3
Page 121 of 532

WARNING!If the hood is not fully latched, it could fly up when
the vehicle is moving and block your forward vision.
Be sure all hood latches are latched fully before
driving. LIGHTS
Headlight Switch LocationUNDERSTANDING THE FEATURES OF YOUR VEHICLE 121
3