brake light Ram ProMaster 2018 Owner's Manual
[x] Cancel search | Manufacturer: RAM, Model Year: 2018, Model line: ProMaster, Model: Ram ProMaster 2018Pages: 337, PDF Size: 4.13 MB
Page 41 of 337
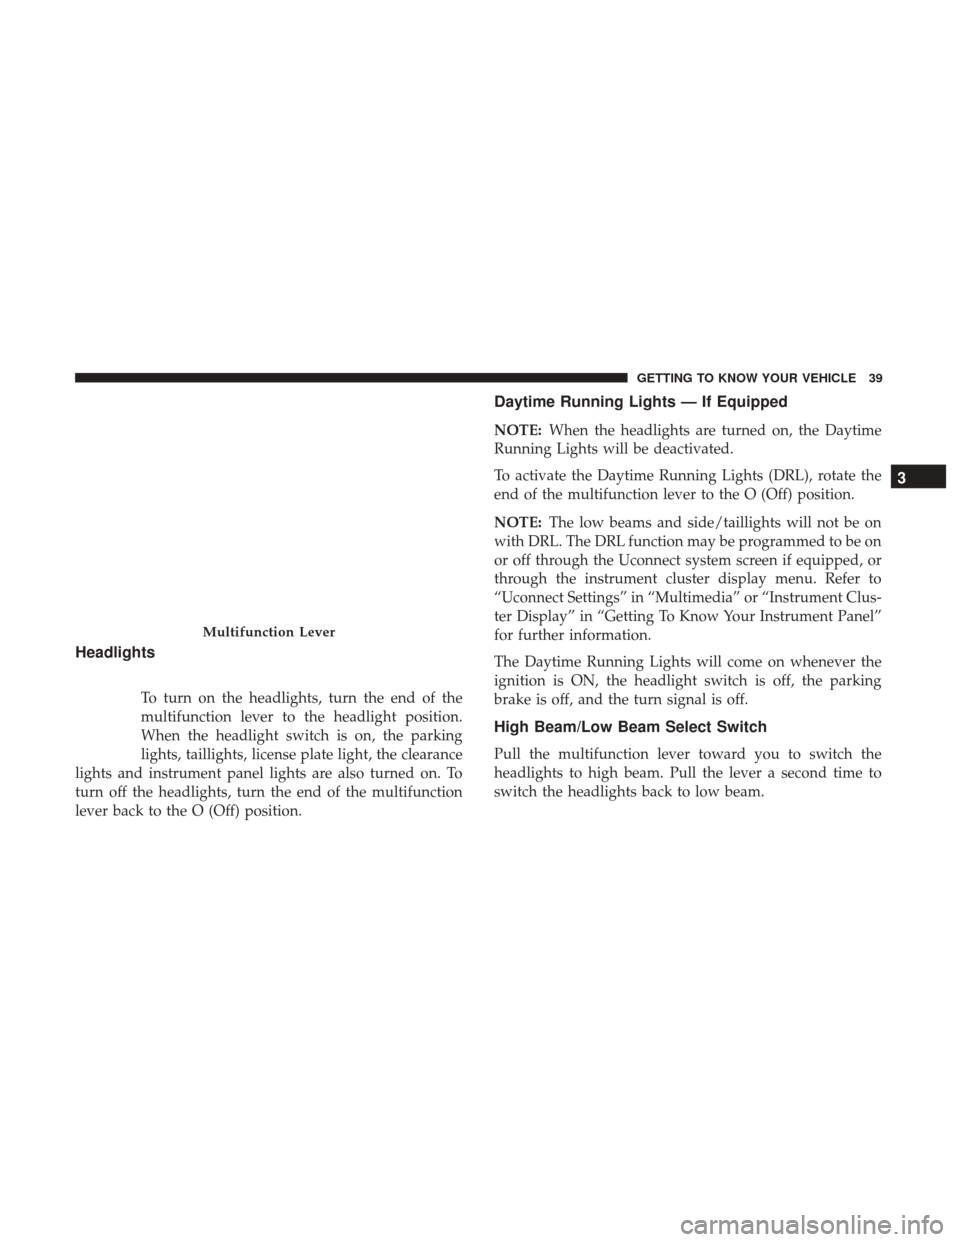
Headlights
To turn on the headlights, turn the end of the
multifunction lever to the headlight position.
When the headlight switch is on, the parking
lights, taillights, license plate light, the clearance
lights and instrument panel lights are also turned on. To
turn off the headlights, turn the end of the multifunction
lever back to the O (Off) position.
Daytime Running Lights — If Equipped
NOTE: When the headlights are turned on, the Daytime
Running Lights will be deactivated.
To activate the Daytime Running Lights (DRL), rotate the
end of the multifunction lever to the O (Off) position.
NOTE: The low beams and side/taillights will not be on
with DRL. The DRL function may be programmed to be on
or off through the Uconnect system screen if equipped, or
through the instrument cluster display menu. Refer to
“Uconnect Settings” in “Multimedia” or “Instrument Clus-
ter Display” in “Getting To Know Your Instrument Panel”
for further information.
The Daytime Running Lights will come on whenever the
ignition is ON, the headlight switch is off, the parking
brake is off, and the turn signal is off.
High Beam/Low Beam Select Switch
Pull the multifunction lever toward you to switch the
headlights to high beam. Pull the lever a second time to
switch the headlights back to low beam.
Multifunction Lever
3
GETTING TO KNOW YOUR VEHICLE 39
Page 78 of 337
— Engine Temperature Warning Light
This light warns of an overheated engine condition. If the
engine coolant temperature is too high, this indicator will
illuminate and a single chime will sound.
If the light turns on while driving, safely pull over and stop
the vehicle. If the A/C system is on, turn it off. Also, shift
the transmission into NEUTRAL and idle the vehicle. If the
temperature reading does not return to normal, turn the
engine off immediately and call for service. Refer to “If
Your Engine Overheats” in “In Case Of Emergency” for
further information.
— Brake Warning Light
This light monitors various brake functions, including
brake fluid level and parking brake application. If the
brake light turns on it may indicate that the parking brake
is applied, that the brake fluid level is low, or that there is
a problem with the anti-lock brake system reservoir.
If the light remains on when the parking brake has been
disengaged, and the fluid level is at the full mark on the
master cylinder reservoir, it indicates a possible brake
hydraulic system malfunction or that a problem with the
Brake Booster has been detected by the Anti-Lock Brake
System (ABS) / Electronic Stability Control (ESC) system.In this case, the light will remain on until the condition has
been corrected. If the problem is related to the brake
booster, the ABS pump will run when applying the brake,
and a brake pedal pulsation may be felt during each stop.
The dual brake system provides a reserve braking capacity
in the event of a failure to a portion of the hydraulic
system. A leak in either half of the dual brake system is
indicated by the Brake Warning Light, which will turn on
when the brake fluid level in the master cylinder has
dropped below a specified level.
The light will remain on until the cause is corrected.
NOTE:
The light may flash momentarily during sharp
cornering maneuvers, which change fluid level conditions.
The vehicle should have service performed, and the brake
fluid level checked.
If brake failure is indicated, immediate repair is necessary.
WARNING!
Driving a vehicle with the red brake light on is
dangerous. Part of the brake system may have failed. It
will take longer to stop the vehicle. You could have a
collision. Have the vehicle checked immediately.
76 GETTING TO KNOW YOUR INSTRUMENT PANEL
Page 79 of 337
Vehicles equipped with the Anti-Lock Brake System (ABS)
are also equipped with Electronic Brake Force Distribution
(EBD). In the event of an EBD failure, the Brake Warning
Light will turn on along with the ABS Light. Immediate
repair to the ABS system is required.
Operation of the Brake Warning Light can be checked by
turning the ignition switch from the OFF position to the
ON/RUN position. The light should illuminate for ap-
proximately two seconds. The light should then turn off
unless the parking brake is applied or a brake fault is
detected. If the light does not illuminate, have the light
inspected by your authorized dealer.
The light also will turn on when the parking brake is
applied with the ignition switch in the ON/RUN position.
NOTE:This light shows only that the parking brake is
applied. It does not show the degree of brake application.
— Oil Pressure Warning Light
This light indicates low engine oil pressure. If the light
turns on while driving, stop the vehicle and shut off the
engine as soon as possible. A chime will sound when this
light turns on. Do not operate the vehicle until the cause is corrected. This
light does not indicate how much oil is in the engine. The
engine oil level must be checked under the hood.
Yellow Warning Lights
— Vehicle Security Warning Light
This telltale will illuminate when the vehicle security alarm
system has detected an attempt was made to break into the
vehicle.
— Tire Pressure Monitoring System (TPMS)
Warning Light
The warning light switches on and a message is displayed
to indicate that the tire pressure is lower than the recom-
mended value and/or that slow pressure loss is occurring.
In these cases, optimal tire duration and fuel consumption
may not be guaranteed.
Should one or more tires be in the condition mentioned
above, the display will show the indications corresponding
to each tire in sequence.
4
GETTING TO KNOW YOUR INSTRUMENT PANEL 77
Page 82 of 337
— Engine Check/Malfunction Indicator Warning
Light (MIL)
The Engine Check/Malfunction Indicator Light (MIL) is a
part of an Onboard Diagnostic System called OBD II that
monitors engine and automatic transmission control sys-
tems. The light will illuminate when the ignition is in the
ON/RUN position before engine start. If the bulb does not
come on when turning the ignition switch from OFF to
ON/RUN, have the condition checked promptly.
Certain conditions, such as a loose or missing gas cap, poor
quality fuel, etc., may illuminate the light after engine start.
The vehicle should be serviced if the light stays on through
several typical driving styles. In most situations, the ve-
hicle will drive normally and will not require towing.
When the engine is running, the MIL may flash to alert
serious conditions that could lead to immediate loss of
power or severe catalytic converter damage. The vehicle
should be serviced as soon as possible if this occurs.
WARNING!
A malfunctioning catalytic converter, as referenced
above, can reach higher temperatures than in normal
(Continued)
WARNING! (Continued)
operating conditions. This can cause a fire if you drive
slowly or park over flammable substances such as dry
plants, wood, cardboard, etc. This could result in death
or serious injury to the driver, occupants or others.
CAUTION!
Prolonged driving with the Malfunction Indicator
Light (MIL) on could cause damage to the vehicle
control system. It also could affect fuel economy and
driveability. If the MIL is flashing, severe catalytic
converter damage and power loss will soon occur.
Immediate service is required.
— Anti-Lock Brake (ABS) Warning Light
This light monitors the Anti-Lock Brake System (ABS). The
light will turn on when the ignition is placed in the
ON/RUN or MAR/ON/RUN position and may stay on
for as long as four seconds.
80 GETTING TO KNOW YOUR INSTRUMENT PANEL
Page 83 of 337
If the ABS light remains on or turns on while driving, then
the Anti-Lock portion of the brake system is not function-
ing and service is required. However, the conventional
brake system will continue to operate normally if the brake
warning light is not on.
If the ABS light is on, the brake system should be serviced
as soon as possible to restore the benefits of Anti-Lock
Brakes. If the ABS light does not turn on when the ignition
is placed in the ON/RUN or MAR/ON/RUN position,
have the light inspected by an authorized dealer.
— Generic Warning Light
The Generic Warning Light will illuminate if any of the
following conditions occur: Engine Oil Pressure Sensor
Failure, External Light Failure, Fuel Cut-Off intervention or
fail, Parking Sensor Failure, DST System Failure.
The telltale will remain on fixed in case of swivel seat
failure and on blinking in case of Air Bag Warning Light
Failure. Contact an authorized dealer immediately for
service.
Yellow Indicator Lights
— Stop Light Failure Indicator Light
This light will illuminate if one or more of the stop light
bulb fails.
The failure relating to this light could be:
•One or more blown bulbs.
• A blown protection fuse.
• A break in the electrical connection.
— External Light Failure Indicator Light — If
Equipped
The External Light Failure Indicator will come on when a
failure to one of the following lights is detected:
• Direction Indicators
• Backup Lights
• Parking Lights
• Daytime Running Lights
• Clearance Lights
• License Plate Lights
4
GETTING TO KNOW YOUR INSTRUMENT PANEL 81
Page 90 of 337
SAFETY FEATURES
Four-Wheel Anti-Lock Brake System (ABS)
The Four-Wheel ABS is designed to aid the driver in
maintaining vehicle control under adverse braking condi-
tions. The system operates with a separate computer to
modulate hydraulic pressure, to prevent wheel lock-up
and to help avoid skidding on slippery surfaces.
The system’s pump motor runs during an ABS stop to
provide regulated hydraulic pressure. The pump motor
makes a low humming noise during operation, which is
normal.
The ABS includes an amber ABS Warning Light. When the
light is illuminated, the ABS is not functioning. The system
reverts to standard non-anti-lock brakes. Turning the igni-
tion OFF and ON again may reset the ABS if the fault
detected was only momentary.
WARNING!
•The ABS contains sophisticated electronic equip-
ment that may be susceptible to interference caused
(Continued)
WARNING! (Continued)
by improperly installed or high output radio trans-
mitting equipment. This interference can cause pos-
sible loss of anti-lock braking capability. Installation
of such equipment should be performed by qualified
professionals.
• Pumping of the Anti-Lock Brakes will diminish their
effectiveness and may lead to a collision. Pumping
makes the stopping distance longer. Just press firmly
on your brake pedal when you need to slow down or
stop.
• The ABS cannot prevent the natural laws of physics
from acting on the vehicle, nor can it increase brak-
ing or steering efficiency beyond that afforded by the
condition of the vehicle brakes and tires or the
traction afforded.
• The ABS cannot prevent collisions, including those
resulting from excessive speed in turns, following
another vehicle too closely, or hydroplaning.
• The capabilities of an ABS equipped vehicle must
never be exploited in a reckless or dangerous manner
that could jeopardize the user ’s safety or the safety of
others.
88 SAFETY
Page 91 of 337
When you are in a severe braking condition involving the
use of the ABS, you will experience some pedal drop as the
vehicle comes to a stop. This is the result of the system
reverting to the base brake system.
Engagement of the ABS may be accompanied by a pulsing
sensation. You may also hear a clicking noise. These
occurrences are normal and indicate that the system is
functioning properly.
Electronic Brake Control System
Your vehicle is equipped with an advanced electronic
brake control system that includes the Traction Control
System (TCS), Brake Assist System (BAS) and Electronic
Stability Control (ESC), Trailer Sway Control (TSC), and
Hill Start Assist (HSA). These systems complement the
Anti-Lock Brake System (ABS) by optimizing the vehicle
braking capability during emergency braking maneuvers.
Traction Control System (TCS)
The Traction Control System (TCS) monitors the amount of
wheel spin of each of the driven wheels. If wheel spin is
detected, brake pressure is applied to the slipping wheel(s)
and engine power is reduced, to provide enhanced accel-
eration and stability. A feature of the TCS system, Brake
Limited Differential (BLD), functions similar to a limitedslip differential and controls the wheel spin across a driven
axle. If one wheel on a driven axle is spinning faster than
the other, the system will apply the brake of the spinning
wheel. This will allow more engine torque to be applied to
the wheel that is not spinning. This feature remains active
even if the ESC is in the “Partial Off” mode.
The “ESC Activation/Malfunction Indicator Light” (in the
instrument cluster) will start to flash as soon as the tires
lose traction and the wheels begin to spin. This indicates
that the TCS is active. If the indicator light flashes during
acceleration, ease up on the accelerator and apply as little
throttle as possible. Be sure to adapt your speed and
driving to the prevailing road conditions, and do not
switch off the ESC or TCS.
WARNING!
•
The TCS cannot prevent the natural laws of physics
from acting on the vehicle, nor can it increase the
traction afforded.
• The TCS cannot prevent collisions, including those
resulting from excessive speed in turns, or hydro-
planing.
(Continued)
5
SAFETY 89
Page 95 of 337

detected in the ESC system. If this light remains on after
several ignition cycles, and the vehicle has been driven
several miles (kilometers) at speeds greater than 30 mph
(48 km/h), see your authorized dealer as soon as possible
to have the problem diagnosed and corrected.
The ESC Activation/Malfunction Indicator Light (located
in the instrument cluster) starts to flash as soon as the tires
lose traction and the ESC system becomes active. The ESC
Activation/Malfunction Indicator Light also flashes when
TCS is active. If the ESC Activation/Malfunction Indicator
Light begins to flash during acceleration, ease up on the
accelerator and apply as little throttle as possible. Be sure to
adapt your speed and driving to the prevailing road
conditions.
NOTE:
•The ESC Activation/Malfunction Indicator Light and
the ESC OFF Indicator Light come on momentarily each
time the ignition switch is turned ON.
• Each time the ignition is turned ON, the ESC system will
be ON even if it was turned off previously. •
The ESC system will make buzzing or clicking sounds
when it is active. This is normal; the sounds will stop
when ESC becomes inactive following the maneuver
that caused the ESC activation.
The ESC OFF Indicator Light indicates the Elec-
tronic Stability Control (ESC) is off.
Trailer Sway Control (TSC)
TSC uses sensors in the vehicle to recognize an excessively
swaying trailer and will take the appropriate actions to
attempt to stop the sway. The system may reduce engine
power and apply the brake of the appropriate wheel(s) to
counteract the sway of the trailer. TSC will become active
automatically once an excessively swaying trailer is recog-
nized.
NOTE: TSC cannot stop all trailers from swaying. Always
use caution when towing a trailer and follow the trailer
tongue weight recommendations. Refer to “Trailer Tow-
ing” in “Starting And Operating” for further information.
When TSC is functioning, the “ESC Activation/
Malfunction Indicator Light” will flash, the engine power
may be reduced and you may feel the brakes being applied
5
SAFETY 93
Page 134 of 337
have the system inspected at your authorized dealer as
soon as possible. After the bulb check, this light will
illuminate with a single chime when a fault with the Air
Bag System has been detected. It will stay on until the
fault is cleared. If the light comes on intermittently or
remains on while driving, have your authorized dealer
service the vehicle immediately. Refer to “Occupant
Restraint Systems” in “Safety” for further information.
Defroster
Check operation by selecting the defrost mode and place
the blower control on high speed. You should be able to
feel the air directed against the windshield. See your
authorized dealer for service if your defroster is inoper-
able.
Floor Mat Safety Information
Always use floor mats designed to fit your vehicle. Only
use a floor mat that does not interfere with the operation of
the accelerator, brake or clutch pedals. Only use a floor mat
that is securely attached using the floor mat fasteners so it
cannot slip out of position and interfere with the accelera-
tor, brake or clutch pedals or impair safe operation of your
vehicle in other ways.
WARNING!
An improperly attached, damaged, folded, or stacked
floor mat, or damaged floor mat fasteners may cause
your floor mat to interfere with the accelerator, brake,
or clutch pedals and cause a loss of vehicle control. To
prevent SERIOUS INJURY or DEATH:
•ALWAYS securely attach
your floor mat using the
floor mat fasteners. DO NOT install your floor mat
upside down or turn your floor mat over. Lightly pull
to confirm mat is secured using the floor mat fasten-
ers on a regular basis.
• ALWAYS REMOVE THE EXISTING FLOOR MAT
FROM THE VEHICLE
before installing any other
floor mat. NEVER install or stack an additional floor
mat on top of an existing floor mat.
• ONLY install floor mats designed to fit your vehicle.
NEVER install a floor mat that cannot be properly
attached and secured to your vehicle. If a floor mat
needs to be replaced, only use a FCA approved floor
mat for the specific make, model, and year of your
vehicle.
• ONLY use the driver ’s side floor mat on the driver ’s
side floor area. To check for interference, with the
(Continued)
132 SAFETY
Page 135 of 337
WARNING!(Continued)
vehicle properly parked with the engine off, fully
depress the accelerator, the brake, and the clutch
pedal (if present) to check for interference. If your
floor mat interferes with the operation of any pedal,
or is not secure to the floor, remove the floor mat
from the vehicle and place the floor mat in your
trunk.
• ONLY use the passenger ’s side floor mat on the
passenger ’s side floor area.
• ALWAYS make sure objects cannot fall or slide into
the driver ’s side floor area when the vehicle is
moving. Objects can become trapped under accelera-
tor, brake, or clutch pedals and could cause a loss of
vehicle control.
• NEVER place any objects under the floor mat (e.g.,
towels, keys, etc.). These objects could change the
position of the floor mat and may cause interference
with the accelerator, brake, or clutch pedals.
• If the vehicle carpet has been removed and re-
installed, always properly attach carpet to the floor
and check the floor mat fasteners are secure to the
vehicle carpet. Fully depress each pedal to check for
(Continued)
WARNING! (Continued)
interference with the accelerator, brake, or clutch
pedals then re-install the floor mats.
• It is recommended to only use mild soap and water
to clean your floor mats. After cleaning, always check
your floor mat has been properly installed and is
secured to your vehicle using the floor mat fasteners
by lightly pulling mat.
Periodic Safety Checks You Should Make Outside
The Vehicle
Tires
Examine tires for excessive tread wear and uneven wear
patterns. Check for stones, nails, glass, or other objects
lodged in the tread or sidewall. Inspect the tread for cuts
and cracks. Inspect sidewalls for cuts, cracks, and bulges.
Check the wheel bolts for tightness. Check the tires (includ-
ing spare) for proper cold inflation pressure.
Lights
Have someone observe the operation of brake lights and
exterior lights while you work the controls. Check turn
signal and high beam indicator lights on the instrument
panel.
5
SAFETY 133