instrument cluster Ram ProMaster 2018 Owner's Manual
[x] Cancel search | Manufacturer: RAM, Model Year: 2018, Model line: ProMaster, Model: Ram ProMaster 2018Pages: 204, PDF Size: 4 MB
Page 88 of 204

Instrument Cluster Messages
Messages will be displayed in the instrument
cluster to alert the driver when certain un-
usual conditions occur. These messages are
described below.
MESSAGEDESCRIPTION
Service Transmission When the ignition key is turned to ON/RUN/MAR, the Transmission Fault Indicator light turns on and
should go off after a few seconds.
The Transmission Fault Indicator illuminates either steady or blinking (together with this message and a buzzer) to indicate a transmission fault.
Contact your authorized dealer if the message continues to appear.
Reduce Gear Changes This message indicates that the driver is operating the transmission incorrectly.
Incorrect use (by the driver) could automatically activate a procedure for protecting the system. Contact you authorized dealer if the message continues to appear.
Manual Unavailable MANUAL (M) mode is not available, due to a fault or other condition. Use the DRIVE (D) position to op-
erate the vehicle.
Contact your authorized dealer if the message continues to appear.
Automatic Unavailable Automatic (DRIVE) mode is not available due to a fault or other condition. Use MANUAL (M) mode to
operate the vehicle.
Contact your authorized dealer if the message continues to appear.
Transmission Temperature High This message appears, together with a buzzer, when the clutch overheats.
In this situation, limit stop and go driving and gear shifts or if necessary stop the vehicle and turn the engine off to allow the clutch to cool.
If the message continues to appear, contact your authorized dealer.
To avoid clutch malfunction, do not use the accelerator to keep the vehicle at a standstill (for example
holding on a hill); the clutch could be damaged by overheating. Use the brake pedal instead and operate the accelerator only when you are ready to drive away.
STARTING AND OPERATING
86
Page 91 of 204
SPEED CONTROL
When engaged, the Speed Control takes over
accelerator operations at speeds greater than
25 mph (40 km/h) up to the maximum speed
of 100 mph (160 km/h).
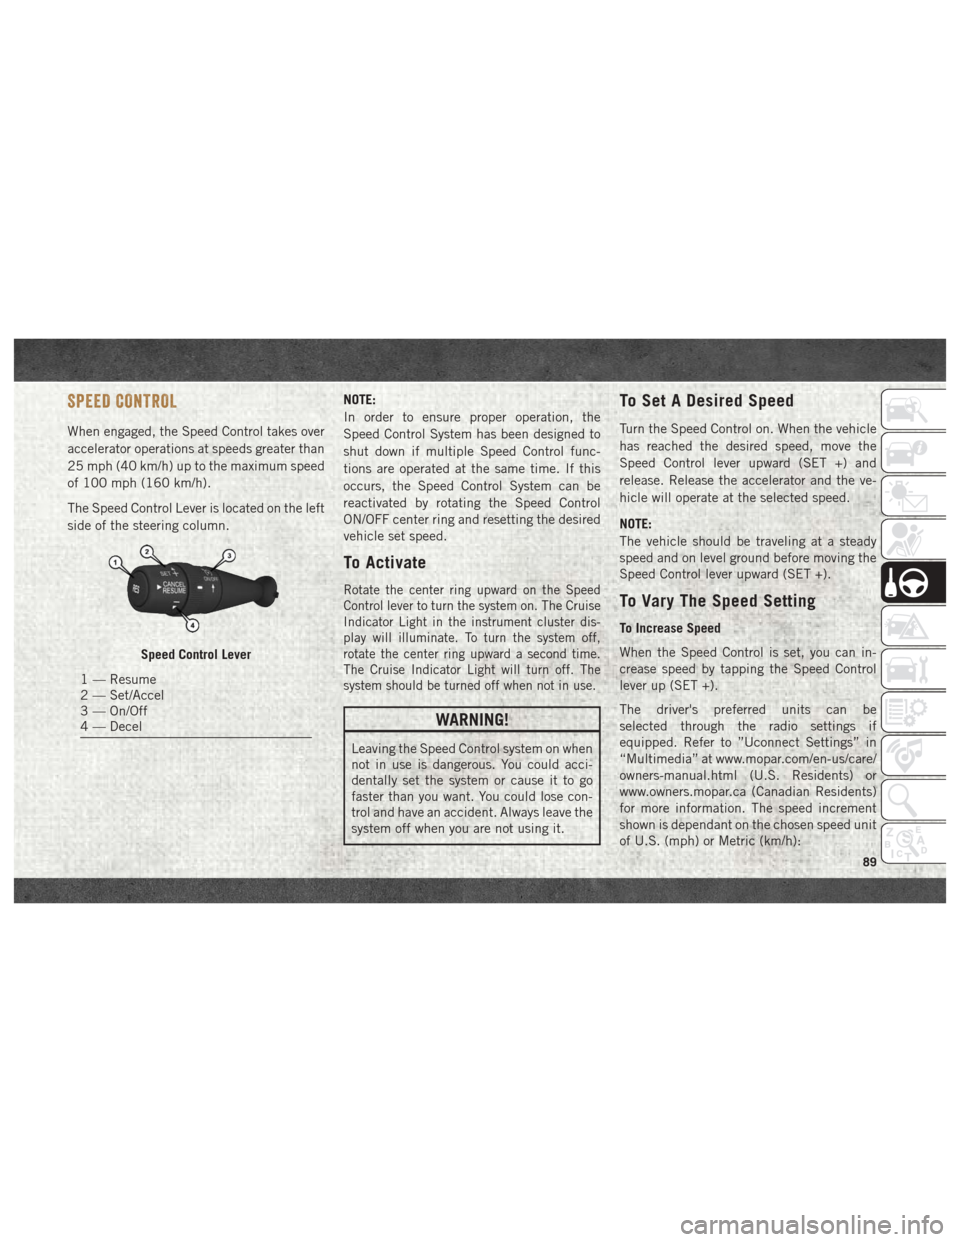
The Speed Control Lever is located on the left
side of the steering column.NOTE:
In order to ensure proper operation, the
Speed Control System has been designed to
shut down if multiple Speed Control func-
tions are operated at the same time. If this
occurs, the Speed Control System can be
reactivated by rotating the Speed Control
ON/OFF center ring and resetting the desired
vehicle set speed.
To Activate
Rotate the center ring upward on the Speed
Control lever to turn the system on. The Cruise
Indicator Light in the instrument cluster dis-
play will illuminate. To turn the system off,
rotate the center ring upward a second time.
The Cruise Indicator Light will turn off. The
system should be turned off when not in use.
WARNING!
Leaving the Speed Control system on when
not in use is dangerous. You could acci-
dentally set the system or cause it to go
faster than you want. You could lose con-
trol and have an accident. Always leave the
system off when you are not using it.
To Set A Desired Speed
Turn the Speed Control on. When the vehicle
has reached the desired speed, move the
Speed Control lever upward (SET +) and
release. Release the accelerator and the ve-
hicle will operate at the selected speed.
NOTE:
The vehicle should be traveling at a steady
speed and on level ground before moving the
Speed Control lever upward (SET +).
To Vary The Speed Setting
To Increase Speed
When the Speed Control is set, you can in-
crease speed by tapping the Speed Control
lever up (SET +).
The driver's preferred units can be
selected through the radio settings if
equipped. Refer to ”Uconnect Settings” in
“Multimedia” at www.mopar.com/en-us/care/
owners-manual.html (U.S. Residents) or
www.owners.mopar.ca (Canadian Residents)
for more information. The speed increment
shown is dependant on the chosen speed unit
of U.S. (mph) or Metric (km/h):
Speed Control Lever
1 — Resume
2 — Set/Accel
3 — On/Off
4 — Decel
89
Page 96 of 204

The DEF injection system and SCR catalyst
enable the achievement of diesel emissions
requirements; while maintaining outstanding
fuel economy, drivability, torque and power
ratings.
Refer to “Instrument Cluster Display” in
“Getting To Know Your Instrument Panel” for
system messages and warnings.
NOTE:
• Your vehicle is equipped with a DEF injec-tion system. You may occasionally hear an
audible clicking noise from under the ve-
hicle at a stop. This is normal operation.
• The DEF pump will run for a period of time after engine shutdown to purge the DEF
system. This is normal operation and may
be audible from under the vehicle.
Adding Diesel Exhaust Fluid
NOTE:
Driving conditions (altitude, vehicle speed,
load, etc.) will effect the amount of DEF that
is used by your vehicle.
DEF Fill Procedure
NOTE:
Refer to “Fluids And Lubricants” in “Techni-
cal Specifications” for the correct fluid type.
CAUTION!
It is extremely important to avoid any con-
tamination of the diesel fuel with Diesel
Exhaust Fluid (DEF). Ensure that the die-
sel fuel filler cap is in place and com-
pletely tightened before opening or filling
the DEF.
1. Remove cap from DEF filler neck (located on drivers side of the vehicle in the fuel
door).
2. Insert DEF fill adapter/nozzle into DEF tank filler neck.
CAUTION!
•To avoid DEF spillage, and possible dam-
age to the DEF tank from overfilling, do
not “top off” the DEF tank after filling.
• DO NOT OVERFILL. DEF will freeze be- low 12ºF (-11ºC). The DEF system is
designed to work in temperatures below
the DEF freezing point, however, if the
tank is overfilled and freezes, the system
could be damaged.
Fuel/DEF Fill Locations
1 — Diesel Fuel Fill Location
2 — Diesel Exhaust Fluid (DEF) Fill
Location
STARTING AND OPERATING
94
Page 126 of 204
SCHEDULED SERVICING — GASOLINE
ENGINE
Your vehicle is equipped with an automatic
oil change indicator system. The oil change
indicator system will remind you that it is
time to take your vehicle in for scheduled
maintenance.
Based on engine operation conditions, the oil
change indicator message will illuminate in
the instrument cluster. This means that ser-
vice is required for your vehicle. Operating
conditions such as frequent short-trips,
trailer tow, and extremely hot or cold ambient
temperatures will influence when the “Oil
Change Required” message is displayed. Se-
vere Operating Conditions can cause the
change oil message to illuminate as early as
3,500 miles (5,600 km) since last reset.
Have your vehicle serviced as soon as pos-
sible, within the next 500 miles (805 km).
Your authorized dealer will reset the oil change
indicator message after completing the sched-
uled oil change. If a scheduled oil change is
performed by someone other than your autho-
rized dealer, the message can be reset byreferring to the steps described under “Instru-
ment Cluster Display” in “Getting To Know
Your Instrument Panel” in your Owner’s
Manual on
www.ramtrucks.com/en/owners/
manuals for further information.
NOTE:
Under no circumstances should oil change
intervals exceed 10,000 miles (16,000 km),
twelve months or 350 hours of engine run
time, whichever comes first. The 350 hours
of engine run or idle time is generally only a
concern for fleet customers.
Severe Duty All Models
Change Engine Oil at 4,000 miles
(6,500 km) or 350 hours of engine run time
if the vehicle is operated in a dusty and off
road environment or is operated predomi-
nately at idle or only very low engine RPM’s.
This type of vehicle use is considered Severe
Duty. Once A Month Or Before A Long Trip:
• Check engine oil level
• Check windshield washer fluid level
• Check the tire inflation pressures and look
for unusual wear or damage
• Check the fluid levels of the coolant reser- voir, brake master cylinder, and power
steering and fill as needed
• Check function of all interior and exterior lights
SERVICING AND MAINTENANCE
124
Page 130 of 204
Heavy Duty Use Of The Vehicle
Change engine oil at 4,000 miles (6,500 km)
or 350 hours of engine run time if the vehicle
is operated in a dusty and off road environ-
ment or is operated predominately at idle or
only very low engine RPM’s. This type of
vehicle use is considered Severe Duty.
SCHEDULED MAINTENANCE — DIESEL
ENGINE
Your vehicle is equipped with an automatic
oil change indicator system. The oil change
indicator system will remind you that it is
time to take your vehicle in for scheduled
maintenance.
Based on engine operation conditions, the oil
change indicator message will illuminate in
the instrument cluster. This means that ser-
vice is required for your vehicle. Operating
conditions such as frequent short-trips,
trailer tow, and extremely hot or cold ambient
temperatures will influence when the “Oil
Change Required” message is displayed. Se-
vere Operating Conditions can cause the
change oil message to illuminate as early as3,500 miles (5,600 km) since last reset.
Have your vehicle serviced as soon as pos-
sible, within the next 500 miles (805 km).
NOTE:
Under no circumstances should oil change
intervals exceed 18,500 miles (29,773 km)
or twelve months, whichever comes first.
Once A Month Or Before A Long Trip:
• Check engine oil level
• Check windshield washer fluid level
• Check the tire inflation pressures and look
for unusual wear or damage
• Check the fluid levels of the coolant reser- voir, brake master cylinder, and power
steering, and fill as needed
• Check function of all interior and exterior lights
Maintenance Plan — Diesel Fuel
Up To B5 Biodiesel
Required Maintenance Intervals.
Refer to the maintenance schedules on the
following page for the required maintenance
intervals.
At Every Oil Change Interval As Indicated By The Oil Change Indicator System:
• Change oil and filter.
• Rotate the tires. Rotate at the first sign of
irregular wear, even if it occurs before your
next scheduled service.
• Inspect battery and clean and tighten ter- minals as required.
• Inspect brake pads, rotors, hoses and park brake.
• Inspect engine cooling system protection and hoses.
• Inspect exhaust system.
• Inspect engine air cleaner if using in dusty or off-road conditions.
SERVICING AND MAINTENANCE
128
Page 192 of 204
Disturb....................176
Door Ajar ....................35
Door Ajar Light ................35
Driver's Seat Back Tilt ............13
Electric Parking Brake ............78
Electronic Speed Control (Cruise Control) ..............89
Electronic Throttle Control Warning Light ...............35
Emergency, In Case Of Freeing Vehicle When Stuck .....119
Jacking ..............108, 134
Jump Starting ..............115
Engine .................132, 133
Break-In Recommendations ......77
Compartment ...........132, 133
Compartment Identification ......132
Coolant (Antifreeze) .......156, 157
Exhaust Gas Caution ...........69
Fuel Requirements ...........155
Identification ..............133
Jump Starting ..............115
Oil ..............155, 156, 157
Oil Filler Cap ..............132
Oil Selection ..............155
Overheating ...............118 Starting
..................74
Enhanced Accident Response Feature. .122
Exhaust Gas Caution .............69
Exhaust System ................69
Exterior Lighting ...............17
Exterior Lights ..............16, 72
Filters Air Conditioning .............24
Engine Oil ............156, 157
Flashers Turn Signal ..............41, 72
Fluid Capacities ...............155
Fluid Leaks ...................72
Fluids And Lubricants ........156, 157
Folding Rear Seat ...............13
Freeing A Stuck Vehicle ..........119
Fuel .......................92
Adding ...................92
Additives .................92
Diesel ................92, 157
Filler Cap (Gas Cap) ...........91
Filter ...................157
Materials Added .............92
Octane Rating ..............156
Requirements ..............155
Tank Capacity ..............155 Fuses
.....................102
Gas Cap (Fuel Filler Cap) ..........91
Gear Ranges ..................82
Gear Select Lever Override ........119
General Information .............47
Hands-Free Phone (Uconnect) ......171
Headlights High Beam ................17
High Beam/Low Beam Select Switch. .17
Switch ...................17
Head Restraints ................14
Heated Seats .................13
High Beam/Low Beam Select (Dimmer) Switch ....................17
Hood Prop ...................24
Hood Release .................24
Ignition Key .....................12
Instrument Cluster ..............41
Intermittent Wipers (Delay Wipers) ....18
Introduction ...................1
iPod/USB/MP3 Control Bluetooth Streaming Audio ......171
INDEX
190
Page 193 of 204
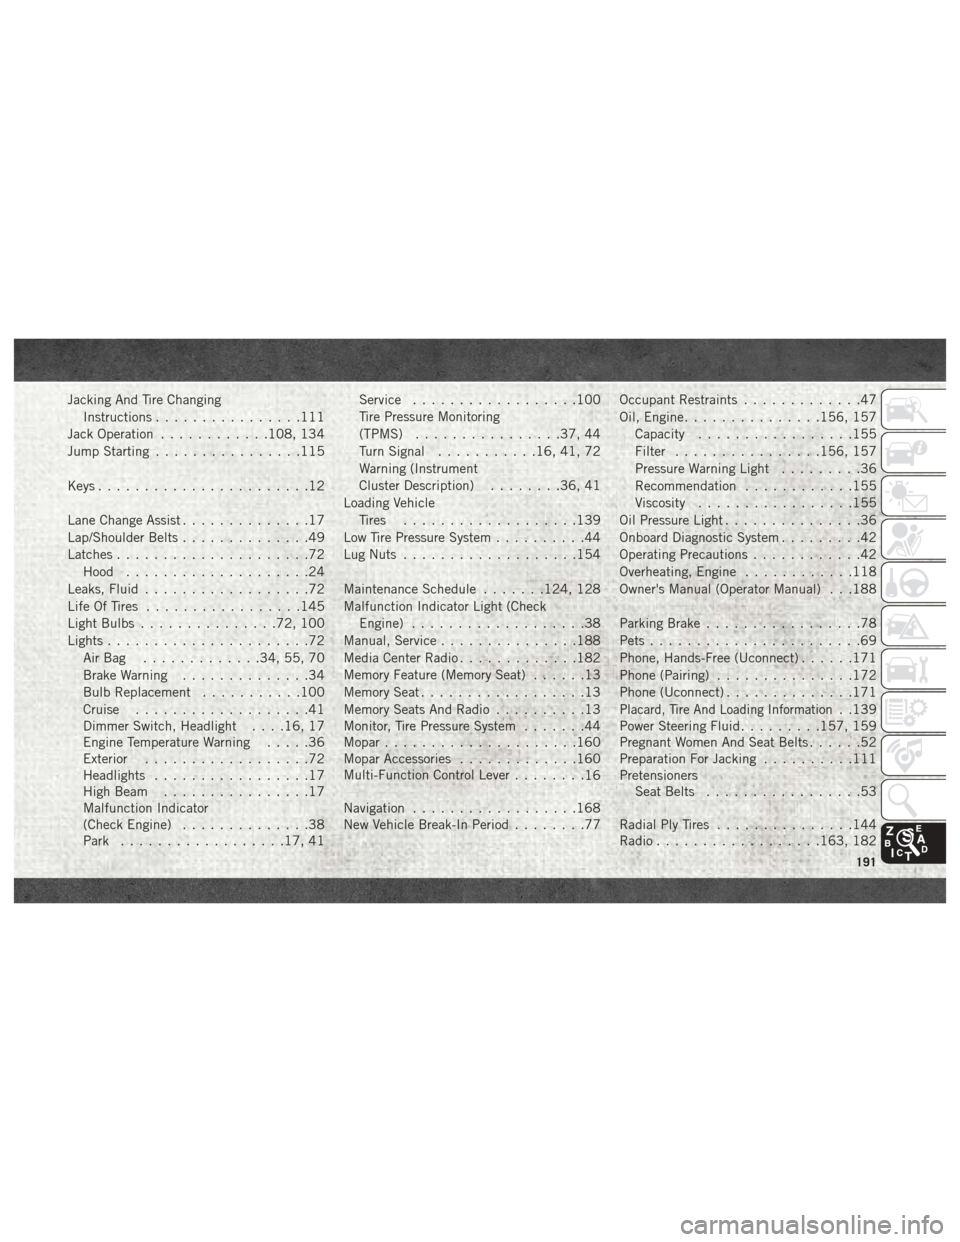
Jacking And Tire ChangingInstructions ................111
Jack Operation ............108, 134
Jump Starting ................115
Keys .......................12
Lane Change Assist ..............17
Lap/Shoulder Belts ..............49
Latches .....................72
Hood ....................24
Leaks, Fluid ..................72
Life Of Tires .................145
Light Bulbs ...............72, 100
Lights ......................72
AirBag .............34, 55, 70
Brake Warning ..............34
Bulb Replacement ...........100
Cruise ...................41
Dimmer Switch, Headlight . . . .16, 17
Engine Temperature Warning .....36
Exterior ..................72
Headlights .................17
High Beam ................17
Malfunction Indicator
(Check Engine) ..............38
Park ..................17, 41 Service
..................100
Tire Pressure Monitoring
(TPMS) ................37, 44
Turn Signal ...........16, 41, 72
Warning (Instrument
Cluster Description) ........36, 41
Loading Vehicle Tires ...................139
Low Tire Pressure System ..........44
Lug Nuts ...................154
Maintenance Schedule .......124, 128
Malfunction Indicator Light (Check Engine) ...................38
Manual, Service ...............188
Media Center Radio .............182
Memory Feature (Memory Seat) ......13
Memory Seat ..................13
Memory Seats And Radio ..........13
Monitor, Tire Pressure System .......44
Mopar .....................160
Mopar Accessories .............160
Multi-Function Control Lever ........
16
Navigation ..................168
New Vehicle Break-In Period ........77Occupant Restraints
.............47
Oil, Engine ...............156, 157
Capacity .................155
Filter ................156, 157
Pressure Warning Light .........36
Recommendation ............155
Viscosity .................155
Oil Pressure Light ...............36
Onboard Diagnostic System .........42
Operating Precautions ............42
Overheating, Engine ............118
Owner's Manual (Operator Manual) . . .188
Parking Brake .................78
Pets .......................69
Phone, Hands-Free (Uconnect) ......171
Phone (Pairing) ...............172
Phone (Uconnect) ..............171
Placard, Tire And Loading Information. .139
Power Steering Fluid .........157, 159
Pregnant Women And Seat Belts ......52
Preparation For Jacking ..........111
Pretensioners Seat Belts .................53
Radial Ply Tires ...............144
Radio ..................163, 182
191
Page 195 of 204
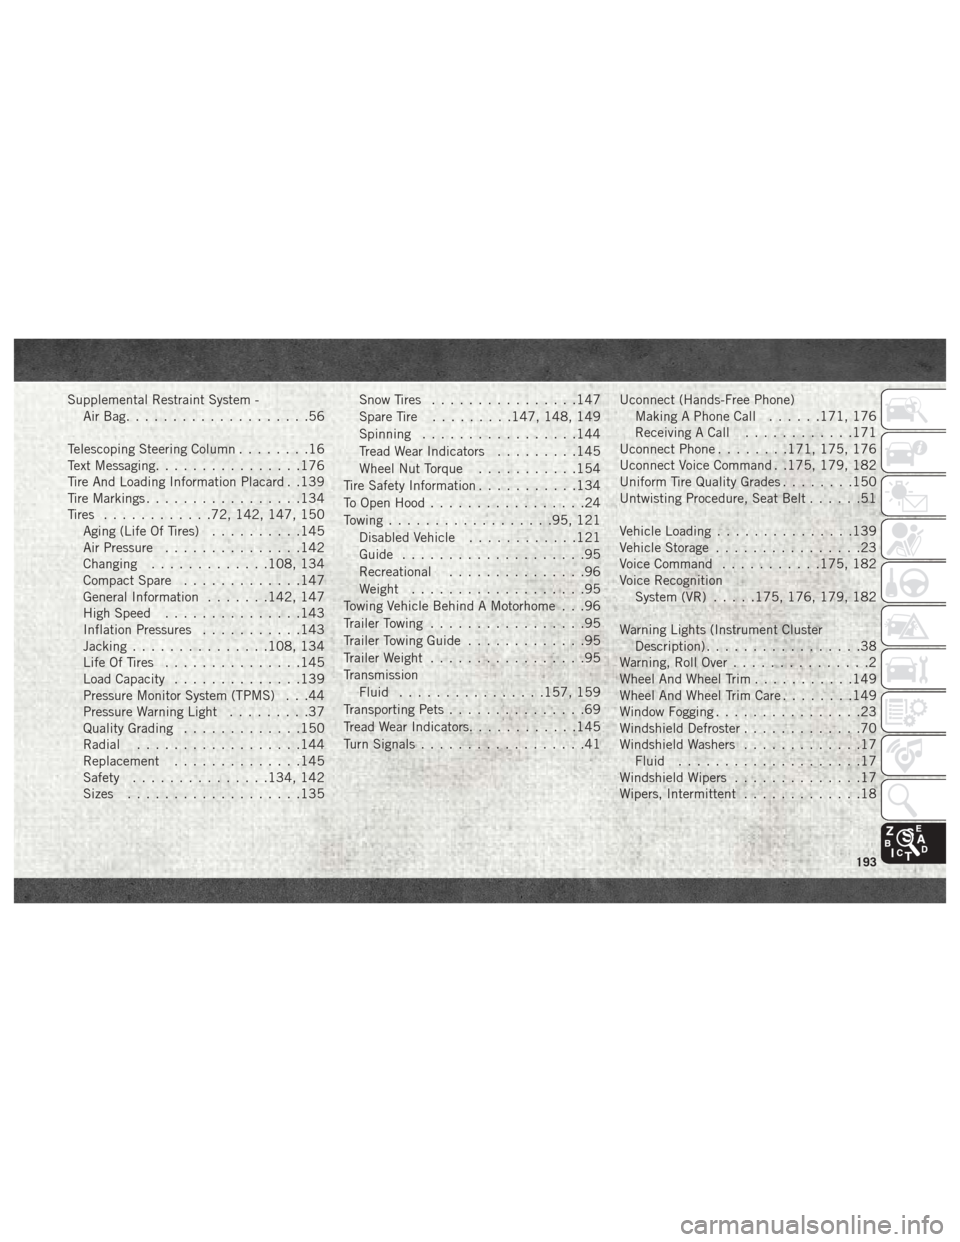
Supplemental Restraint System -AirBag....................56
Telescoping Steering Column ........16
Text Messaging ................176
Tire And Loading Information Placard . .139
Tire Markings .................134
Tires ............72, 142, 147, 150
Aging (Life Of Tires) ..........145
Air Pressure ...............142
Changing .............108, 134
Compact Spare .............147
General Information .......142, 147
High Speed ...............143
Inflation Pressures ...........143
Jacking ...............108, 134
Life Of Tires ...............145
Load Capacity ..............139
Pressure Monitor System (TPMS) . . .44
Pressure Warning Light .........37
Quality Grading .............150
Radial ..................144
Replacement ..............145
Safety ...............134, 142
Sizes ...................135 Snow Tires
................147
Spare Tire .........147, 148, 149
Spinning .................144
Tread Wear Indicators .........145
Wheel Nut Torque ...........154
Tire Safety Information ...........134
To Open Hood .................24
Towing ..................95, 121
Disabled Vehicle ............121
Guide ....................95
Recreational ...............96
Weight ...................95
Towing Vehicle Behind A Motorhome . . .96
Trailer Towing .................95
Trailer Towing Guide .............95
Trailer Weight .................95
Transmission Fluid ............... .157, 159
T
ransporting Pets ...............69
Tread Wear Indicators ............145
Turn Signals ..................41 Uconnect (Hands-Free Phone)
Making A Phone Call ......171, 176
Receiving A Call ............171
Uconnect Phone ........171, 175, 176
Uconnect Voice Command . .175, 179, 182
Uniform Tire Quality Grades ........150
Untwisting Procedure, Seat Belt ......51
Vehicle Loading ...............139
Vehicle Storage ................23
Voice Command ...........175, 182
Voice Recognition System (VR) .....175, 176, 179, 182
Warning Lights (Instrument Cluster Description) .................38
Warning, Roll Over ...............2
Wheel And Wheel Trim ...........149
Wheel And Wheel Trim Care ........149
Window Fogging ................23
Windshield Defroster .............70
Windshield Washers .............17
Fluid ....................17
Windshield Wipers ..............17
Wipers, Intermittent .............18
193