lane assist Ram ProMaster 2018 User Guide
[x] Cancel search | Manufacturer: RAM, Model Year: 2018, Model line: ProMaster, Model: Ram ProMaster 2018Pages: 204, PDF Size: 4 MB
Page 13 of 204

GETTING TO KNOW YOUR VEHICLE
KEYS......................12
KeyFob.....................12
SEATS .....................13
Heated Seats — If Equipped ........13
Adjustable Armrests — If Equipped ....14
HEAD RESTRAINTS..............14
Front Head Restraint Adjustment .....15
Front Head Restraint Removal .......15
STEERING WHEEL..............16
Telescoping Steering Column .......16
EXTERIOR LIGHTS..............16
Multifunction Lever ..............16
Headlights ...................17
High Beam/Low Beam Select Switch . . .17
Parking Lights .................17
Turn Signals ..................17
Lane Change Assist .............17
INTERIOR LIGHTS...............17
WIPERS AND WASHERS ..........17
Front Wiper Operation............17
CLIMATE CONTROLS.............19
Manual Climate Control Overview .....19
Climate Control Functions ..........22
Operating Tips .................23
HOOD......................24
Opening .....................24
Closing .....................24
INTERNAL EQUIPMENT ...........25
Power Outlets.................25
GETTING TO KNOW YOUR VEHICLE
11
Page 19 of 204

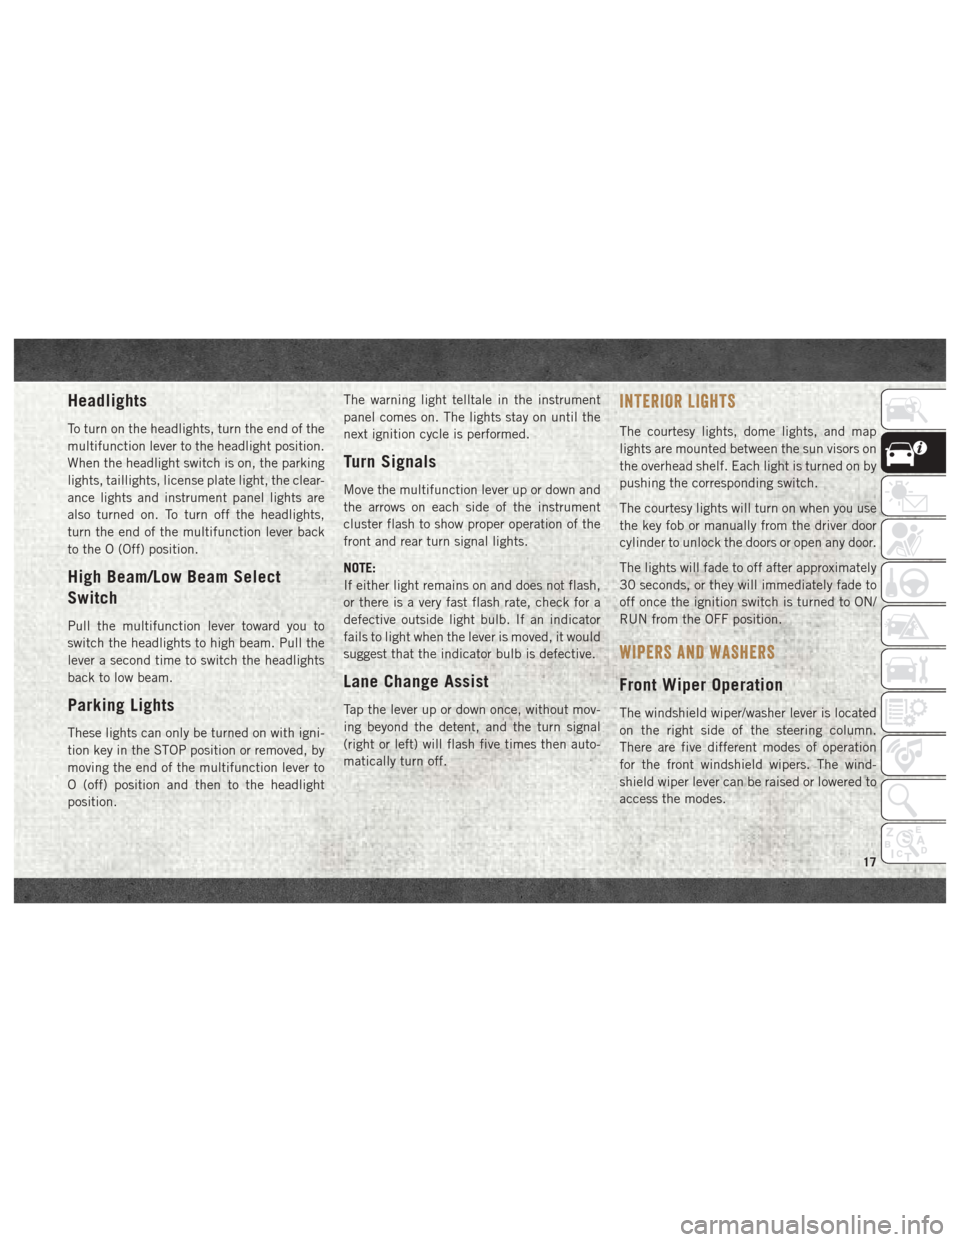
Headlights
To turn on the headlights, turn the end of the
multifunction lever to the headlight position.
When the headlight switch is on, the parking
lights, taillights, license plate light, the clear-
ance lights and instrument panel lights are
also turned on. To turn off the headlights,
turn the end of the multifunction lever back
to the O (Off) position.
High Beam/Low Beam Select
Switch
Pull the multifunction lever toward you to
switch the headlights to high beam. Pull the
lever a second time to switch the headlights
back to low beam.
Parking Lights
These lights can only be turned on with igni-
tion key in the STOP position or removed, by
moving the end of the multifunction lever to
O (off) position and then to the headlight
position.The warning light telltale in the instrument
panel comes on. The lights stay on until the
next ignition cycle is performed.
Turn Signals
Move the multifunction lever up or down and
the arrows on each side of the instrument
cluster flash to show proper operation of the
front and rear turn signal lights.
NOTE:
If either light remains on and does not flash,
or there is a very fast flash rate, check for a
defective outside light bulb. If an indicator
fails to light when the lever is moved, it would
suggest that the indicator bulb is defective.
Lane Change Assist
Tap the lever up or down once, without mov-
ing beyond the detent, and the turn signal
(right or left) will flash five times then auto-
matically turn off.
INTERIOR LIGHTS
The courtesy lights, dome lights, and map
lights are mounted between the sun visors on
the overhead shelf. Each light is turned on by
pushing the corresponding switch.
The courtesy lights will turn on when you use
the key fob or manually from the driver door
cylinder to unlock the doors or open any door.
The lights will fade to off after approximately
30 seconds, or they will immediately fade to
off once the ignition switch is turned to ON/
RUN from the OFF position.
WIPERS AND WASHERS
Front Wiper Operation
The windshield wiper/washer lever is located
on the right side of the steering column.
There are five different modes of operation
for the front windshield wipers. The wind-
shield wiper lever can be raised or lowered to
access the modes.
17
Page 193 of 204

Jacking And Tire ChangingInstructions ................111
Jack Operation ............108, 134
Jump Starting ................115
Keys .......................12
Lane Change Assist ..............17
Lap/Shoulder Belts ..............49
Latches .....................72
Hood ....................24
Leaks, Fluid ..................72
Life Of Tires .................145
Light Bulbs ...............72, 100
Lights ......................72
AirBag .............34, 55, 70
Brake Warning ..............34
Bulb Replacement ...........100
Cruise ...................41
Dimmer Switch, Headlight . . . .16, 17
Engine Temperature Warning .....36
Exterior ..................72
Headlights .................17
High Beam ................17
Malfunction Indicator
(Check Engine) ..............38
Park ..................17, 41 Service
..................100
Tire Pressure Monitoring
(TPMS) ................37, 44
Turn Signal ...........16, 41, 72
Warning (Instrument
Cluster Description) ........36, 41
Loading Vehicle Tires ...................139
Low Tire Pressure System ..........44
Lug Nuts ...................154
Maintenance Schedule .......124, 128
Malfunction Indicator Light (Check Engine) ...................38
Manual, Service ...............188
Media Center Radio .............182
Memory Feature (Memory Seat) ......13
Memory Seat ..................13
Memory Seats And Radio ..........13
Monitor, Tire Pressure System .......44
Mopar .....................160
Mopar Accessories .............160
Multi-Function Control Lever ........
16
Navigation ..................168
New Vehicle Break-In Period ........77Occupant Restraints
.............47
Oil, Engine ...............156, 157
Capacity .................155
Filter ................156, 157
Pressure Warning Light .........36
Recommendation ............155
Viscosity .................155
Oil Pressure Light ...............36
Onboard Diagnostic System .........42
Operating Precautions ............42
Overheating, Engine ............118
Owner's Manual (Operator Manual) . . .188
Parking Brake .................78
Pets .......................69
Phone, Hands-Free (Uconnect) ......171
Phone (Pairing) ...............172
Phone (Uconnect) ..............171
Placard, Tire And Loading Information. .139
Power Steering Fluid .........157, 159
Pregnant Women And Seat Belts ......52
Preparation For Jacking ..........111
Pretensioners Seat Belts .................53
Radial Ply Tires ...............144
Radio ..................163, 182
191