light Ram ProMaster 2020 User Guide
[x] Cancel search | Manufacturer: RAM, Model Year: 2020, Model line: ProMaster, Model: Ram ProMaster 2020Pages: 264, PDF Size: 10.11 MB
Page 24 of 264
22GETTING TO KNOW YOUR VEHICLE
Outside Mirrors Folding Feature
All outside mirrors are hinged and may be
moved either forward or rearward to resist
damage. The hinges have three detent posi -
tions:
Full forward position
Full rearward position
Normal position
Power Mirrors — If Equipped
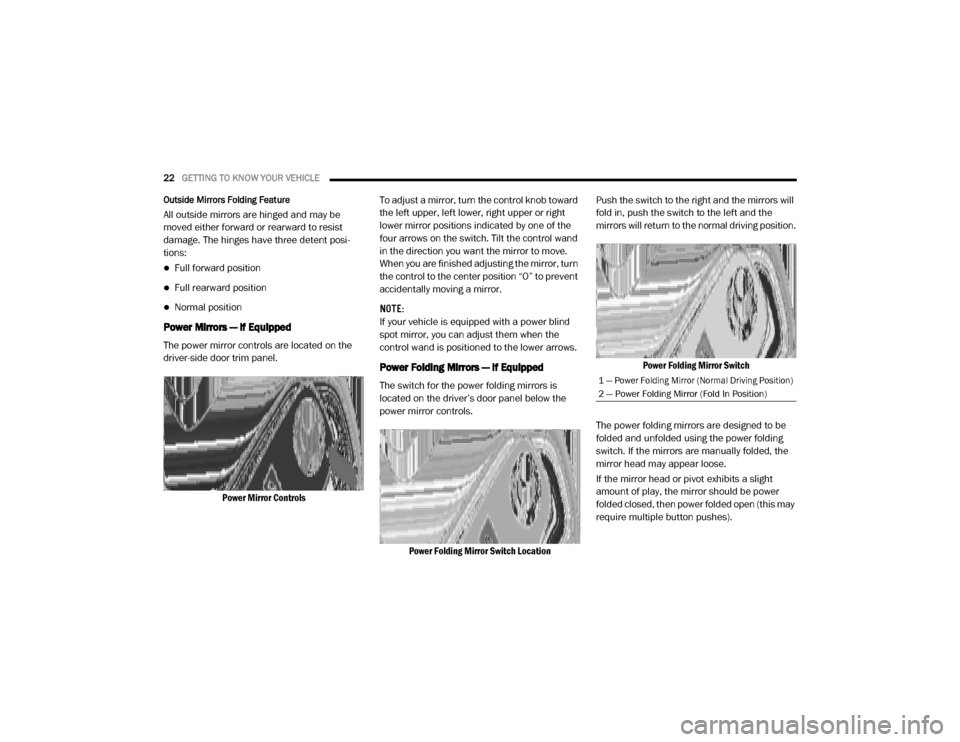
The power mirror controls are located on the
driver-side door trim panel.
Power Mirror Controls To adjust a mirror, turn the control knob toward
the left upper, left lower, right upper or right
lower mirror positions indicated by one of the
four arrows on the switch. Tilt the control wand
in the direction you want the mirror to move.
When you are finished adjusting the mirror, turn
the control to the center position “O” to prevent
accidentally moving a mirror.
NOTE:
If your vehicle is equipped with a power blind
spot mirror, you can adjust them when the
control wand is positioned to the lower arrows.
Power Folding Mirrors — If Equipped
The switch for the power folding mirrors is
located on the driver’s door panel below the
power mirror controls.
Power Folding Mirror Switch Location Push the switch to the right and the mirrors will
fold in, push the switch to the left and the
mirrors will return to the normal driving position.
Power Folding Mirror Switch
The power folding mirrors are designed to be
folded and unfolded using the power folding
switch. If the mirrors are manually folded, the
mirror head may appear loose.
If the mirror head or pivot exhibits a slight
amount of play, the mirror should be power
folded closed, then power folded open (this may
require multiple button pushes).
1 — Power Folding Mirror (Normal Driving Position)
2 — Power Folding Mirror (Fold In Position)
20_VF_OM_EN_US_t.book Page 22
Page 25 of 264
GETTING TO KNOW YOUR VEHICLE23
NOTE:
The intended use of the power fold mirrors is by
pushing the buttons to fold and unfold the
mirrors. Only manually fold the mirrors when
necessary.
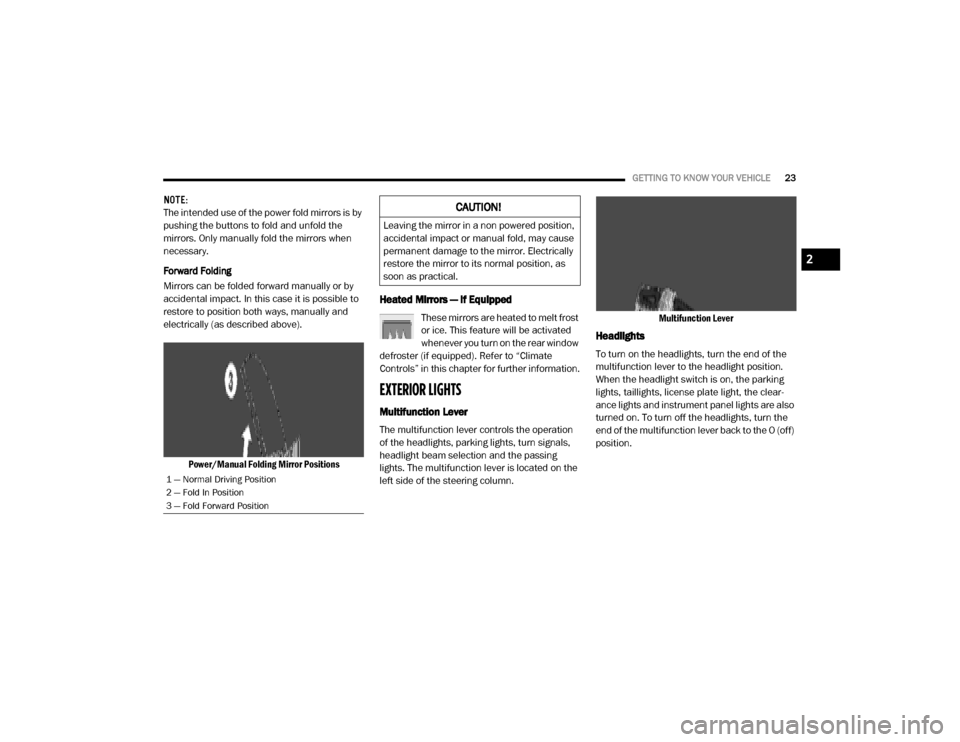
Forward Folding
Mirrors can be folded forward manually or by
accidental impact. In this case it is possible to
restore to position both ways, manually and
electrically (as described above).
Power/Manual Folding Mirror Positions
Heated Mirrors — If Equipped
These mirrors are heated to melt frost
or ice. This feature will be activated
whenever you turn on the rear window
defroster (if equipped). Refer to “Climate
Controls” in this chapter for further information.
EXTERIOR LIGHTS
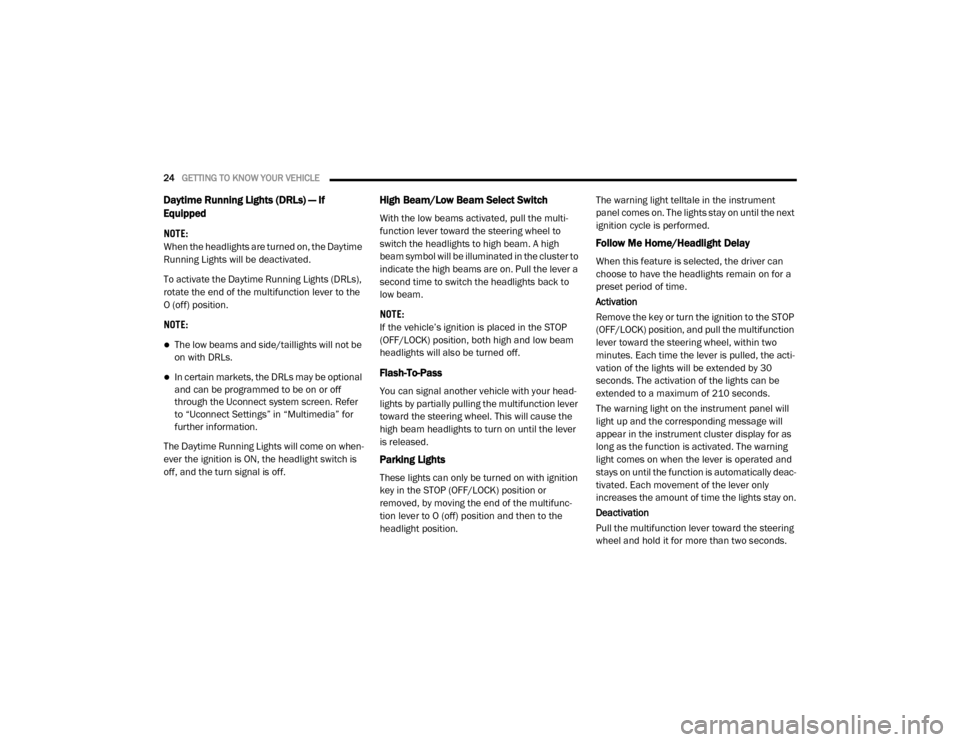
Multifunction Lever
The multifunction lever controls the operation
of the headlights, parking lights, turn signals,
headlight beam selection and the passing
lights. The multifunction lever is located on the
left side of the steering column. Multifunction Lever
Headlights
To turn on the headlights, turn the end of the
multifunction lever to the headlight position.
When the headlight switch is on, the parking
lights, taillights, license plate light, the clear
-
ance lights and instrument panel lights are also
turned on. To turn off the headlights, turn the
end of the multifunction lever back to the O (off)
position.
1 — Normal Driving Position
2 — Fold In Position
3 — Fold Forward Position
CAUTION!
Leaving the mirror in a non powered position,
accidental impact or manual fold, may cause
permanent damage to the mirror. Electrically
restore the mirror to its normal position, as
soon as practical.
2
20_VF_OM_EN_US_t.book Page 23
Page 26 of 264
24GETTING TO KNOW YOUR VEHICLE
Daytime Running Lights (DRLs) — If
Equipped
NOTE:
When the headlights are turned on, the Daytime
Running Lights will be deactivated.
To activate the Daytime Running Lights (DRLs),
rotate the end of the multifunction lever to the
O (off) position.
NOTE:
The low beams and side/taillights will not be
on with DRLs.
In certain markets, the DRLs may be optional
and can be programmed to be on or off
through the Uconnect system screen. Refer
to “Uconnect Settings” in “Multimedia” for
further information.
The Daytime Running Lights will come on when -
ever the ignition is ON, the headlight switch is
off, and the turn signal is off.
High Beam/Low Beam Select Switch
With the low beams activated, pull the multi -
function lever toward the steering wheel to
switch the headlights to high beam. A high
beam symbol will be illuminated in the cluster to
indicate the high beams are on. Pull the lever a
second time to switch the headlights back to
low beam.
NOTE:
If the vehicle’s ignition is placed in the STOP
(OFF/LOCK) position, both high and low beam
headlights will also be turned off.
Flash-To-Pass
You can signal another vehicle with your head -
lights by partially pulling the multifunction lever
toward the steering wheel. This will cause the
high beam headlights to turn on until the lever
is released.
Parking Lights
These lights can only be turned on with ignition
key in the STOP (OFF/LOCK) position or
removed, by moving the end of the multifunc -
tion lever to O (off) position and then to the
headlight position. The warning light telltale in the instrument
panel comes on. The lights stay on until the next
ignition cycle is performed.
Follow Me Home/Headlight Delay
When this feature is selected, the driver can
choose to have the headlights remain on for a
preset period of time.
Activation
Remove the key or turn the ignition to the STOP
(OFF/LOCK) position, and pull the multifunction
lever toward the steering wheel, within two
minutes. Each time the lever is pulled, the acti
-
vation of the lights will be extended by 30
seconds. The activation of the lights can be
extended to a maximum of 210 seconds.
The warning light on the instrument panel will
light up and the corresponding message will
appear in the instrument cluster display for as
long as the function is activated. The warning
light comes on when the lever is operated and
stays on until the function is automatically deac -
tivated. Each movement of the lever only
increases the amount of time the lights stay on.
Deactivation
Pull the multifunction lever toward the steering
wheel and hold it for more than two seconds.
20_VF_OM_EN_US_t.book Page 24
Page 27 of 264
GETTING TO KNOW YOUR VEHICLE25
Fog Lights — If Equipped
The fog light switch is located on the center
stack of the instrument panel, just below the
climate controls. Push the switch once to turn
the fog lights on. Push the switch a second time
to turn the fog lights off.
NOTE:
If the vehicle’s ignition is placed in the STOP
(OFF/LOCK) position, the fog lights will also turn
off.
Turn Signals
Move the multifunction lever up or down and
the arrows on each side of the instrument
cluster flash to show proper operation of the
front and rear turn signal lights.
NOTE:
If either light remains on and does not flash, or
there is a very fast flash rate, check for a defec -
tive outside light bulb. If an indicator fails to
light when the lever is moved, it would suggest
that the indicator bulb is defective.
Lane Change Assist
Tap the lever up or down once, without moving
beyond the detent, and the turn signal (right or
left) will flash five times then automatically turn
off.
Battery Saver
To protect the life of your vehicle’s battery,
when the ignition is OFF and any door is left ajar
for 15 minutes, the interior lights will automati -
cally turn off.
NOTE:
Battery saver mode is cancelled if the ignition is
placed in the MAR (ACC/ON/RUN).
INTERIOR LIGHTS
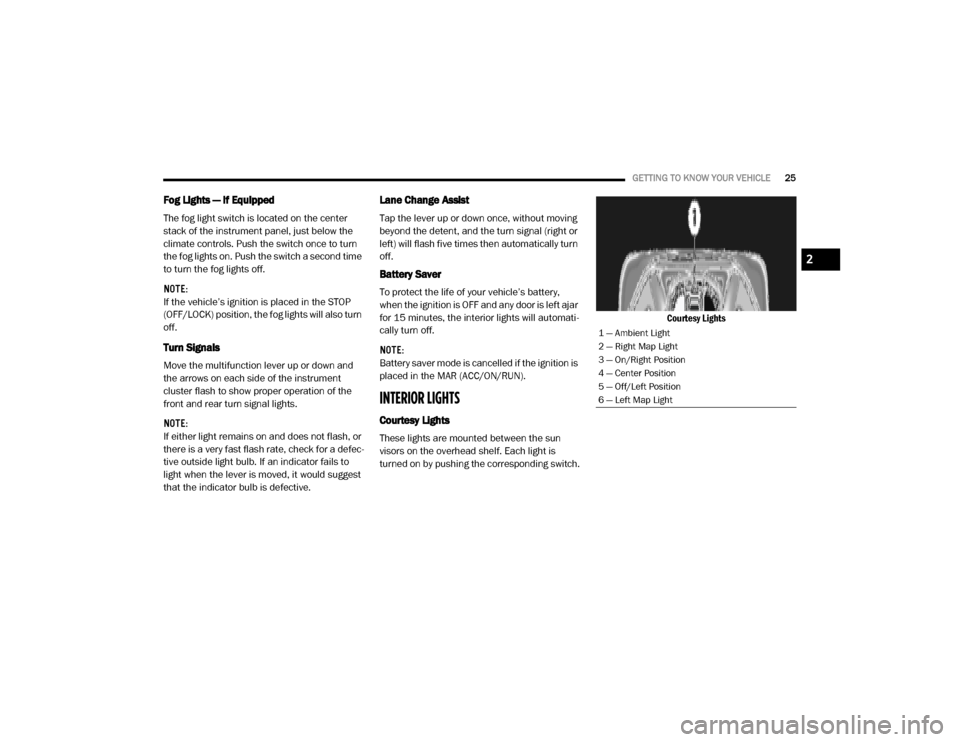
Courtesy Lights
These lights are mounted between the sun
visors on the overhead shelf. Each light is
turned on by pushing the corresponding switch. Courtesy Lights
1 — Ambient Light
2 — Right Map Light
3 — On/Right Position
4 — Center Position
5 — Off/Left Position
6 — Left Map Light
2
20_VF_OM_EN_US_t.book Page 25
Page 28 of 264
26GETTING TO KNOW YOUR VEHICLE
Dome Lights
The interior lights can be set to three different
positions (off/left position, center position, on/
right position). Using the switch on the bottom
of the overhead console:
Push the switch to the on/right position
from its center position and the lights are
always on.
Push the switc h to the off/left po sitio n
from its c enter positio n and the lights are
always o ff.
Leave the switch in the center position, and
the lights are turned on and off when the
doors are opened or closed.
Map Lights
The switches on the left and right sides of the
overhead console controls the map or reading
function of the lights. Push the switch on the
right position to turn the right light on, push
again to turn the right light off. Push the switch
on the left position to turn the left light on, also
push again to turn the left light off.
Rear Lights
The Rear Cargo Lamp is located at the upper
rear cargo area above the rear doors.
Rear Cargo Lamp
Your vehicle may be equipped with a Side Cargo
Lamp located at the upper rear area of the
passenger side sliding door opening. Side Cargo Lamp
The Cargo Lamps can be set to three different
positions (off/right position, center position,
on/left position).
Push the Cargo Lamp lens to the right from its
center position and the lamp is always off.
Leave the Cargo Lamp lens in the center posi -
tion, and the lamp is turned on and off when
the sliding doors or rear doors are opened or
closed.
Push the Cargo Lamp lens to the left from its
center position and the lamp is always on.
CAUTION!
Before getting out of the vehicle be sure that
the switch is in the center position or that the
lights are off to avoid draining the battery.
20_VF_OM_EN_US_t.book Page 26
Page 29 of 264
GETTING TO KNOW YOUR VEHICLE27
Dimmer Controls
The dimmer controls are located on the left side
of the instrument panel below the instrument
cluster display.
Dimmer Controls
Pushing the up or down arrow will increase or
decrease the brightness of the instrument
panel lights, as long as the headlights are
turned on.
Ambient Light
The vehicle is equipped with ambient light on
the dome lamp. The ambient light will be on all
the time, with the option of dimming it with the
dimmer controls as long as the headlights are
turned on.
Illuminated Entry
The courtesy lights will turn on when you use the
key fob to unlock the doors or open any door.
They also turn on when unlocking or opening
manually from the driver door cylinder.
The lights will fade to off after approximately 30
seconds, or they will immediately fade to off
once the ignition switch is changed to the MAR
(ACC/ON/RUN) position from the STOP (OFF/
LOCK) position.
NOTE:
The front courtesy overhead console and
door courtesy lights will not turn off if the
dimmer control is in the “Dome ON” position.
The illuminated entry system will not operate
if the dimmer control is in the “Dome OFF”
position.
WIPERS AND WASHERS
Front Wiper Operation
The windshield wiper/washer lever is located on
the right side of the steering column. There are
five different modes of operation for the front
windshield wipers. The windshield wiper lever
can be raised or lowered to access the modes.
NOTE:
The windshield wipers/washers will only
operate with the ignition in the MAR (ACC/ON/
RUN) position.
Windshield Wiper/Washer Lever
2
20_VF_OM_EN_US_t.book Page 27
Page 33 of 264

GETTING TO KNOW YOUR VEHICLE31
Bi-Level Mode Bi-Level Mode
Air comes from the instrument panel outlets and floor outlets. A slight amount of air is directed through the defrost and
side window demister outlets.
NOTE:
Bi-Level mode is designed under comfort conditions to provide cooler air out of the panel outlets and warmer air from the
floor outlets.
Floor Mode Floor Mode Air comes from the floor outlets. A slight amount of air is directed through the defrost and side window demister outlets.
Mix Mode Mix Mode Air is directed through the floor, defrost, and side window demister outlets. This setting works best in cold or snowy
conditions that require extra heat to the windshield. This setting is good for maintaining comfort while reducing moisture on
the windshield.
Icon Description
2
20_VF_OM_EN_US_t.book Page 31
Page 34 of 264
32GETTING TO KNOW YOUR VEHICLE
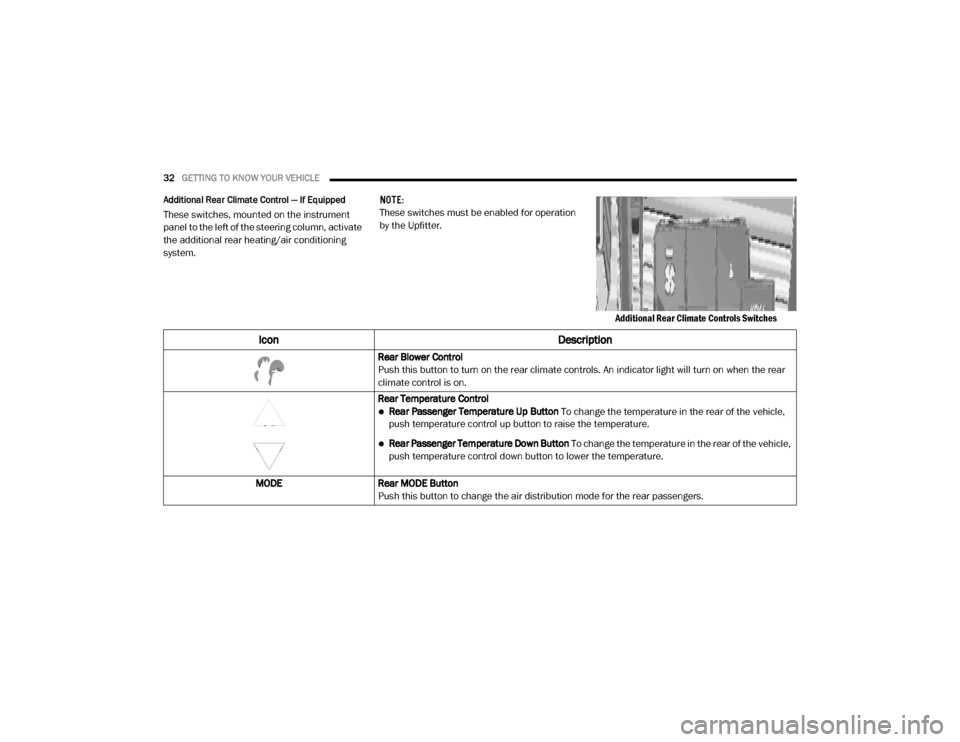
Additional Rear Climate Control — If Equipped
These switches, mounted on the instrument
panel to the left of the steering column, activate
the additional rear heating/air conditioning
system. NOTE:
These switches must be enabled for operation
by the Upfitter.
Additional Rear Climate Controls Switches
Icon Description
Rear Blower Control
Push this button to turn on the rear climate controls. An indicator light will turn on when the rear
climate control is on.
Rear Temperature Control
Rear Passenger Temperature Up Button To change the temperature in the rear of the vehicle,
push temperature control up button to raise the temperature.
Rear Passenger Temperature Down Button To change the temperature in the rear of the vehicle,
push temperature control down button to lower the temperature.
MODE Rear MODE Button
Push this button to change the air distribution mode for the rear passengers.
20_VF_OM_EN_US_t.book Page 32
Page 42 of 264
40GETTING TO KNOW YOUR VEHICLE
Auxiliary Switches — If Equipped
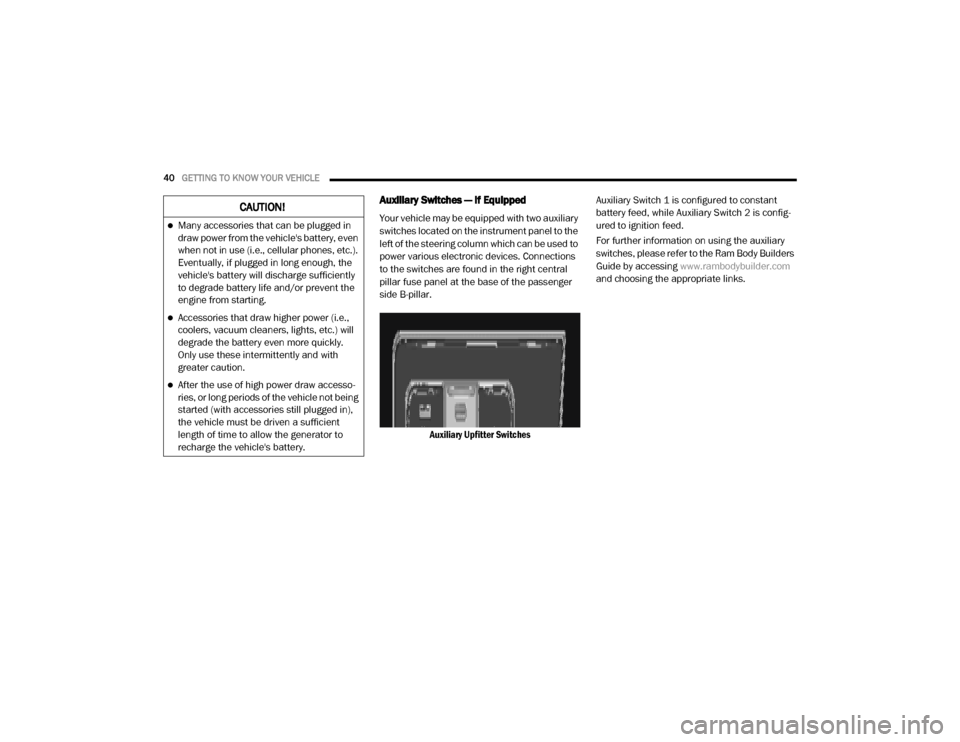
Your vehicle may be equipped with two auxiliary
switches located on the instrument panel to the
left of the steering column which can be used to
power various electronic devices. Connections
to the switches are found in the right central
pillar fuse panel at the base of the passenger
side B-pillar.
Auxiliary Upfitter Switches Auxiliary Switch 1 is configured to constant
battery feed, while Auxiliary Switch 2 is config
-
ured to ignition feed.
For further information on using the auxiliary
switches, please refer to the Ram Body Builders
Guide by accessing www.rambodybuilder.com
and choosing the appropriate links.CAUTION!
Many accessories that can be plugged in
draw power from the vehicle's battery, even
when not in use (i.e., cellular phones, etc.).
Eventually, if plugged in long enough, the
vehicle's battery will discharge sufficiently
to degrade battery life and/or prevent the
engine from starting.
Accessories that draw higher power (i.e.,
coolers, vacuum cleaners, lights, etc.) will
degrade the battery even more quickly.
Only use these intermittently and with
greater caution.
After the use of high power draw accesso -
ries, or long periods of the vehicle not being
started (with accessories still plugged in),
the vehicle must be driven a sufficient
length of time to allow the generator to
recharge the vehicle's battery.
20_VF_OM_EN_US_t.book Page 40
Page 46 of 264
44GETTING TO KNOW YOUR INSTRUMENT PANEL
MODE Button
Push and hold the MODE button for a time
longer than one second to access/select the
information screens or submenu screens of a
main menu item. Push and hold the MODE
button for two seconds to reset displayed/
selected features that can be reset.
Up Arrow Button
Push and release the up arrow
button to scroll upward through the
main menu and submenus or
adjust the illumination on the
instrument panel when the headlights are on.
Down Arrow Button
Push and release the down arrow
button to scroll downward through
the main menu and submenus or
adjust the illumination on the
instrument panel when the headlights are on.
Change Engine Oil
Your vehicle is equipped with an engine oil
change indicator system. The “Change Engine
Oil” message will display in the instrument
cluster display. The engine oil change indicator
system is duty cycle based, which means the engine oil change interval may fluctuate, depen
-
dent upon your personal driving style.
Unless reset, this message will continue to
display each time you turn the ignition switch to
the ON/RUN position. To turn off the message
temporarily, push and release the MODE
button. To reset the oil change indicator system
(after performing the scheduled maintenance),
refer to the following procedure.
1. Turn the ignition switch to the ON position (do not start the engine).
2. Fully push the accelerator pedal slowly, three times, within 10 seconds.
3. Turn the ignition switch to the OFF/LOCK position.
NOTE:
If the indicator message illuminates when you
start the vehicle, the oil change indicator
system did not reset. If necessary, repeat this
procedure.Display Setup Menu
The menu comprises a series of functions
arranged in a cycle. Push and release the up or
down arrow button to access the different
options and settings (setup). The setup menu can be activated by pushing
the
MODE button. Single pushes on the up or
down arrow button will scroll through the setup
menu options. The menu items include the
following functions:
Speed Beep
Buzzer Volume
Seat Belt Buzzer (Just Available After SBR
Disable Made By CHR Service)
Exit menu
NOTE:
If equipped, some customer programmable
features will display in the Uconnect system.
Refer to your Uconnect Owner’s Manual Supple -
ment for further information.
Selecting An Option Of The Main Menu Without
Submenu
1. Briefly push and release the MODE button
to select the main menu option to set.
2. Push and release the up or down arrow
button (by single pushes) to select the new
setting.
20_VF_OM_EN_US_t.book Page 44