buttons Ram ProMaster 2020 Owner's Manual
[x] Cancel search | Manufacturer: RAM, Model Year: 2020, Model line: ProMaster, Model: Ram ProMaster 2020Pages: 264, PDF Size: 10.11 MB
Page 22 of 264
20GETTING TO KNOW YOUR VEHICLE
HEAD RESTRAINTS
Head restraints are designed to reduce the risk
of injury by restricting head movement in the
event of a rear impact. Head restraints should
be adjusted so that the top of the head restraint
is located above the top of your ear.
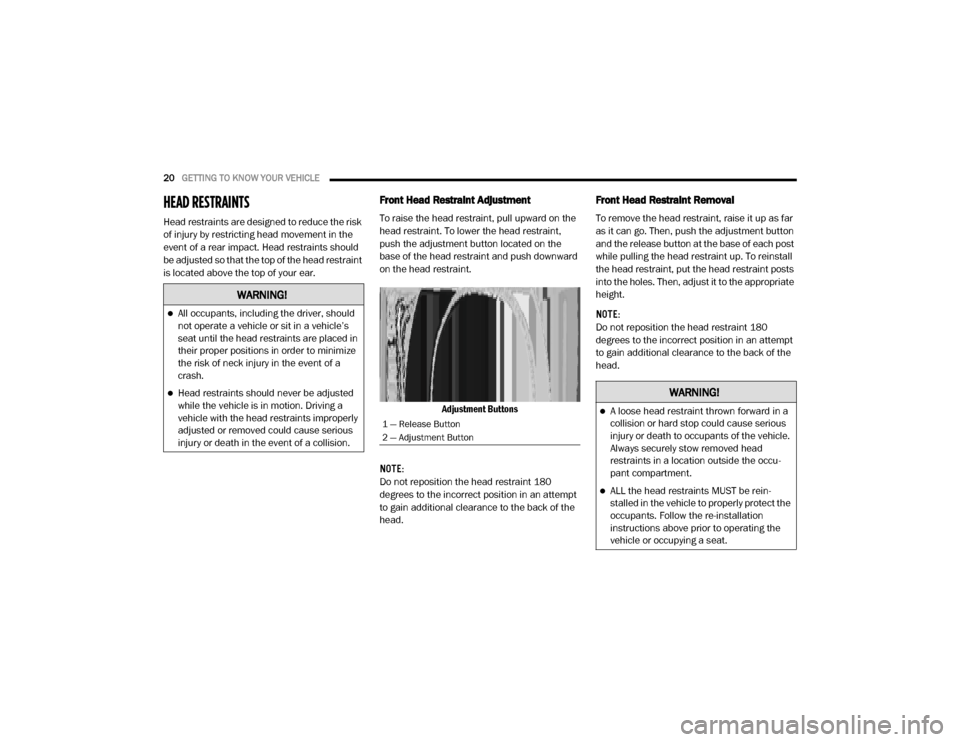
Front Head Restraint Adjustment
To raise the head restraint, pull upward on the
head restraint. To lower the head restraint,
push the adjustment button located on the
base of the head restraint and push downward
on the head restraint.
Adjustment Buttons
NOTE:
Do not reposition the head restraint 180
degrees to the incorrect position in an attempt
to gain additional clearance to the back of the
head.
Front Head Restraint Removal
To remove the head restraint, raise it up as far
as it can go. Then, push the adjustment button
and the release button at the base of each post
while pulling the head restraint up. To reinstall
the head restraint, put the head restraint posts
into the holes. Then, adjust it to the appropriate
height.
NOTE:
Do not reposition the head restraint 180
degrees to the incorrect position in an attempt
to gain additional clearance to the back of the
head.
WARNING!
All occupants, including the driver, should
not operate a vehicle or sit in a vehicle’s
seat until the head restraints are placed in
their proper positions in order to minimize
the risk of neck injury in the event of a
crash.
Head restraints should never be adjusted
while the vehicle is in motion. Driving a
vehicle with the head restraints improperly
adjusted or removed could cause serious
injury or death in the event of a collision.
1 — Release Button
2 — Adjustment Button
WARNING!
A loose head restraint thrown forward in a
collision or hard stop could cause serious
injury or death to occupants of the vehicle.
Always securely stow removed head
restraints in a location outside the occu -
pant compartment.
ALL the head restraints MUST be rein -
stalled in the vehicle to properly protect the
occupants. Follow the re-installation
instructions above prior to operating the
vehicle or occupying a seat.
20_VF_OM_EN_US_t.book Page 20
Page 25 of 264
GETTING TO KNOW YOUR VEHICLE23
NOTE:
The intended use of the power fold mirrors is by
pushing the buttons to fold and unfold the
mirrors. Only manually fold the mirrors when
necessary.
Forward Folding
Mirrors can be folded forward manually or by
accidental impact. In this case it is possible to
restore to position both ways, manually and
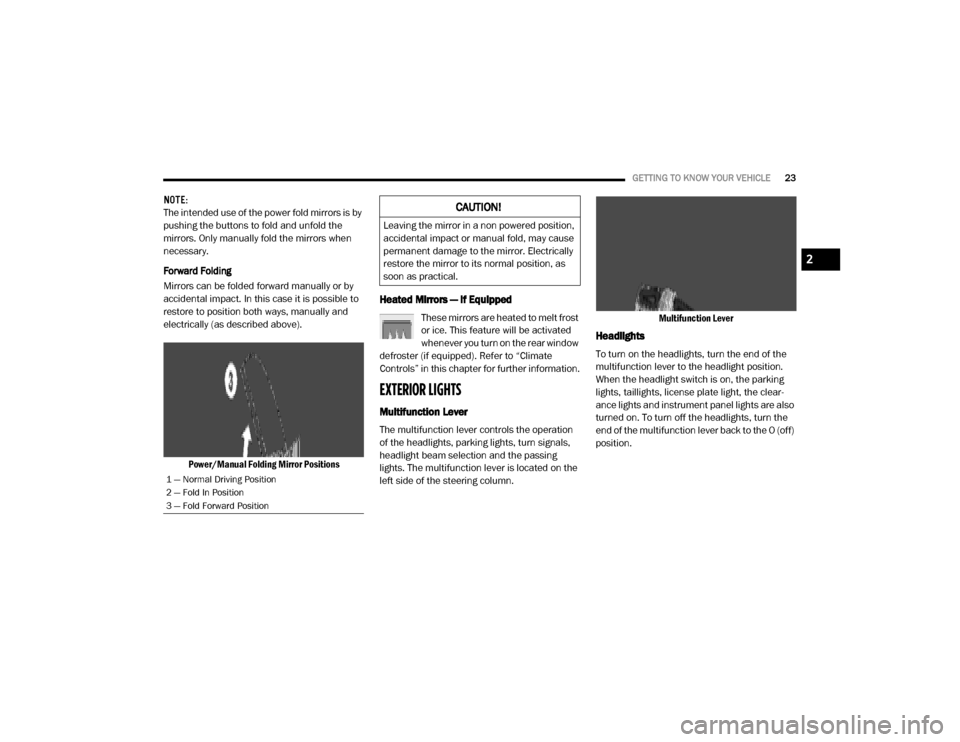
electrically (as described above).
Power/Manual Folding Mirror Positions
Heated Mirrors — If Equipped
These mirrors are heated to melt frost
or ice. This feature will be activated
whenever you turn on the rear window
defroster (if equipped). Refer to “Climate
Controls” in this chapter for further information.
EXTERIOR LIGHTS
Multifunction Lever
The multifunction lever controls the operation
of the headlights, parking lights, turn signals,
headlight beam selection and the passing
lights. The multifunction lever is located on the
left side of the steering column. Multifunction Lever
Headlights
To turn on the headlights, turn the end of the
multifunction lever to the headlight position.
When the headlight switch is on, the parking
lights, taillights, license plate light, the clear
-
ance lights and instrument panel lights are also
turned on. To turn off the headlights, turn the
end of the multifunction lever back to the O (off)
position.
1 — Normal Driving Position
2 — Fold In Position
3 — Fold Forward Position
CAUTION!
Leaving the mirror in a non powered position,
accidental impact or manual fold, may cause
permanent damage to the mirror. Electrically
restore the mirror to its normal position, as
soon as practical.
2
20_VF_OM_EN_US_t.book Page 23
Page 30 of 264
28GETTING TO KNOW YOUR VEHICLE
Intermittent Wiper System
Push the lever downward to the first detent and
rotate the center ring to use one of the four
intermittent wiper settings when weather condi -
tions make a single wiping cycle, with a variable
delay between cycles, desirable.
Low Speed
Push the lever downward to the second detent.
The wipers will operate at low speed.
High Speed
Push the lever downward to the third detent.
The wipers will operate at high speed.
Windshield Washer Operation
To use the washer, pull the windshield wiper/
washer lever toward the steering wheel to acti -
vate. The wipers will activate automatically for
three cycles after the lever is released, and then
resume the intermittent interval previously
selected.
If the lever is pulled while in the off position, the
wipers will operate for three cycles and then
turn off.
Mist Feature
Use the Mist feature when weather conditions
make occasional usage of the wipers neces -
sary. Push the lever upward to the MIST position
and release for a single wiping cycle.
NOTE:
The mist feature does not activate the washer
pump; therefore, no washer fluid will be sprayed
on the windshield. The wash function must be
used in order to spray the windshield with
washer fluid.
CLIMATE CONTROLS
The Climate Control System allows you to regu -
late the temperature, air flow, and direction of
air circulating throughout the vehicle. The
controls are located on the touchscreen (if
equipped) and on the instrument panel below
the radio.
Manual Climate Control Overview
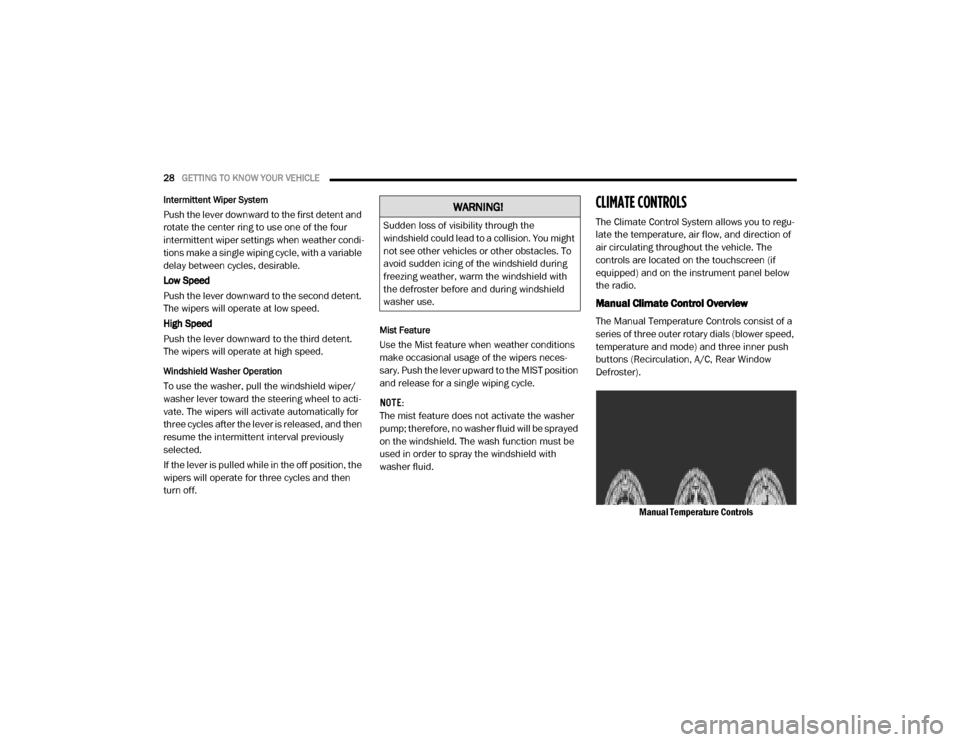
The Manual Temperature Controls consist of a
series of three outer rotary dials (blower speed,
temperature and mode) and three inner push
buttons (Recirculation, A/C, Rear Window
Defroster).
Manual Temperature Controls
WARNING!
Sudden loss of visibility through the
windshield could lead to a collision. You might
not see other vehicles or other obstacles. To
avoid sudden icing of the windshield during
freezing weather, warm the windshield with
the defroster before and during windshield
washer use.
20_VF_OM_EN_US_t.book Page 28
Page 45 of 264
GETTING TO KNOW YOUR INSTRUMENT PANEL43
5. Fuel Gauge
The pointer shows the level of fuel in the
fuel tank when the ignition switch is in
the ON/RUN position.
The fuel pump symbol points to the
side of the vehicle where the fuel door is
located.
INSTRUMENT CLUSTER DISPLAY
Your vehicle will be equipped with an instru -
ment cluster display, which offers useful infor -
mation to the driver. With the ignition in the
STOP (OFF/LOCK) mode, opening/closing of a
door will activate the display for viewing, and
display the total miles, or kilometers, in the
odometer. Your instrument cluster display is
designed to display important information
about your vehicle’s systems and features.
Using a driver interactive display located on the
instrument panel, your instrument cluster
display can show you how systems are working
and give you warnings when they are not. The
steering wheel mounted controls allow you to
scroll through the main menus and submenus.
You can access the specific information you
want and make selections and adjustments.
Location And Controls
The instrument cluster display features a driver
interactive display that is located in the instru -
ment cluster.
Instrument Cluster Display
This system allows the driver to select a variety
of useful information by pushing the switches
mounted on the instrument panel. Examples of
menu items are:
Speed Beep
Buzzer Volume
Seat Belt Buzzer (Just Available After SBR
Disable Made By CHR Service)
Exit Menu If equipped with a Uconnect system, some
customer programmable features will display in
the radio. Refer to the “Uconnect Settings” in
“Multimedia” for further information.
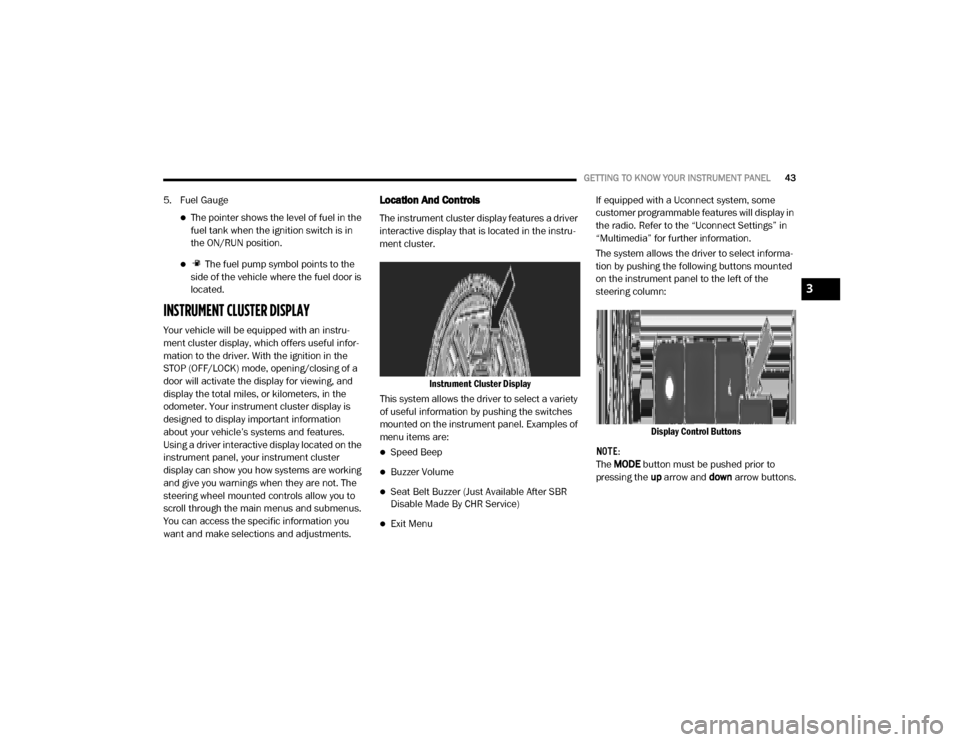
The system allows the driver to select informa
-
tion by pushing the following buttons mounted
on the instrument panel to the left of the
steering column:
Display Control Buttons
NOTE:
The MODE button must be pushed prior to
pressing the up arrow and down arrow buttons.
3
20_VF_OM_EN_US_t.book Page 43
Page 201 of 264
MULTIMEDIA199
UCONNECT SETTINGS
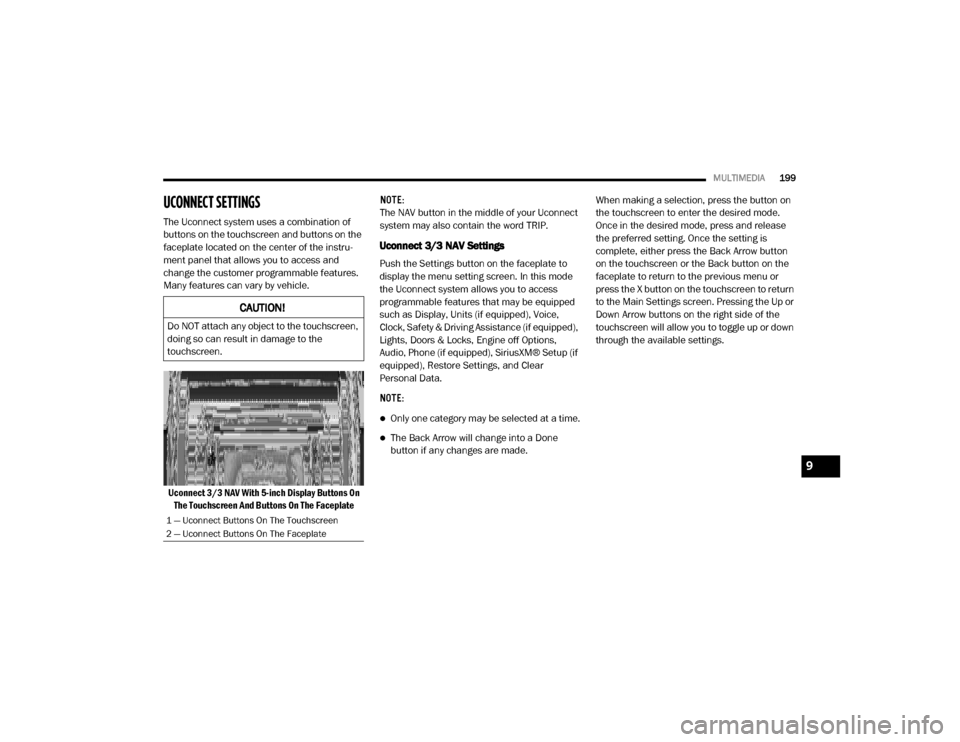
The Uconnect system uses a combination of
buttons on the touchscreen and buttons on the
faceplate located on the center of the instru -
ment panel that allows you to access and
change the customer programmable features.
Many features can vary by vehicle.
Uconnect 3/3 NAV With 5-inch Display Buttons On The Touchscreen And Buttons On The Faceplate NOTE:
The NAV button in the middle of your Uconnect
system may also contain the word TRIP.
Uconnect 3/3 NAV Settings
Push the Settings button on the faceplate to
display the menu setting screen. In this mode
the Uconnect system allows you to access
programmable features that may be equipped
such as Display, Units (if equipped), Voice,
Clock, Safety & Driving Assistance (if equipped),
Lights, Doors & Locks, Engine off Options,
Audio, Phone (if equipped), SiriusXM® Setup (if
equipped), Restore Settings, and Clear
Personal Data.
NOTE:
Only one category may be selected at a time.
The Back Arrow will change into a Done
button if any changes are made.
When making a selection, press the button on
the touchscreen to enter the desired mode.
Once in the desired mode, press and release
the preferred setting. Once the setting is
complete, either press the Back Arrow button
on the touchscreen or the Back button on the
faceplate to return to the previous menu or
press the X button on the touchscreen to return
to the Main Settings screen. Pressing the Up or
Down Arrow buttons on the right side of the
touchscreen will allow you to toggle up or down
through the available settings.
CAUTION!
Do NOT attach any object to the touchscreen,
doing so can result in damage to the
touchscreen.
1 — Uconnect Buttons On The Touchscreen
2 — Uconnect Buttons On The Faceplate
9
20_VF_OM_EN_US_t.book Page 199
Page 206 of 264
204MULTIMEDIA
Audio
After pressing the Audio button on the touchscreen, the following settings will be available:
Setting Name Selectable Options
Equalizer+ –
NOTE:
When in this display, you may adjust the “Bass”, “Mid”, and “Treble” settings. Adjust the settings with the + and – setting buttons on the touchscreen
or by selecting any point on the scale between the + and – buttons on the touchscreen. Bass/Mid/Treble also allow you to simply slide your finger up
or down to change the setting as well as press directly on the desired setting.
Balance — If Equipped Speaker Icon Arrow Buttons
NOTE:
When in this display, you may adjust the “Balance” (if equipped) of the audio by using the Arrow button on the touchscreen to adjust the sound level
of the right and left side speakers. Press the Speaker icon on the touchscreen to reset the balance to the factory setting.
Speed Adjusted Volume Off 12 3
NOTE:
The “Speed Adjusted Volume” feature increases or decreases volume relative to vehicle speed.
Surround Sound — If Equipped On Off
Loudness — If Equipped On Off
NOTE:
The “Loudness” feature improves sound quality at lower volumes when enabled.
Auto-On Radio — If Equipped On Off Recall Last
NOTE:
Press the Auto-On Radio button on the touchscreen to set how the radio behaves when the ignition is switched to ON/RUN.
20_VF_OM_EN_US_t.book Page 204
Page 207 of 264
MULTIMEDIA205
Phone/Bluetooth®
After pressing the Phone/Bluetooth® button on the touchscreen, the following settings will be available: AUX Volume Offset
+ –
NOTE:
This feature provides the ability to tune the audio level for portable devices connected through the AUX input.
Auto Play On Off
NOTE:
The Auto Play feature allows a media device to begin playing when the media device is plugged in. To make your selection, press the On or Off buttons
to activate or deactivate Auto Play.
Setting Name Selectable Options
Setting NameSelectable Options
Paired Phones/DevicesList of Paired Phones/Devices
NOTE:
This feature shows which phones are paired to the Phone system.
9
20_VF_OM_EN_US_t.book Page 205
Page 212 of 264
210MULTIMEDIA
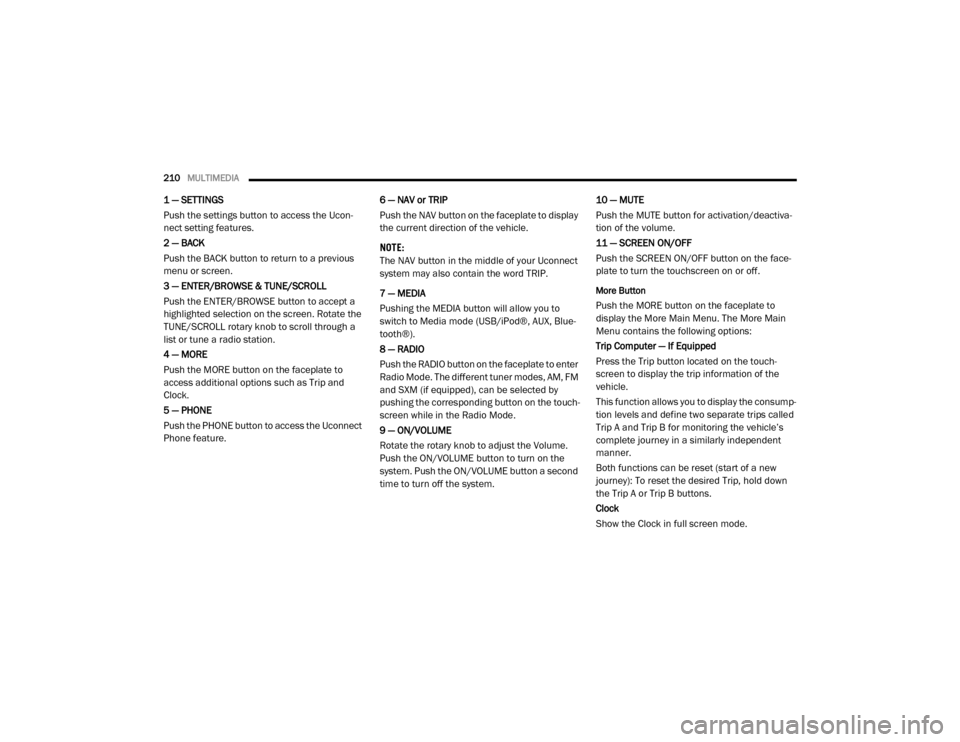
1 — SETTINGS
Push the settings button to access the Ucon -
nect setting features.
2 — BACK
Push the BACK button to return to a previous
menu or screen.
3 — ENTER/BROWSE & TUNE/SCROLL
Push the ENTER/BROWSE button to accept a
highlighted selection on the screen. Rotate the
TUNE/SCROLL rotary knob to scroll through a
list or tune a radio station.
4 — MORE
Push the MORE button on the faceplate to
access additional options such as Trip and
Clock.
5 — PHONE
Push the PHONE button to access the Uconnect
Phone feature. 6 — NAV or TRIP
Push the NAV button on the faceplate to display
the current direction of the vehicle.
NOTE:
The NAV button in the middle of your Uconnect
system may also contain the word TRIP.
7 — MEDIA
Pushing the MEDIA button will allow you to
switch to Media mode (USB/iPod®, AUX, Blue
-
tooth®).
8 — RADIO
Push the RADIO button on the faceplate to enter
Radio Mode. The different tuner modes, AM, FM
and SXM (if equipped), can be selected by
pushing the corresponding button on the touch -
screen while in the Radio Mode.
9 — ON/VOLUME
Rotate the rotary knob to adjust the Volume.
Push the ON/VOLUME button to turn on the
system. Push the ON/VOLUME button a second
time to turn off the system. 10 — MUTE
Push the MUTE button for activation/deactiva
-
tion of the volume.
11 — SCREEN ON/OFF
Push the SCREEN ON/OFF button on the face -
plate to turn the touchscreen on or off.
More Button
Push the MORE button on the faceplate to
display the More Main Menu. The More Main
Menu contains the following options:
Trip Computer — If Equipped
Press the Trip button located on the touch-
screen to display the trip information of the
vehicle.
This function allows you to display the consump -
tion levels and define two separate trips called
Trip A and Trip B for monitoring the vehicle’s
complete journey in a similarly independent
manner.
Both functions can be reset (start of a new
journey): To reset the desired Trip, hold down
the Trip A or Trip B buttons.
Clock
Show the Clock in full screen mode.
20_VF_OM_EN_US_t.book Page 210
Page 213 of 264
MULTIMEDIA211
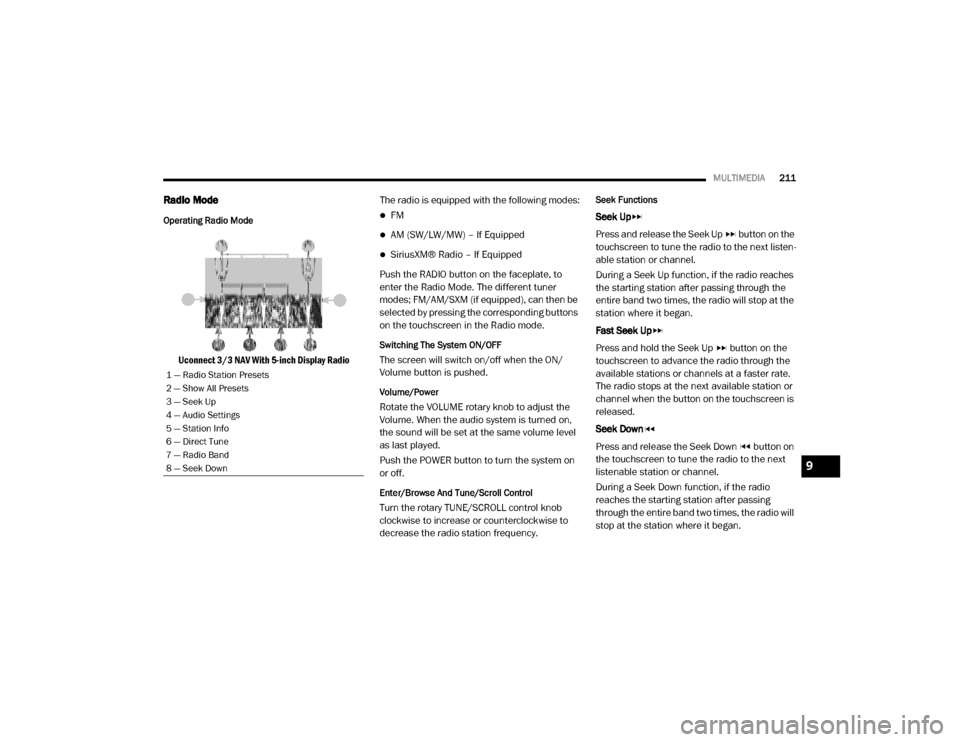
Radio Mode
Operating Radio Mode
Uconnect 3/3 NAV With 5-inch Display Radio The radio is equipped with the following modes:
FM
AM (SW/LW/MW) – If Equipped
SiriusXM® Radio – If Equipped
Push the RADIO button on the faceplate, to
enter the Radio Mode. The different tuner
modes; FM/AM/SXM (if equipped), can then be
selected by pressing the corresponding buttons
on the touchscreen in the Radio mode.
Switching The System ON/OFF
The screen will switch on/off when the ON/
Volume button is pushed.
Volume/Power
Rotate the VOLUME rotary knob to adjust the
Volume. When the audio system is turned on,
the sound will be set at the same volume level
as last played.
Push the POWER button to turn the system on
or off.
Enter/Browse And Tune/Scroll Control
Turn the rotary TUNE/SCROLL control knob
clockwise to increase or counterclockwise to
decrease the radio station frequency.
Seek Functions
Seek Up
Press and release the Seek Up button on the
touchscreen to tune the radio to the next listen -
able station or channel.
During a Seek Up function, if the radio reaches
the starting station after passing through the
entire band two times, the radio will stop at the
station where it began.
Fast Seek Up
Press and hold the Seek Up button on the
touchscreen to advance the radio through the
available stations or channels at a faster rate.
The radio stops at the next available station or
channel when the button on the touchscreen is
released.
Seek Down
Press and release the Seek Down button on
the touchscreen to tune the radio to the next
listenable station or channel.
During a Seek Down function, if the radio
reaches the starting station after passing
through the entire band two times, the radio will
stop at the station where it began.
1 — Radio Station Presets
2 — Show All Presets
3 — Seek Up
4 — Audio Settings
5 — Station Info
6 — Direct Tune
7 — Radio Band
8 — Seek Down
9
20_VF_OM_EN_US_t.book Page 211
Page 215 of 264
MULTIMEDIA213
If the screen displays Acquiring Signal, you may
need to change the vehicle’s position to receive
a signal. In most cases, the satellite radio does
not receive a signal in underground parking
garages or tunnels.
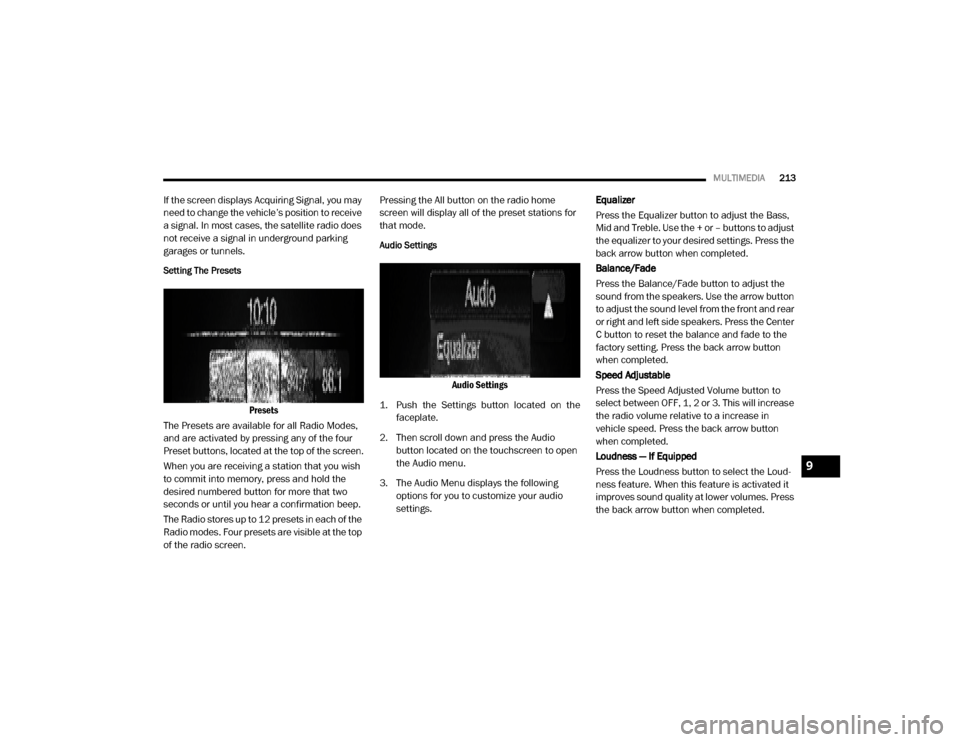
Setting The Presets
Presets
The Presets are available for all Radio Modes,
and are activated by pressing any of the four
Preset buttons, located at the top of the screen.
When you are receiving a station that you wish
to commit into memory, press and hold the
desired numbered button for more that two
seconds or until you hear a confirmation beep.
The Radio stores up to 12 presets in each of the
Radio modes. Four presets are visible at the top
of the radio screen. Pressing the All button on the radio home
screen will display all of the preset stations for
that mode.
Audio Settings
Audio Settings
1. Push the Settings button located on the faceplate.
2. Then scroll down and press the Audio button located on the touchscreen to open
the Audio menu.
3. The Audio Menu displays the following options for you to customize your audio
settings. Equalizer
Press the Equalizer button to adjust the Bass,
Mid and Treble. Use the + or – buttons to adjust
the equalizer to your desired settings. Press the
back arrow button when completed.
Balance/Fade
Press the Balance/Fade button to adjust the
sound from the speakers. Use the arrow button
to adjust the sound level from the front and rear
or right and left side speakers. Press the Center
C button to reset the balance and fade to the
factory setting. Press the back arrow button
when completed.
Speed Adjustable
Press the Speed Adjusted Volume button to
select between OFF, 1, 2 or 3. This will increase
the radio volume relative to a increase in
vehicle speed. Press the back arrow button
when completed.
Loudness — If Equipped
Press the Loudness button to select the Loud
-
ness feature. When this feature is activated it
improves sound quality at lower volumes. Press
the back arrow button when completed.
9
20_VF_OM_EN_US_t.book Page 213