height adjustment Ram ProMaster 2020 Owner's Manual
[x] Cancel search | Manufacturer: RAM, Model Year: 2020, Model line: ProMaster, Model: Ram ProMaster 2020Pages: 264, PDF Size: 10.11 MB
Page 17 of 264

GETTING TO KNOW YOUR VEHICLE15
(Continued)
Auto Unlock Doors
This feature unlocks all front doors when one
front door is opened.
NOTE:
If the rear or side door is open, only the rear or
side door is unlocked.
Automatic Door Locks
When enabled, the door locks will lock automat -
ically when the vehicle's speed exceeds 12 mph
(20 km/h). The auto door lock feature can be
enabled or disabled through the Uconnect
system.
SEATS
Seats are a part of the Occupant Restraint
System of the vehicle.
Manual Adjustments
The driver and passenger seats can be adjusted
forward/rearward and reclined. Front and rear
height and lumbar can also be adjusted (if
equipped).
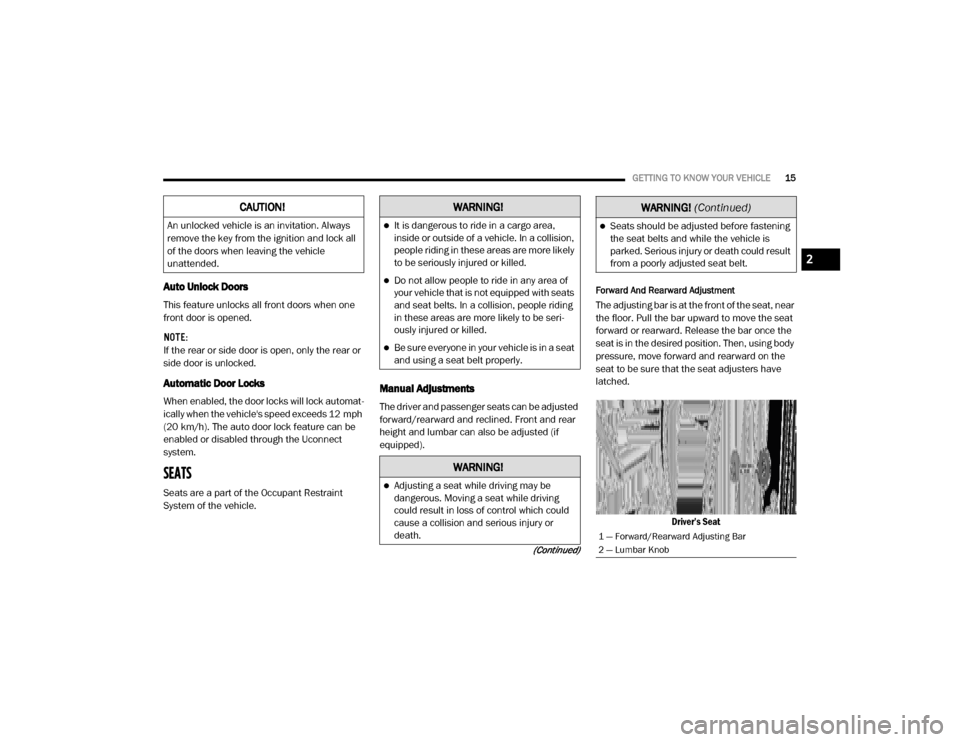
Forward And Rearward Adjustment
The adjusting bar is at the front of the seat, near
the floor. Pull the bar upward to move the seat
forward or rearward. Release the bar once the
seat is in the desired position. Then, using body
pressure, move forward and rearward on the
seat to be sure that the seat adjusters have
latched.
Driver’s Seat
CAUTION!
An unlocked vehicle is an invitation. Always
remove the key from the ignition and lock all
of the doors when leaving the vehicle
unattended.
WARNING!
It is dangerous to ride in a cargo area,
inside or outside of a vehicle. In a collision,
people riding in these areas are more likely
to be seriously injured or killed.
Do not allow people to ride in any area of
your vehicle that is not equipped with seats
and seat belts. In a collision, people riding
in these areas are more likely to be seri -
ously injured or killed.
Be sure everyone in your vehicle is in a seat
and using a seat belt properly.
WARNING!
Adjusting a seat while driving may be
dangerous. Moving a seat while driving
could result in loss of control which could
cause a collision and serious injury or
death.
Seats should be adjusted before fastening
the seat belts and while the vehicle is
parked. Serious injury or death could result
from a poorly adjusted seat belt.
1 — Forward/Rearward Adjusting Bar
2 — Lumbar Knob
WARNING!
(Continued)
2
20_VF_OM_EN_US_t.book Page 15
Page 18 of 264

16GETTING TO KNOW YOUR VEHICLE
Height Adjustment
Without Swivel Seat
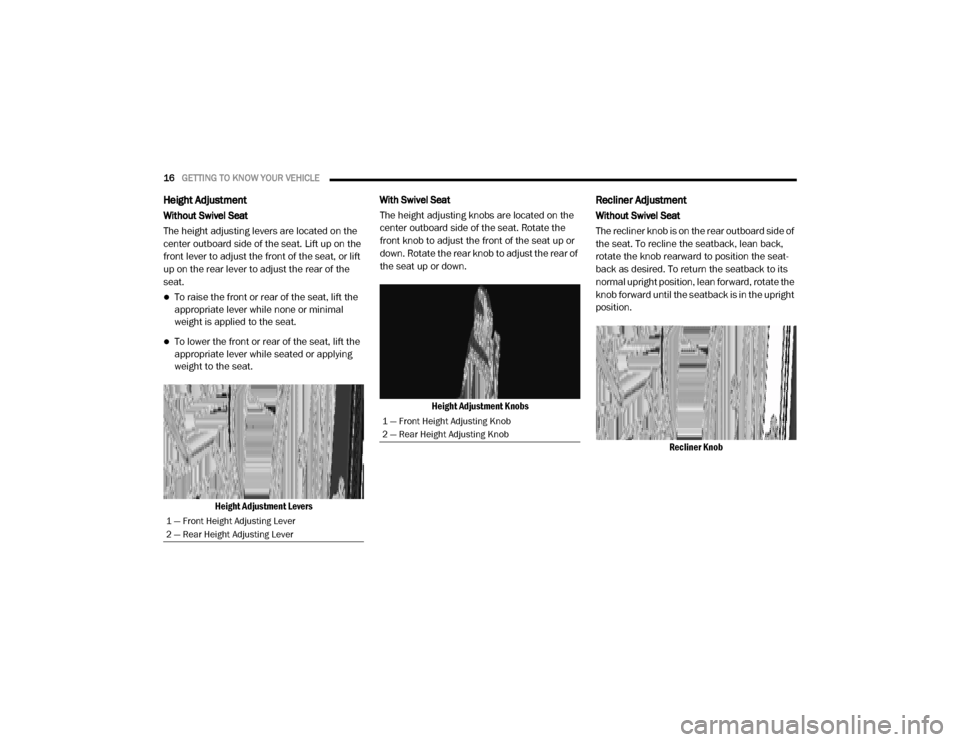
The height adjusting levers are located on the
center outboard side of the seat. Lift up on the
front lever to adjust the front of the seat, or lift
up on the rear lever to adjust the rear of the
seat.
To raise the front or rear of the seat, lift the
appropriate lever while none or minimal
weight is applied to the seat.
To lower the front or rear of the seat, lift the
appropriate lever while seated or applying
weight to the seat.
Height Adjustment Levers With Swivel Seat
The height adjusting knobs are located on the
center outboard side of the seat. Rotate the
front knob to adjust the front of the seat up or
down. Rotate the rear knob to adjust the rear of
the seat up or down.
Height Adjustment Knobs
Recliner Adjustment
Without Swivel Seat
The recliner knob is on the rear outboard side of
the seat. To recline the seatback, lean back,
rotate the knob rearward to position the seat -
back as desired. To return the seatback to its
normal upright position, lean forward, rotate the
knob forward until the seatback is in the upright
position.
Recliner Knob
1 — Front Height Adjusting Lever
2 — Rear Height Adjusting Lever
1 — Front Height Adjusting Knob
2 — Rear Height Adjusting Knob
20_VF_OM_EN_US_t.book Page 16
Page 22 of 264

20GETTING TO KNOW YOUR VEHICLE
HEAD RESTRAINTS
Head restraints are designed to reduce the risk
of injury by restricting head movement in the
event of a rear impact. Head restraints should
be adjusted so that the top of the head restraint
is located above the top of your ear.
Front Head Restraint Adjustment
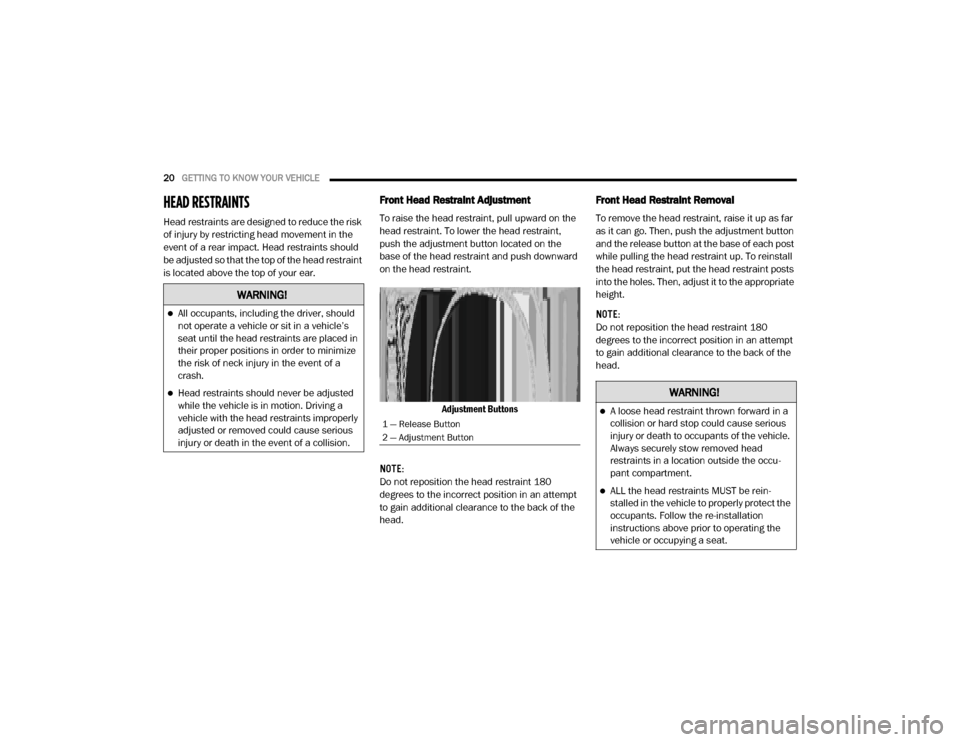
To raise the head restraint, pull upward on the
head restraint. To lower the head restraint,
push the adjustment button located on the
base of the head restraint and push downward
on the head restraint.
Adjustment Buttons
NOTE:
Do not reposition the head restraint 180
degrees to the incorrect position in an attempt
to gain additional clearance to the back of the
head.
Front Head Restraint Removal
To remove the head restraint, raise it up as far
as it can go. Then, push the adjustment button
and the release button at the base of each post
while pulling the head restraint up. To reinstall
the head restraint, put the head restraint posts
into the holes. Then, adjust it to the appropriate
height.
NOTE:
Do not reposition the head restraint 180
degrees to the incorrect position in an attempt
to gain additional clearance to the back of the
head.
WARNING!
All occupants, including the driver, should
not operate a vehicle or sit in a vehicle’s
seat until the head restraints are placed in
their proper positions in order to minimize
the risk of neck injury in the event of a
crash.
Head restraints should never be adjusted
while the vehicle is in motion. Driving a
vehicle with the head restraints improperly
adjusted or removed could cause serious
injury or death in the event of a collision.
1 — Release Button
2 — Adjustment Button
WARNING!
A loose head restraint thrown forward in a
collision or hard stop could cause serious
injury or death to occupants of the vehicle.
Always securely stow removed head
restraints in a location outside the occu -
pant compartment.
ALL the head restraints MUST be rein -
stalled in the vehicle to properly protect the
occupants. Follow the re-installation
instructions above prior to operating the
vehicle or occupying a seat.
20_VF_OM_EN_US_t.book Page 20
Page 73 of 264

SAFETY71
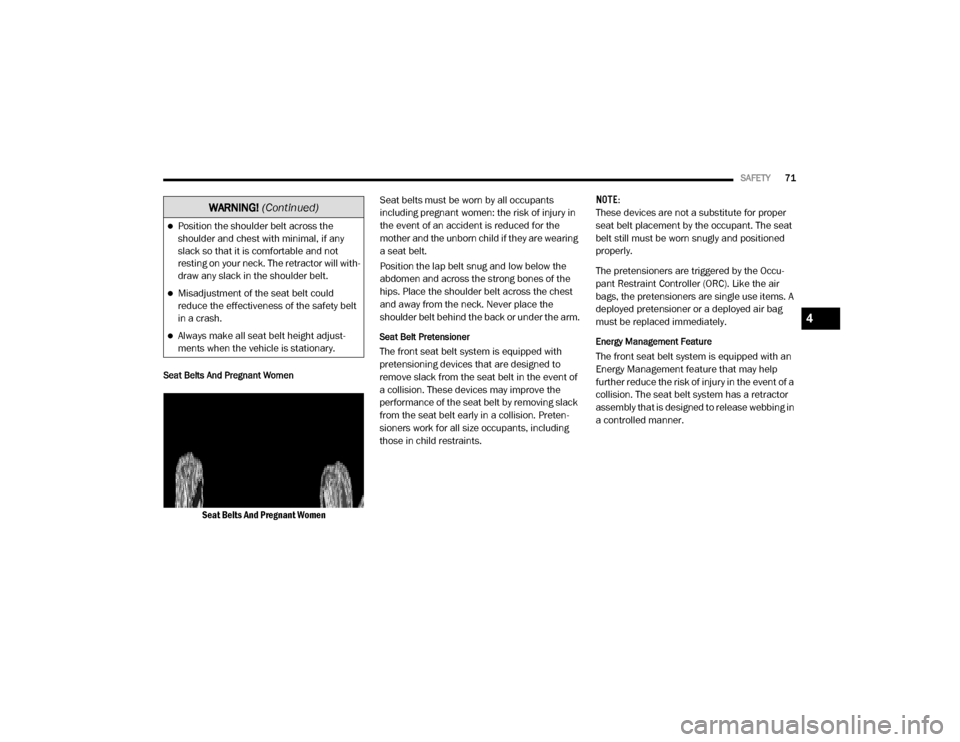
Seat Belts And Pregnant Women
Seat Belts And Pregnant Women Seat belts must be worn by all occupants
including pregnant women: the risk of injury in
the event of an accident is reduced for the
mother and the unborn child if they are wearing
a seat belt.
Position the lap belt snug and low below the
abdomen and across the strong bones of the
hips. Place the shoulder belt across the chest
and away from the neck. Never place the
shoulder belt behind the back or under the arm.
Seat Belt Pretensioner
The front seat belt system is equipped with
pretensioning devices that are designed to
remove slack from the seat belt in the event of
a collision. These devices may improve the
performance of the seat belt by removing slack
from the seat belt early in a collision. Preten
-
sioners work for all size occupants, including
those in child restraints. NOTE:
These devices are not a substitute for proper
seat belt placement by the occupant. The seat
belt still must be worn snugly and positioned
properly.
The pretensioners are triggered by the Occu
-
pant Restraint Controller (ORC). Like the air
bags, the pretensioners are single use items. A
deployed pretensioner or a deployed air bag
must be replaced immediately.Energy Management Feature
The front seat belt system is equipped with an
Energy Management feature that may help
further reduce the risk of injury in the event of a
collision. The seat belt system has a retractor
assembly that is designed to release webbing in
a controlled manner.
Position the shoulder belt across the
shoulder and chest with minimal, if any
slack so that it is comfortable and not
resting on your neck. The retractor will with -
draw any slack in the shoulder belt.
Misadjustment of the seat belt could
reduce the effectiveness of the safety belt
in a crash.
Always make all seat belt height adjust -
ments when the vehicle is stationary.
WARNING!
(Continued)
4
20_VF_OM_EN_US_t.book Page 71