mirror Ram ProMaster 2020 Owner's Manual
[x] Cancel search | Manufacturer: RAM, Model Year: 2020, Model line: ProMaster, Model: Ram ProMaster 2020Pages: 264, PDF Size: 10.11 MB
Page 4 of 264

2
INTRODUCTION
INTRODUCTION ......................................................... 7
HOW TO USE THIS MANUAL ................................... 8
Essential Information ........................................... 8
Symbols ................................................................. 8
WARNINGS AND CAUTIONS ................................... 8
VAN CONVERSIONS/CAMPERS .............................. 8
VEHICLE MODIFICATIONS/ALTERATIONS ............. 8
GETTING TO KNOW YOUR VEHICLE
KEYS .......................................................................... 9
Key Fob ................................................................. 9
IGNITION SWITCH ................................................... 11
Mechanical Ignition Switch ................................ 11
Key-In-Ignition Reminder ................................... 12
SENTRY KEY............................................................. 12
Replacement Keys ............................................ 12
General Information ........................................... 12
VEHICLE SECURITY ALARM — IF EQUIPPED ....... 13
To Arm The System ............................................. 13
To Disarm The System ....................................... 13
Rearming Of The System ................................... 14
Security System Manual Override ..................... 14
DOORS ..................................................................... 14
Power Door Locks .............................................. 14
Auto Unlock Doors .............................................. 15
Automatic Door Locks ........................................ 15
SEATS .......................................................................15
Manual Adjustments .......................................... 15
Heated Seats — If Equipped .............................. 18
Fold Down Tray — If Equipped ........................... 19
Adjustable Armrests — If Equipped ................... 19
HEAD RESTRAINTS ................................................20
Front Head Restraint Adjustment ..................... 20
Front Head Restraint Removal .......................... 20
STEERING WHEEL ...................................................21
Telescoping Steering Column ............................ 21
MIRRORS .................................................................21
Inside Day/Night Mirror — If Equipped ............ 21
Outside Mirrors .................................................. 21
Power Mirrors — If Equipped ............................. 22
Power Folding Mirrors — If Equipped ................ 22
Heated Mirrors — If Equipped............................ 23
EXTERIOR LIGHTS ...................................................23
Multifunction Lever ........................................... 23
Headlights .......................................................... 23
Daytime Running Lights (DRLs) —
If Equipped ......................................................... 24 High Beam/Low Beam Select Switch .............. 24
Flash-To-Pass ..................................................... 24
Parking Lights .................................................... 24
Follow Me Home/Headlight Delay .................... 24
Fog Lights — If Equipped ................................... 25
Turn Signals ........................................................ 25
Lane Change Assist............................................ 25
Battery Saver ...................................................... 25
INTERIOR LIGHTS ................................................... 25
Courtesy Lights....................................................25
Illuminated Entry .................................................27
WIPERS AND WASHERS ........................................ 27
Front Wiper Operation .......................................27
CLIMATE CONTROLS .............................................. 28
Manual Climate Control Overview......................28
Climate Control Functions ..................................33
Operating Tips .....................................................33
WINDOWS ............................................................... 35
Power Windows ..................................................35
Window Bar Grates — If Equipped .....................36
Wind Buffeting ....................................................36
HOOD ........................................................................ 36
Opening ...............................................................36
Closing .................................................................37
CARGO AREA FEATURES ....................................... 37
INTERNAL EQUIPMENT .......................................... 37
Storage ................................................................37
Cupholders ..........................................................38
Power Outlets ......................................................39
Auxiliary Switches — If Equipped ........................40
20_VF_OM_EN_US_t.book Page 2
Page 23 of 264
GETTING TO KNOW YOUR VEHICLE21
STEERING WHEEL
Telescoping Steering Column
This feature allows you to lengthen or shorten
the steering column. The telescoping control
handle is located below the steering wheel at
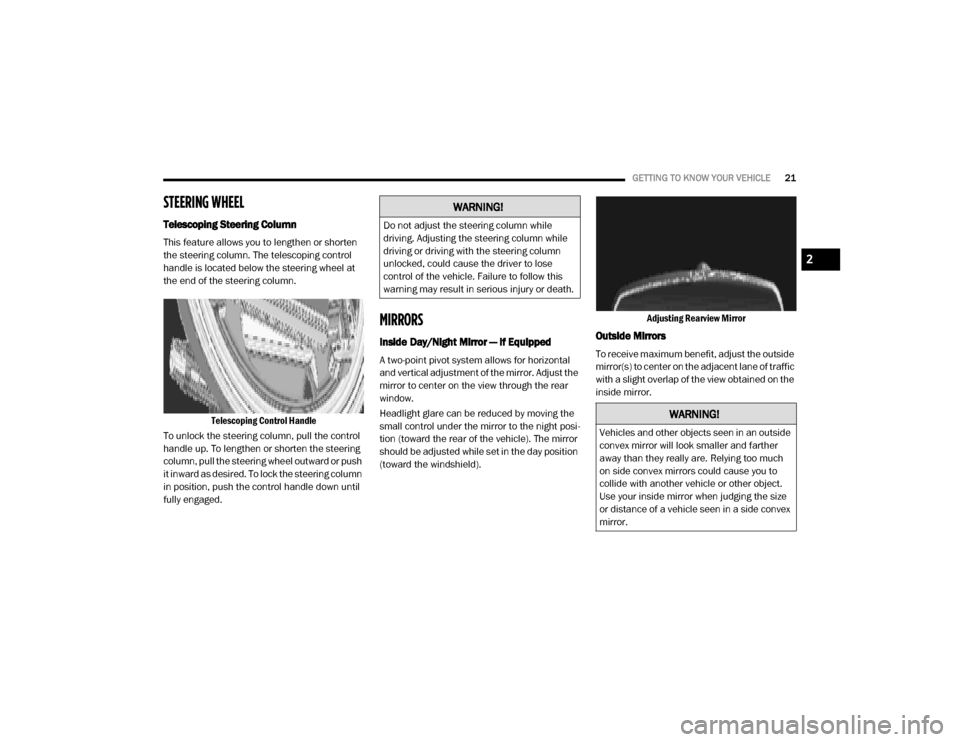
the end of the steering column.
Telescoping Control Handle
To unlock the steering column, pull the control
handle up. To lengthen or shorten the steering
column, pull the steering wheel outward or push
it inward as desired. To lock the steering column
in position, push the control handle down until
fully engaged.
MIRRORS
Inside Day/Night Mirror — If Equipped
A two-point pivot system allows for horizontal
and vertical adjustment of the mirror. Adjust the
mirror to center on the view through the rear
window.
Headlight glare can be reduced by moving the
small control under the mirror to the night posi -
tion (toward the rear of the vehicle). The mirror
should be adjusted while set in the day position
(toward the windshield). Adjusting Rearview Mirror
Outside Mirrors
To receive maximum benefit, adjust the outside
mirror(s) to center on the adjacent lane of traffic
with a slight overlap of the view obtained on the
inside mirror.
WARNING!
Do not adjust the steering column while
driving. Adjusting the steering column while
driving or driving with the steering column
unlocked, could cause the driver to lose
control of the vehicle. Failure to follow this
warning may result in serious injury or death.
WARNING!
Vehicles and other objects seen in an outside
convex mirror will look smaller and farther
away than they really are. Relying too much
on side convex mirrors could cause you to
collide with another vehicle or other object.
Use your inside mirror when judging the size
or distance of a vehicle seen in a side convex
mirror.
2
20_VF_OM_EN_US_t.book Page 21
Page 24 of 264
22GETTING TO KNOW YOUR VEHICLE
Outside Mirrors Folding Feature
All outside mirrors are hinged and may be
moved either forward or rearward to resist
damage. The hinges have three detent posi -
tions:
Full forward position
Full rearward position
Normal position
Power Mirrors — If Equipped
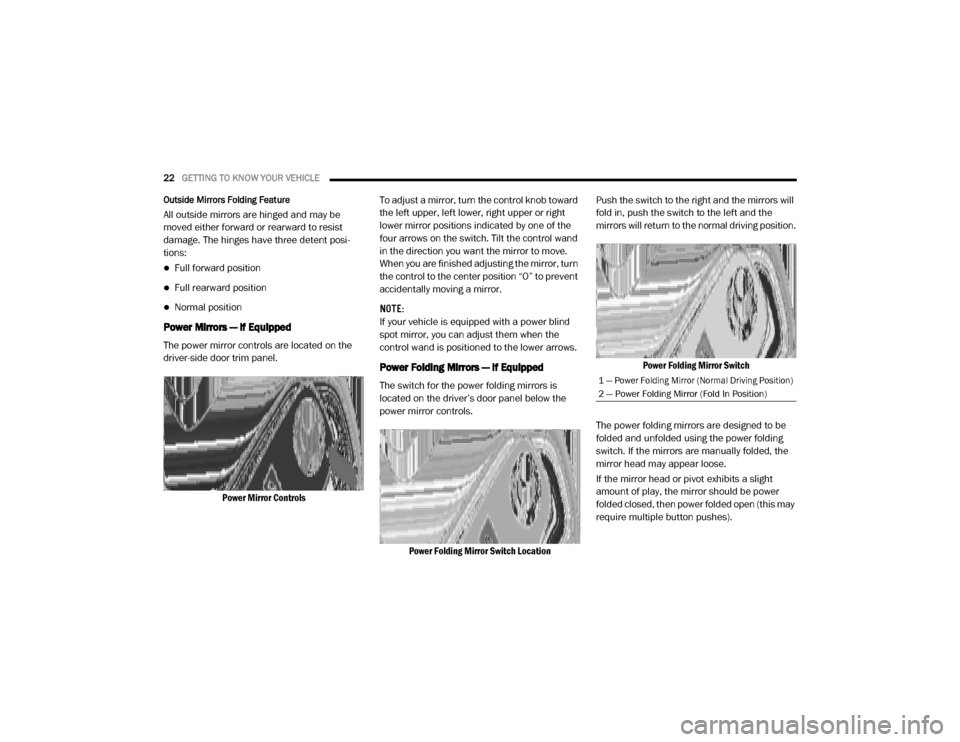
The power mirror controls are located on the
driver-side door trim panel.
Power Mirror Controls To adjust a mirror, turn the control knob toward
the left upper, left lower, right upper or right
lower mirror positions indicated by one of the
four arrows on the switch. Tilt the control wand
in the direction you want the mirror to move.
When you are finished adjusting the mirror, turn
the control to the center position “O” to prevent
accidentally moving a mirror.
NOTE:
If your vehicle is equipped with a power blind
spot mirror, you can adjust them when the
control wand is positioned to the lower arrows.
Power Folding Mirrors — If Equipped
The switch for the power folding mirrors is
located on the driver’s door panel below the
power mirror controls.
Power Folding Mirror Switch Location Push the switch to the right and the mirrors will
fold in, push the switch to the left and the
mirrors will return to the normal driving position.
Power Folding Mirror Switch
The power folding mirrors are designed to be
folded and unfolded using the power folding
switch. If the mirrors are manually folded, the
mirror head may appear loose.
If the mirror head or pivot exhibits a slight
amount of play, the mirror should be power
folded closed, then power folded open (this may
require multiple button pushes).
1 — Power Folding Mirror (Normal Driving Position)
2 — Power Folding Mirror (Fold In Position)
20_VF_OM_EN_US_t.book Page 22
Page 25 of 264
GETTING TO KNOW YOUR VEHICLE23
NOTE:
The intended use of the power fold mirrors is by
pushing the buttons to fold and unfold the
mirrors. Only manually fold the mirrors when
necessary.
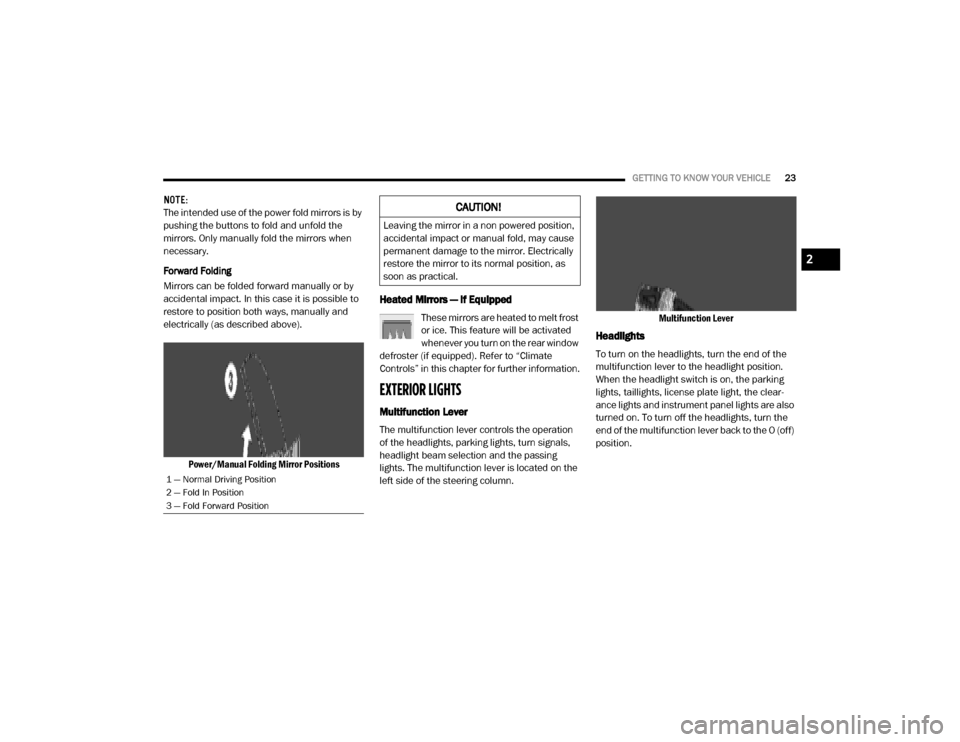
Forward Folding
Mirrors can be folded forward manually or by
accidental impact. In this case it is possible to
restore to position both ways, manually and
electrically (as described above).
Power/Manual Folding Mirror Positions
Heated Mirrors — If Equipped
These mirrors are heated to melt frost
or ice. This feature will be activated
whenever you turn on the rear window
defroster (if equipped). Refer to “Climate
Controls” in this chapter for further information.
EXTERIOR LIGHTS
Multifunction Lever
The multifunction lever controls the operation
of the headlights, parking lights, turn signals,
headlight beam selection and the passing
lights. The multifunction lever is located on the
left side of the steering column. Multifunction Lever
Headlights
To turn on the headlights, turn the end of the
multifunction lever to the headlight position.
When the headlight switch is on, the parking
lights, taillights, license plate light, the clear
-
ance lights and instrument panel lights are also
turned on. To turn off the headlights, turn the
end of the multifunction lever back to the O (off)
position.
1 — Normal Driving Position
2 — Fold In Position
3 — Fold Forward Position
CAUTION!
Leaving the mirror in a non powered position,
accidental impact or manual fold, may cause
permanent damage to the mirror. Electrically
restore the mirror to its normal position, as
soon as practical.
2
20_VF_OM_EN_US_t.book Page 23
Page 31 of 264
GETTING TO KNOW YOUR VEHICLE29
Manual Climate Control Descriptions
Icon Description
A/C Button
Push the A/C button to engage the Air Conditioning (A/C). The A/C indicator illuminates when A/C is on.
Recirculation Button
Press and release this button to change the system between recirculation mode and outside air mode. The Recirculation
indicator and the A/C indicator illuminate when the Recirculation button is pressed. Recirculation can be used when
outside conditions such as smoke, odors, dust, or high humidity are present. Recirculation can be used in all modes except
for Defrost. Recirculation may be unavailable if conditions exist that could create fogging on the inside of the windshield.
The A/C can be deselected manually without disturbing the mode control selection. Continuous use of the Recirculation
mode may make the inside air stuffy and window fogging may occur. Extended use of this mode is not recommended.
Front Defrost Mode
Turn the mode control knob to the Front Defrost position. Air comes from the windshield and side window demist outlets.
When the defrost button is selected, the blower level may increase. Use Defrost mode with maximum temperature settings
for best windshield and side window defrosting and defogging.
Rear Defrost Button
Push and release the Rear Defrost Control button to turn on the rear window defroster and the heated outside mirrors (if
equipped). The Rear Defrost indicator illuminates when the rear window defroster is ON. The rear window defroster
automatically turns OFF after 15 minutes.
Temperature Control
Temperature Control regulates the temperature of the air forced through the climate system. The temperature increases as
you turn the temperature control knob clockwise. The temperature decreases as you turn the temperature control knob
counterclockwise.
2
20_VF_OM_EN_US_t.book Page 29
Page 94 of 264
92
STARTING AND OPERATING
STARTING THE ENGINE
Before starting your vehicle, adjust your seat,
adjust both inside and outside mirrors, and
fasten your seat belts.
Automatic Transmission
The gear selector must be in the PARK or
NEUTRAL position before you can start the
engine. Press the brake pedal before shifting to
any driving gear.
NOTE:
You must press the brake pedal before shifting
out of PARK.
Normal Starting
NOTE:
Normal starting of either a cold or a warm
engine is obtained without pumping or pressing
the accelerator pedal.
Turn the ignition switch to the AVV (START) posi-
tion and release it when the engine starts. If the
engine fails to start within 10 seconds, turn the
ignition switch to the STOP (OFF/LOCK) posi -
tion, wait 10 to 15 seconds, then repeat the
“Normal Starting” procedure.
Cold Weather Operation (Below –22°F Or
−30°C)
To ensure reliable starting at these tempera -
tures, use of an externally powered electric
engine block heater (available from your autho -
rized dealer) is recommended.
If Engine Fails To Start
If the engine fails to start after you have
followed the “Normal Starting” procedure, it
may be flooded. Push the accelerator pedal all
the way to the floor and hold it there. Crank the
engine for no more than 15 seconds. This
should clear any excess fuel in case the engine
is flooded. Leave the ignition key in the RUN
position, release the accelerator pedal and
repeat the “Normal Starting” procedure.
WARNING!
Never leave children alone in a vehicle, or
with access to an unlocked vehicle.
Allowing children to be in a vehicle unat -
tended is dangerous for a number of
reasons. A child or others could be seriously
or fatally injured. Children should be
warned not to touch the parking brake,
brake pedal or the transmission gear
selector.
Do not leave the key fob in or near the
vehicle (or in a location accessible to chil -
dren). A child could operate power
windows, other controls, or move the
vehicle.
20_VF_OM_EN_US_t.book Page 92
Page 132 of 264
130IN CASE OF EMERGENCY
Front PDC Additional Fuses
The additional fuse box is located inside the
front PDC Box.
Front Power Distribution Center Additional Fuses
F20
– 30 Amp Green Windshield Wiper
F21 – 15 Amp Blue Fuel Pump
F22 – 20 Amp Yellow Engine Control Module (ECM), Ignition Coils (3.6
Gasoline Engine)
F23 – 20 Amp Yellow Electronic Stability Control (ESC) Valves
F24 – 7.5 Amp Brown KL15 Vacuum Pump Relay Coil (3.6 Gasoline Engine) —
If Equipped
F30 – 15 Amp Blue Heated Mirrors
CavityMaxi Fuse Mini Fuse Description
CavityMini Fuse Description
F6120 Amp YellowVacuum Pump (3.6 Gasoline Engine)
F62 30 Amp GreenTransmission Power RELE (3.6 Gasoline Engine)
F66 5 Amp BeigeShifter Transmission Module (STM) (3.6 Gasoline Engine)
20_VF_OM_EN_US_t.book Page 130
Page 192 of 264
190SERVICING AND MAINTENANCE
Leather Parts
Mopar Total Clean is specifically recommended
for leather upholstery.
Your leather upholstery can be best preserved
by regular cleaning with a damp soft cloth.
Small particles of dirt can act as an abrasive
and damage the leather upholstery and should
be removed promptly with a damp cloth. Stub -
born soils can be removed easily with a soft
cloth and Mopar Total Clean. Care should be
taken to avoid soaking your leather upholstery
with any liquid. Please do not use polishes, oils,
cleaning fluids, solvents, detergents, or
ammonia-based cleaners to clean your leather
upholstery. Application of a leather conditioner
is not required to maintain the original condi -
tion.
NOTE:
If equipped with light colored leather, it tends to
show any foreign material, dirt, and fabric dye
transfer more so than darker colors. The leather
is designed for easy cleaning, and FCA recom -
mends Mopar total care leather cleaner applied
on a cloth to clean the leather seats as needed.
Glass Surfaces
All glass surfaces should be cleaned on a
regular basis with Mopar Glass Cleaner, or any
commercial household-type glass cleaner.
Never use an abrasive type cleaner. Use caution
when cleaning the inside rear window equipped
with electric defrosters or windows equipped
with radio antennas. Do not use scrapers or
other sharp instruments that may scratch the
elements.
When cleaning the rear view mirror, spray
cleaner on the towel or cloth that you are using.
Do not spray cleaner directly on the mirror.
Cleaning The Instrument Panel Cupholders
Removal
Pull the flexible liner from the cupholder drawer
starting at one edge to ease removal.
Cleaning
The liner is top shelf dishwasher safe, or you
may follow the cleaning procedure below.
Soak the liner in a mixture of medium hot tap
water and one teaspoon of mild liquid dish
soap. Let soak for approximately 30 minutes.
After 30 minutes, pull the liner from the water
and dip it back into the water about six times.
This will loosen any remaining debris. Rinse the
liner thoroughly under warm running water.
Shake the excess water from the liner and dry
the outer surfaces with a clean soft cloth.
Installation
Place the liner into the cupholder drawer and
push the liner into place so that the retention
tabs seat into the corresponding openings in
the drawer.
CAUTION!
Do not use Alcohol and Alcohol-based and/or
Ketone based cleaning products to clean
leather upholstery, as damage to the
upholstery may result.
20_VF_OM_EN_US_t.book Page 190
Page 253 of 264

251
Cargo Area Cover
..................................... 37
Cargo Compartment
.................................. 37
Cargo Light
............................................ 26
Certification Label
.................................. 112
Change Oil Indicator
.................................. 44
Changing A Flat Tire
........................ 133, 168
Chart, Tire Sizing
.................................... 169
Check Engine Light
(Malfunction Indicator Light)
......................... 55
Checking Your Vehicle For Safety
................... 89
Checks, Safety
........................................ 89
Child Restraint
........................................ 83
Child Restraints
Booster Seats.................................... 86Child Seat Installation.......................... 88Infant And Child Restraints................... 85Older Children And Child Restraints........ 85
Clean Air Gasoline
.................................. 192
Cleaning
Wheels........................................... 183
Climate Control
........................................ 28Manual............................................ 28Rear................................................ 32
Cold Weather Operation
.............................. 92
Compact Spare Tire
................................. 181
Contract, Service
.................................... 247
Cooling Pressure Cap (Radiator Cap)
............. 165
Cooling System
...................................... 163Adding Coolant (Antifreeze)................. 164Coolant Level........................... 163, 165Cooling Capacity............................... 195Disposal Of Used Coolant................... 165Drain, Flush, And Refill....................... 163Inspection....................................... 165Points To Remember......................... 165Pressure Cap................................... 165Radiator Cap................................... 165Selection Of Coolant (Antifreeze).. 164, 195
Corrosion Protection
................................ 187
Cruise Light
............................................53
Cupholders
..................................... 38, 190
Customer Assistance
............................... 246
Customer Programmable Features
................ 199
Cybersecurity
........................................ 198
D
Dealer Service
....................................... 158
Defroster, Windshield
.................................90
Diagnostic System, Onboard
......................... 54
Dimmer Control Switch
............................... 27
Dimmer Switch
Headlight..........................................24
Dipsticks
Automatic Transmission..................... 168Power Steering................................. 103
Disable Vehicle Towing
............................. 149
Disposal
Antifreeze (Engine Coolant)................ 165
Door Ajar
.............................................. 47
Door Ajar Light
........................................ 47
Door Locks
............................................ 14Automatic........................................ 15
Doors
.................................................. 14
Driver’s Seat Back Tilt
............................... 15
Driving
Through Flowing, Rising, Or Shallow
Standing Water
............................... 121
E
Electric Brake Control System
....................... 57
Electric Remote Mirrors
.............................. 22
Electrical Power Outlets
............................. 39
Electronic Speed Control (Cruise Control)
....... 103
Electronic Stability Control (ESC)
................... 57
Electronic Throttle Control Warning Light
.......... 48
Emergency, In Case Of
Freeing Vehicle When Stuck............... 149Jacking...................................133, 168Jump Starting.................................. 145
Emission Control System Maintenance
............ 55
11
20_VF_OM_EN_US_t.book Page 251
Page 255 of 264

253
H
Hazard
Driving Through Flowing, Rising,
Or Shallow Standing Water
................. 121
Hazard Warning Flashers
.......................... 123
Head Restraints
....................................... 20
Headlights
Cleaning......................................... 187High Beam........................................ 24High Beam/Low Beam Select Switch....... 24Passing............................................ 24Switch.............................................. 23
Heated Mirrors
........................................ 23
Heated Seats
.......................................... 18
Heater, Engine Block
................................. 93
High Beam/Low Beam Select (Dimmer) Switch
... 24
Hill Start Assist
........................................ 60
Hitches
Trailer Towing.................................. 114
Hood Prop
............................................. 36
Hood Release
......................................... 36
I
Ignition
.................................................11Key.............................................. 9, 11Switch.............................................. 11
Ignition Key Removal
.................................11
Illuminated Entry
......................................27
Immobilizer (Sentry Key)
............................. 12
Inside Rearview Mirror
................................21
Instrument Cluster
.............................. 41, 53Display............................................. 43
Instrument Panel Lens Cleaning
................... 189
Interior And Instrument Lights
.......................25
Interior Appearance Care
........................... 188
Interior Lights
..........................................25
Intermittent Wipers (Delay Wipers)
..................28
Introduction
..............................................7
iPod/USB/MP3 Control
............................. 238
J
Jack Location
........................................ 133
Jack Operation
.............................. 133, 168
Jacking And Tire Changing
......................... 133
Jacking And Tire Changing Instructions
...........135
Jump Starting
........................................ 145
K
Key Fob
Programming Additional Key Fobs
.......... 10
Key Fob Battery Service (Remote Keyless Entry)
.. 10
Key Fob Programming (Remote Keyless Entry)
.... 10
Key-In Reminder
...................................... 12
Keys
..................................................... 9Replacement.................................... 12Sentry (Immobilizer)............................ 12
L
Lane Change Assist
.................................. 25
Lap/Shoulder Belts
.................................. 67
Latches
................................................ 91Hood............................................... 36
Lead Free Gasoline
................................ 192
Leaks, Fluid
........................................... 91
Life Of Tires
......................................... 179
Light Bulbs
.....................................91, 123
Lights
.................................................. 91Air Bag................................. 47, 73, 90Brake Assist Warning.......................... 59Brake Warning.................................. 48Bulb Replacement............................ 123Cruise............................................. 53Daytime Running............................... 24Dimmer Switch, Headlight...............23, 2411
20_VF_OM_EN_US_t.book Page 253