navigation system Ram ProMaster 2020 Owner's Manual
[x] Cancel search | Manufacturer: RAM, Model Year: 2020, Model line: ProMaster, Model: Ram ProMaster 2020Pages: 264, PDF Size: 10.11 MB
Page 7 of 264

5
TIRES .....................................................................168
Tire Safety Information ....................................168
Tires — General Information ........................... 176
Tire Types .......................................................... 180
Spare Tires — If Equipped ............................... 181
Wheel And Wheel Trim Care ........................... 183
Tire Chains And Traction Devices ................... 184
Tire Rotation Recommendations..................... 185
DEPARTMENT OF TRANSPORTATION
UNIFORM TIRE QUALITY GRADES .....................185
Treadwear .........................................................186
Traction Grades ................................................ 186
Temperature Grades ........................................186
STORING THE VEHICLE ........................................186
BODYWORK ...........................................................187
Protection From Atmospheric Agents.............. 187
Body And Underbody Maintenance ................. 187
Preserving The Bodywork................................. 187
INTERIORS ............................................................188
Seats And Fabric Parts ..................................... 188
Plastic And Coated Parts..................................189
Leather Parts .................................................... 190Glass Surfaces ................................................. 190
Cleaning The Instrument Panel Cupholders ...190
TECHNICAL SPECIFICATIONS
IDENTIFICATION DATA ......................................... 191
Vehicle Identification Number ........................ 191
BRAKE SYSTEM .................................................... 191
WHEEL AND TIRE TORQUE SPECIFICATIONS ... 191
Torque Specifications ...................................... 191
FUEL REQUIREMENTS.......................................... 192
3.6L Engine....................................................... 192
Reformulated Gasoline ................................... 192
Materials Added To Fuel .................................. 193
Gasoline/Oxygenate Blends ............................ 193
Do Not Use E-85 In Non-Flex Fuel Vehicles .... 193
CNG And LP Fuel System Modifications ......... 193
MMT In Gasoline .............................................. 194Fuel System Cautions ...................................... 194
Carbon Monoxide Warnings ............................ 194
FLUID CAPACITIES................................................ 195
FLUIDS AND LUBRICANTS .................................. 195
Engine ............................................................... 195Chassis ............................................................. 197
MULTIMEDIA
CYBERSECURITY .................................................. 198
UCONNECT SETTINGS ......................................... 199
Uconnect 3/3 NAV Settings............................. 199
SAFETY AND GENERAL INFORMATION ............. 208
Safety Guidelines ............................................. 208
UCONNECT 3/3 NAV WITH 5-INCH DISPLAY ....209
Introduction To The Uconnect 3/3 NAV
With 5-Inch Display System ............................. 209 Radio Mode ...................................................... 211
Media Mode ..................................................... 214
Phone Mode ..................................................... 216
Navigation Mode — If Equipped ...................... 221
STEERING WHEEL AUDIO CONTROLS ............... 238
Radio Operation ............................................... 238
Player Operation............................................... 238
IPOD®/USB/MP3 CONTROL —
IF EQUIPPED ......................................................... 238
USB Charging Port............................................ 239
RAM TELEMATICS - IF EQUIPPED ....................... 239
Ram Telematics General Information............. 239
RADIO OPERATION AND MOBILE PHONES ......240
Regulatory And Safety Information ................. 240
UCONNECT VOICE RECOGNITION ......................241
Introducing Uconnect....................................... 241
Get Started ....................................................... 241
Basic Voice Commands ................................... 242
Radio ................................................................. 242
Media ................................................................ 243
Phone................................................................ 243
Voice Text Reply ............................................... 244
General Information......................................... 245
Additional Information ..................................... 245
20_VF_OM_EN_US_t.book Page 5
Page 202 of 264

200MULTIMEDIA
Display
After pressing the Display button on the touchscreen, the following settings will be available:
Setting Name Selectable Options
Display ModeAuto Manual
Display Brightness With Headlights
ON Up Arrow Button
Down Arrow Button
NOTE:
This feature is only available in Manual Display Mode.
Display Brightness With the
Headlights Off Up Arrow Button
Down Arrow Button
NOTE:
This feature is only available in Manual Display Mode.
Language List Of Selectable Language
NOTE:
When the “Language” feature is selected, you may select one of multiple languages (English/Français/Español) for all display nomenclature including
the trip functions and the navigation system (if equipped). Press the Set Language button on the touchscreen, then press the desired language button
on the touchscreen until a check-mark appears next to the language, showing that setting has been selected.
Touchscreen Beep On Off
Display Trip B On Off
20_VF_OM_EN_US_t.book Page 200
Page 211 of 264
MULTIMEDIA209
Care And Maintenance
Touchscreen
Do not press the touchscreen with any hard
or sharp objects (pen, USB stick, jewelry,
etc.), which could scratch the touchscreen
surface!
Do not spray any liquid or caustic chemicals
directly on the screen! Use a clean and dry
microfiber lens cleaning cloth in order to
clean the touchscreen.
If necessary, use a lint-free cloth dampened
with a cleaning solution, such as isopropyl
alcohol or an isopropyl alcohol and water
solution ratio of 50:50. Be sure to follow the
solvent manufacturer's precautions and
directions.
UCONNECT 3/3 NAV WITH 5-INCH DISPLAY
Introduction To The Uconnect 3/3 NAV With
5-Inch Display System
There are a few quick ways for you to identify
your radio. For a more complete description,
please refer to the User Guide in your glove box
or visit DriveUconnect.com (US Residents) or
DriveUconnect.ca (Canadian Residents).
Uconnect 3/3 NAV features:
5-inch Touchscreen
Hands-free/Bluetooth®
SiriusXM® Satellite Radio — If Equipped
Navigation — If Equipped
Uconnect 3/3 NAV With 5-Inch Display NOTE:
If equipped, your Uconnect radio may have a CD
player.
WARNING!
ALWAYS drive safely with your hands on the
wheel. You have full responsibility and
assume all risks related to the use of the
Uconnect features and applications in this
vehicle. Only use Uconnect when it is safe to
do so. Failure to do so may result in an
accident involving serious injury or death.
CAUTION!
Do NOT attach any object to the touchscreen,
doing so can result in breaking the
touchscreen.
9
20_VF_OM_EN_US_t.book Page 209
Page 223 of 264
MULTIMEDIA221
SMS Message Reader Activation/Deactivation
The SMS message automatic reading function
can be activated/deactivated by pressing the
corresponding button on the display, which is
shown after pressing the phone selection
button.
NOTE:
On some mobile phones, to make the SMS
voice reading function available, the SMS notifi -
cation option on the phone must be enabled,
this option is usually available on the phone, in
the Bluetooth® connections menu for a device
registered as Uconnect. After enabling this func -
tion on the mobile phone, it must be discon -
nected and reconnected with the system to
make it effective.
SMS Message Options
Preset SMS messages are stored in the system
and can be sent to answer a received message
or as a new message.Navigation Mode — If Equipped
Operating Navigation Mode — If Equipped
Planning A Route
Using the search bar provides a wide range of
ways to find places and then navigate to them.
You can search your destination in different
ways:
A specific address
A partial address
A type of place
A zip code
A city to navigate to a city center
A Point of Interest (POI) near your current
location
Latitude and longitude coordinates Using Search
Press the Search button in the Main menu
to start searching. The search screen will open,
displaying the keyboard and the following
buttons:
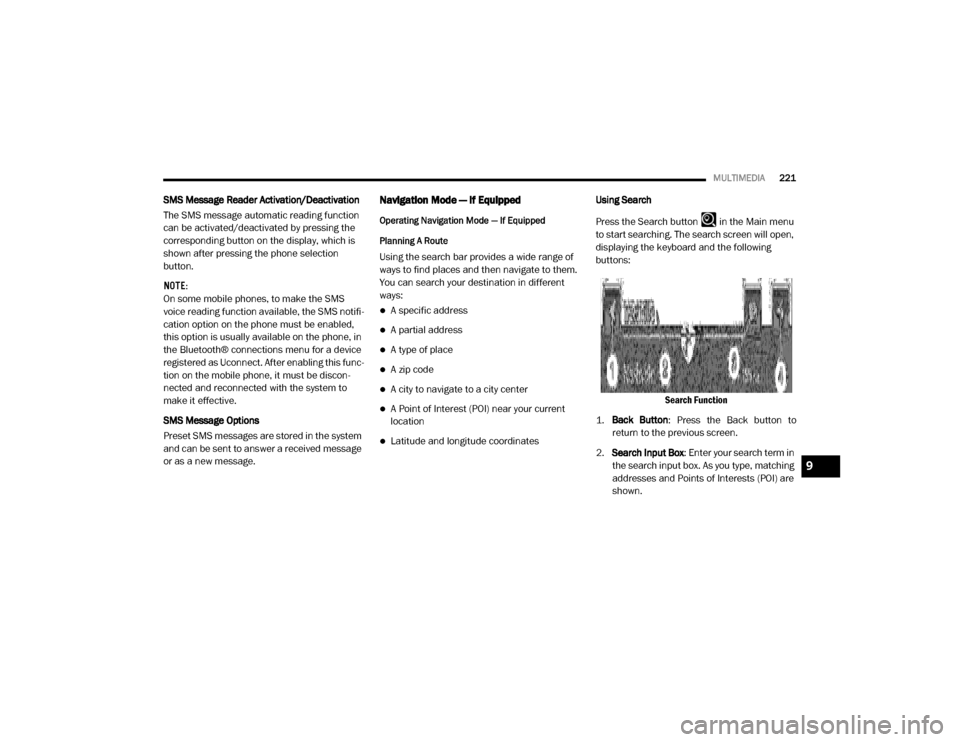
Search Function
1. Back Button : Press the Back button to
return to the previous screen.
2. Search Input Box : Enter your search term in
the search input box. As you type, matching
addresses and Points of Interests (POI) are
shown.
9
20_VF_OM_EN_US_t.book Page 221
Page 229 of 264
MULTIMEDIA227
Add Stop To Route
Press the button to add a stop to your route.
You can add a stop by selecting a point on the
map. In map view, zoom in on the map and
press and hold to select a location. Then, select
the pop-up menu button, and press “Add to
Current Route.”
You route will be recalculated to include your
stop.
Change Route Type
Press the button to change the type of route
used to plan your route. Your route will be recal -
culated using the new route type selected.
You can select the following types of routes:
Fastest Route
Shortest Route
Most Eco-Friendly Route
Avoid Interstate Highways
You can set the default route type in the
settings menu.
Reorder Stops Press the button to see the lists of stops for
your current route. You can change the order of
the stops on your route by pressing “Edit Stops”.
Use the Up and Down arrows to change the
order of your stops. Your route will be recalcu
-
lated with the stops in that changed order.
NOTE:
You can also delete stops from your route by
pressing the Edit Stops button and then press
the Delete button. The stop will be removed
from your route and your route will be recalcu -
lated.
Play Route Or Track Preview
Press button to watch a preview of your
planned route or track.
NOTE:
This feature is not available while driving.
Stop Route Preview
Press button to stop the preview of your
planned route.
Voice Command — If Equipped
About Voice command
Instead of pressing the touchscreen to control
your navigation system, you can use your voice
to control navigation.
For example, to switch to 2D view, you can say
“2D view.”
To view a list of available commands, press the
“Help” button in the Main menu and then press
“What can I say?”
Using Voice Control
WARNING!
ALWAYS drive safely with your hands on the
wheel. You have full responsibility and
assume all risks related to the use of the
Uconnect features and applications in this
vehicle. Only use Uconnect when it is safe to
do so. Failure to do so may result in an
accident involving serious injury or death.
9
20_VF_OM_EN_US_t.book Page 227
Page 230 of 264
228MULTIMEDIA
The following example shows how to use voice
control to plan a journey to your Home address:
1. Push the Voice Recognition button on the
steering wheel to turn on the microphone.
A screen will pop up with examples of
commands.
NOTE:
Press the Help button in the Main menu then
press “What can I say?” to see a full list of
commands.
2. When you hear a beep, say a command of your choice. For example, you can say “Navi -
gate home”.
NOTE:
For accurate results, speak normally without
trying to articulate words in an unnatural way. If
there is excessive road noise, for example, you
may need to speak directly into the microphone.
3. If the command is correct, say “Yes”. NOTE:
If the command is incorrect, say “No” and
repeat the command after you hear the prompt
and tone again. Your navigation system plans a
route from your current location to your destina-
tion. To stop your navigation system from
listening out for further commands, say
“Cancel”.
Guidance View
About Guidance View
The guidance view is used to guide you along
the route to your destination. As soon as you
start driving, your navigation system will imme
-
diately start guiding you to your destination with
spoken instructions and visual instructions on
the touchscreen. You can also see your current
location and details along your route, including
3D buildings in some cities. The guidance view
is normally in 3D. To show a 2D map with the
map moving in your direction of travel, change
the 2D and 3D default settings. Refer to
“Settings” within this section for more informa -
tion. NOTE:
When you have planned a route and the 3D
guidance view is shown, select the switch view
button to change to the map view and use the
interactive features.
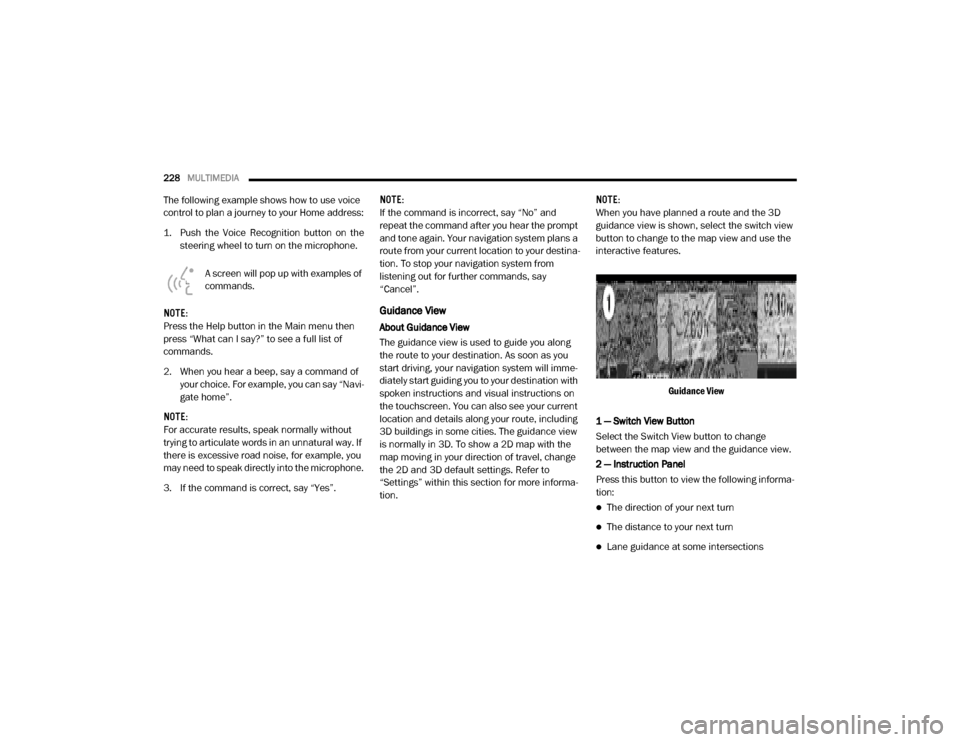
Guidance View
1 — Switch View Button
Select the Switch View button to change
between the map view and the guidance view.
2 — Instruction Panel
Press this button to view the following informa -
tion:
The direction of your next turn
The distance to your next turn
Lane guidance at some intersections
20_VF_OM_EN_US_t.book Page 228
Page 231 of 264
MULTIMEDIA229
3 — Route Bar
The Route Bar is shown when you have planned
a route. The Route Bar contains arrival informa-
tion, such as the estimated time of arrival, the
length of time to drive to the destination from
your current location, and information about the
next stop, if you have stops on your route. The
bottom of the Route Bar represents your current
location and shows the distance to the next
stop on your route.
4 — Current Location
This symbol shows your current location. Press
this symbol, or the speed panel, to mark your
current location.
5 — Speed Panel
Press this button to view the following informa -
tion (if available):
The speed limit at your location
The name of the street you are driving on NOTE:
If you drive more than 3 mph (5 km/h) over the
speed limit, the Speed Panel turns red. If you
drive less than 3 mph (5 km/h) over the speed
limit, the Speed Panel turns orange.
6 — Main Menu Button
Press the Main Menu Button to show the Main
Menu.
7 — Zoom Buttons
Press the zoom in + button to zoom in and the
zoom out – button to zoom out.
Advanced Lane Guidance
About Lane Guidance
NOTE:
Lane guidance is not available for all intersec
-
tions or in all countries.
Your navigation system helps you prepare for
highway exits and junctions by showing the
correct driving lane for your planned route. As you approach an exit or junction, the lane you
need is shown on the screen and in the instruc
-
tion panel.
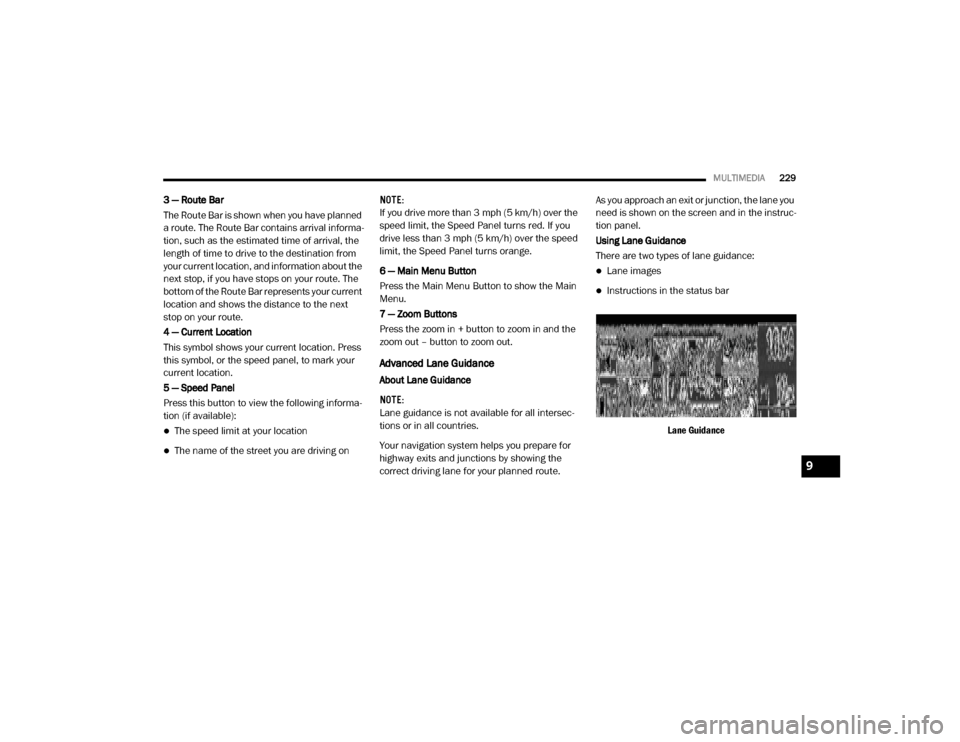
Using Lane Guidance
There are two types of lane guidance:
Lane images
Instructions in the status bar
Lane Guidance
9
20_VF_OM_EN_US_t.book Page 229
Page 233 of 264
MULTIMEDIA231
Voices
About Voices
Your navigation system uses sound for some or
all of the following:
Driving directions
Warnings that you set
By selecting “Settings” in the Main Menu, then
selecting “Voices,” you can change the settings
for how voice instructions are given. Instruction
settings include the following:
Read Early Instructions Out Loud : This setting
allows to you to hear early instructions. For
example, an early instruction could be, “After
two miles, take the exit right.”
Read Road Numbers Out Loud (if equipped):
Use this setting to control whether road
numbers are read out loud as part of naviga -
tion instructions.
Read Road Sign Information Out Loud (if
equipped): Use this setting to control whether
road sign information is read out loud as part
of navigation instructions.
Read Street Names Out Loud (if equipped):
Use this setting to control whether street
names are read out loud as part of navigation
instructions.
Read Foreign Street Names Out Loud (if
equipped): Use this setting to control wether
foreign street names are read out loud as
part of navigation instructions.
Changing The Volume Level
To change the volume of your navigation
system, use the volume button on the radio
when an instruction is being given.
Settings
About Settings
You can change the way your naviga -
tion system looks and behaves. Most
of the settings on your system can be accessed
by pressing the Settings button in the Main
Menu. Appearance
To change how your navigation screen looks,
select “Appearance” in the settings menu. From
here, you can change these features:
Switch To Night Colors When Dark
: Select
this setting to make your system automati -
cally switch to night colors when it gets dark.
Automatic Zoom : Select “Automatic Zoom” to
change how your system zooms in Guidance
view when you approach a turn or intersec -
tion. Zooming in can make the turn or inter -
section easier to drive. The following options
are available:
Zoom in to next turn
Based on road type
None
Arrival Information
In the settings menu, select “Arrival Informa -
tion” to change the following settings:
Show Remaining Distance : Select this setting
to show the remaining distance left to travel
in the arrival information panel during navi -
gation.
9
20_VF_OM_EN_US_t.book Page 231
Page 234 of 264

232MULTIMEDIA
Show Remaining Time : Select this setting to
show the remaining time left to travel in the
arrival information panel during navigation.
Switch Between Distance And Time Automat -
ically : Select this setting to control the auto -
matic switching between remaining distance
and remaining time in the arrival information
panel.
Show On Route
In the settings menu, select “Show On Route” to
see any of the following options in the route bar:
Parking : Select this setting to see parking lots
on your route.
Gas Stations: Select this setting to see gas
stations on your route.
Stops : Select this setting to see stops on your
route.
Show Previews Of Highway Exits
Select this setting to control the full screen
preview when you approach highway exits. Automatic Map View Switching
Automatic changing of views is on by default.
For example, when an alternative route is being
suggested, the map will automatically switch to
map view, and when you start driving your map
will automatically switch to guidance view. You
can turn this feature off by selecting “Automatic
Map View Switching” in the settings.
Automatic Zoom
Select this setting to control the full screen
preview when you approach highway exits.
Guidance View Style
Select this setting to choose between 3D and
2D versions of the guidance view. Both the 2D
and 3D guidance views move in your direction
of travel.
In 3D guidance view, you can choose to use the
3D car icon or an arrowhead as the current loca-
tion indicator. By default, the 3D guidance view
shows the 3D car icon.
Voices Setting
Select this setting to change how instructions
are read out loud. Refer to “Voices” in the
previous section for more information.Route Planning
Select this setting to control how your system
plans routes. The following options are avail
-
able:
Always Take the Fastest Route
You can choose whether you would like the
navigation system to always default to the
fastest route.
Ask Me So I Can Choose
You can choose whether you would like the
navigation system to allow you to pick the
route to the destination.
Don’t Ask me
You can choose whether you would like the
navigation system to select the route to the
destination.
Fastest Route
You can choose whether you would like the
navigation system to chose the fastest route
to the destination.
20_VF_OM_EN_US_t.book Page 232
Page 235 of 264

MULTIMEDIA233
Shortest Route
You can choose whether you would like the
navigation system to chose the shortest
route by distance to the destination.
Most Eco-Friendly Route
You can choose whether you would like the
navigation system to chose the route that will
consume the least amount of energy.
Avoid Interstate Highways
You can choose whether you would like the
navigation system to avoid all highways while
navigating to the destination.
Sounds And Warnings
Select this setting to change the following
sounds and warnings:
Warning Type : You can choose the type of
warnings you want to hear when you are
driving:
Warning Sounds: Hear only warning
sounds
None: No warning sounds are given
Safety Warnings : You can change settings for
whether you want to be warned, never
warned, or warned only if you are speeding.
The following options are available:
When speeding: This warning is given
when you exceed the speed limit by more
than 3 mph (5 km/h). When you are
speeding, the speed panel also turns red
in the guidance view.
Driver Safety: Select this setting to make some features locked while the vehicle is
in motion.
NOTE:
This feature increases safety by minimizing
driver distraction. When driver safety is on, a
message tells you when the lock is enabled.
System
Select this setting to reset all other settings.
Selecting “Reset” will delete all saved places
and settings and restore the standard settings.
This includes the language, voice settings,
warning settings, and theme. NOTE:
This is not a software update and will not affect
the version of the software application installed
on your Uconnect system.
Points Of Interest
About Points Of Interest
Points Of Interest (POI), are useful places on the
map.
Here are some examples:
Restaurants
Hotels
Museums
Parking lots
Gas stations
Emergency Services
9
20_VF_OM_EN_US_t.book Page 233