lock RAM PROMASTER 2021 Owner's Guide
[x] Cancel search | Manufacturer: RAM, Model Year: 2021, Model line: PROMASTER, Model: RAM PROMASTER 2021Pages: 288, PDF Size: 15.22 MB
Page 71 of 288
STARTING AND OPERATING69
TO ACCELERATE FOR PASSING
While the Cruise Control system is set, press the
accelerator to pass as you would normally.
When the pedal is released, the vehicle will
return to the set speed.
Using Cruise Control On Hills
The transmission may downshift on hills to
maintain the vehicle set speed.
The Cruise Control system maintains speed up
and down hills. A slight speed change on
moderate hills is normal. On steep hills, a
greater speed loss or gain may occur so it may
be preferable to drive without Cruise Control.
TO RESUME SPEED
To resume a previously set speed, push the RES
button and release. Resume can be used at any
speed above 20 mph (32 km/h) up to the
maximum speed of 100 mph (160 km/h).
TO DEACTIVATE
A soft tap on the brake pedal, pushing the RES
button, or normal brake pressure while slowing
the vehicle will deactivate Cruise Control
without erasing the set speed memory. Rotating
the center ring upward to turn the system off or
placing the ignition in the STOP (OFF/LOCK)
position erases the set speed memory.
PARKSENSE REAR PARK ASSIST — IF
EQUIPPED
The ParkSense Rear Park Assist system
provides an audible indication of the distance
between the rear fascia/bumper and a
detected obstacle when backing up (e.g. during
a parking maneuver) Úpage 72.
The ParkSense Rear Park Assist is
automatically activated when the transmission
is placed into REVERSE. As the distance from an
obstacle behind the vehicle decreases, the
audible alert becomes more frequent.
Interaction With Trailer Towing
The Rear Park Assist system is automatically
deactivated when a trailer is hitched to the
vehicle. The system will be automatically
activated as soon as the trailer is removed.
WARNING!
Cruise Control can be dangerous where the
system cannot maintain a constant speed.
Your vehicle could go too fast for the
conditions, and you could lose control and
have an accident. Do not use Cruise Control
in heavy traffic or on roads that are winding,
icy, snow-covered or slippery.
4
21_VF_OM_EN_USC_t.book Page 69
Page 84 of 288

82STARTING AND OPERATING
(Continued)
Towing Requirements — Tires
Do not attempt to tow a trailer while using a
compact spare tire.
Do not drive more than 50 mph (80 km/h) when towing while using a full size spare tire.
Proper tire inflation pressures are essential
to the safe and satisfactory operation of your
vehicle.
Check the trailer tires for proper tire inflation
pressures before trailer usage.
Check for signs of tire wear or visible tire
damage before towing a trailer.
Replacing tires with a higher load carrying
capacity will not increase the vehicle's GVWR
and GAWR limits.
For further information Ú page 240.
Towing Requirements — Trailer Brakes
Do not interconnect the hydraulic brake
system or vacuum system of your vehicle
with that of the trailer. This could cause inad -
equate braking and possible personal injury.
WARNING!
Make certain that the load is secured in the
trailer and will not shift during travel. When
trailering cargo that is not fully secured,
dynamic load shifts can occur that may be
difficult for the driver to control. You could
lose control of your vehicle and have a
collision.
When hauling cargo or towing a trailer, do
not overload your vehicle or trailer. Over -
loading can cause a loss of control, poor
performance or damage to brakes, axle,
engine, transmission, steering, suspension,
chassis structure or tires.
Safety chains must always be used
between your vehicle and trailer. Always
connect the chains to the hook retainers of
the vehicle hitch. Cross the chains under
the trailer tongue and allow enough slack
for turning corners.
Vehicles with trailers should not be parked
on a grade. When parking, apply the
parking brake on the tow vehicle. Put the
tow vehicle transmission in PARK. For
four-wheel drive vehicles, make sure the
transfer case is not in NEUTRAL. Always,
block or "chock" the trailer wheels.
GCWR must not be exceeded.
Total weight must be distributed between
the tow vehicle and the trailer such that the
following four ratings are not exceeded :
GVWR
GTW
GAWR
Tongue weight rating for the trailer
hitch utilized.
WARNING! (Continued)
21_VF_OM_EN_USC_t.book Page 82
Page 89 of 288

STARTING AND OPERATING87
(Continued)
Shallow Standing Water
Although your vehicle is capable of driving
through shallow standing water, consider
the following Cautions and Warnings before
doing so.
WARNING!
Driving through standing water limits your
vehicle’s traction capabilities. Do not
exceed 5 mph (8 km/h) when driving
through standing water.
Driving through standing water limits your
vehicle’s braking capabilities, which
increases stopping distances. Therefore,
after driving through standing water, drive
slowly and lightly press on the brake pedal
several times to dry the brakes.
Failure to follow these warnings may result
in injuries that are serious or fatal to you,
your passengers, and others around you.
CAUTION!
Always check the depth of the standing
water before driving through it. Never drive
through standing water that is deeper than
the bottom of the tire rims mounted on the
vehicle.
Determine the condition of the road or the
path that is under water and if there are any
obstacles in the way before driving through
the standing water.
Do not exceed 5 mph (8 km/h) when
driving through standing water. This will
minimize wave effects.
Driving through standing water may cause
damage to your vehicle’s drivetrain compo -
nents. Always inspect your vehicle’s fluids
(i.e., engine oil, transmission, axle, etc.) for
signs of contamination (i.e., fluid that is
milky or foamy in appearance) after driving
through standing water. Do not continue to
operate the vehicle if any fluid appears
contaminated, as this may result in further
damage. Such damage is not covered by
the New Vehicle Limited Warranty.
Getting water inside your vehicle’s engine
can cause it to lock up and stall out, and
cause serious internal damage to the
engine. Such damage is not covered by the
New Vehicle Limited Warranty.
CAUTION! (Continued)
4
21_VF_OM_EN_USC_t.book Page 87
Page 94 of 288
92MULTIMEDIA
Units
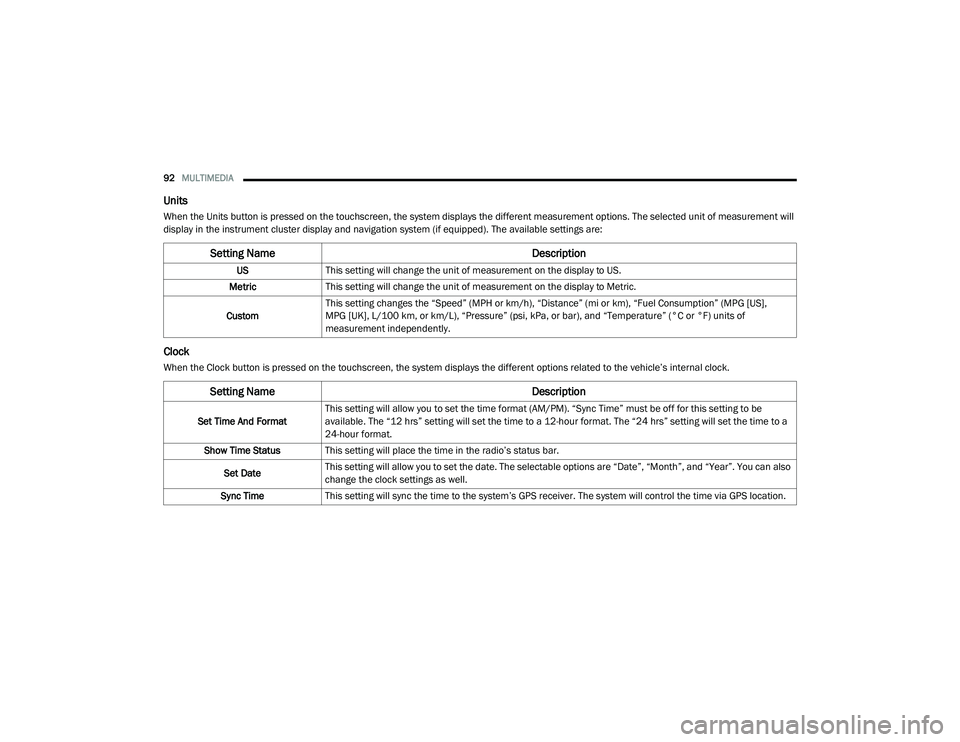
When the Units button is pressed on the touchscreen, the system displays the different measurement options. The selected unit of measurement will
display in the instrument cluster display and navigation system (if equipped). The available settings are:
Clock
When the Clock button is pressed on the touchscreen, the system displays the different options related to the vehicle’s internal clock.
Setting Name Description
USThis setting will change the unit of measurement on the display to US.
Metric This setting will change the unit of measurement on the display to Metric.
Custom This setting changes the “Speed” (MPH or km/h), “Distance” (mi or km), “Fuel Consumption” (MPG [US],
MPG [UK], L/100 km, or km/L), “Pressure” (psi, kPa, or bar), and “Temperature” (°C or °F) units of
measurement independently.
Setting Name
Description
Set Time And FormatThis setting will allow you to set the time format (AM/PM). “Sync Time” must be off for this setting to be
available. The “12 hrs” setting will set the time to a 12-hour format. The “24 hrs” setting will set the time to a
24-hour format.
Show Time Status This setting will place the time in the radio’s status bar.
Set Date This setting will allow you to set the date. The selectable options are “Date”, “Month”, and “Year”. You can also
change the clock settings as well.
Sync Time This setting will sync the time to the system’s GPS receiver. The system will control the time via GPS location.
21_VF_OM_EN_USC_t.book Page 92
Page 96 of 288
94MULTIMEDIA
Lights
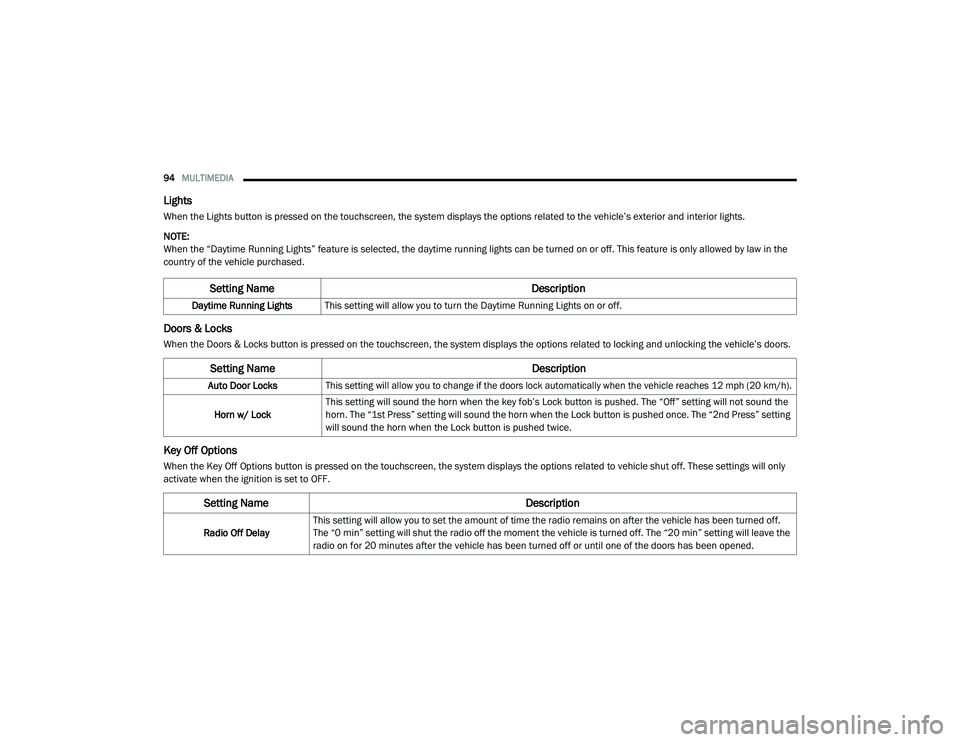
When the Lights button is pressed on the touchscreen, the system displays the options related to the vehicle’s exterior and interior lights.
NOTE:
When the “Daytime Running Lights” feature is selected, the daytime running lights can be turned on or off. This feature is only allowed by law in the
country of the vehicle purchased.
Doors & Locks
When the Doors & Locks button is pressed on the touchscreen, the system displays the options related to locking and unlocking the vehicle’s doors.
Key Off Options
When the Key Off Options button is pressed on the touchscreen, the system displays the options related to vehicle shut off. These settings will only
activate when the ignition is set to OFF.
Setting Name Description
Daytime Running LightsThis setting will allow you to turn the Daytime Running Lights on or off.
Setting Name Description
Auto Door Locks
This setting will allow you to change if the doors lock automatically when the vehicle reaches 12 mph (20 km/h).
Horn w/ Lock This setting will sound the horn when the key fob’s Lock button is pushed. The “Off” setting will not sound the
horn. The “1st Press” setting will sound the horn when the Lock button is pushed once. The “2nd Press” setting
will sound the horn when the Lock button is pushed twice.
Setting Name
Description
Radio Off DelayThis setting will allow you to set the amount of time the radio remains on after the vehicle has been turned off.
The “0 min” setting will shut the radio off the moment the vehicle is turned off. The “20 min” setting will leave the
radio on for 20 minutes after the vehicle has been turned off or until one of the doors has been opened.
21_VF_OM_EN_USC_t.book Page 94
Page 101 of 288
MULTIMEDIA99
Feature Description
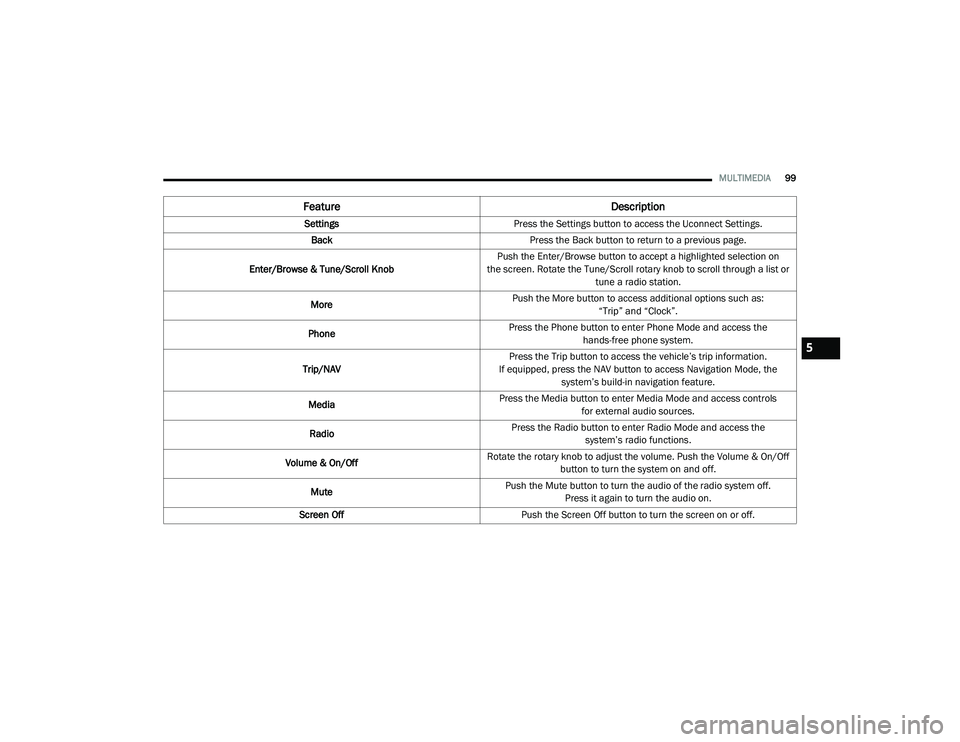
SettingsPress the Settings button to access the Uconnect Settings.
Back Press the Back button to return to a previous page.
Enter/Browse & Tune/Scroll Knob Push the Enter/Browse button to accept a highlighted selection on
the screen. Rotate the Tune/Scroll rotary knob to scroll through a list or tune a radio station.
More Push the More button to access additional options such as:
“Trip” and “Clock”.
Phone Press the Phone button to enter Phone Mode and access the
hands-free phone system.
Trip/NAV Press the Trip button to access the vehicle’s trip information.
If equipped, press the NAV button to access Navigation Mode, the system’s build-in navigation feature.
Media Press the Media button to enter Media Mode and access controls
for external audio sources.
Radio Press the Radio button to enter Radio Mode and access the
system’s radio functions.
Volume & On/Off Rotate the rotary knob to adjust the volume. Push the Volume & On/Off
button to turn the system on and off.
Mute Push the Mute button to turn the audio of the radio system off.
Press it again to turn the audio on.
Screen Off Push the Screen Off button to turn the screen on or off.
5
21_VF_OM_EN_USC_t.book Page 99
Page 103 of 288
MULTIMEDIA101
UCONNECT MODES
RADIO MODE
Operating Radio Mode
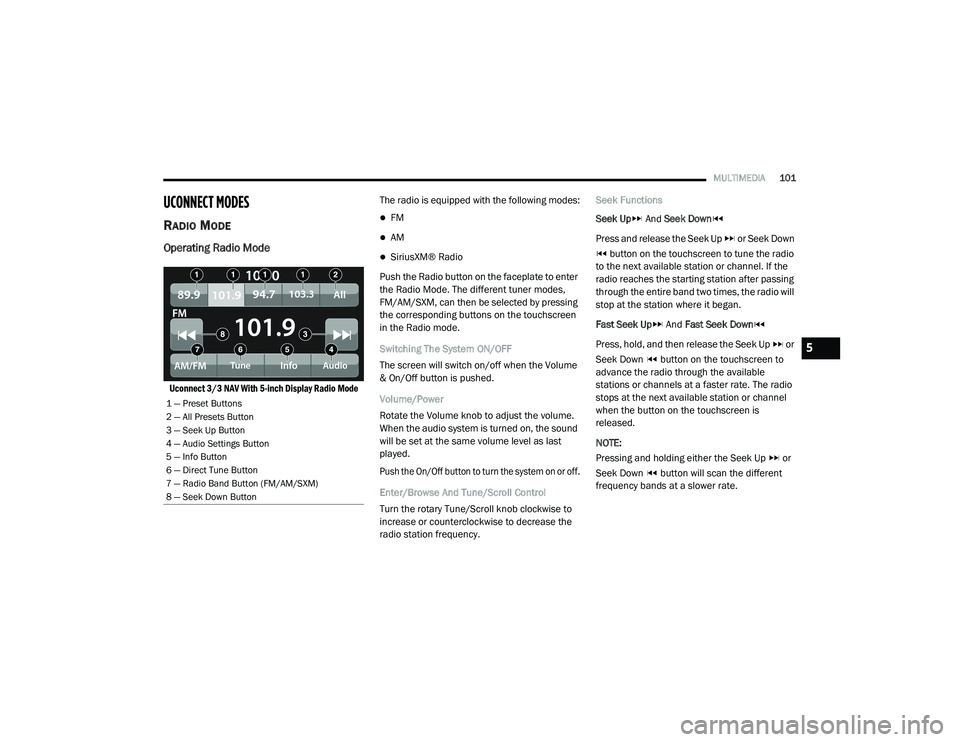
Uconnect 3/3 NAV With 5-inch Display Radio Mode
The radio is equipped with the following modes:
FM
AM
SiriusXM® Radio
Push the Radio button on the faceplate to enter
the Radio Mode. The different tuner modes,
FM/AM/SXM, can then be selected by pressing
the corresponding buttons on the touchscreen
in the Radio mode.
Switching The System ON/OFF
The screen will switch on/off when the Volume
& On/Off button is pushed.
Volume/Power
Rotate the Volume knob to adjust the volume.
When the audio system is turned on, the sound
will be set at the same volume level as last
played.
Push the On/Off button to turn the system on or off.
Enter/Browse And Tune/Scroll Control
Turn the rotary Tune/Scroll knob clockwise to
increase or counterclockwise to decrease the
radio station frequency. Seek Functions
Seek Up
And Seek Down
Press and release the Seek Up or Seek Down button on the touchscreen to tune the radio
to the next available station or channel. If the
radio reaches the starting station after passing
through the entire band two times, the radio will
stop at the station where it began.
Fast Seek Up And Fast Seek Down
Press, hold, and then release the Seek Up or
Seek Down button on the touchscreen to
advance the radio through the available
stations or channels at a faster rate. The radio
stops at the next available station or channel
when the button on the touchscreen is
released.
NOTE:
Pressing and holding either the Seek Up or
Seek Down button will scan the different
frequency bands at a slower rate.
1 — Preset Buttons
2 — All Presets Button
3 — Seek Up Button
4 — Audio Settings Button
5 — Info Button
6 — Direct Tune Button
7 — Radio Band Button (FM/AM/SXM)
8 — Seek Down Button
5
21_VF_OM_EN_USC_t.book Page 101
Page 133 of 288
MULTIMEDIA131
Avoid Blocked Road Press the button to avoid an unexpected obstacle that is blocking the road on the route.
A new route will be found that avoids blocked roads.
You may be shown a maximum of two alternatives depending on the road network between
you and your destination.
The new route is shown on the map view with the difference in travel time in a pop-up.
Select the new route by pressing the “Time” pop-up. Guidance to your destination will resume
avoiding blocked roads, and the guidance view will appear automatically as you begin driving.
NOTE:
It may not be possible to find an alternative route around the blocked road if none exists.
Avoid Part Of Road Press the button to avoid part of the current route.
You are shown a list of the sections that make up your current route.
Select the section of the route you want to avoid. A pop-up menu will appear on the map
showing the location of the instruction.
To avoid the chosen section of the route, select “Avoid”. A new route is planned that will avoid
the chosen route sections, and the new route will appear in map view.
NOTE:
To avoid more sections of the route, repeat the steps above. It may not be possible to find an
alternative route around the section if none exists.
Route Option
Description
5
21_VF_OM_EN_USC_t.book Page 131
Page 143 of 288
MULTIMEDIA141
Fastest Route
You can choose whether you would like the
navigation system to choose the fastest
route to the destination.
Shortest Route
You can choose whether you would like the
navigation system to choose the shortest
route by distance to the destination.
Most Eco-Friendly Route
You can choose whether you would like the
navigation system to choose the route that
will consume the least amount of energy.
Avoid Interstate Highways
You can choose whether you would like the
navigation system to avoid all highways while
navigating to the destination. Sounds And Warnings
Select this setting to change the following
sounds and warnings:
Warning Type
: You can choose the type of
warnings you want to hear when you are
driving:
Warning Sounds: Hear only warning
sounds
None: No warning sounds are given
Safety Warnings : You can change settings for
whether you want to be warned, never
warned, or warned only if you are speeding.
The following options are available:
When speeding: This warning is given
when you exceed the speed limit by more
than 3 mph (5 km/h). When you are
speeding, the speed panel also turns red
in the guidance view.
Driver Safety: Select this setting to make
some features locked while the vehicle is
in motion. NOTE:
This feature increases safety by minimizing
driver distraction. When driver safety is on, a
message tells you when the lock is enabled.
System
Select this setting to reset all other settings.
Selecting “Reset” will delete all saved places
and settings and restore the standard settings.
This includes the language, voice settings,
warning settings, and theme.
NOTE:
This is not a software update and will not affect
the version of the software application installed
on your Uconnect system.
5
21_VF_OM_EN_USC_t.book Page 141
Page 151 of 288

149
(Continued)
SAFETY
SAFETY FEATURES
ANTI-LOCK BRAKE SYSTEM (ABS)
The ABS is designed to aid the driver in
maintaining vehicle control under adverse
braking conditions. The system operates with a
separate computer to modulate hydraulic
pressure, to prevent wheel lock-up and to help
avoid skidding on slippery surfaces.
The system's pump motor runs during an ABS
stop to provide regulated hydraulic pressure.
The pump motor makes a low humming noise
during operation, which is normal.
The ABS includes an amber ABS Warning Light.
When the light is illuminated, the ABS is not
functioning. The system reverts to standard
non-anti-lock brakes. Placing the ignition in the
OFF mode and to the ON mode again may reset
the ABS if the fault detected was only
momentary.When you are in a severe braking condition
involving the use of the ABS, you will experience
some pedal drop as the vehicle comes to a stop.
This is the result of the system reverting to the
base brake system.
Engagement of the ABS may be accompanied
by a pulsing sensation. You may also hear a
clicking noise. These occurrences are normal
and indicate that the system is functioning
properly.
WARNING!
The ABS contains sophisticated electronic
equipment that may be susceptible to inter
-
ference caused by improperly installed or
high output radio transmitting equipment.
This interference can cause possible loss of
anti-lock braking capability. Installation of
such equipment should be performed by
qualified professionals.
Pumping of the Anti-Lock Brakes will
diminish their effectiveness and may lead
to a collision. Pumping makes the stopping
distance longer. Just press firmly on your
brake pedal when you need to slow down or
stop.
The ABS cannot prevent the natural laws of
physics from acting on the vehicle, nor can
it increase braking or steering efficiency
beyond that afforded by the condition of the
vehicle brakes and tires or the traction
afforded.
The ABS cannot prevent collisions,
including those resulting from excessive
speed in turns, following another vehicle
too closely, or hydroplaning.
The capabilities of an ABS equipped vehicle
must never be exploited in a reckless or
dangerous manner that could jeopardize
the user’s safety or the safety of others.
WARNING! (Continued)
6
21_VF_OM_EN_USC_t.book Page 149