Ram ProMaster City 2018 Repair Manual
Manufacturer: RAM, Model Year: 2018, Model line: ProMaster City, Model: Ram ProMaster City 2018Pages: 347, PDF Size: 4.08 MB
Page 61 of 347
•Fuse or battery are disconnected when the window is
moving.
• The auto-revese system is activated while the window
is moving and the door is opening.
• 50 window movements without ever closing the win-
dow.
• One door opening movements with the window mov-
ing, without ever closing the door.
• Three door opening with the window in motion.
During these maneuvers, the upper stop position is
never reached.
Proceed as follows for initialization:
1. Completely close the driver’s door window, keeping the operating button pushed for at least five seconds after
the (upper) end of travel position.
2. Proceed in the same way on the passenger’s side door button and on the buttons of rear doors.
Window Bar Grates — If Equipped
This vehicle may be equipped with metal grates over the
side door windows. This feature is a part of the vehicle’s
safety system, and is designed to protect you and your
passengers in the event of an accident.
WARNING!
The metal grates over the sliding door windows are
designed to protect you in the event of an accident.
Modification or removal of the grates could lead to
serious injury or death.
Wind Buffeting
Wind buffeting can be described as the perception of
pressure on the ears or a helicopter-type sound in the ears.
Your vehicle may exhibit wind buffeting with the windows
down in certain open or partially open positions. This is a
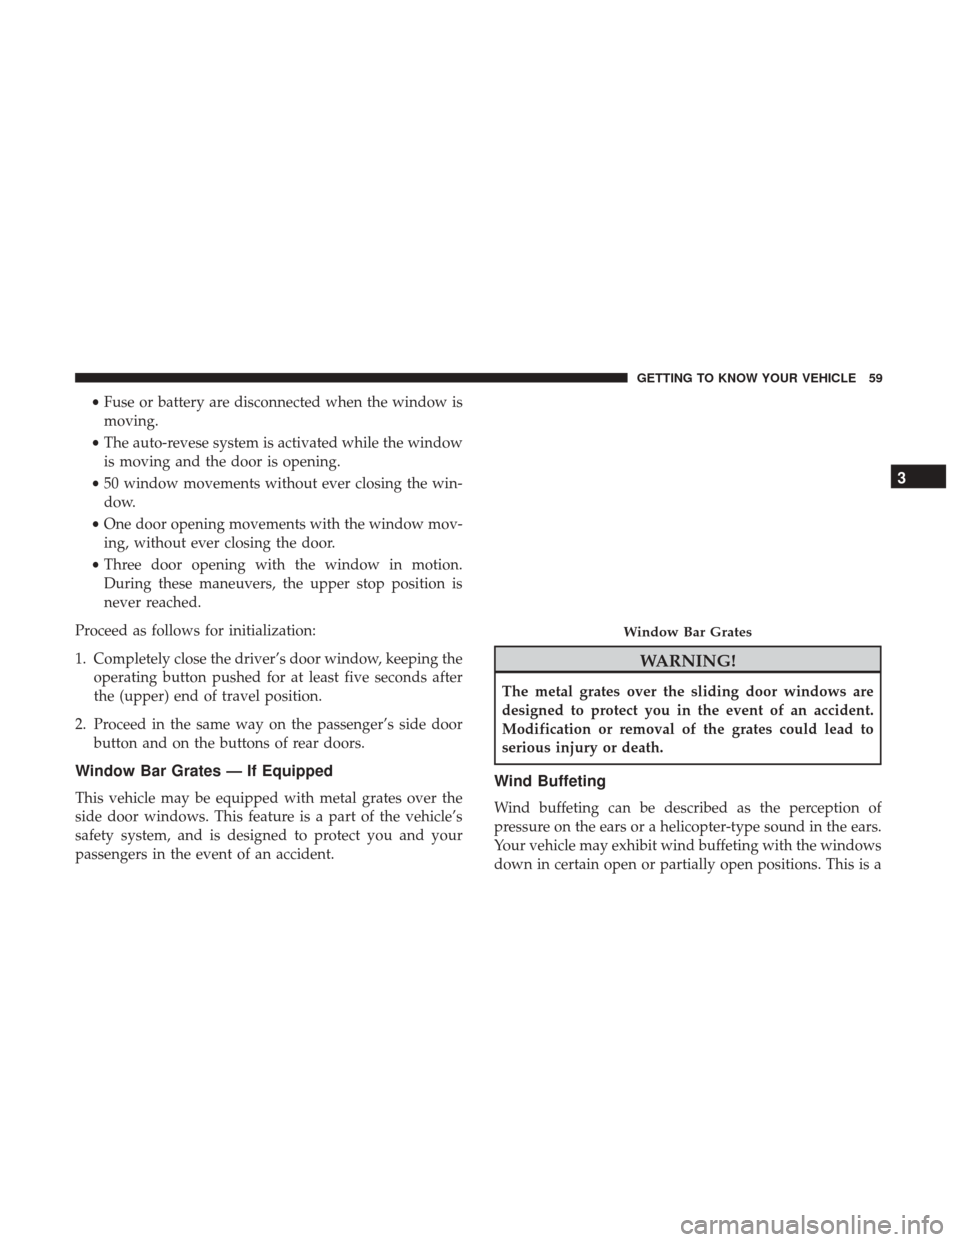
Window Bar Grates
3
GETTING TO KNOW YOUR VEHICLE 59
Page 62 of 347

normal occurrence and can be minimized. If the buffeting
occurs open the front windows together to minimize the
buffeting.
HOOD
Opening
To open the hood, two latches must be released.
1. Pull the release lever located below the instrument paneland in front of the driver’s door. 2. Move to the outside of the vehicle, reach into the
opening beneath the center of the hood and push up the
safety latch lever to release it, before raising the hood.
Hood Release Lever
Hood Safety Latch Lever Location
60 GETTING TO KNOW YOUR VEHICLE
Page 63 of 347
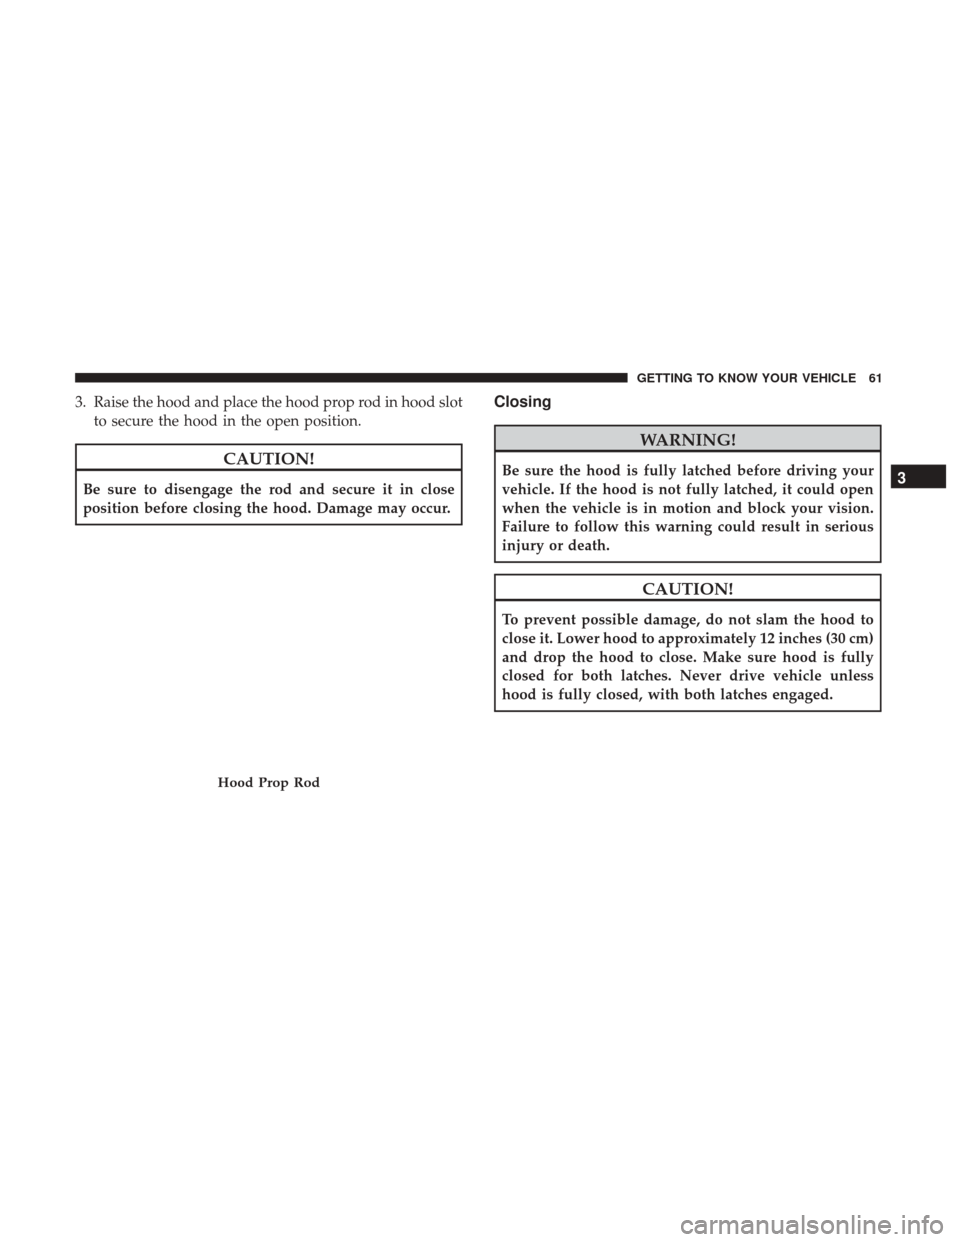
3. Raise the hood and place the hood prop rod in hood slotto secure the hood in the open position.
CAUTION!
Be sure to disengage the rod and secure it in close
position before closing the hood. Damage may occur.
Closing
WARNING!
Be sure the hood is fully latched before driving your
vehicle. If the hood is not fully latched, it could open
when the vehicle is in motion and block your vision.
Failure to follow this warning could result in serious
injury or death.
CAUTION!
To prevent possible damage, do not slam the hood to
close it. Lower hood to approximately 12 inches (30 cm)
and drop the hood to close. Make sure hood is fully
closed for both latches. Never drive vehicle unless
hood is fully closed, with both latches engaged.
Hood Prop Rod
3
GETTING TO KNOW YOUR VEHICLE 61
Page 64 of 347
CARGO AREA FEATURES
Rear Cargo Tie-Downs
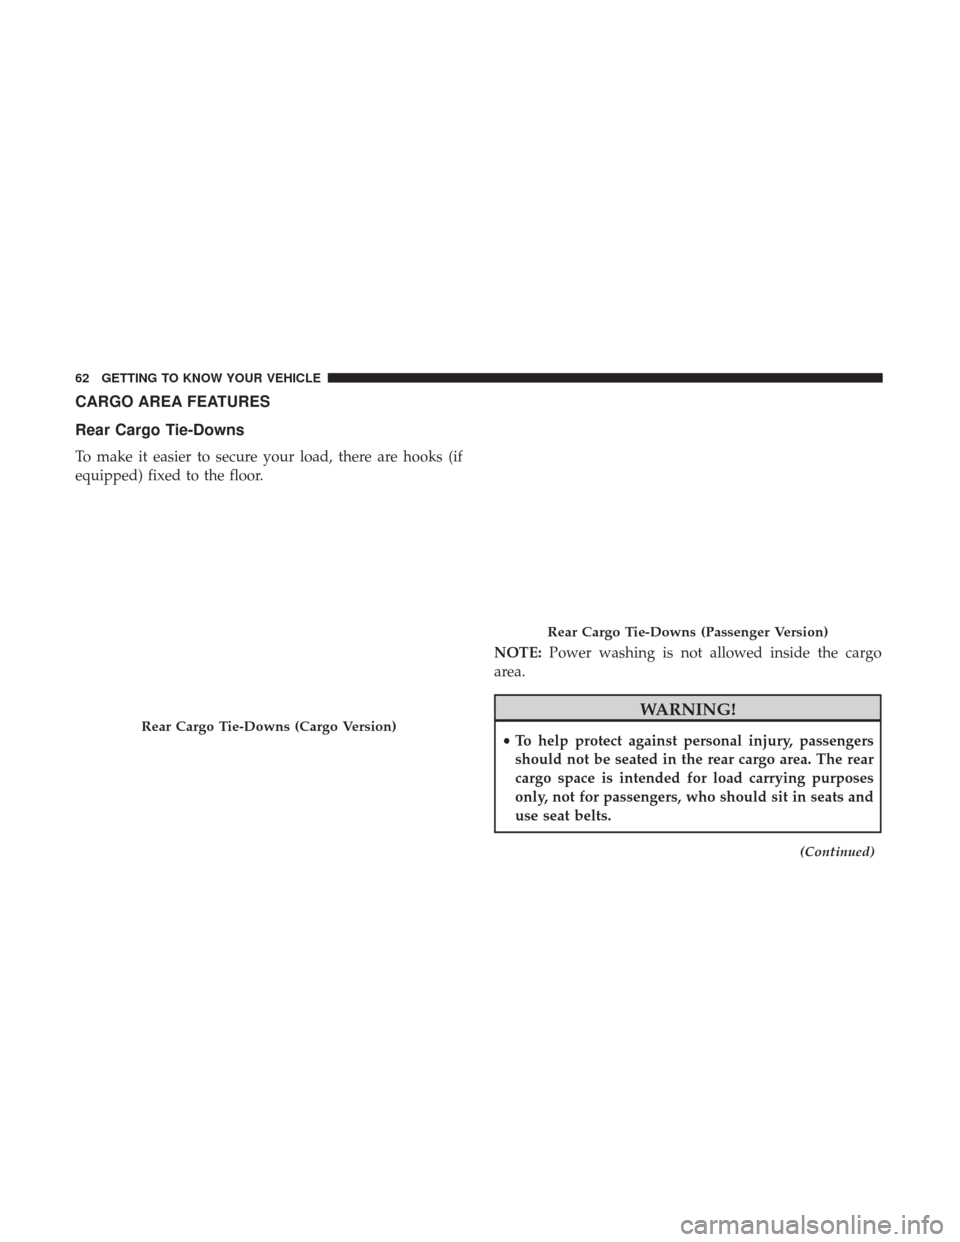
To make it easier to secure your load, there are hooks (if
equipped) fixed to the floor.NOTE:Power washing is not allowed inside the cargo
area.
WARNING!
• To help protect against personal injury, passengers
should not be seated in the rear cargo area. The rear
cargo space is intended for load carrying purposes
only, not for passengers, who should sit in seats and
use seat belts.
(Continued)
Rear Cargo Tie-Downs (Cargo Version)
Rear Cargo Tie-Downs (Passenger Version)
62 GETTING TO KNOW YOUR VEHICLE
Page 65 of 347
WARNING!(Continued)
•Cargo tie-down hooks are not safe anchors for a child
seat tether strap. In a sudden stop or accident, a hook
could pull loose and allow the child seat to come
loose. A child could be badly injured. Use only the
anchors provided for child seat tethers.
The weight and position of cargo and passengers can
change the vehicle center of gravity and vehicle han-
dling. To avoid loss of control resulting in personal
injury, follow these guidelines for loading your ve-
hicle:
• Do not carry loads which exceed the load limits
described on the label attached to the left door or left
door center pillar.
• Always place cargo evenly on the cargo floor. Put
heavier objects as low and as far forward as possible.
• Place as much cargo as possible in front of the rear
axle. Too much weight or improperly placed weight
over or behind the rear axle can cause the rear of the
vehicle to sway.
(Continued)
WARNING! (Continued)
•Do not pile luggage or cargo higher than the top of
the seatback. This could impair visibility or become
a dangerous projectile in a sudden stop or accident.
INTERNAL EQUIPMENT
Storage
Glove Compartment
The glove compartment is located on the passenger side of
the instrument panel.
To open the glove compartment, pull the release handle.
3
GETTING TO KNOW YOUR VEHICLE 63
Page 66 of 347
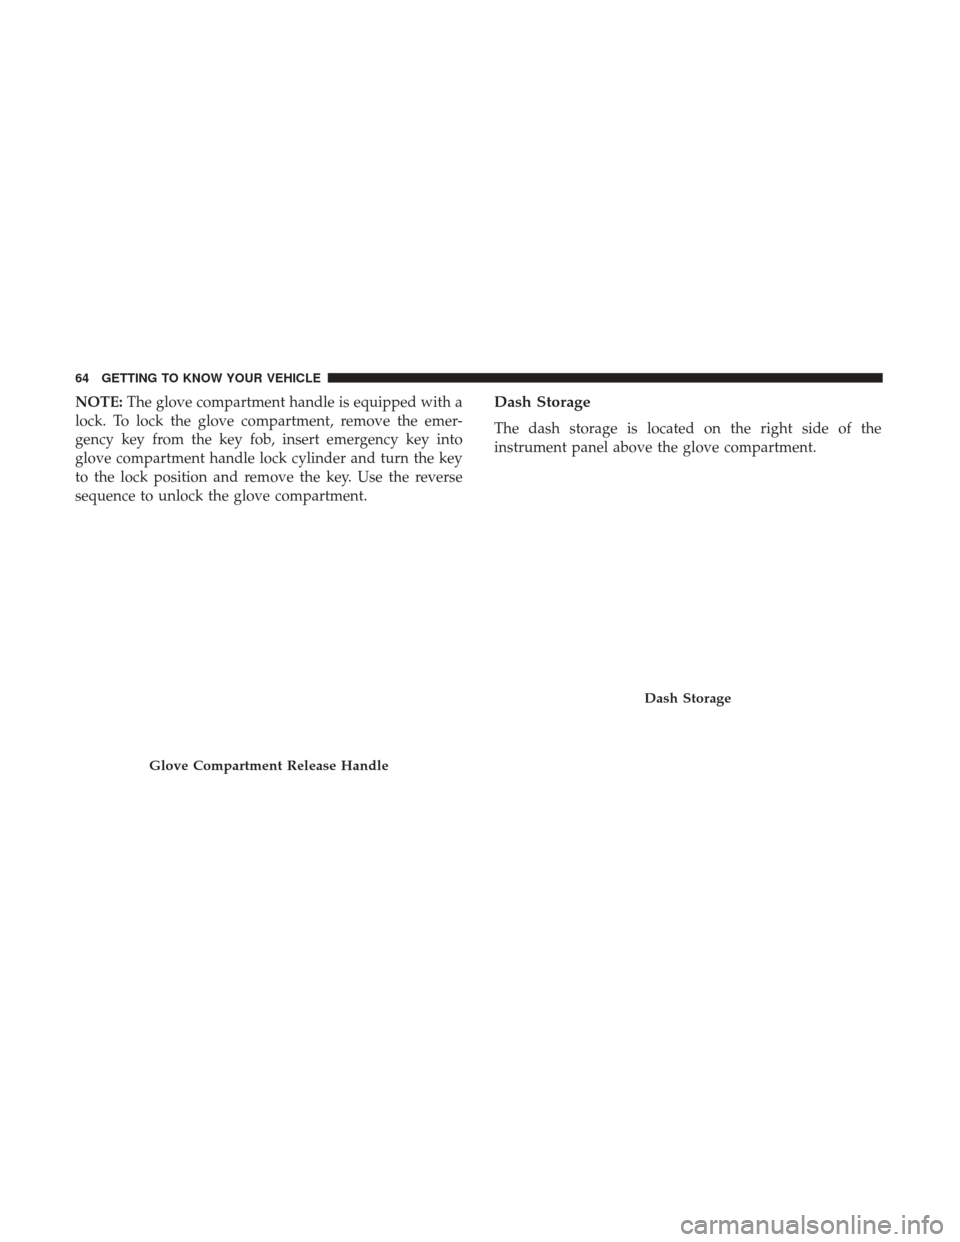
NOTE:The glove compartment handle is equipped with a
lock. To lock the glove compartment, remove the emer-
gency key from the key fob, insert emergency key into
glove compartment handle lock cylinder and turn the key
to the lock position and remove the key. Use the reverse
sequence to unlock the glove compartment.Dash Storage
The dash storage is located on the right side of the
instrument panel above the glove compartment.
Glove Compartment Release Handle
Dash Storage
64 GETTING TO KNOW YOUR VEHICLE
Page 67 of 347

Overhead Console Storage
There is additional shelf storage above the front sun visors.
Cupholders
A cupholder is located in the front and rear of the center
console.
Power Outlets
Passenger Compartment Power Outlets
The cigar lighter and the power socket are located in the
center console, and both operate with the ignition key in
the MAR (ON/RUN) position.
Overhead Console Storage Location
Passenger Compartment Power Outlets
3
GETTING TO KNOW YOUR VEHICLE 65
Page 68 of 347
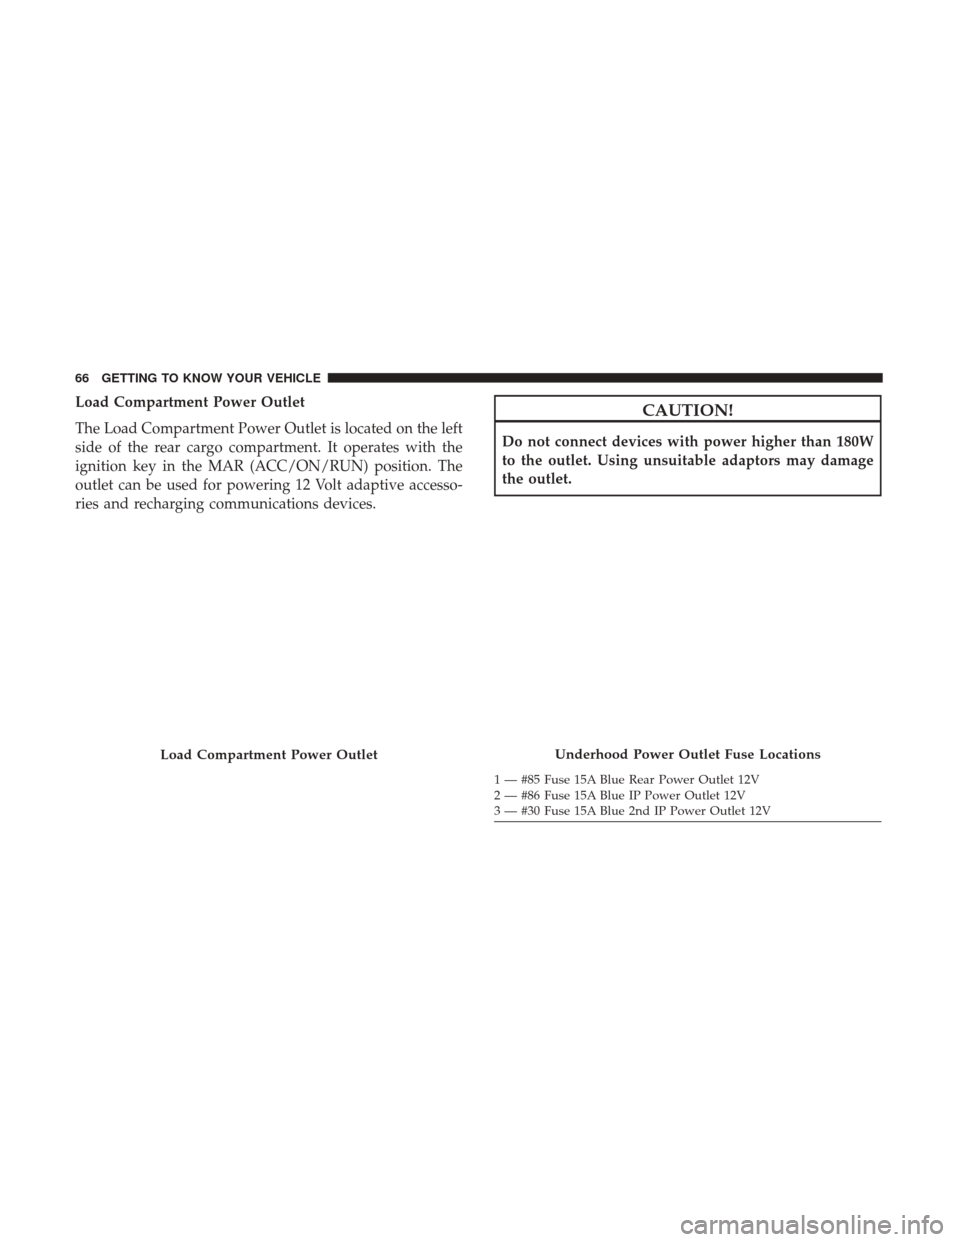
Load Compartment Power Outlet
The Load Compartment Power Outlet is located on the left
side of the rear cargo compartment. It operates with the
ignition key in the MAR (ACC/ON/RUN) position. The
outlet can be used for powering 12 Volt adaptive accesso-
ries and recharging communications devices.CAUTION!
Do not connect devices with power higher than 180W
to the outlet. Using unsuitable adaptors may damage
the outlet.
Load Compartment Power OutletUnderhood Power Outlet Fuse Locations
1 — #85 Fuse 15A Blue Rear Power Outlet 12V
2 — #86 Fuse 15A Blue IP Power Outlet 12V
3 — #30 Fuse 15A Blue 2nd IP Power Outlet 12V
66 GETTING TO KNOW YOUR VEHICLE
Page 69 of 347
WARNING!
To avoid serious injury or death:
•Only devices designed for use in this type of outlet
should be inserted into any 12 Volt outlet.
• Do not touch with wet hands.
• Close the lid when not in use and while driving the
vehicle.
• If this outlet is mishandled, it may cause an electric
shock and failure.
CAUTION!
• Many accessories that can be plugged in draw power
from the vehicle’s battery, even when not in use (i.e.,
cellular phones, etc.). Eventually, if plugged in long
enough, the vehicle’s battery will discharge suffi-
ciently to degrade battery life and/or prevent the
engine from starting.
• Accessories that draw higher power (i.e., coolers,
vacuum cleaners, lights, etc.) will degrade the battery
even more quickly. Only use these intermittently and
with greater caution.
(Continued)
CAUTION! (Continued)
•After the use of high power draw accessories, or long
periods of the vehicle not being started (with acces-
sories still plugged in), the vehicle must be driven a
sufficient length of time to allow the generator to
recharge the vehicle’s battery.
Cigar Lighter And Ash Receiver — If Equipped
A removable ash receiver and cigar lighter are available.
Push the cigar lighter button to activate the cigar lighter
when the ignition key is in the MAR (ON/RUN) position.
After a few seconds the button returns to its initial position
and the cigar lighter is ready for use.
NOTE: Always check that the cigar lighter has turned itself
off.
WARNING!
The cigar lighter becomes very hot. Handle it carefully
and make sure children don’t touch it: risk of fire
and/or burning.
3
GETTING TO KNOW YOUR VEHICLE 67
Page 70 of 347
ROOF RACK — IF EQUIPPED
The crossbars and siderails are designed to carry the
weight on vehicles equipped with a luggage rack. The load
must not exceed 150 lbs (68 kg), and should be uniformly
distributed over the luggage rack crossbars.
NOTE:If not equipped with crossbars, your authorized
dealer can order and install Mopar crossbars built specifi-
cally for this roof rack system.
Distribute cargo weight evenly on the roof rack crossbars.
The roof rack does not increase the total load carrying
capacity of the vehicle. Be sure the total load of cargo inside
the vehicle plus that on the external rack does not exceed
the maximum vehicle load capacity.
To move the crossbars, loosen the attachments, located at
the upper edge of each crossbar, approximately eight turns
using the anti-theft wrench provided with the Mopar
crossbars. Then, move the crossbar to the desired position,
keeping the crossbars parallel to the rack frame. Once the
crossbar is in the desired position, retighten the with the
wrench to lock the crossbar into position. NOTE:
•
To help control wind noise when the crossbars are not in
use, place the front and rear crossbars approximately 24
inches (61 cm) apart. Optimal noise reduction can then
be achieved by adjusting the front crossbar forward or
aft using increments of 1 inch (2.5 cm).
• If (or any metallic object) is placed over the satellite
radio antenna (if equipped), you may experience inter-
ruption of satellite radio reception. For improved satel-
lite radio reception, avoid placing the rear crossbar over
the satellite radio antenna.
WARNING!
Cargo must be securely tied down before driving your
vehicle. Improperly secured loads can fly off the ve-
hicle, particularly at high speeds, resulting in personal
injury or property damage. Follow the roof rack cau-
tions when carrying cargo on your roof rack.
68 GETTING TO KNOW YOUR VEHICLE