tires Ram ProMaster City 2020 User Guide
[x] Cancel search | Manufacturer: RAM, Model Year: 2020, Model line: ProMaster City, Model: Ram ProMaster City 2020Pages: 350, PDF Size: 13.27 MB
Page 186 of 350

STARTING AND OPERATING 183
Gross Vehicle Weight Rating (GVWR)
The GVWR is the total allowable weight of your vehicle. This
includes driver, passengers, and cargo. The total load must
be limited so that you do not exceed the GVWR.
Gross Axle Weight Rating (GAWR)
The GAWR is the maximum capacity of the front and rear
axles. Distribute the load over the front and rear axles evenly.
Make sure that you do not exceed either front or rear GAWR.
Tire Size
The tire size on the Vehicle Certification Label represents the
actual tire size on your vehicle. Replacement tires must be
equal to the load capacity of this tire size.
Rim Size
This is the rim size that is appropriate for the tire size listed.
Inflation Pressure
This is the cold tire inflation pressure for your vehicle for all
loading conditions up to full GAWR.
Curb Weight
The curb weight of a vehicle is defined as the total weight of
the vehicle with all fluids, including vehicle fuel, at full
capacity conditions, and with no occupants or cargo loaded
into the vehicle. The front and rear curb weight values are
determined by weighing your vehicle on a commercial scale
before any occupants or cargo are added.
Overloading
The load carrying components (axle, springs, tires, wheels,
etc.) of your vehicle will provide satisfactory service as long
as you do not exceed the GVWR and the front and rear
GAWR.
The best way to figure out the total weight of your vehicle is
to weigh it when it is fully loaded and ready for operation.
Weigh it on a commercial scale to ensure that it is not over
the GVWR.
WARNING!
Because the front wheels steer the vehicle, it is important
that you do not exceed the maximum front or rear
GAWR. A dangerous driving condition can result if
either rating is exceeded. You could lose control of the
vehicle and have a collision.5
2020_RAM_PROMASTER_CITY_OM_USA=GUID-7B6A7FCA-79B0-423F-95C5-ED2A949C3D13=1=en=.book Page 183
Page 193 of 350

190 STARTING AND OPERATING
(Continued)
WARNING!
• Make certain that the load is secured in the trailer and will not shift during travel. When trailering cargo that
is not fully secured, dynamic load shifts can occur that
may be difficult for the driver to control. You could lose
control of your vehicle and have a collision.
• When hauling cargo or towing a trailer, do not overload your vehicle or trailer. Overloading can cause a loss of
control, poor performance or damage to brakes, axle,
engine, transmission, steering, suspension, chassis
structure or tires.
• Safety chains must always be used between your vehicle and trailer. Always connect the chains to the
hook retainers of the vehicle hitch. Cross the chains
under the trailer tongue and allow enough slack for
turning corners.
• Vehicles with trailers should not be parked on a grade.When parking, apply the parking brake on the tow
vehicle. Put the tow vehicle transmission in PARK. For
four-wheel drive vehicles, make sure the transfer case
is not in NEUTRAL. Always, block or "chock" the
trailer wheels.
• GCWR must not be exceeded.
• Total weight must be distributed between the tow vehicle and the trailer such that the following four
ratings are not exceeded:
• GVWR
• GTW
• GAWR
• Tongue weight rating for the trailer hitch utilized.
WARNING! (Continued)
2020_RAM_PROMASTER_CITY_OM_USA=GUID-7B6A7FCA-79B0-423F-95C5-ED2A949C3D13=1=en=.book Page 190
Page 194 of 350
STARTING AND OPERATING 191
Towing Requirements — Tires
• Do not attempt to tow a trailer while using a compact sparetire.
• Do not drive more than 50 mph (80 km/h) when towing while using a full size spare tire.
• Proper tire inflation pressures are essential to the safe and satisfactory operation of your vehicle. Refer to “Tires” in
“Servicing And Maintenance” for proper tire inflation
procedures.
• Check the trailer tires for proper tire inflation pressures before trailer usage.
• Check for signs of tire wear or visible tire damage before towing a trailer. Refer to “Tires” in “Servicing And Main -
tenance” for the proper inspection procedure.
• When replacing tires, refer to “Tires” in “Servicing And Maintenance” for the proper tire replacement procedures.
Replacing tires with a higher load carrying capacity will
not increase the vehicle's GVWR and GAWR limits. Towing Requirements — Trailer Brakes
• Do
not interconnect the hydraulic brake system or vacuum
system of your vehicle with that of the trailer. This could
cause inadequate braking and possible personal injury.
• An electronically actuated trailer brake controller is required when towing a trailer with electronically actu -
ated brakes. When towing a trailer equipped with a
hydraulic surge actuated brake system, an electronic brake
controller is not required.
• Trailer brakes are recommended for trailers over 1,000 lbs (453 kg) and required for trailers in excess of 2,000 lbs (907 kg).
WARNING!
• Do not connect trailer brakes to your vehicle's hydraulic brake lines. It can overload your brake
system and cause it to fail. You might not have brakes
when you need them and could have an accident.
• Towing any trailer will increase your stopping distance. When towing, you should allow for addi -
tional space between your vehicle and the vehicle in
front of you. Failure to do so could result in an accident.
5
2020_RAM_PROMASTER_CITY_OM_USA=GUID-7B6A7FCA-79B0-423F-95C5-ED2A949C3D13=1=en=.book Page 191
Page 199 of 350

196 STARTING AND OPERATING
DRIVING TIPS
Driving On Slippery Surfaces
Acceleration
Rapid acceleration on snow covered, wet, or other slippery
surfaces may cause the driving wheels to pull erratically to
the right or left. This phenomenon occurs when there is a
difference in the surface traction under the front (driving)
wheels.Traction
When driving on wet or slushy roads, it is possible for a
wedge of water to build up between the tire and road
surface. This is hydroplaning and may cause partial or
complete loss of vehicle control and stopping ability. To
reduce this possibility, the following precautions should be
observed:
• Slow down during rainstorms or when the roads are
slushy.
• Slow down if the road has standing water or puddles.
• Replace the tires when tread wear indicators first become visible.
• Keep tires properly inflated.
• Maintain sufficient distance between your vehicle and the vehicle in front of you to avoid a collision in a sudden stop.
WARNING!
Rapid acceleration on slippery surfaces is dangerous.
Unequal traction can cause sudden pulling of the front
wheels. You could lose control of the vehicle and
possibly have a collision. Accelerate slowly and carefully
whenever there is likely to be poor traction (ice, snow,
wet, mud, loose sand, etc.).
2020_RAM_PROMASTER_CITY_OM_USA=GUID-7B6A7FCA-79B0-423F-95C5-ED2A949C3D13=1=en=.book Page 196
Page 215 of 350
212 IN CASE OF EMERGENCY
JACKING AND TIRE CHANGING Jack Location — If Equipped
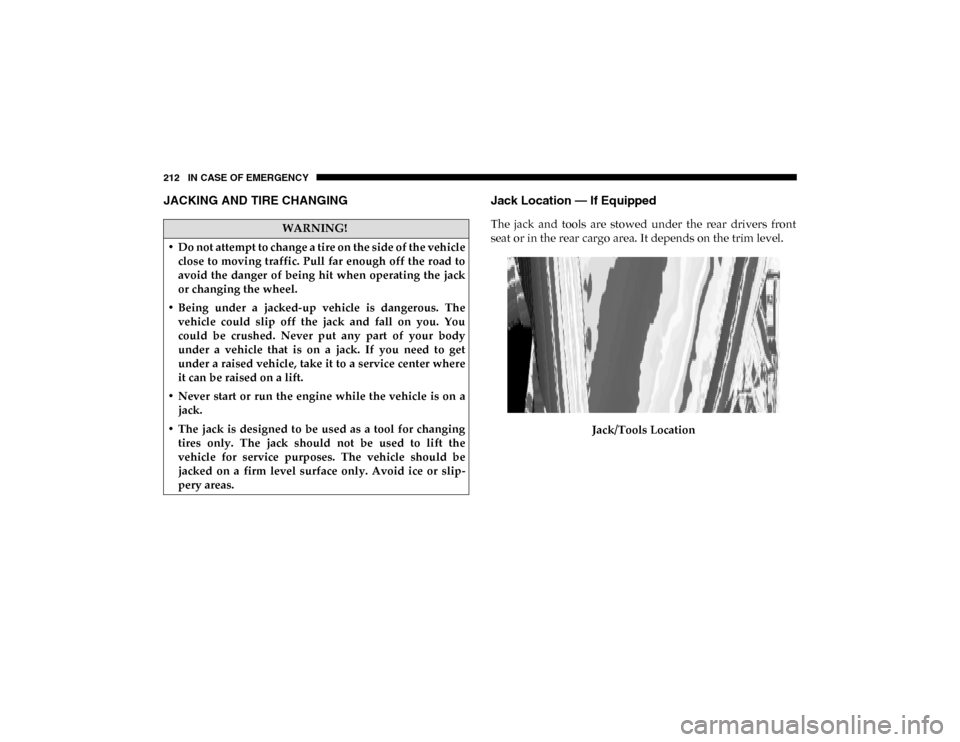
The jack and tools are stowed under the rear drivers front
seat or in the rear cargo area. It depends on the trim level.
Jack/Tools LocationWARNING!
• Do not attempt to change a tire on the side of the vehicle close to moving traffic. Pull far enough off the road to
avoid the danger of being hit when operating the jack
or changing the wheel.
• Being under a jacked-up vehicle is dangerous. The vehicle could slip off the jack and fall on you. You
could be crushed. Never put any part of your body
under a vehicle that is on a jack. If you need to get
under a raised vehicle, take it to a service center where
it can be raised on a lift.
• Never start or run the engine while the vehicle is on a jack.
• The jack is designed to be used as a tool for changing tires only. The jack should not be used to lift the
vehicle for service purposes. The vehicle should be
jacked on a firm level surface only. Avoid ice or slip -
pery areas.
2020_RAM_PROMASTER_CITY_OM_USA=GUID-7B6A7FCA-79B0-423F-95C5-ED2A949C3D13=1=en=.book Page 212
Page 222 of 350

IN CASE OF EMERGENCY 219
Jack Warning Label
• Only use the jack in the positions indicated and for
lifting this vehicle during a tire change.
• If working on or near a roadway, be extremely careful of motor traffic.
• To assure that spare tires, flat or inflated, are securely stowed, spares must be stowed with the valve stem
facing the ground.
• The stowed spare tire should always be checked for security by pushing on it with your hand, at the loca -
tion under the rear bumper, behind the vehicle. The
spare tire should not move when fully secured by the
winch under the vehicle.
WARNING! (Continued)
6
2020_RAM_PROMASTER_CITY_OM_USA=GUID-7B6A7FCA-79B0-423F-95C5-ED2A949C3D13=1=en=.book Page 219
Page 241 of 350

238 IN CASE OF EMERGENCY
NOTE:
Push the “ESC OFF” switch, to place the Electronic Stability
Control (ESC) system in “Partial Off” mode, before rocking
the vehicle. Refer to “Electronic Brake Control System” in
“Safety” for further information. Once the vehicle has been
freed, push the “ESC OFF” switch again to restore “ESC On”
mode.
TOWING A DISABLED VEHICLE
This section describes procedures for towing a disabled
vehicle using a commercial towing service.
WARNING!
Fast spinning tires can be dangerous. Forces generated
by excessive wheel speeds may cause damage, or even
failure, of the axle and tires. A tire could explode and
injure someone. Do not spin your vehicle's wheels faster
than 30 mph (48 km/h) or for longer than 30 seconds
continuously without stopping when you are stuck and
do not let anyone near a spinning wheel, no matter what
the speed.
CAUTION!
• When “rocking” a stuck vehicle by shifting between DRIVE and REVERSE, do not spin the wheels faster
than 15 mph (24 km/h), or drivetrain damage may
result.
• Revving the engine or spinning the wheels too fast may lead to transmission overheating and failure. It can also damage
the tires. Do not spin the wheels above 30 mph (48 km/h)
while in gear (no transmission shifting occurring).
Towing Condition Wheel OFF The Ground ALL MODELS
Flat Tow NONENOT ALLOWED
Wheel Lift Or Dolly Tow Front
OK
Rear NOT ALLOWED
Flatbed ALLBEST METHOD
2020_RAM_PROMASTER_CITY_OM_USA=GUID-7B6A7FCA-79B0-423F-95C5-ED2A949C3D13=1=en=.book Page 238
Page 244 of 350
241
SERVICING AND MAINTENANCE
SCHEDULED SERVICING
Your vehicle is equipped with an automatic oil change indicator
system. The oil change indicator system will remind you that it is
time to take your vehicle in for scheduled maintenance.
Based on engine operation conditions, the oil change indi-
cator message will illuminate. This means that service is
required for your vehicle. Operating conditions such as
frequent short-trips, trailer tow, extended engine idle time,
extremely hot or cold ambient temperatures will influence
when the “Oil Change Required” message is displayed.
Severe Operating Conditions can cause the change oil
message to illuminate as early as 3,500 miles (5,600 km) since
last reset. Have your vehicle serviced as soon as possible,
within the next 500 miles (805 km).
Your authorized dealer will reset the oil change indicator message
after completing the scheduled oil change. If a scheduled oil change
is performed by someone other than your authorized dealer, the
message can be reset by referring to the steps described under “Oil
Change Reset” in “Instrument Cluster Display” in “Getting To
Know Your Instrument Panel” for further information.
NOTE:
Under no circumstances should oil change intervals exceed
10,000 miles (16,000 km), 350 hours of engine run time or
12 months, whichever comes first. The 350 hours of engine run
or idle time is generally only a concern for fleet customers.
Severe Duty All Models
Change Engine Oil at 4,000 miles (6,500 km) or 350 hours of engine
run time if the vehicle is operated in a dusty and off road environ -
ment or is operated predominantly at idle, or only very low engine
RPM. This type of vehicle use is considered Severe Duty.
Once A Month Or Before A Long Trip:
• Check engine oil level.
• Check windshield washer fluid level.
• Check tire pressure and look for unusual wear or damage. Rotate tires at the first sign of irregular wear, even if it
occurs before the oil indicator system turns on.
• Check the fluid levels of the coolant reservoir and brake master cylinder, fill as needed.
• Check function of all interior and exterior lights.
7
2020_RAM_PROMASTER_CITY_OM_USA=GUID-7B6A7FCA-79B0-423F-95C5-ED2A949C3D13=1=en=.book Page 241
Page 245 of 350

242 SERVICING AND MAINTENANCE
Maintenance Plan
Required Maintenance Intervals
Refer to the maintenance schedule for the required maintenance intervals.At Every Oil Change Interval As Indicated By Oil Change Indicator System:
• Change oil and filter
• Rotate the tires
• Rotate at the first sign of irregular wear, even if it occurs before the oil indicator system turns on
• Inspect battery and clean and tighten terminals as required
• Inspect the CV joints
• Inspect brake pads, shoes, rotors, drums, hoses, lines and park brake
• Inspect engine cooling system protection and hoses
• Inspect exhaust system
• Inspect engine air cleaner if using in dusty or off-road conditions
2020_RAM_PROMASTER_CITY_OM_USA=GUID-7B6A7FCA-79B0-423F-95C5-ED2A949C3D13=1=en=.book Page 242
Page 269 of 350
266 SERVICING AND MAINTENANCE
RAISING THE VEHICLE
In the case where it is necessary to raise the vehicle, go to an
authorized dealer or service station.
TIRES
Tire Safety Information
Tire safety information will cover aspects of the following
information: Tire Markings, Tire Identification Numbers,
Tire Terminology and Definitions, Tire Pressures, and Tire
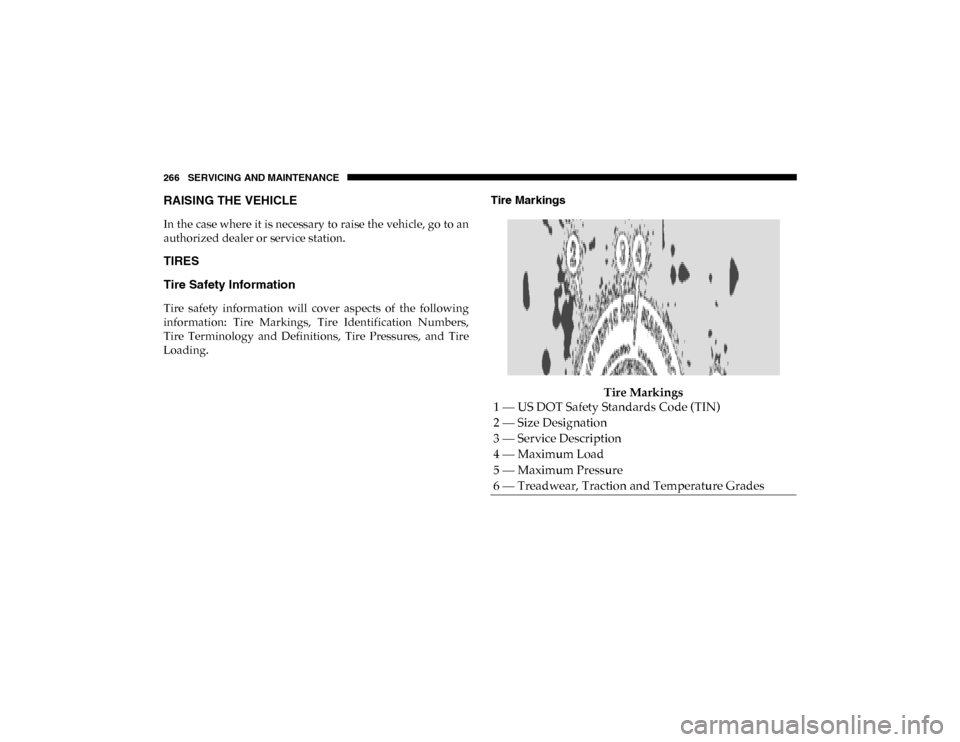
Loading.Tire Markings
Tire Markings
1 — US DOT Safety Standards Code (TIN)
2 — Size Designation
3 — Service Description
4 — Maximum Load
5 — Maximum Pressure
6 — Treadwear, Traction and Temperature Grades
2020_RAM_PROMASTER_CITY_OM_USA=GUID-7B6A7FCA-79B0-423F-95C5-ED2A949C3D13=1=en=.book Page 266