Ram ProMaster City 2020 Service Manual
Manufacturer: RAM, Model Year: 2020, Model line: ProMaster City, Model: Ram ProMaster City 2020Pages: 350, PDF Size: 13.27 MB
Page 41 of 350
38 GETTING TO KNOW YOUR VEHICLE
STEERING WHEEL
Tilt/Telescoping Steering Column
This feature allows you to tilt the steering column upward or
downward. It also allows you to lengthen or shorten the
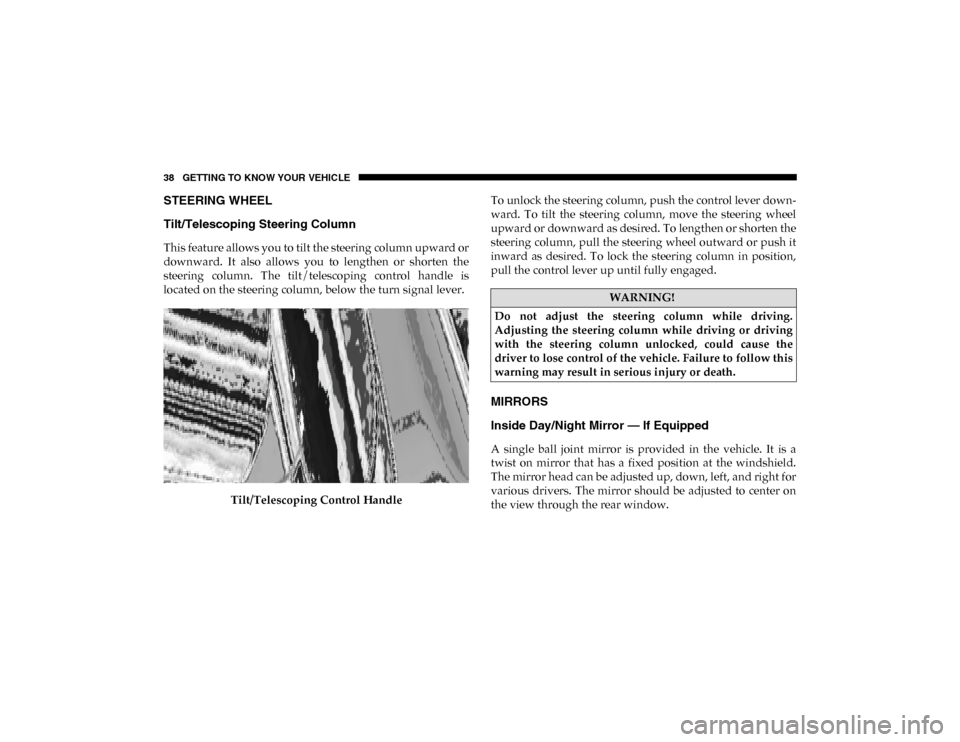
steering column. The tilt/telescoping control handle is
located on the steering column, below the turn signal lever.Tilt/Telescoping Control Handle To unlock the steering column, push the control lever down
-
ward. To tilt the steering column, move the steering wheel
upward or downward as desired. To lengthen or shorten the
steering column, pull the steering wheel outward or push it
inward as desired. To lock the steering column in position,
pull the control lever up until fully engaged.
MIRRORS
Inside Day/Night Mirror — If Equipped
A single ball joint mirror is provided in the vehicle. It is a
twist on mirror that has a fixed position at the windshield.
The mirror head can be adjusted up, down, left, and right for
various drivers. The mirror should be adjusted to center on
the view through the rear window.
WARNING!
Do not adjust the steering column while driving.
Adjusting the steering column while driving or driving
with the steering column unlocked, could cause the
driver to lose control of the vehicle. Failure to follow this
warning may result in serious injury or death.
2020_RAM_PROMASTER_CITY_OM_USA=GUID-7B6A7FCA-79B0-423F-95C5-ED2A949C3D13=1=en=.book Page 38
Page 42 of 350
GETTING TO KNOW YOUR VEHICLE 39
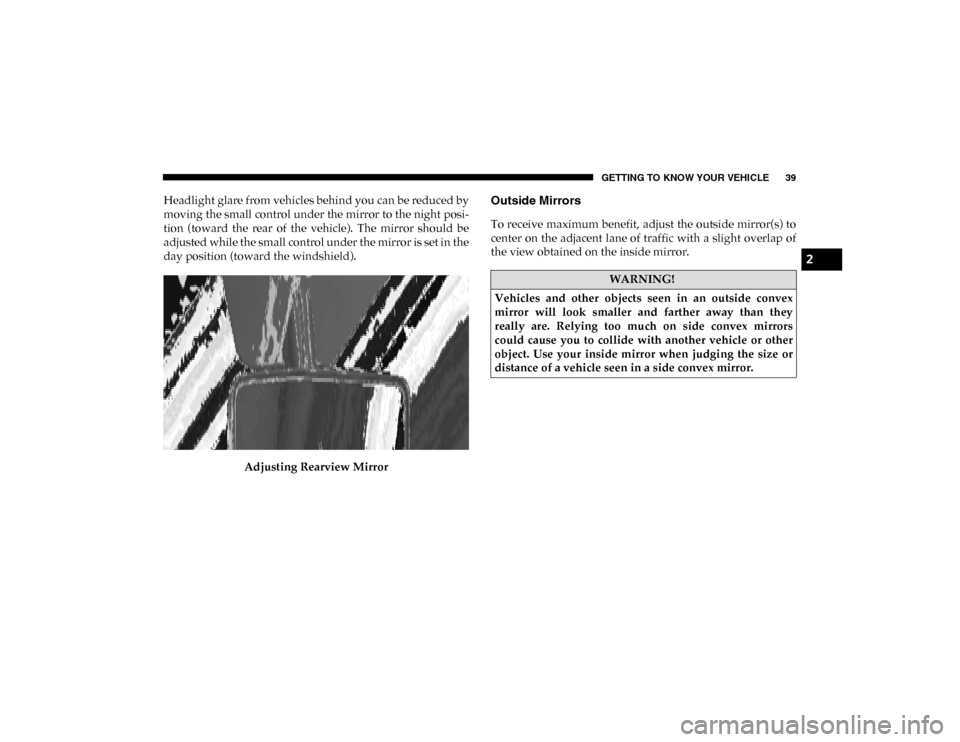
Headlight glare from vehicles behind you can be reduced by
moving the small control under the mirror to the night posi-
tion (toward the rear of the vehicle). The mirror should be
adjusted while the small control under the mirror is set in the
day position (toward the windshield).
Adjusting Rearview MirrorOutside Mirrors
To receive maximum benefit, adjust the outside mirror(s) to
center on the adjacent lane of traffic with a slight overlap of
the view obtained on the inside mirror.
WARNING!
Vehicles and other objects seen in an outside convex
mirror will look smaller and farther away than they
really are. Relying too much on side convex mirrors
could cause you to collide with another vehicle or other
object. Use your inside mirror when judging the size or
distance of a vehicle seen in a side convex mirror.
2
2020_RAM_PROMASTER_CITY_OM_USA=GUID-7B6A7FCA-79B0-423F-95C5-ED2A949C3D13=1=en=.book Page 39
Page 43 of 350

40 GETTING TO KNOW YOUR VEHICLE
Manual Outside Mirror Adjustment — If Equipped
From the inside of the vehicle, use the control lever to adjust
the mirror.Manual Mirror Control Lever Manual Folding Door Mirrors
The door mirrors are hinged to allow the mirror to be folded
forward or rearward to help avoid damage.
Folding Mirrors
CAUTION!
It is recommended to fold the mirrors into the full
rearward position to resist damage when entering a car
wash or a narrow location.
2020_RAM_PROMASTER_CITY_OM_USA=GUID-7B6A7FCA-79B0-423F-95C5-ED2A949C3D13=1=en=.book Page 40
Page 44 of 350
GETTING TO KNOW YOUR VEHICLE 41
Power Outside Mirrors — If Equipped
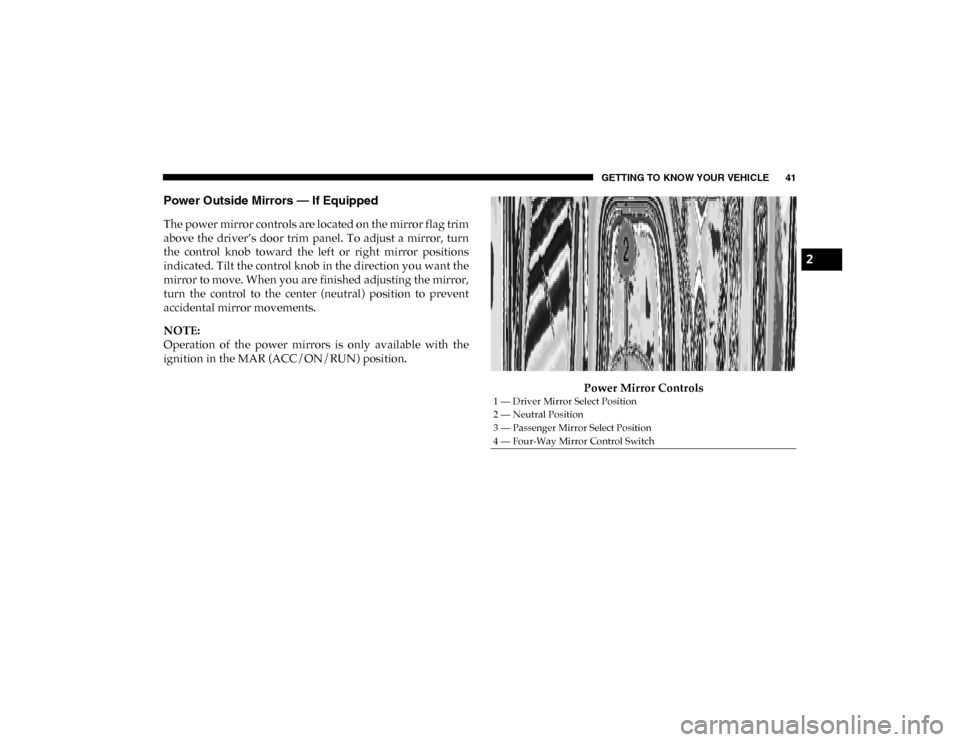
The power mirror controls are located on the mirror flag trim
above the driver’s door trim panel. To adjust a mirror, turn
the control knob toward the left or right mirror positions
indicated. Tilt the control knob in the direction you want the
mirror to move. When you are finished adjusting the mirror,
turn the control to the center (neutral) position to prevent
accidental mirror movements.
NOTE:
Operation of the power mirrors is only available with the
ignition in the MAR (ACC/ON/RUN) position.Power Mirror Controls
1 — Driver Mirror Select Position
2 — Neutral Position
3 — Passenger Mirror Select Position
4 — Four-Way Mirror Control Switch
2
2020_RAM_PROMASTER_CITY_OM_USA=GUID-7B6A7FCA-79B0-423F-95C5-ED2A949C3D13=1=en=.book Page 41
Page 45 of 350
42 GETTING TO KNOW YOUR VEHICLE
Vanity Mirror
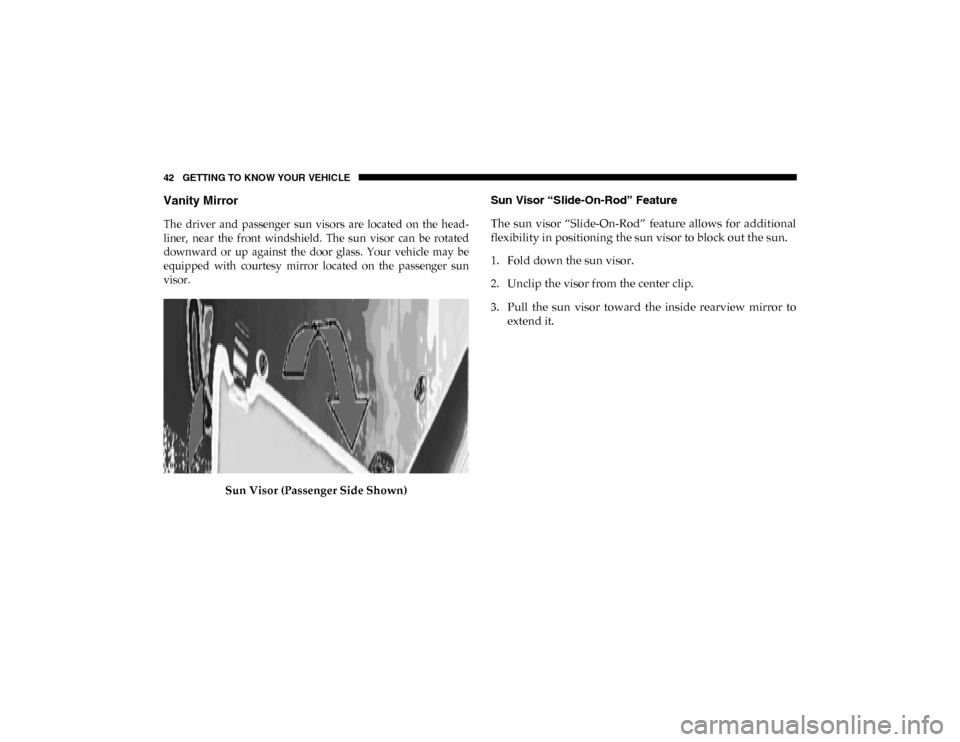
The driver and passenger sun visors are located on the head-
liner, near the front windshield. The sun visor can be rotated
downward or up against the door glass. Your vehicle may be
equipped with courtesy mirror located on the passenger sun
visor.
Sun Visor (Passenger Side Shown) Sun Visor “Slide-On-Rod” Feature
The sun visor “Slide-On-Rod” feature allows for additional
flexibility in positioning the sun visor to block out the sun.
1. Fold down the sun visor.
2. Unclip the visor from the center clip.
3. Pull the sun visor toward the inside rearview mirror to
extend it.
2020_RAM_PROMASTER_CITY_OM_USA=GUID-7B6A7FCA-79B0-423F-95C5-ED2A949C3D13=1=en=.book Page 42
Page 46 of 350

GETTING TO KNOW YOUR VEHICLE 43
EXTERIOR LIGHTS
Multifunction Lever
The multifunction lever controls the operation of the head-
lights, parking lights, turn signals, headlight beam selection
and the passing lights. The multifunction lever is located on
the left side of the steering column.
Multifunction Lever
Headlights
To turn on the headlights, turn the end of the multifunction
lever to the headlight position. When the headlight switch is
on, the parking lights, taillights, license plate light, clearance
lights and instrument panel lights are also turned on. To turn
off the headlights, turn the end of the multifunction lever
back to the O (Off) position.
Daytime Running Lights — If Equipped
NOTE:
When the headlights are turned on, the Daytime Running
Lights (DRLs) will be deactivated.
To activate the DRLs, rotate the end of the multifunction
lever to the O (Off) position.
NOTE:
• The low beams and side/taillights will not be on with DRLs.
• In certain markets, the DRLs function may be optional andcan be programmed to be on or off through the Uconnect
system screen. Refer to “Uconnect Settings” in “Multi -
media” for further information.
The DRLs will come on whenever the ignition is on, the
headlight switch is off, and the turn signal is off.
2
2020_RAM_PROMASTER_CITY_OM_USA=GUID-7B6A7FCA-79B0-423F-95C5-ED2A949C3D13=1=en=.book Page 43
Page 47 of 350
44 GETTING TO KNOW YOUR VEHICLE
High Beams
With the low beams activated, pull the multifunction lever
towards the steering wheel to turn on the high beams. A high
beam symbol will illuminate in the cluster to indicate the
high beams are on. Pull the multifunction lever a second time
to switch the headlights back to low beam.
NOTE:
If the vehicle’s ignition is turned off, both high and low beam
headlights will also turn off.
Flash-To-Pass
You can signal another vehicle with your headlights by
partially pulling the multifunction lever toward the steering
wheel. This will cause the high beam headlights to turn on
until the lever is released.
Parking Lights
These lights can only be turned on with ignition key in the
STOP (OFF/LOCK) position or removed, by moving the end
of the multifunction lever to O (Off) position and then to the
headlight position.
The warning light telltale in the instrument panel comes on.
The lights stay on until the next ignition cycle is performed.
Follow Me Home/Headlight Delay
When this feature is selected, the driver can choose to have
the headlights remain on for a preset period of time after the
engine is turned off.
Activation
Remove the key or turn the ignition to the STOP (OFF/
LOCK) position, and pull the multifunction lever toward the
steering wheel within two minutes. Each time the lever is
pulled, the activation of the lights will be extended by 30
seconds. The activation of the lights can be extended to a
maximum of 210 seconds.
2020_RAM_PROMASTER_CITY_OM_USA=GUID-7B6A7FCA-79B0-423F-95C5-ED2A949C3D13=1=en=.book Page 44
Page 48 of 350
GETTING TO KNOW YOUR VEHICLE 45
Deactivation
Pull the multifunction lever toward the steering wheel and
hold it for more than two seconds.
Fog Lights — If Equipped
The fog light switch is located on the center stack of the
instrument panel, just below the climate controls.Push the switch once to turn the fog lights on.
Push the switch a second time to turn the fog
lights off.
NOTE:
If the vehicle’s ignition is turned off, the fog lights will also
turn off.
Turn Signals
Move the multifunction lever up or down and the arrows on
each side of the instrument cluster flash to show proper oper -
ation of the front and rear turn signal lights.
NOTE:
If either light remains on and does not flash, or there is a very
fast flash rate, check for a defective outside light bulb. If an
indicator fails to light when the lever is moved, it would
suggest that the indicator bulb is defective.
Lane Change Assist
Tap the lever up or down once, without moving beyond the
detent, and the turn signal (right or left) will flash five times
then automatically turn off.
2
2020_RAM_PROMASTER_CITY_OM_USA=GUID-7B6A7FCA-79B0-423F-95C5-ED2A949C3D13=1=en=.book Page 45
Page 49 of 350

46 GETTING TO KNOW YOUR VEHICLE
INTERIOR LIGHTS
Courtesy/Interior Lights
These lights are mounted between the sun visors on the over-
head console. Each light is turned on by pushing the corre -
sponding switch.
Left Switch
• Push the left switch to the left to turn off the auto dome lights. The dome lights will not automatically turn on
when a door is opened.
• Push the left switch to the right to turn on the dome lights.
Right Switch
• Push the right switch to the left to turn on the left map light.
• Push the right switch to the right to turn on the right map light. Map/Dome Lights
1 — Auto/Off
2 — Dome
3 — Left Map
4 — Right Map
2020_RAM_PROMASTER_CITY_OM_USA=GUID-7B6A7FCA-79B0-423F-95C5-ED2A949C3D13=1=en=.book Page 46
Page 50 of 350

GETTING TO KNOW YOUR VEHICLE 47
Rear Lights
Cargo VehicleCargo Vehicle Interior Lamp Locations Lateral Roof Light
This is located on the right side of the load compartment.
Rear Roof Light
This is located on the rear panel of the load compartment.
In auto-mode, the light comes on automatically when you
open the sliding doors and the rear wing doors, and goes out
when you close them.
• Push the left-hand side of the lens to switch the light off
when the doors are open.
• Push the right hand side of the lens to switch the light on when the doors are open.
1 — Lateral Roof Light
2 — Rear Roof Light
2
2020_RAM_PROMASTER_CITY_OM_USA=GUID-7B6A7FCA-79B0-423F-95C5-ED2A949C3D13=1=en=.book Page 47