fog light RAM PROMASTER CITY 2021 Owners Manual
[x] Cancel search | Manufacturer: RAM, Model Year: 2021, Model line: PROMASTER CITY, Model: RAM PROMASTER CITY 2021Pages: 280, PDF Size: 15.78 MB
Page 4 of 280
2
INTRODUCTION
Symbols Key ............................................................ 7
WARNINGS AND CAUTIONS ................................. 7
VAN CONVERSIONS/CAMPERS ............................ 7
VEHICLE MODIFICATIONS/ALTERATIONS .......... 8
Symbol Glossary ..................................................... 8
GETTING TO KNOW YOUR VEHICLE
KEYS ......................................................................10
Key Fob......................................................... 10
SENTRY KEY ..........................................................12
IGNITION SWITCH ................................................12
VEHICLE SECURITY SYSTEM — IF EQUIPPED ...13
To Arm The System ...................................... 13
To Disarm The System................................. 13
Rearming Of The System............................. 13
Security System Manual Override .............. 13
DOORS ..................................................................14
Power Door Locks ....................................... 14
Auto Unlock Doors ....................................... 14
Sliding Side Door ......................................... 14
Double Rear Swing Doors ........................... 16
Child-Protection Door Lock System ............ 17
SEATS ....................................................................17
Manual Adjustment (Front Seats)............... 18
Folding Rear Seat — If Equipped ................ 20
Heated Seats — If Equipped........................ 20 HEAD RESTRAINTS ............................................. 21
Front Adjustment ......................................... 21
Rear Adjustment — If Equipped .................. 22
Front Removal.............................................. 22
Rear Removal — If Equipped....................... 23
STEERING WHEEL ................................................ 23
Tilt/Telescoping Steering Column .............. 23
UCONNECT VOICE RECOGNITION QUICK
TIPS ........................................................................ 24
Introducing Voice Recognition .................... 24
Get Started ................................................... 24
Basic Voice Commands............................... 24
Additional Information ................................. 24
MIRRORS ............................................................. 25
Inside Rearview Mirror ................................ 25
Outside Mirrors ........................................... 25
Vanity Mirror................................................. 26
EXTERIOR LIGHTS ................................................ 27
Multifunction Lever...................................... 27
Headlights ................................................... 27
Daytime Running Lights (DRLs) —
If Equipped .................................................. 27 High/Low Beam Switch ............................... 28
Flash-To-Pass .............................................. 28
Parking Lights ............................................. 28
Follow Me Home/Headlight Delay .............. 28
Fog Lights — If Equipped ............................ 28
Turn Signals ................................................. 28
Lane Change Assist ..................................... 28
INTERIOR LIGHTS ................................................ 29
Courtesy/Interior Lights .............................. 29 WIPERS AND WASHERS .....................................30
Front Wiper Operation ................................. 30
Rear Wiper Operation — If Equipped .......... 31
CLIMATE CONTROLS ...........................................31
Manual Climate Control Descriptions And
Functions ..................................................... 31 Operating Tips.............................................. 33
WINDOWS ............................................................35
Power Window Controls — If Equipped ...... 35
Automatic Window Features ....................... 35
Power Windows System Initialization......... 36
Window Bar Grates — If Equipped .............. 36
Wind Buffeting ............................................ 36
HOOD .....................................................................37
Opening ........................................................ 37
Closing.......................................................... 37
CARGO AREA FEATURES .....................................38
Rear Cargo Tie-Downs ................................. 38
INTERIOR STORAGE AND EQUIPMENT ..............38
Storage ......................................................... 38
USB Control — If Equipped .......................... 40
Power Outlets .............................................. 40
ROOF RACK — IF EQUIPPED................................41
GETTING TO KNOW YOUR INSTRUMENT PANEL
INSTRUMENT CLUSTER........................................43
Instrument Cluster Descriptions................. 44
21_VM_OM_EN_USC_t.book Page 2
Page 11 of 280
9
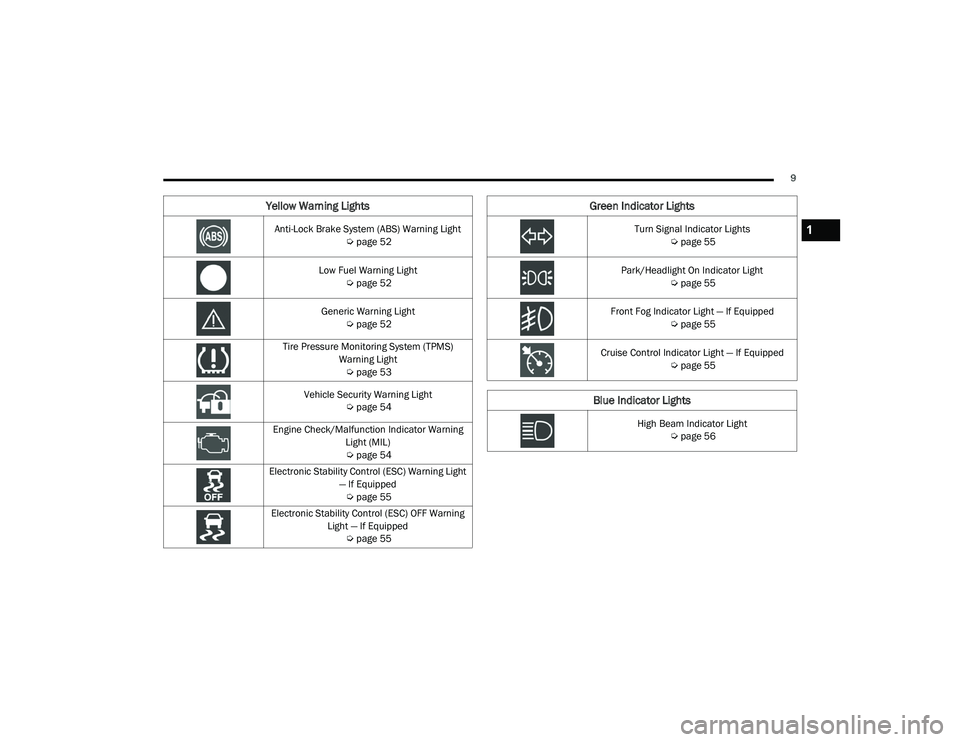
Yellow Warning Lights
Anti-Lock Brake System (ABS) Warning Light Úpage 52
Low Fuel Warning Light Úpage 52
Generic Warning Light Úpage 52
Tire Pressure Monitoring System (TPMS) Warning Light Ú page 53
Vehicle Security Warning Light Úpage 54
Engine Check/Malfunction Indicator Warning Light (MIL)
Ú page 54
Electronic Stability Control (ESC) Warning Light — If Equipped Ú page 55
Electronic Stability Control (ESC) OFF Warning Light — If Equipped Úpage 55
Green Indicator Lights
Turn Signal Indicator Lights
Úpage 55
Park/Headlight On Indicator Light Úpage 55
Front Fog Indicator Light — If Equipped Úpage 55
Cruise Control Indicator Light — If Equipped Úpage 55
Blue Indicator Lights
High Beam Indicator Light
Úpage 56
1
21_VM_OM_EN_USC_t.book Page 9
Page 29 of 280
GETTING TO KNOW YOUR VEHICLE27
Sun Visor “Slide-On-Rod” Feature
The sun visor “Slide-On-Rod” feature allows for
additional flexibility in positioning the sun visor
to block out the sun.
1. Fold down the sun visor.
2. Unclip the visor from the corner clip.
3. Pull the sun visor toward the inside rearview
mirror to extend it.
EXTERIOR LIGHTS
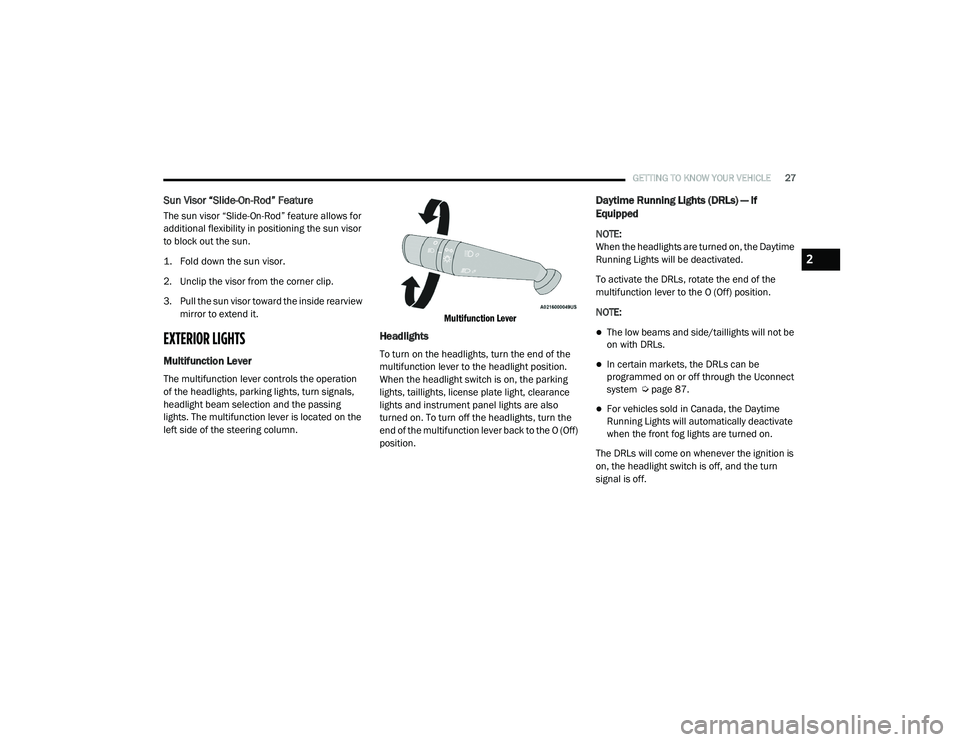
Multifunction Lever
The multifunction lever controls the operation
of the headlights, parking lights, turn signals,
headlight beam selection and the passing
lights. The multifunction lever is located on the
left side of the steering column.
Multifunction Lever
Headlights
To turn on the headlights, turn the end of the
multifunction lever to the headlight position.
When the headlight switch is on, the parking
lights, taillights, license plate light, clearance
lights and instrument panel lights are also
turned on. To turn off the headlights, turn the
end of the multifunction lever back to the O (Off)
position.
Daytime Running Lights (DRLs) — If
Equipped
NOTE:
When the headlights are turned on, the Daytime
Running Lights will be deactivated.
To activate the DRLs, rotate the end of the
multifunction lever to the O (Off) position.
NOTE:
The low beams and side/taillights will not be
on with DRLs.
In certain markets, the DRLs can be
programmed on or off through the Uconnect
system Ú
page 87.
For vehicles sold in Canada, the Daytime
Running Lights will automatically deactivate
when the front fog lights are turned on.
The DRLs will come on whenever the ignition is
on, the headlight switch is off, and the turn
signal is off.
2
21_VM_OM_EN_USC_t.book Page 27
Page 30 of 280
28GETTING TO KNOW YOUR VEHICLE
High/Low Beam Switch
Pull the multifunction lever toward the steering
wheel to switch the headlights to high beams.
Pull the multifunction lever again to turn the low
beams back on.
Flash-To-Pass
You can signal another vehicle with your
headlights by lightly pulling the multifunction
lever toward you. This will cause the high beam
headlights to turn on, and remain on, until the
lever is released.
Parking Lights
These lights can only be turned on with the
ignition in the STOP (OFF/LOCK) position or
removed. Move the end of the multifunction
lever to O (Off) position, and then to the
headlight position.
The indicator light telltale in the instrument
panel comes on. The lights stay on until the next
ignition cycle is performed.
Follow Me Home/Headlight Delay
When this feature is selected, the driver can
choose to have the headlights remain on for a
preset period of time after the engine is turned
off.
Activation
Remove the key or turn the ignition to the STOP
(OFF/LOCK) position, and pull the multifunction
lever toward the steering wheel within two
minutes. Each time the lever is pulled, the
activation of the lights will be extended by
30 seconds. The activation of the lights can be
extended to a maximum of 210 seconds.
Deactivation
Pull the multifunction lever toward the steering
wheel and hold it for more than two seconds.
Fog Lights — If Equipped
The fog light switch is located on the center
stack of the instrument panel, just above the
climate controls. Push the switch once to turn the fog
lights on. Push the switch a second
time to turn the fog lights off.
NOTE:
If the vehicle’s ignition is turned off, the fog
lights will also turn off.
Turn Signals
Move the multifunction lever up or down to
activate the turn signals. The arrows on each
side of the instrument cluster flash to show
proper operation.
NOTE:
If either light remains on and does not flash, or
there is a very fast flash rate, check for a defec -
tive outside light bulb.
Lane Change Assist
Lightly push the multifunction lever up or down,
without moving beyond the detent, and the turn
signal will flash five times then automatically
turn off.
21_VM_OM_EN_USC_t.book Page 28
Page 35 of 280
GETTING TO KNOW YOUR VEHICLE33
Bi-Level Mode
Air comes from the instrument panel
outlets and floor outlets. A slight
amount of air is directed through the
defrost and side window demister
outlets.
NOTE:
Bi-Level mode is designed under comfort condi -
tions to provide cooler air out of the panel
outlets and warmer air from the floor outlets.
Floor Mode
Air comes from the floor outlets. A
slight amount of air is directed
through the defrost and side window
demister outlets.
Mix Mode
Air is directed through the floor,
defrost, and side window demister
outlets. This setting works best in cold
or snowy conditions that require extra
heat to the windshield. This setting is good for
maintaining comfort while reducing moisture on
the windshield.
Operating Tips
NOTE:
Refer to the chart at the end of this section for
suggested control settings for various weather
conditions.
Summer Operation
The engine cooling system must be protected
with a high-quality antifreeze coolant to provide
proper corrosion protection and to protect
against engine overheating. OAT coolant
(conforming to MS.90032) is recommended
Ú page 259.
Winter Operation
To ensure the best possible heater and
defroster performance, make sure the engine
cooling system is functioning properly and the
proper amount, type, and concentration of
coolant is used Ú page 259. Use of the Air
Recirculation mode during Winter months is not
recommended because it may cause window
fogging.
Vacation/Storage
Any time you store your vehicle or keep it out of
service (i.e., vacation) for two weeks or more,
run the air conditioning system at idle for about
five minutes in fresh air with the blower setting
on high. This will ensure adequate system
lubrication to minimize the possibility of
compressor damage when the system is started
again.
Window Fogging
Vehicle windows tend to fog on the inside of the
glass in mild, rainy and/or humid weather. To
clear the windows, select Defrost or Mix mode
and increase the front blower speed. Do not use
the Recirculation mode without A/C for long
periods, as fogging may occur.
2
21_VM_OM_EN_USC_t.book Page 33
Page 57 of 280
GETTING TO KNOW YOUR INSTRUMENT PANEL55
Electronic Stability Control (ESC) Warning
Light — If Equipped
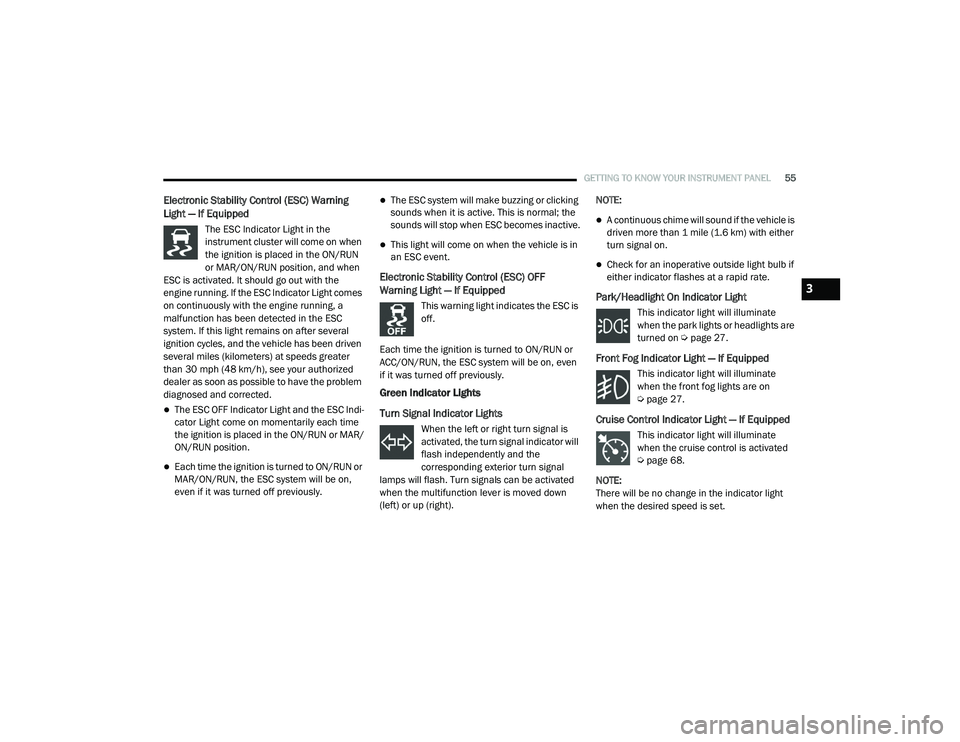
The ESC Indicator Light in the
instrument cluster will come on when
the ignition is placed in the ON/RUN
or MAR/ON/RUN position, and when
ESC is activated. It should go out with the
engine running. If the ESC Indicator Light comes
on continuously with the engine running, a
malfunction has been detected in the ESC
system. If this light remains on after several
ignition cycles, and the vehicle has been driven
several miles (kilometers) at speeds greater
than 30 mph (48 km/h), see your authorized
dealer as soon as possible to have the problem
diagnosed and corrected.
The ESC OFF Indicator Light and the ESC Indi -
cator Light come on momentarily each time
the ignition is placed in the ON/RUN or MAR/
ON/RUN position.
Each time the ignition is turned to ON/RUN or
MAR/ON/RUN, the ESC system will be on,
even if it was turned off previously.
The ESC system will make buzzing or clicking
sounds when it is active. This is normal; the
sounds will stop when ESC becomes inactive.
This light will come on when the vehicle is in
an ESC event.
Electronic Stability Control (ESC) OFF
Warning Light — If Equipped
This warning light indicates the ESC is
off.
Each time the ignition is turned to ON/RUN or
ACC/ON/RUN, the ESC system will be on, even
if it was turned off previously.
Green Indicator Lights
Turn Signal Indicator Lights
When the left or right turn signal is
activated, the turn signal indicator will
flash independently and the
corresponding exterior turn signal
lamps will flash. Turn signals can be activated
when the multifunction lever is moved down
(left) or up (right). NOTE:
A continuous chime will sound if the vehicle is
driven more than 1 mile (1.6 km) with either
turn signal on.
Check for an inoperative outside light bulb if
either indicator flashes at a rapid rate.
Park/Headlight On Indicator Light
This indicator light will illuminate
when the park lights or headlights are
turned on Ú
page 27.
Front Fog Indicator Light — If Equipped
This indicator light will illuminate
when the front fog lights are on
Úpage 27.
Cruise Control Indicator Light — If Equipped
This indicator light will illuminate
when the cruise control is activated
Úpage 68.
NOTE:
There will be no change in the indicator light
when the desired speed is set.
3
21_VM_OM_EN_USC_t.book Page 55
Page 216 of 280
214IN CASE OF EMERGENCY
Replacing Exterior Bulbs
Headlamps
See below steps to replace:
1. Remove the plastic cap from the back of
the headlamp housing.
2. Rotate the bulb counterclockwise.
3. Remove the bulb and replace as needed.
4. Install the bulb and rotate clockwise to lock in place.
5. Reinstall the plastic cap.
Front Turn Signal Lamps
See below steps to replace:
1. Remove the cap from the back of the outer upper headlamp housing.
2. Rotate the bulb counterclockwise and remove.
3. Install the bulb into socket.
4. Rotate the bulb/socket clockwise into the lamp locking it in place.
5. Reinstall the plastic cap.
Parking And Daytime Running Lights
See below steps to replace:
1. Remove the cap from the back of the outer lower headlamp housing.
2. Rotate the bulb counterclockwise and remove.
3. Install the bulb into socket, and rotate bulb/ socket clockwise into lamp locking it in
place.
4. Reinstall the plastic cap.
Rear Side Marker Lamps
LED (Serviced at an Authorized Dealer)
Center Mount Brake Lamp W5W
Reverse Light W16W
Front Fog Lamps H11
NOTE:
Numbers refer to commercial bulb types that can be purchased from an authorized dealer. If a bulb needs to be replaced visit an authorized dealer
or refer to the applicable Service Manual.
Exterior Bulbs
Lamps Bulb Number
21_VM_OM_EN_USC_t.book Page 214
Page 217 of 280
IN CASE OF EMERGENCY215
Front/Rear Side Marker Lamps
See below steps to replace:
The front/rear side marker lamps are LED and
not serviced separately. See an authorized
dealer for replacement of these lights.
Rear Tail, Stop, Backup And Turn Signal
Lamps
The rear light clusters contain taillight, brake
light, direction indicator and reverse/rear fog
light bulbs. To access the light clusters, see
below steps to replace:
1. Open the rear doors.
2. Remove the screws and remove the tail
lamp assembly.
3. Remove the screws and separate the backplate from the lamp housing.
4. Remove the tail, stop, or turn signal bulbs by pushing them slightly and turning counter -
clockwise.
5. Remove the backup lamp bulb by pulling straight out.
6. Replace lamps as required and reinstall lamp. The bulbs are arranged inside the light cluster
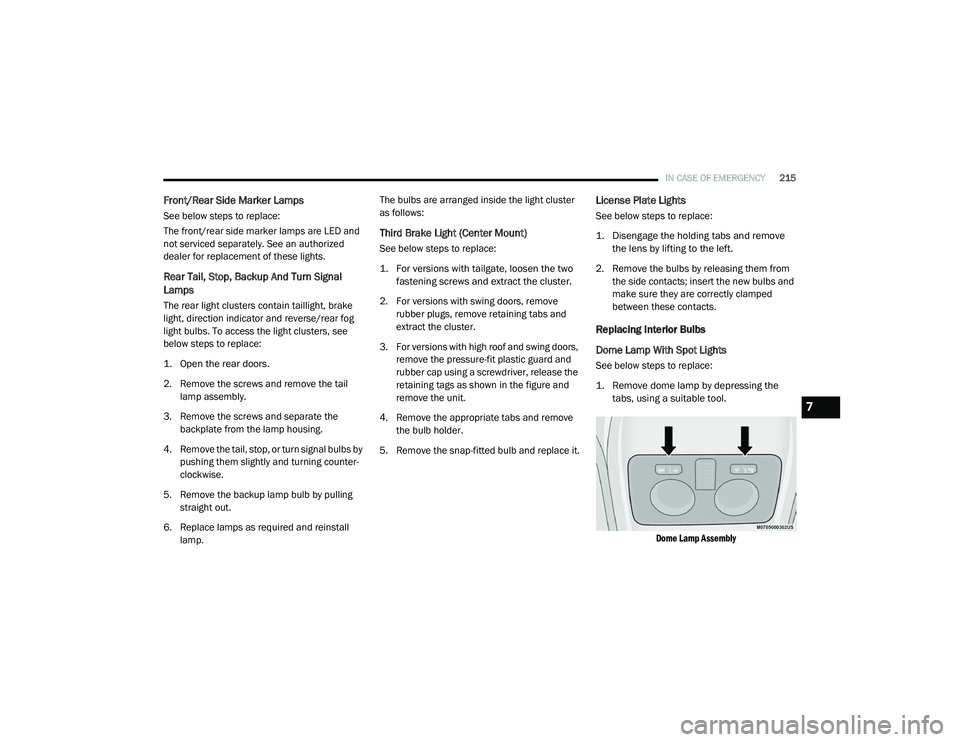
as follows:
Third Brake Light (Center Mount)
See below steps to replace:
1. For versions with tailgate, loosen the two
fastening screws and extract the cluster.
2. For versions with swing doors, remove rubber plugs, remove retaining tabs and
extract the cluster.
3. For versions with high roof and swing doors, remove the pressure-fit plastic guard and
rubber cap using a screwdriver, release the
retaining tags as shown in the figure and
remove the unit.
4. Remove the appropriate tabs and remove the bulb holder.
5. Remove the snap-fitted bulb and replace it.
License Plate Lights
See below steps to replace:
1. Disengage the holding tabs and remove the lens by lifting to the left.
2. Remove the bulbs by releasing them from the side contacts; insert the new bulbs and
make sure they are correctly clamped
between these contacts.
Replacing Interior Bulbs
Dome Lamp With Spot Lights
See below steps to replace:
1. Remove dome lamp by depressing the tabs, using a suitable tool.
Dome Lamp Assembly
7
21_VM_OM_EN_USC_t.book Page 215
Page 254 of 280
252SERVICING AND MAINTENANCE
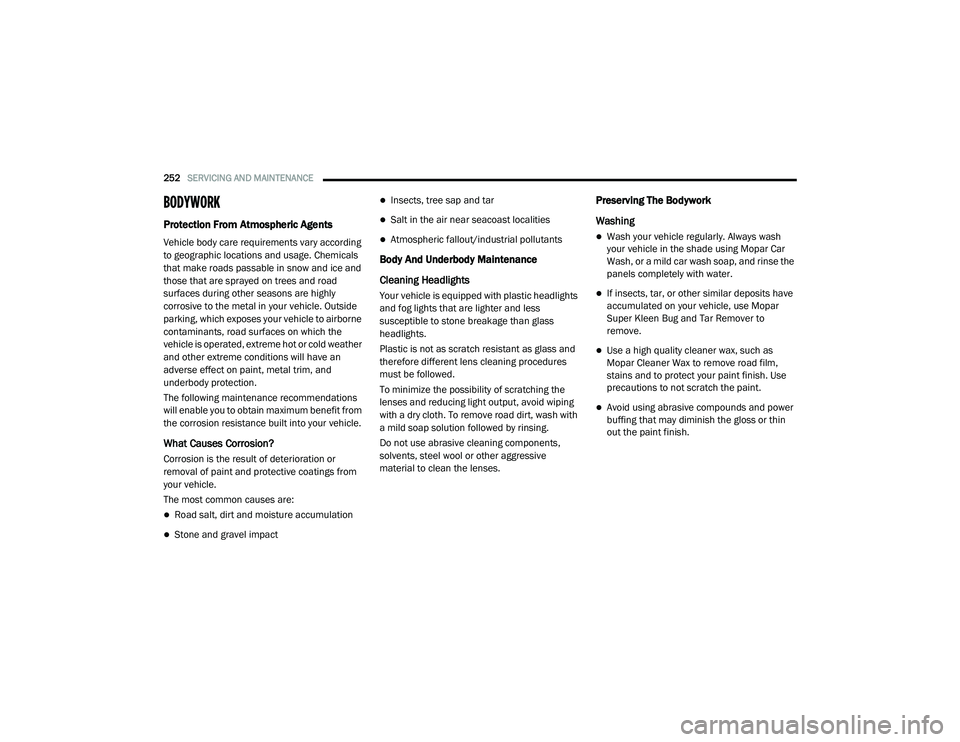
BODYWORK
Protection From Atmospheric Agents
Vehicle body care requirements vary according
to geographic locations and usage. Chemicals
that make roads passable in snow and ice and
those that are sprayed on trees and road
surfaces during other seasons are highly
corrosive to the metal in your vehicle. Outside
parking, which exposes your vehicle to airborne
contaminants, road surfaces on which the
vehicle is operated, extreme hot or cold weather
and other extreme conditions will have an
adverse effect on paint, metal trim, and
underbody protection.
The following maintenance recommendations
will enable you to obtain maximum benefit from
the corrosion resistance built into your vehicle.
What Causes Corrosion?
Corrosion is the result of deterioration or
removal of paint and protective coatings from
your vehicle.
The most common causes are:
Road salt, dirt and moisture accumulation
Stone and gravel impact
Insects, tree sap and tar
Salt in the air near seacoast localities
Atmospheric fallout/industrial pollutants
Body And Underbody Maintenance
Cleaning Headlights
Your vehicle is equipped with plastic headlights
and fog lights that are lighter and less
susceptible to stone breakage than glass
headlights.
Plastic is not as scratch resistant as glass and
therefore different lens cleaning procedures
must be followed.
To minimize the possibility of scratching the
lenses and reducing light output, avoid wiping
with a dry cloth. To remove road dirt, wash with
a mild soap solution followed by rinsing.
Do not use abrasive cleaning components,
solvents, steel wool or other aggressive
material to clean the lenses.
Preserving The Bodywork
Washing
Wash your vehicle regularly. Always wash
your vehicle in the shade using Mopar Car
Wash, or a mild car wash soap, and rinse the
panels completely with water.
If insects, tar, or other similar deposits have
accumulated on your vehicle, use Mopar
Super Kleen Bug and Tar Remover to
remove.
Use a high quality cleaner wax, such as
Mopar Cleaner Wax to remove road film,
stains and to protect your paint finish. Use
precautions to not scratch the paint.
Avoid using abrasive compounds and power
buffing that may diminish the gloss or thin
out the paint finish.
21_VM_OM_EN_USC_t.book Page 252
Page 270 of 280
268
Electronic Throttle Control Warning Light
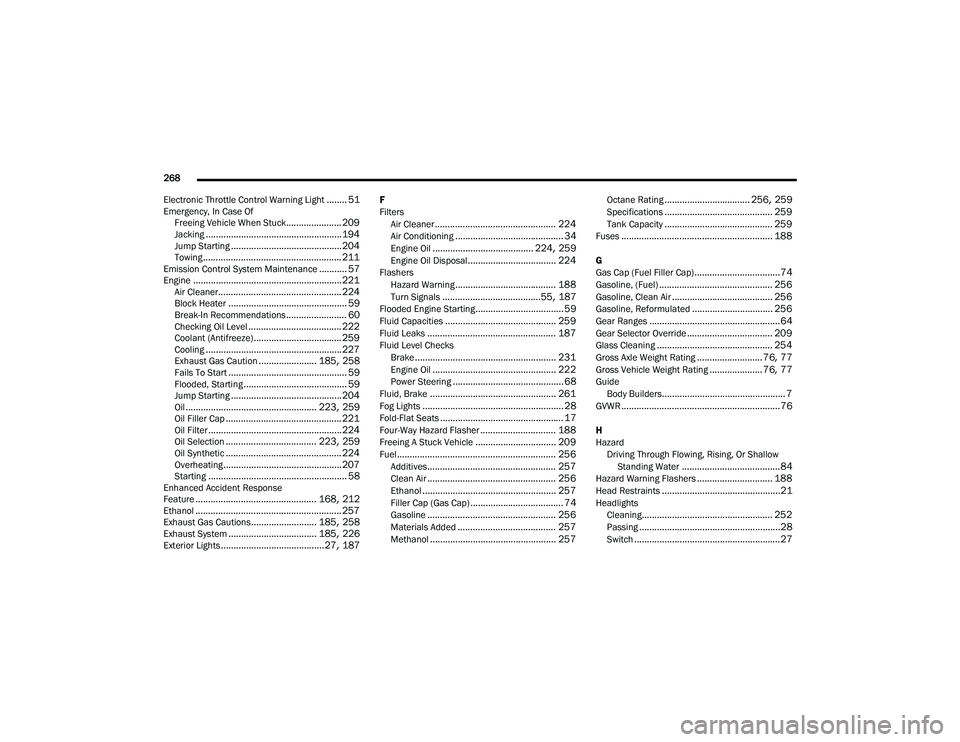
........ 51Emergency, In Case Of Freeing Vehicle When Stuck...................... 209Jacking...................................................... 194Jump Starting............................................ 204Towing....................................................... 211Emission Control System Maintenance........... 57Engine........................................................... 221Air Cleaner................................................. 224Block Heater............................................... 59Break-In Recommendations........................ 60Checking Oil Level..................................... 222Coolant (Antifreeze)................................... 259Cooling...................................................... 227Exhaust Gas Caution....................... 185, 258Fails To Start............................................... 59Flooded, Starting......................................... 59Jump Starting............................................ 204Oil.................................................... 223, 259Oil Filler Cap.............................................. 221Oil Filter..................................................... 224Oil Selection.................................... 223, 259Oil Synthetic.............................................. 224Overheating............................................... 207Starting....................................................... 58Enhanced Accident Response
Feature................................................ 168, 212Ethanol.......................................................... 257Exhaust Gas Cautions.......................... 185, 258Exhaust System................................... 185, 226Exterior Lights......................................... 27, 187
F
Filters
Air Cleaner
................................................ 224Air Conditioning........................................... 34Engine Oil........................................ 224, 259Engine Oil Disposal................................... 224FlashersHazard Warning........................................ 188Turn Signals.......................................55, 187Flooded Engine Starting................................... 59Fluid Capacities............................................ 259Fluid Leaks................................................... 187Fluid Level ChecksBrake........................................................ 231Engine Oil................................................. 222Power Steering............................................ 68Fluid, Brake.................................................. 261Fog Lights........................................................ 28Fold-Flat Seats................................................. 17Four-Way Hazard Flasher.............................. 188Freeing A Stuck Vehicle................................ 209Fuel............................................................... 256Additives................................................... 257Clean Air................................................... 256Ethanol..................................................... 257Filler Cap (Gas Cap)..................................... 74Gasoline................................................... 256Materials Added....................................... 257Methanol.................................................. 257
Octane Rating.................................. 256, 259Specifications........................................... 259Tank Capacity........................................... 259Fuses............................................................ 188
G
Gas Cap (Fuel Filler Cap)..................................74Gasoline, (Fuel)............................................. 256Gasoline, Clean Air........................................ 256Gasoline, Reformulated................................ 256Gear Ranges....................................................64Gear Selector Override.................................. 209Glass Cleaning.............................................. 254Gross Axle Weight Rating.......................... 76, 77Gross Vehicle Weight Rating.....................76, 77GuideBody Builders................................................. 7GVWR...............................................................76
H
HazardDriving Through Flowing, Rising, Or Shallow Standing Water
.......................................84Hazard Warning Flashers.............................. 188Head Restraints...............................................21HeadlightsCleaning.................................................... 252Passing........................................................28Switch..........................................................27
21_VM_OM_EN_USC_t.book Page 268