RENAULT KANGOO 1998 KC / 1.G Heating And Ventilation Workshop Manual
KANGOO 1998 KC / 1.G
RENAULT
RENAULT
https://www.carmanualsonline.info/img/7/1738/w960_1738-0.png
RENAULT KANGOO 1998 KC / 1.G Heating And Ventilation Workshop Manual
Trending: clutch, change wheel, fuel pump, coolant capacity, coolant temperature, brake, air condition
Page 1 of 73
77 11 198 230FEBRUARY 1998Edition Anglaise
Heating and Ventilation
HEATING
Renault 1998
"The repair methods given by the manufacturer in this document are based on the
technical specifications current when it was prepared.
The methods may be modified as a result of changes by the manufacturer in the
production of the various component units and accessories from which his vehicles
are constructed".All copyrights reserved by Renault.
Copying or translating, in part or in full, of this document or use of the service part
reference numbering system is forbidden without the prior written authority of
Renault.
C
AIR CONDITIONING
CANCELS AND REPLACES:
- Section n° 6 of M.R. 325 Part Number: 77 11 194 262 of JULY 1997,
- Technical Note n° 2871A Part Number: 77 11 197 147 of DECEMBER 1997.
D7F - E7J - F8Q ENGINES
Page 2 of 73
Page 3 of 73
Contents
Pages
Heating and
Ventilation
Control panel
Control cables
Particle filter
Fan assembly (GMV)
Radiator
Air distribution unit61-1
61-2
61-3
61-4
61-5
61-6 HEATING
61
General
Fault finding - Introduction
Fault finding - XR25 fiche
Fault finding - Interpretation
of XR25 bargraphs
Fault finding - Customer complaints
Fault finding charts
Fault finding - Associated checks
Wiring diagram
Evaporator
Air blower unit
Compressor
Condenser
Pressure relief valve
Dehydration canister
Connecting pipes
Electrical control
Computer
62
62-1
62-3
62-4
62-6
62-18
62-19
62-43
62-44
62-48
62-50
62-51
62-54
62-55
62-56
62-57
62-60
62-61
AIR CONDITIONING
Page 4 of 73
HEATING
Control panel
61
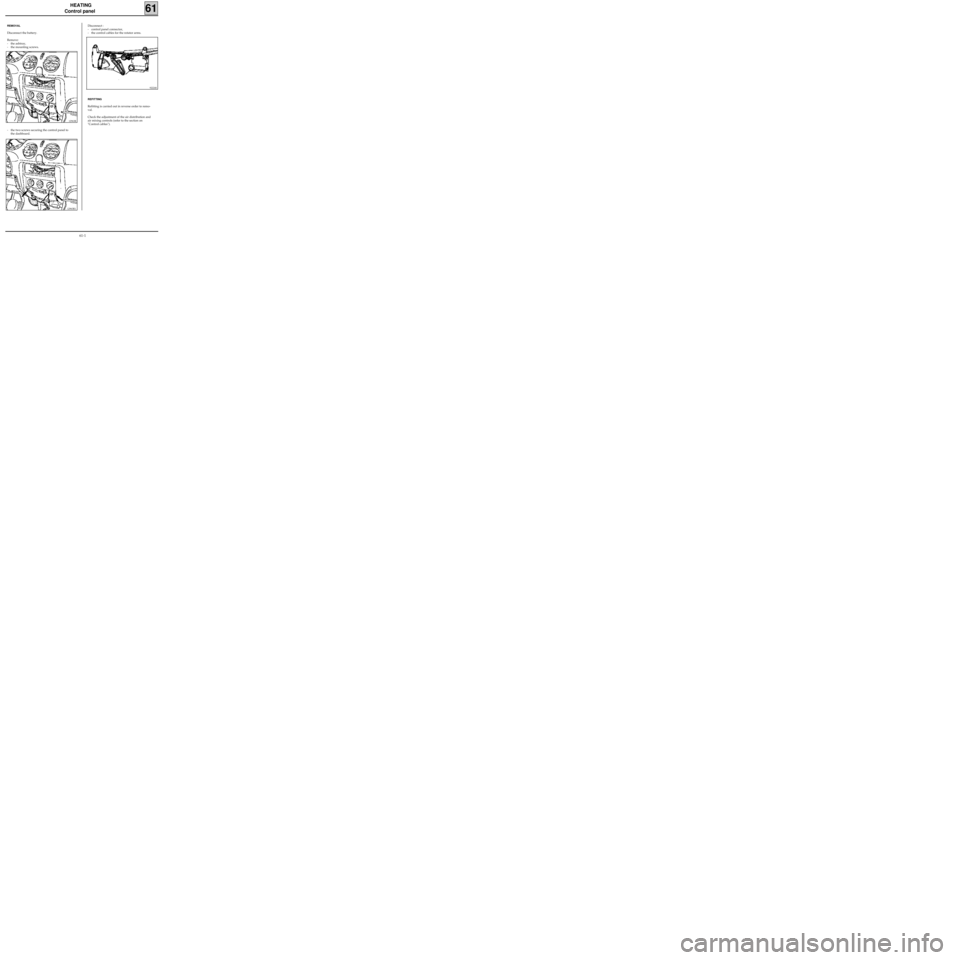
REMOVAL
Disconnect the battery.
Remove:
- the ashtray,
- the mounting screws.
92224S
12963R
- the two screws securing the control panel to
the dashboard.
12963R1
Disconnect :
- control panel connector,
- the control cables for the rotator arms.
REFITTING
Refitting is carried out in reverse order to remo-
val.
Check the adjustment of the air distribution and
air mixing controls (refer to the section on
"Control cables").
61-1
Page 5 of 73
Fit the complete control panel without screwing it
in place.
On the bottom right-hand side
Fit the cable on to the mark.
Place the air distribution control on position
, place the heater control on the maxi-
mum cold position (blue mark) and check that the
flaps are at their end stop.
HEATING
Control cables
61
98815R92224R1
REMOVAL
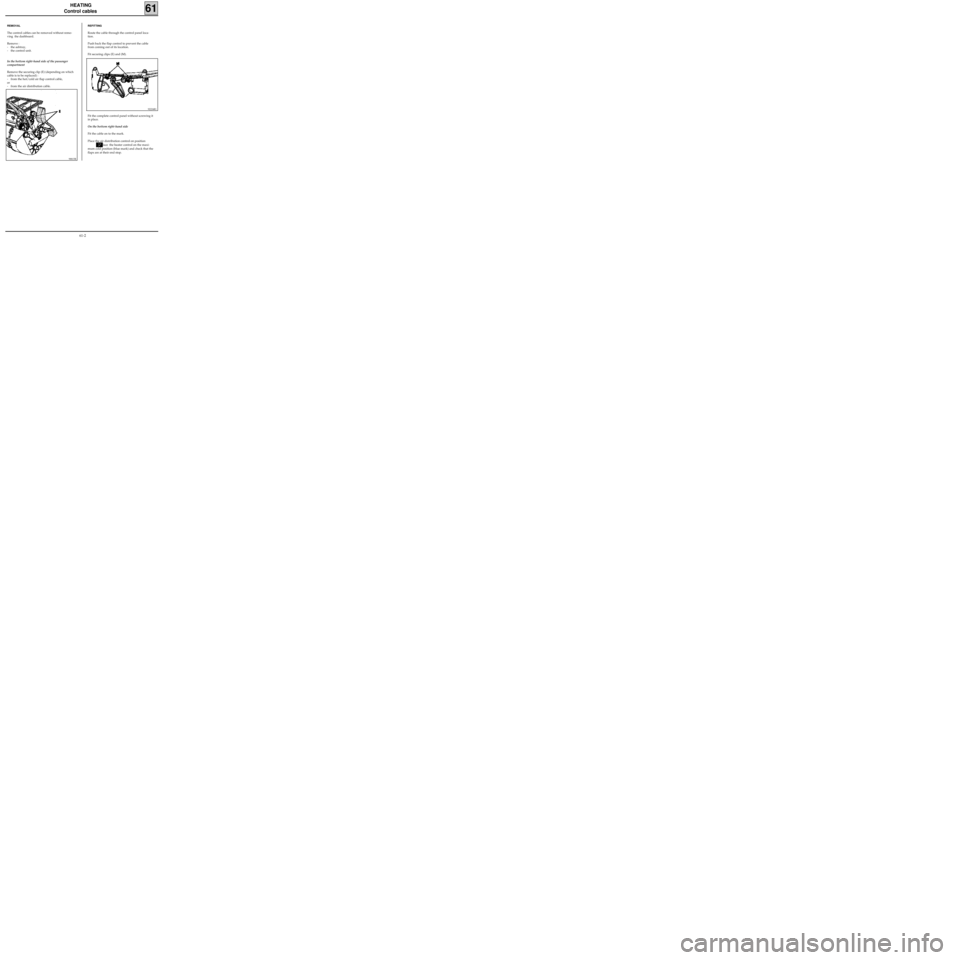
The control cables can be removed without remo-
ving the dashboard.
Remove :
- the ashtray,
- the control unit.
In the bottom right-hand side of the passenger
compartment
Remove the securing clip (E) (depending on which
cable is to be replaced) :
- from the hot/cold air flap control cable,
or
- from the air distribution cable.
REFITTING
Route the cable through the control panel loca-
tion.
Push back the flap control to prevent the cable
from coming out of its location.
Fit securing clips (E) and (M).
61-2
Page 6 of 73
HEATING
Particle filter
61
PRO61.1
REFITTING
Refitting is carried out in reverse order to removal.
Check to make sure that the water drainage channel is correctly fit-
ted in place.
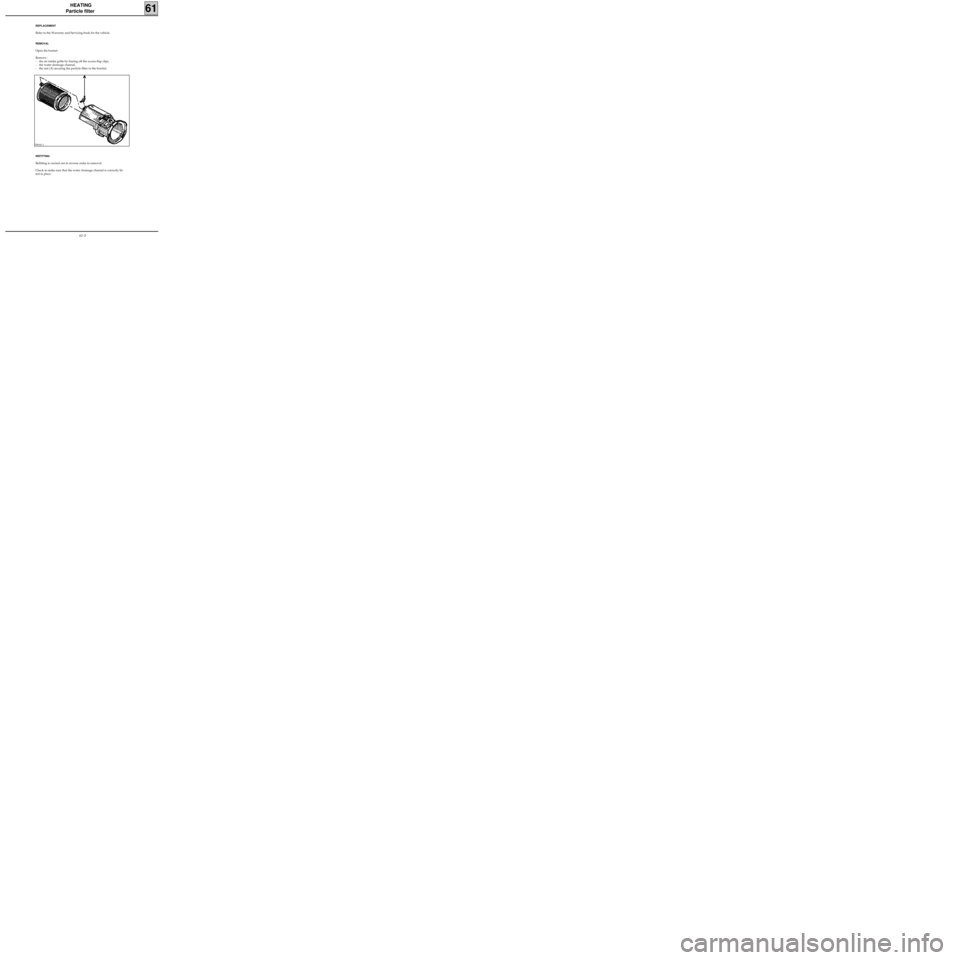
REPLACEMENT
Refer to the Warranty and Servicing book for the vehicle.
REMOVAL
Open the bonnet.
Remove :
- the air intake grille by freeing off the access flap clips,
- the water drainage channel,
- the nut (A) securing the particle filter to the bracket.
61-3
Page 7 of 73
HEATING
Fan assembly (GMV)
61
PRO61.2
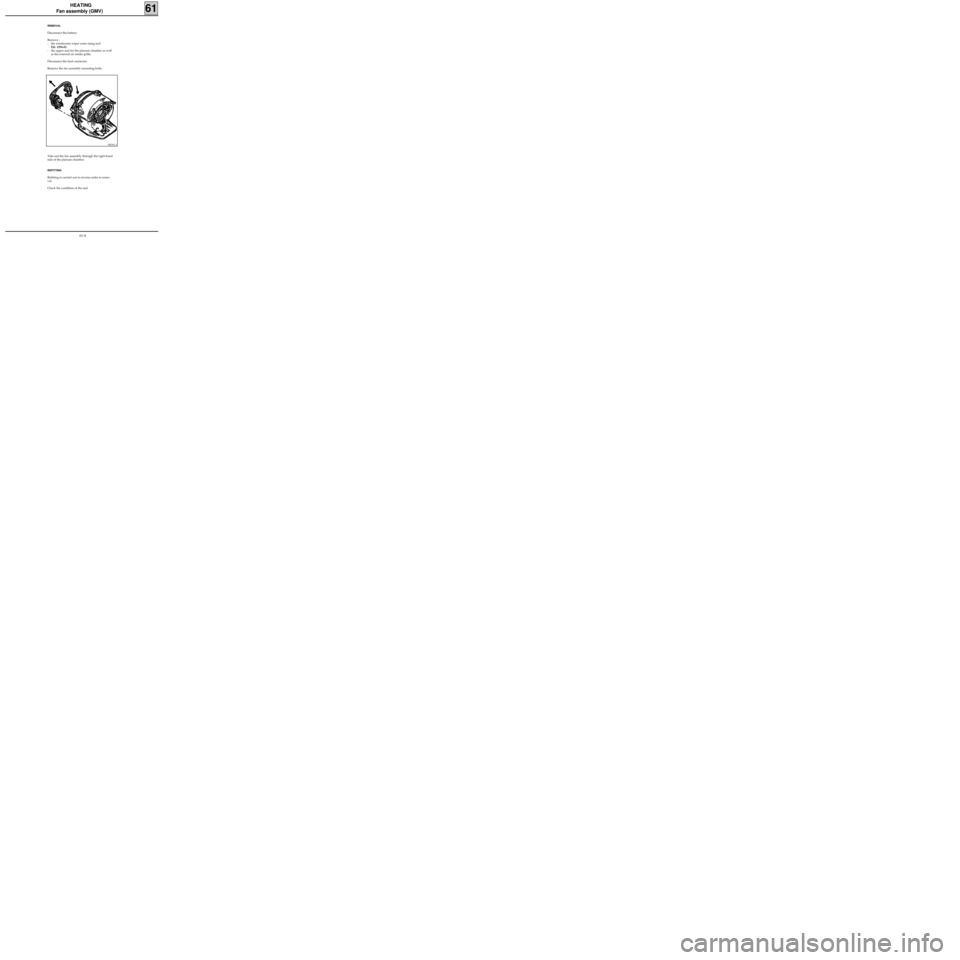
Take out the fan assembly through the right-hand
side of the plenum chamber.
REFITTING
Refitting is carried out in reverse order to remo-
val.
Check the condition of the seal.
REMOVAL
Disconnect the battery.
Remove :
- the windscreen wiper arms using tool
Elé. 1294-01,
- the upper seal for the plenum chamber as well
as the external air intake grille.
Disconnect the feed connector.
Remove the fan assembly mounting bolts.
61-4
Page 8 of 73
HEATING
Radiator
61
13084S98816R
13085S
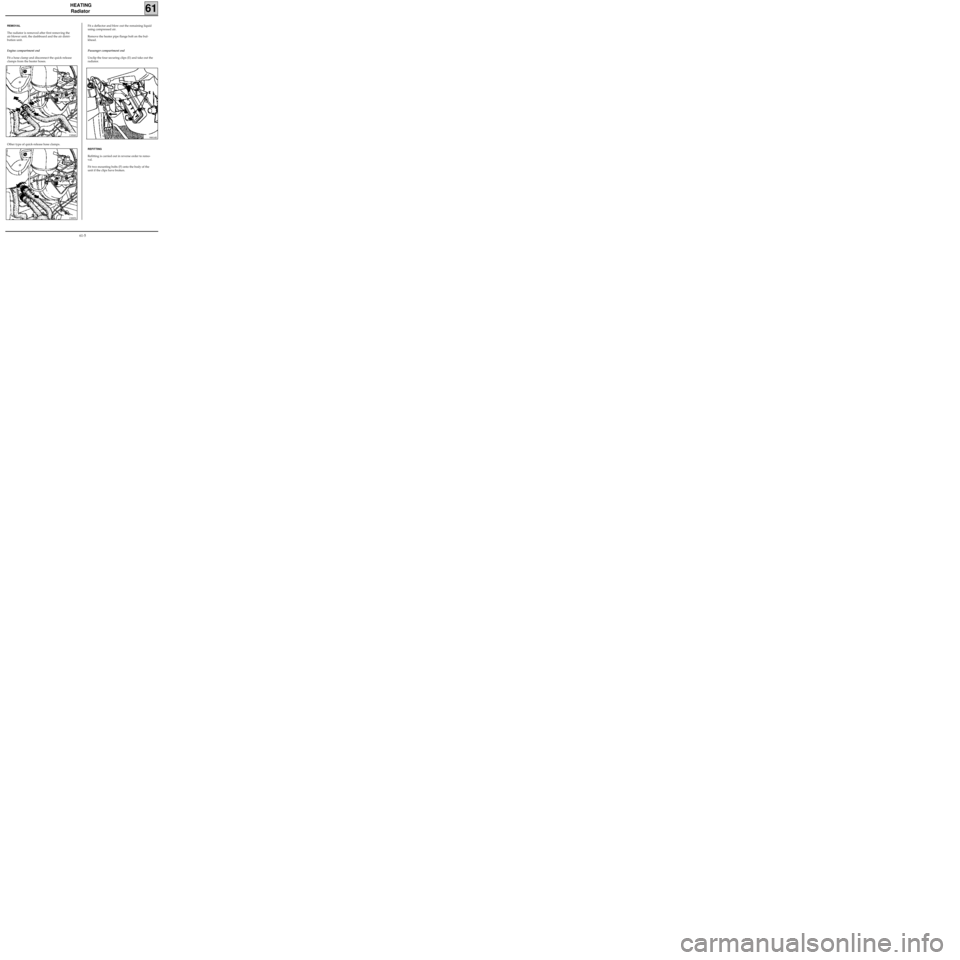
Other type of quick-release hose clamps.
REMOVAL
The radiator is removed after first removing the
air blower unit, the dashboard and the air distri-
bution unit.
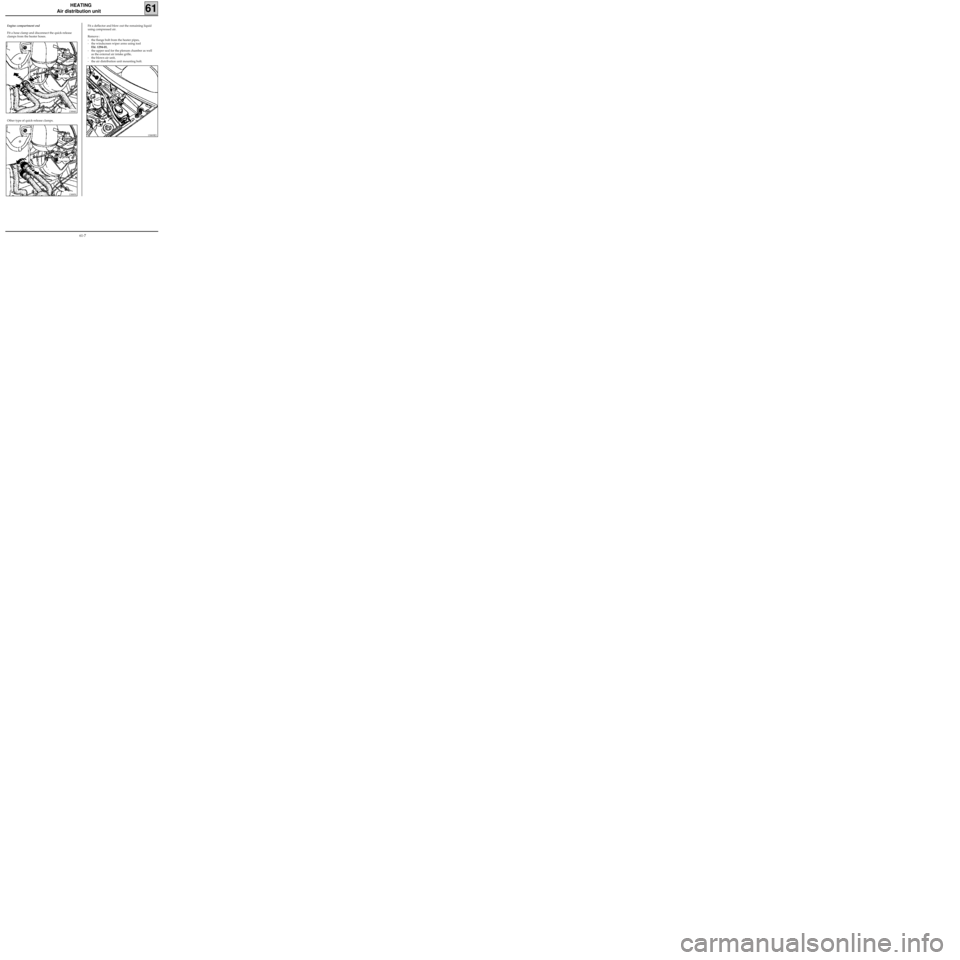
Engine compartment end
Fit a hose clamp and disconnect the quick-release
clamps from the heater hoses.Fit a deflector and blow out the remaining liquid
using compressed air.
Remove the heater pipe flange bolt on the bul-
khead.
Passenger compartment end
Unclip the four securing clips (E) and take out the
radiator.
REFITTING
Refitting is carried out in reverse order to remo-
val.
Fit two mounting bolts (F) onto the body of the
unit if the clips have broken.
61-5
Page 9 of 73
HEATING
Air distribution unit
61
12969-1R
12965-1R
- the visor and the instrument panel,
- the switch stalk block assembly.
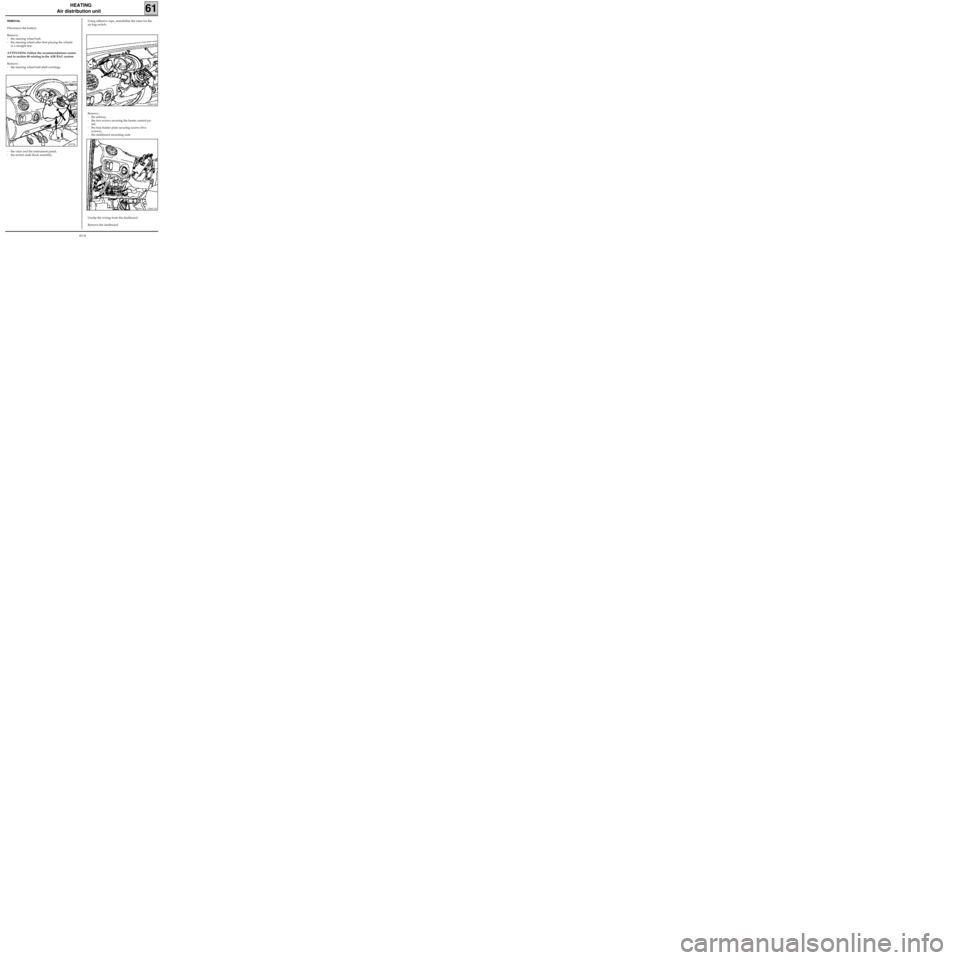
REMOVAL
Disconnect the battery.
Remove :
- the steering wheel bolt,
- the steering wheel after first placing the wheels
in a straight line.
ATTENTION: Follow the recommendations contai-
ned in section 88 relating to the AIR BAG system.
Remove :
- the steering wheel half-shell cowlings,Using adhesive tape, immobilise the rotor for the
air bag switch.
Remove :
- the ashtray,
- the two screws securing the heater control pa-
nel,
- the fuse holder plate securing screws (five
screws),
- the dashboard mounting nuts.
Unclip the wiring from the dashboard.
Remove the dashboard.
12971R
61-6
Page 10 of 73
HEATING
Air distribution unit
61
13084S
13069R3
13085S
Other type of quick-release clamps. Engine compartment end
Fit a hose clamp and disconnect the quick-release
clamps from the heater hoses.Fit a deflector and blow out the remaining liquid
using compressed air.
Remove :
- the flange bolt from the heater pipes,
- the windscreen wiper arms using tool
Elé. 1294-01,
- the upper seal for the plenum chamber as well
as the external air intake grille,
- the blown air unit,
- the air distribution unit mounting bolt.
61-7
Trending: coolant temperature, wheel torque, fuel pump, fuse box, key, coolant, coolant level
