ABS RENAULT SCENIC 2011 J95 / 3.G Engine And Peripherals EDC16 Injection Workshop Manual
[x] Cancel search | Manufacturer: RENAULT, Model Year: 2011, Model line: SCENIC, Model: RENAULT SCENIC 2011 J95 / 3.GPages: 236, PDF Size: 1.32 MB
Page 5 of 236
13B - 5
DIESEL INJECTION
Fault finding - Introduction13B
V10 MR-372-J84-13B150$047.mif
EDC16 INJECTION
Program No.: C1
Vdiag No.: 44, 48 and 4C
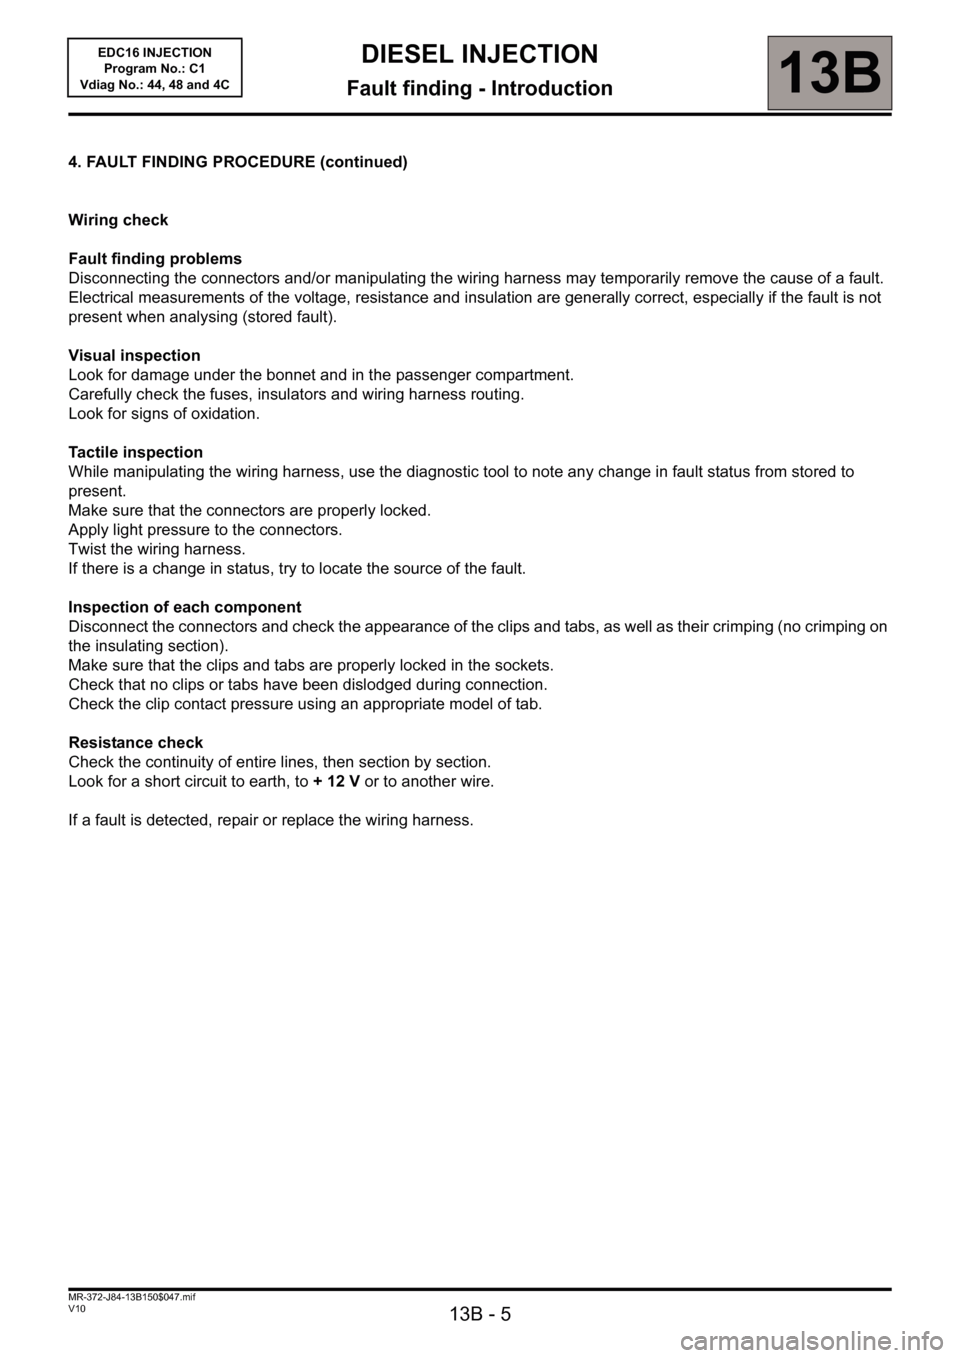
4. FAULT FINDING PROCEDURE (continued)
Wiring check
Fault finding problems
Disconnecting the connectors and/or manipulating the wiring harness may temporarily remove the cause of a fault.
Electrical measurements of the voltage, resistance and insulation are generally correct, especially if the fault is not
present when analysing (stored fault).
Visual inspection
Look for damage under the bonnet and in the passenger compartment.
Carefully check the fuses, insulators and wiring harness routing.
Look for signs of oxidation.
Tactile inspection
While manipulating the wiring harness, use the diagnostic tool to note any change in fault status from stored to
present.
Make sure that the connectors are properly locked.
Apply light pressure to the connectors.
Twist the wiring harness.
If there is a change in status, try to locate the source of the fault.
Inspection of each component
Disconnect the connectors and check the appearance of the clips and tabs, as well as their crimping (no crimping on
the insulating section).
Make sure that the clips and tabs are properly locked in the sockets.
Check that no clips or tabs have been dislodged during connection.
Check the clip contact pressure using an appropriate model of tab.
Resistance check
Check the continuity of entire lines, then section by section.
Look for a short circuit to earth, to + 12 V or to another wire.
If a fault is detected, repair or replace the wiring harness.
Page 11 of 236
13B - 11
DIESEL INJECTION
Fault finding - System operation13B
V10 MR-372-J84-13B150$094.mif
EDC16 INJECTION
Program No.: C1
Vdiag No: 44, 48 and 4C
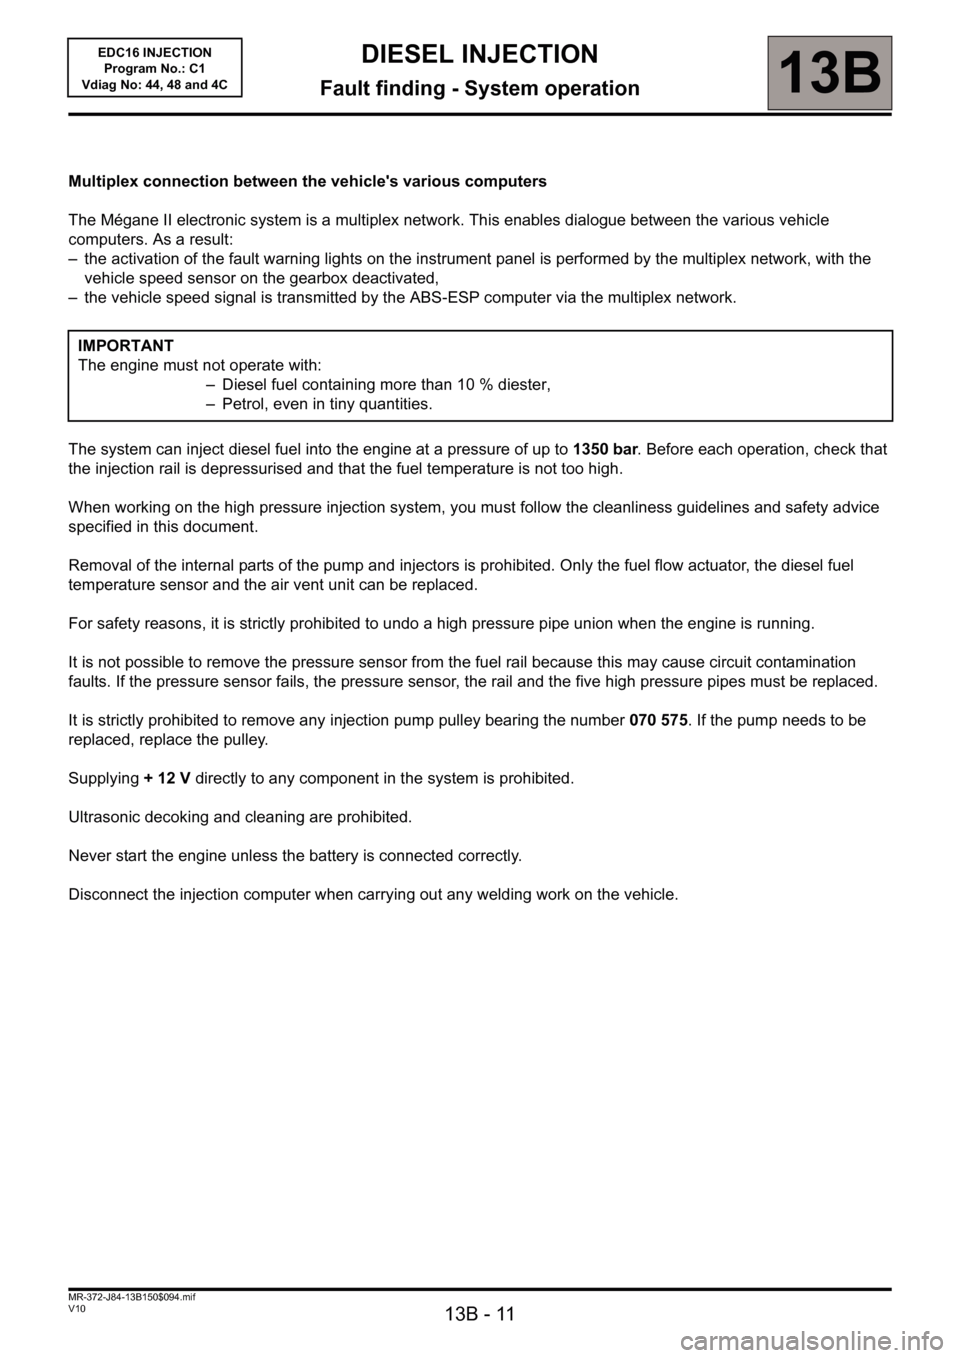
Multiplex connection between the vehicle's various computers
The Mégane II electronic system is a multiplex network. This enables dialogue between the various vehicle
computers. As a result:
– the activation of the fault warning lights on the instrument panel is performed by the multiplex network, with the
vehicle speed sensor on the gearbox deactivated,
– the vehicle speed signal is transmitted by the ABS-ESP computer via the multiplex network.
The system can inject diesel fuel into the engine at a pressure of up to 1350 bar. Before each operation, check that
the injection rail is depressurised and that the fuel temperature is not too high.
When working on the high pressure injection system, you must follow the cleanliness guidelines and safety advice
specified in this document.
Removal of the internal parts of the pump and injectors is prohibited. Only the fuel flow actuator, the diesel fuel
temperature sensor and the air vent unit can be replaced.
For safety reasons, it is strictly prohibited to undo a high pressure pipe union when the engine is running.
It is not possible to remove the pressure sensor from the fuel rail because this may cause circuit contamination
faults. If the pressure sensor fails, the pressure sensor, the rail and the five high pressure pipes must be replaced.
It is strictly prohibited to remove any injection pump pulley bearing the number 070 575. If the pump needs to be
replaced, replace the pulley.
Supplying + 12 V directly to any component in the system is prohibited.
Ultrasonic decoking and cleaning are prohibited.
Never start the engine unless the battery is connected correctly.
Disconnect the injection computer when carrying out any welding work on the vehicle. IMPORTANT
The engine must not operate with:
– Diesel fuel containing more than 10 % diester,
– Petrol, even in tiny quantities.
Page 12 of 236
13B - 12
DIESEL INJECTION
Fault finding - System operation13B
V10 MR-372-J84-13B150$094.mif
EDC16 INJECTION
Program No.: C1
Vdiag No: 44, 48 and 4C
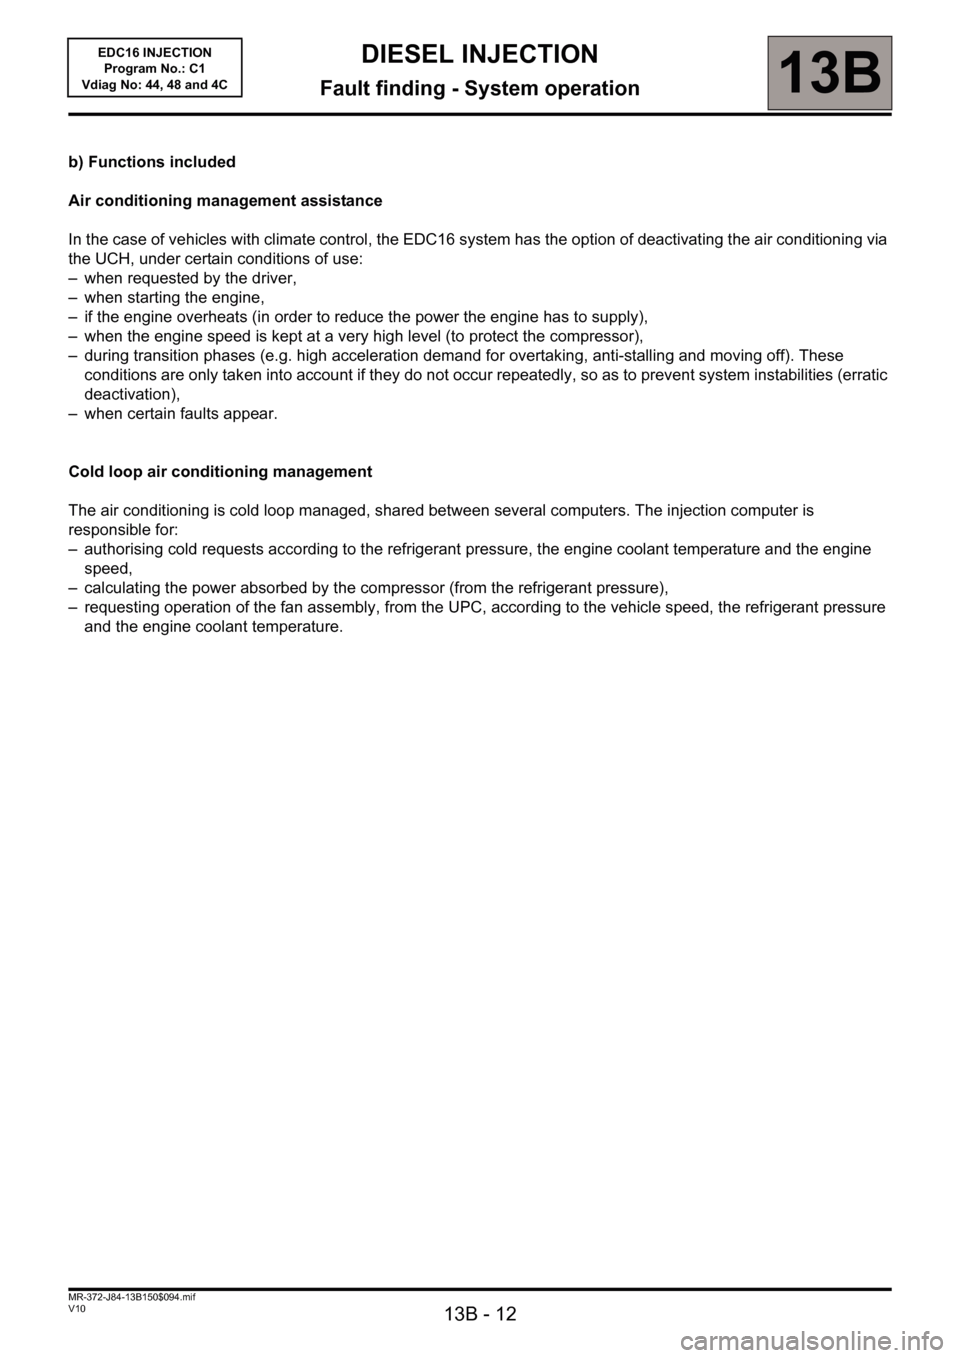
b) Functions included
Air conditioning management assistance
In the case of vehicles with climate control, the EDC16 system has the option of deactivating the air conditioning via
the UCH, under certain conditions of use:
– when requested by the driver,
– when starting the engine,
– if the engine overheats (in order to reduce the power the engine has to supply),
– when the engine speed is kept at a very high level (to protect the compressor),
– during transition phases (e.g. high acceleration demand for overtaking, anti-stalling and moving off). These
conditions are only taken into account if they do not occur repeatedly, so as to prevent system instabilities (erratic
deactivation),
– when certain faults appear.
Cold loop air conditioning management
The air conditioning is cold loop managed, shared between several computers. The injection computer is
responsible for:
– authorising cold requests according to the refrigerant pressure, the engine coolant temperature and the engine
speed,
– calculating the power absorbed by the compressor (from the refrigerant pressure),
– requesting operation of the fan assembly, from the UPC, according to the vehicle speed, the refrigerant pressure
and the engine coolant temperature.
Page 26 of 236
13B-26
DIESEL INJECTION
Fault finding - Interpretation of faults13B
V10 MR-372-J84-13B150$282.mif
EDC16 INJECTION
Program No.: C1
Vdiag No.: 44, 48 and 4CDIESEL INJECTION
Fault finding - Interpretation of faults
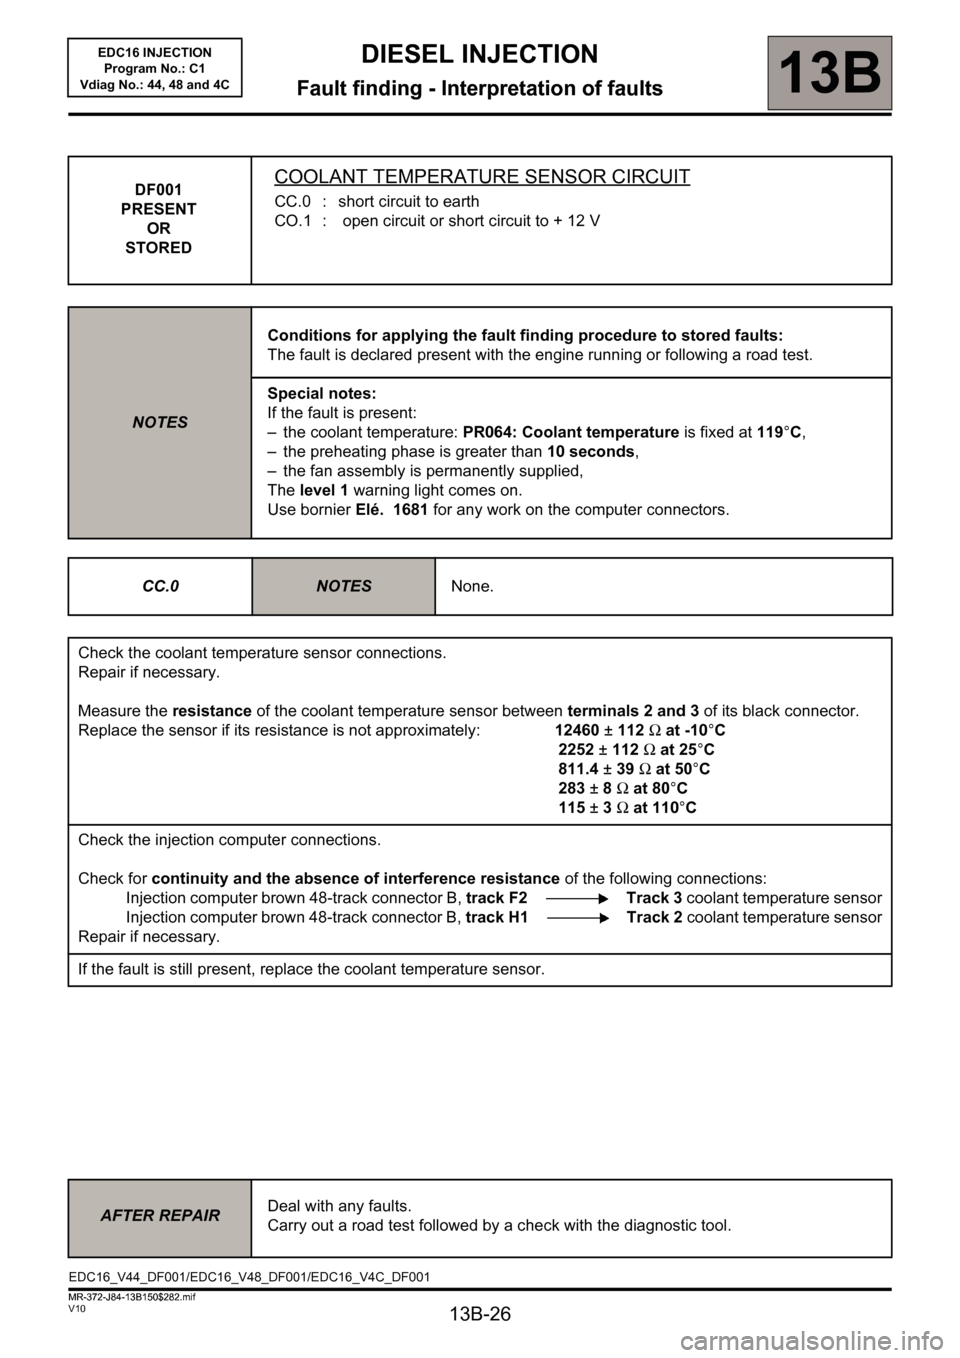
DF001
PRESENT
OR
STOREDCOOLANT TEMPERATURE SENSOR CIRCUIT
CC.0 : short circuit to earth
CO.1 : open circuit or short circuit to + 12 V
NOTESConditions for applying the fault finding procedure to stored faults:
The fault is declared present with the engine running or following a road test.
Special notes:
If the fault is present:
– the coolant temperature: PR064: Coolant temperature is fixed at 119°C,
– the preheating phase is greater than 10 seconds,
– the fan assembly is permanently supplied,
The level 1 warning light comes on.
Use bornier Elé. 1681 for any work on the computer connectors.
CC.0
NOTESNone.
Check the coolant temperature sensor connections.
Repair if necessary.
Measure the resistance of the coolant temperature sensor between terminals 2 and 3 of its black connector.
Replace the sensor if its resistance is not approximately: 12460±112Ω at -10°C
2252±112Ω at 25°C
811.4±39Ω at 50°C
283±8Ω at 80°C
115±3Ω at 110°C
Check the injection computer connections.
Check for continuity and the absence of interference resistance of the following connections:
Injection computer brown 48-track connector B, track F2 Track 3 coolant temperature sensor
Injection computer brown 48-track connector B, track H1 Track 2 coolant temperature sensor
Repair if necessary.
If the fault is still present, replace the coolant temperature sensor.
AFTER REPAIRDeal with any faults.
Carry out a road test followed by a check with the diagnostic tool.
EDC16_V44_DF001/EDC16_V48_DF001/EDC16_V4C_DF001
MR-372-J84-13B150$282.mif
Page 27 of 236
13B-27
DIESEL INJECTION
Fault finding - Interpretation of faults13B
V10 MR-372-J84-13B150$282.mif
EDC16 INJECTION
Program No.: C1
Vdiag No.: 44, 48 and 4C
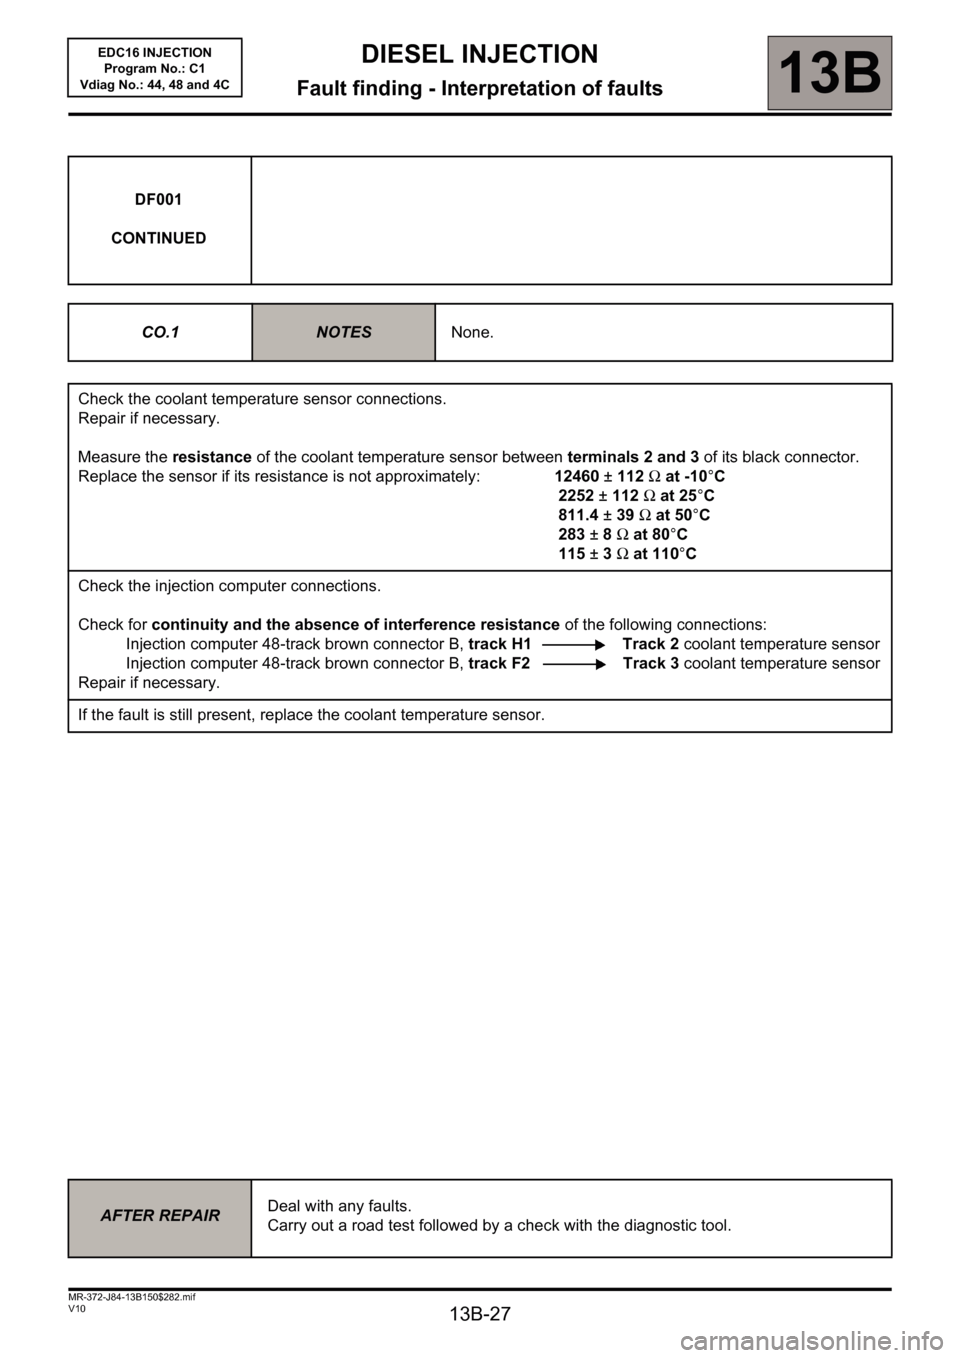
DF001
CONTINUED
CO.1
NOTESNone.
Check the coolant temperature sensor connections.
Repair if necessary.
Measure the resistance of the coolant temperature sensor between terminals 2 and 3 of its black connector.
Replace the sensor if its resistance is not approximately: 12460±112Ω at -10°C
2252±112Ω at 25°C
811.4±39Ω at 50°C
283±8Ω at 80°C
115±3Ω at 110°C
Check the injection computer connections.
Check for continuity and the absence of interference resistance of the following connections:
Injection computer 48-track brown connector B, track H1 Track 2 coolant temperature sensor
Injection computer 48-track brown connector B, track F2 Track 3 coolant temperature sensor
Repair if necessary.
If the fault is still present, replace the coolant temperature sensor.
AFTER REPAIRDeal with any faults.
Carry out a road test followed by a check with the diagnostic tool.
Page 30 of 236
13B-30
DIESEL INJECTION
Fault finding - Interpretation of faults13B
V10 MR-372-J84-13B150$282.mif
EDC16 INJECTION
Program No.: C1
Vdiag No.: 44, 48 and 4C
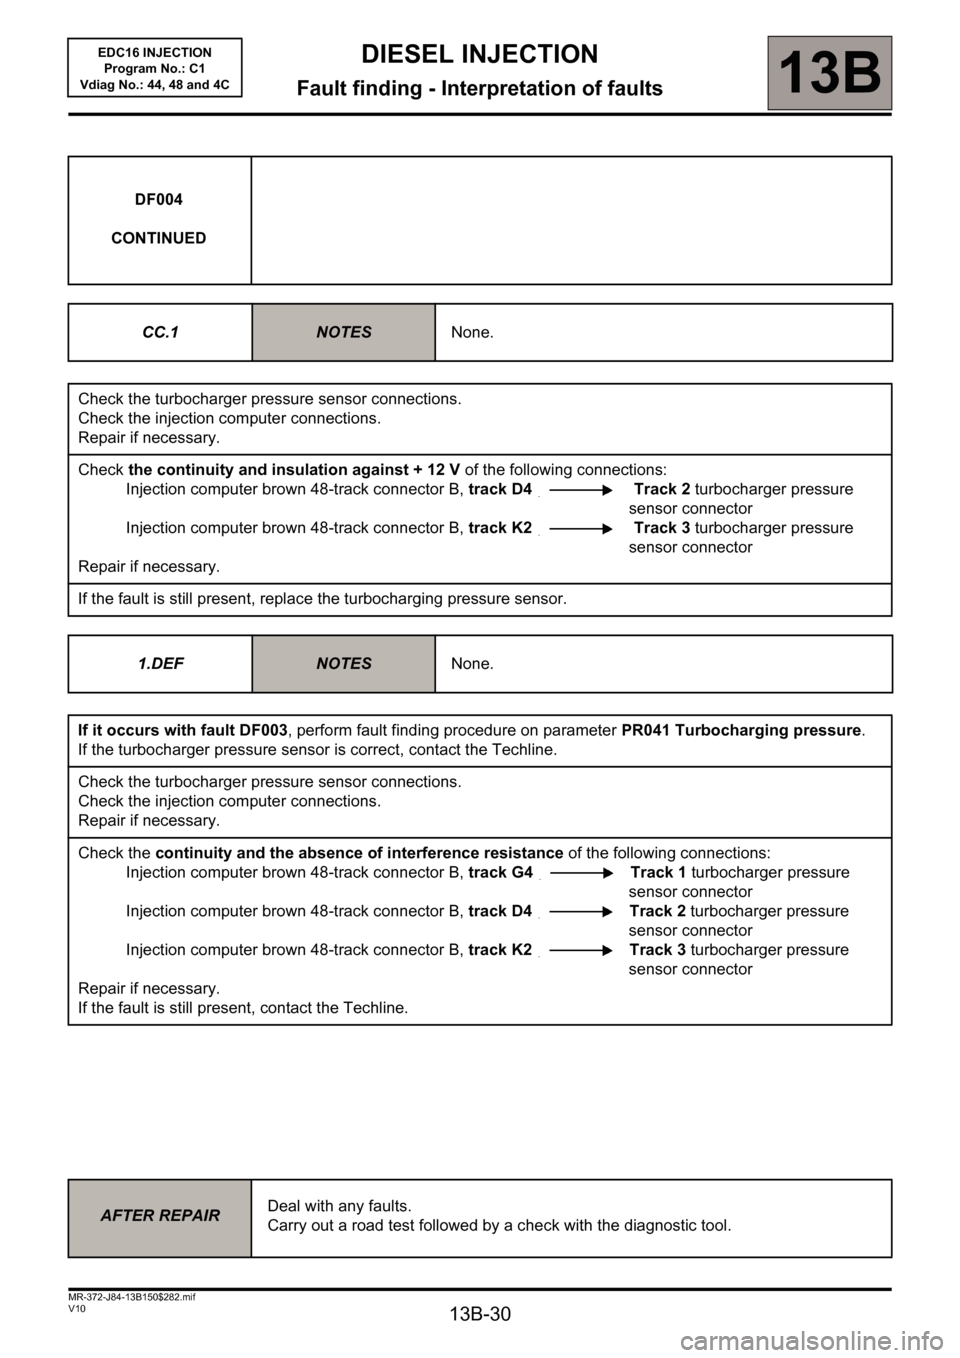
DF004
CONTINUED
CC.1
NOTESNone.
Check the turbocharger pressure sensor connections.
Check the injection computer connections.
Repair if necessary.
Check the continuity and insulation against + 12 V of the following connections:
Injection computer brown 48-track connector B, track D4 Track 2 turbocharger pressure
sensor connector
Injection computer brown 48-track connector B, track K2 Track 3 turbocharger pressure
sensor connector
Repair if necessary.
If the fault is still present, replace the turbocharging pressure sensor.
1.DEF
NOTESNone.
If it occurs with fault DF003, perform fault finding procedure on parameter PR041 Turbocharging pressure.
If the turbocharger pressure sensor is correct, contact the Techline.
Check the turbocharger pressure sensor connections.
Check the injection computer connections.
Repair if necessary.
Check the continuity and the absence of interference resistance of the following connections:
Injection computer brown 48-track connector B, track G4 Track 1 turbocharger pressure
sensor connector
Injection computer brown 48-track connector B, track D4 Track 2 turbocharger pressure
sensor connector
Injection computer brown 48-track connector B, track K2 Track 3 turbocharger pressure
sensor connector
Repair if necessary.
If the fault is still present, contact the Techline.
AFTER REPAIRDeal with any faults.
Carry out a road test followed by a check with the diagnostic tool.
Page 31 of 236
13B-31
DIESEL INJECTION
Fault finding - Interpretation of faults13B
V10 MR-372-J84-13B150$282.mif
EDC16 INJECTION
Program No.: C1
Vdiag No.: 44, 48 and 4C
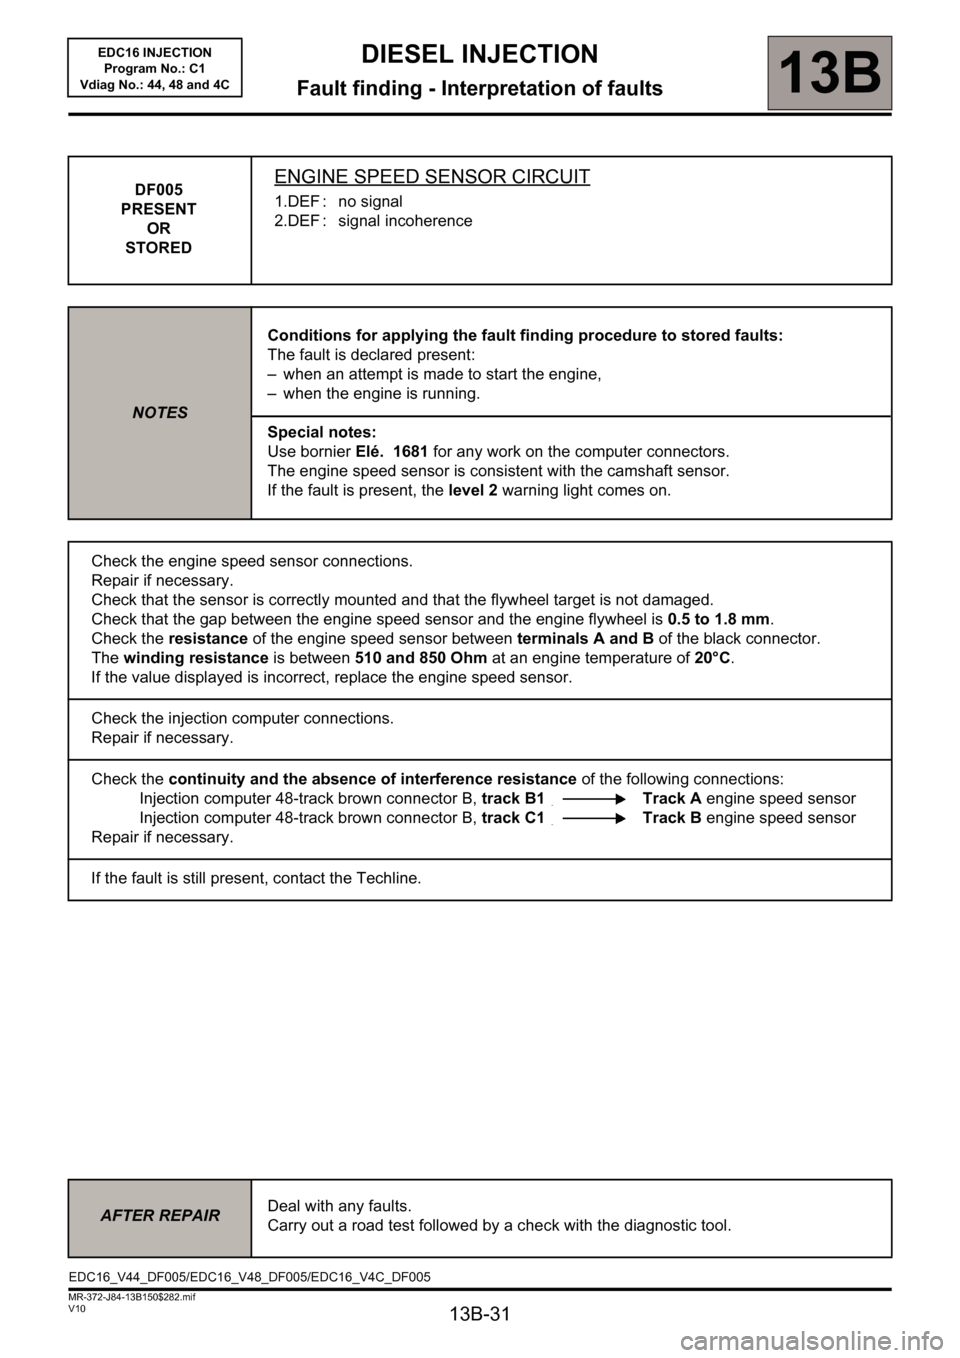
DF005
PRESENT
OR
STOREDENGINE SPEED SENSOR CIRCUIT
1.DEF : no signal
2.DEF : signal incoherence
NOTESConditions for applying the fault finding procedure to stored faults:
The fault is declared present:
– when an attempt is made to start the engine,
– when the engine is running.
Special notes:
Use bornier Elé. 1681 for any work on the computer connectors.
The engine speed sensor is consistent with the camshaft sensor.
If the fault is present, the level 2 warning light comes on.
Check the engine speed sensor connections.
Repair if necessary.
Check that the sensor is correctly mounted and that the flywheel target is not damaged.
Check that the gap between the engine speed sensor and the engine flywheel is 0.5 to 1.8 mm.
Check the resistance of the engine speed sensor between terminals A and B of the black connector.
The winding resistance is between 510 and 850 Ohm at an engine temperature of 20°C.
If the value displayed is incorrect, replace the engine speed sensor.
Check the injection computer connections.
Repair if necessary.
Check the continuity and the absence of interference resistance of the following connections:
Injection computer 48-track brown connector B, track B1 Track A engine speed sensor
Injection computer 48-track brown connector B, track C1 Track B engine speed sensor
Repair if necessary.
If the fault is still present, contact the Techline.
AFTER REPAIRDeal with any faults.
Carry out a road test followed by a check with the diagnostic tool.
EDC16_V44_DF005/EDC16_V48_DF005/EDC16_V4C_DF005
Page 33 of 236
13B-33
DIESEL INJECTION
Fault finding - Interpretation of faults13B
V10 MR-372-J84-13B150$282.mif
EDC16 INJECTION
Program No.: C1
Vdiag No.: 44, 48 and 4C
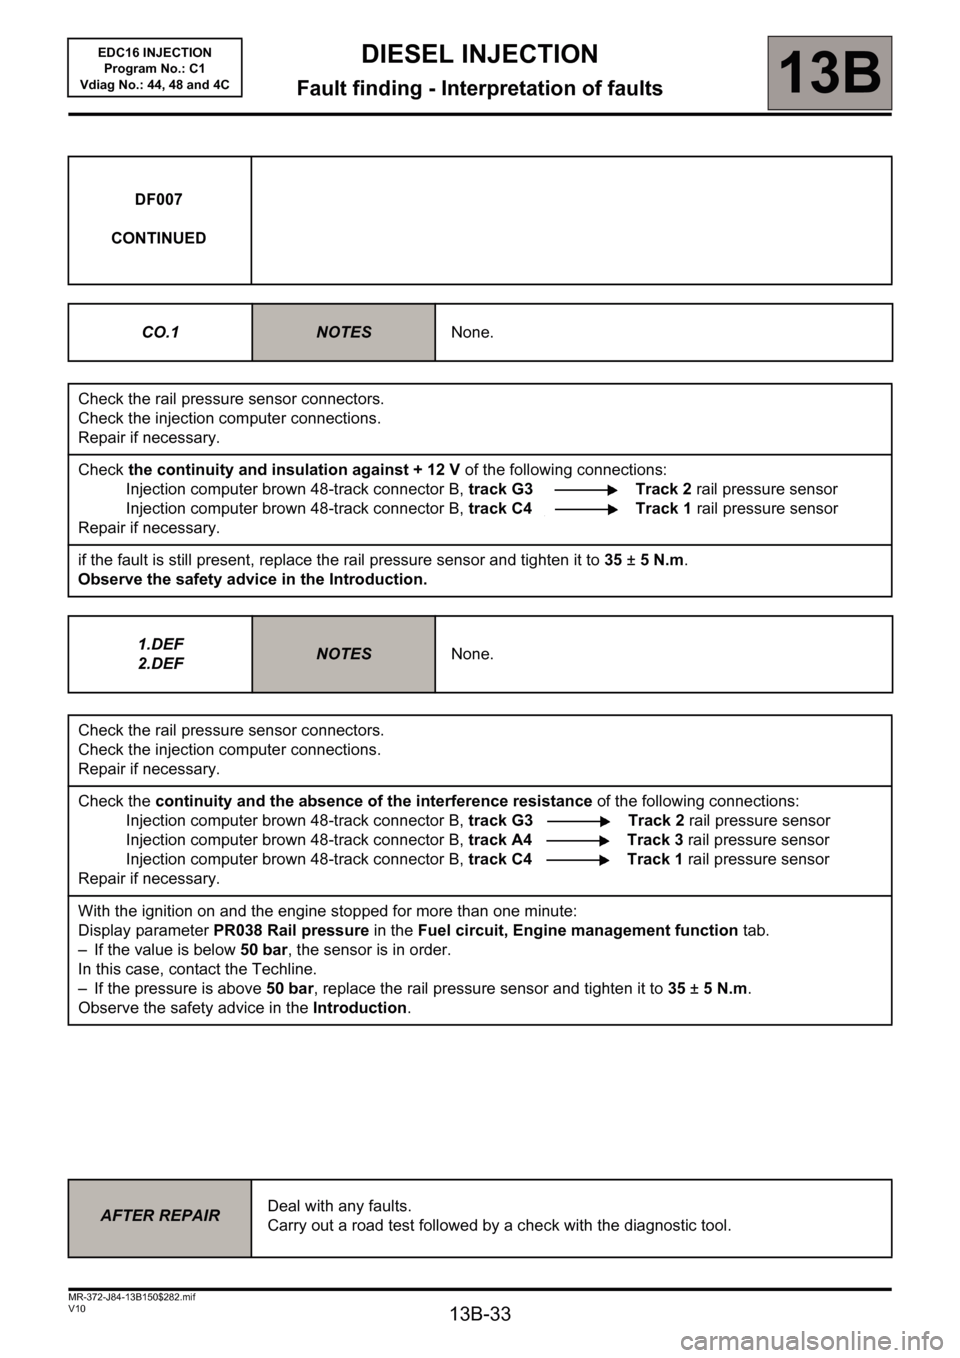
DF007
CONTINUED
CO.1
NOTESNone.
Check the rail pressure sensor connectors.
Check the injection computer connections.
Repair if necessary.
Check the continuity and insulation against + 12 V of the following connections:
Injection computer brown 48-track connector B, track G3 Track 2 rail pressure sensor
Injection computer brown 48-track connector B, track C4 Track 1 rail pressure sensor
Repair if necessary.
if the fault is still present, replace the rail pressure sensor and tighten it to 35±5N.m.
Observe the safety advice in the Introduction.
1.DEF
2.DEF
NOTESNone.
Check the rail pressure sensor connectors.
Check the injection computer connections.
Repair if necessary.
Check the continuity and the absence of the interference resistance of the following connections:
Injection computer brown 48-track connector B, track G3 Track 2 rail pressure sensor
Injection computer brown 48-track connector B, track A4 Track 3 rail pressure sensor
Injection computer brown 48-track connector B, track C4 Track 1 rail pressure sensor
Repair if necessary.
With the ignition on and the engine stopped for more than one minute:
Display parameter PR038 Rail pressure in the Fuel circuit, Engine management function tab.
– If the value is below 50 bar, the sensor is in order.
In this case, contact the Techline.
– If the pressure is above 50 bar, replace the rail pressure sensor and tighten it to 35 ± 5 N.m.
Observe the safety advice in the Introduction.
AFTER REPAIRDeal with any faults.
Carry out a road test followed by a check with the diagnostic tool.
Page 35 of 236
13B-35
DIESEL INJECTION
Fault finding - Interpretation of faults13B
V10 MR-372-J84-13B150$282.mif
EDC16 INJECTION
Program No.: C1
Vdiag No.: 44, 48 and 4C
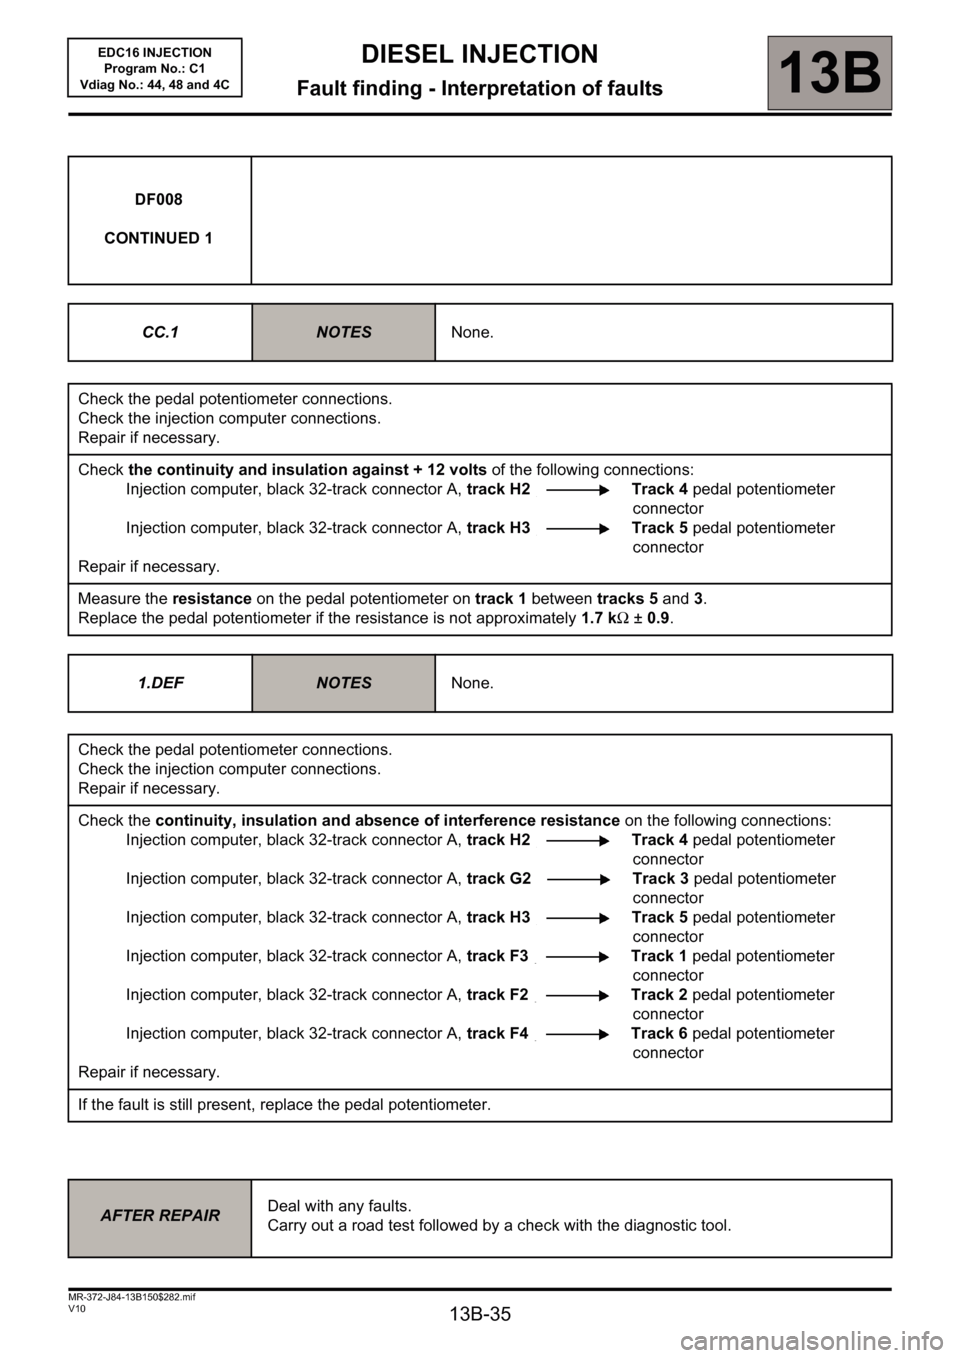
DF008
CONTINUED 1
CC.1
NOTESNone.
Check the pedal potentiometer connections.
Check the injection computer connections.
Repair if necessary.
Check the continuity and insulation against + 12 volts of the following connections:
Injection computer, black 32-track connector A, track H2 Track 4 pedal potentiometer
connector
Injection computer, black 32-track connector A, track H3 Track 5 pedal potentiometer
connector
Repair if necessary.
Measure the resistance on the pedal potentiometer on track 1 between tracks 5 and 3.
Replace the pedal potentiometer if the resistance is not approximately 1.7 kΩ±0.9.
1.DEF
NOTESNone.
Check the pedal potentiometer connections.
Check the injection computer connections.
Repair if necessary.
Check the continuity, insulation and absence of interference resistance on the following connections:
Injection computer, black 32-track connector A, track H2 Track 4 pedal potentiometer
connector
Injection computer, black 32-track connector A, track G2 Track 3 pedal potentiometer
connector
Injection computer, black 32-track connector A, track H3 Track 5 pedal potentiometer
connector
Injection computer, black 32-track connector A, track F3 Track 1 pedal potentiometer
connector
Injection computer, black 32-track connector A, track F2 Track 2 pedal potentiometer
connector
Injection computer, black 32-track connector A, track F4 Track 6 pedal potentiometer
connector
Repair if necessary.
If the fault is still present, replace the pedal potentiometer.
AFTER REPAIRDeal with any faults.
Carry out a road test followed by a check with the diagnostic tool.
Page 37 of 236
13B-37
DIESEL INJECTION
Fault finding - Interpretation of faults13B
V10 MR-372-J84-13B150$282.mif
EDC16 INJECTION
Program No.: C1
Vdiag No.: 44, 48 and 4C
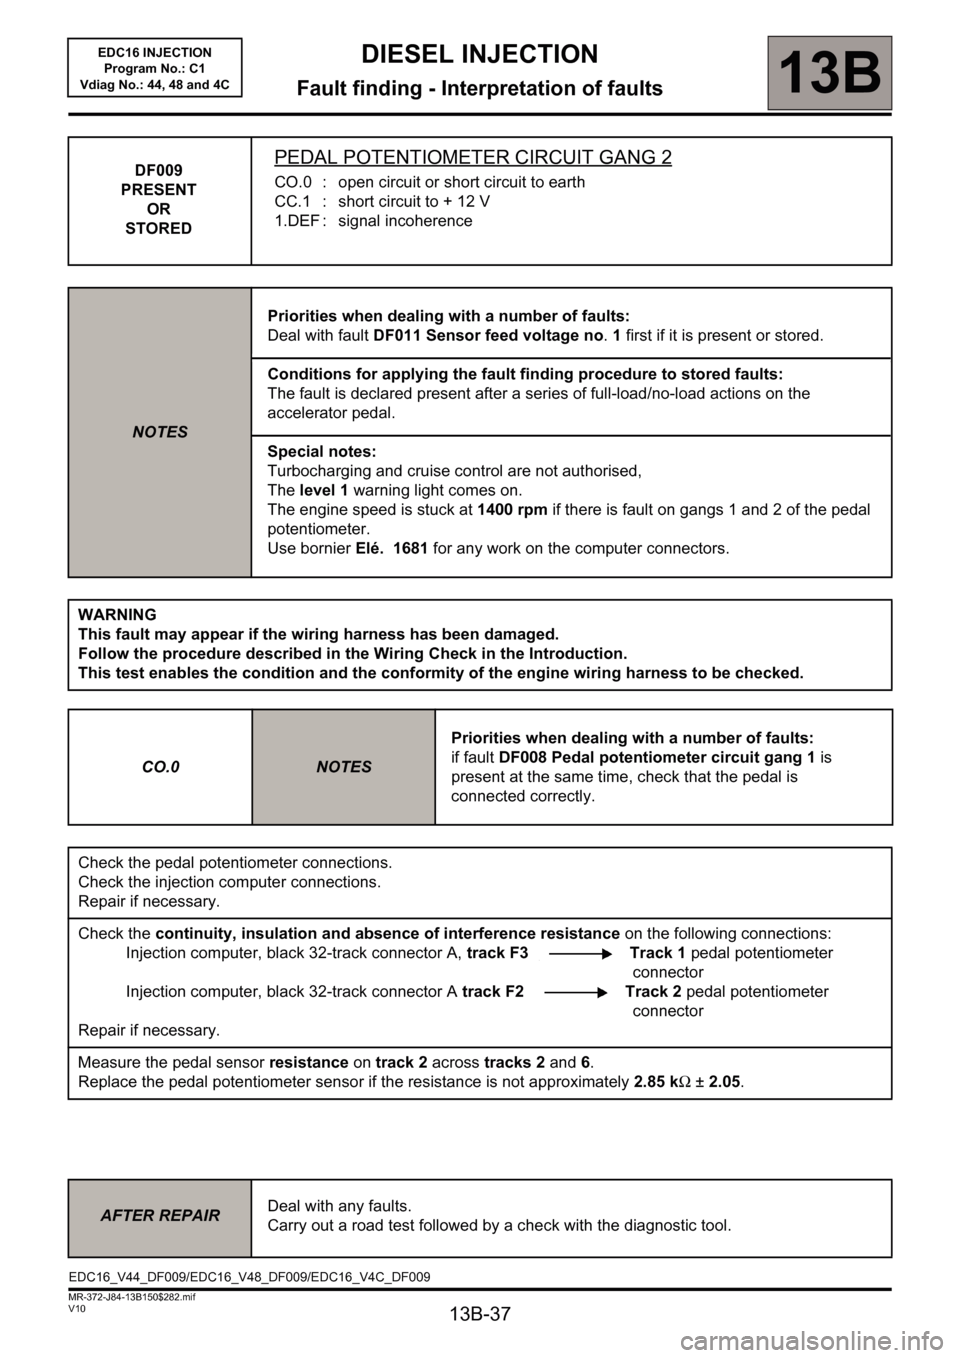
DF009
PRESENT
OR
STOREDPEDAL POTENTIOMETER CIRCUIT GANG 2
CO.0 : open circuit or short circuit to earth
CC.1 : short circuit to + 12 V
1.DEF : signal incoherence
NOTESPriorities when dealing with a number of faults:
Deal with fault DF011 Sensor feed voltage no. 1 first if it is present or stored.
Conditions for applying the fault finding procedure to stored faults:
The fault is declared present after a series of full-load/no-load actions on the
accelerator pedal.
Special notes:
Turbocharging and cruise control are not authorised,
The level 1 warning light comes on.
The engine speed is stuck at 1400 rpm if there is fault on gangs 1 and 2 of the pedal
potentiometer.
Use bornier Elé. 1681 for any work on the computer connectors.
WARNING
This fault may appear if the wiring harness has been damaged.
Follow the procedure described in the Wiring Check in the Introduction.
This test enables the condition and the conformity of the engine wiring harness to be checked.
CO.0
NOTESPriorities when dealing with a number of faults:
if fault DF008 Pedal potentiometer circuit gang 1 is
present at the same time, check that the pedal is
connected correctly.
Check the pedal potentiometer connections.
Check the injection computer connections.
Repair if necessary.
Check the continuity, insulation and absence of interference resistance on the following connections:
Injection computer, black 32-track connector A, track F3 Track 1 pedal potentiometer
connector
Injection computer, black 32-track connector A track F2 Track 2 pedal potentiometer
connector
Repair if necessary.
Measure the pedal sensor resistance on track 2 across tracks 2 and 6.
Replace the pedal potentiometer sensor if the resistance is not approximately 2.85 kΩ±2.05.
AFTER REPAIRDeal with any faults.
Carry out a road test followed by a check with the diagnostic tool.
EDC16_V44_DF009/EDC16_V48_DF009/EDC16_V4C_DF009