30A-23
GENERAL INFORMATION
Axle assemblies: Check
30A
aLock the slip plates of the lift.
aPosition the vehicle on a lift (see Vehicle: Towing
and lifting) .
aCheck the condition of the following components:
-track rods,
-axial ball joint linkages,
-subframe,
-lower arm rubber bushes,
-lower arm ball joints (see Front driveshaft lower
arm ball joint: Check) ,
-shock absorbers,
-tyres,
aCheck:
-the tyre size (see 35A, Wheels and tyres, Tyres:
Identification, page 35A-7) ,
-the tyre inflation pressure (see 35A, Wheels and
tyres, Tyre pressure: Identification, page 35A-
10) .
aPut the vehicle in the VODM position (vehicle in run-
ning order) (see 30A, General information, Under-
body heights: Adjustment value, page 30A-24) :
-tank full,
-vehicle empty (without luggage, etc.).
aConsult:
-the front axle geometry values (see 30A, General
information, Front axle assembly: Adjustment
values, page 30A-31) ,
-the rear axle geometry values (see 30A, General
information, Rear axle assembly: Adjustment
values, page 30A-38) .
aRefer to the user manual for the geometry tester.
aCheck the geometry using the geometry tester.
aIf there is an inconsistency between the manufactur-
er's values and the measured values:
aAdjust the front axle (see 30A, General informa-
tion, Front axle system: Adjustment, page 30A-
36)
35A-11
WHEELS AND TYRES
Wheel rim: Identification
35A
IDENTIFICATION
1 - Marking
There are two types of identification marking on the
wheel rims:
-engraved marking for steel wheel rims,
-cast marking for alloy wheel rims.
The marking gives the main dimensional specifications
of the wheel rim.
This marking may be:
-complete, for example 6 J 15 5 CH 36,
-simplified, for example 6 J 15.
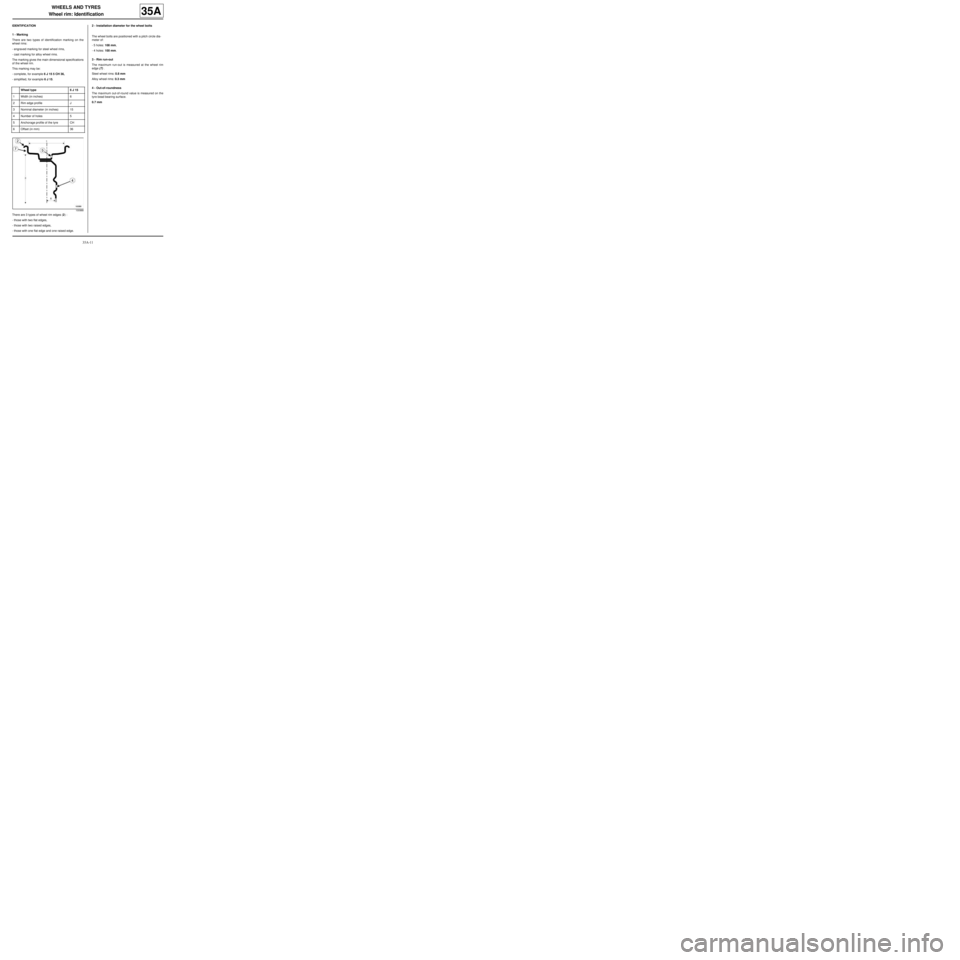
There are 3 types of wheel rim edges (2) :
-those with two flat edges,
-those with two raised edges,
-those with one flat edge and one raised edge.2 - Installation diameter for the wheel bolts
The wheel bolts are positioned with a pitch circle dia-
meter of:
-5 holes: 108 mm,
-4 holes: 100 mm.
3 - Rim run-out
The maximum run-out is measured at the wheel rim
edge (7) .
Steel wheel rims: 0.8 mm
Alloy wheel rims: 0.3 mm
4 - Out-of-roundness
The maximum out-of-round value is measured on the
tyre bead bearing surface.
0.7 mm Wheel type 6 J 15
1Width (in inches) 6
2Rim edge profile J
3Nominal diameter (in inches) 15
4Number of holes 5
5Anchorage profile of the tyre CH
6Offset (in mm) 36
100988

