brake RENAULT TWINGO 2009 2.G Engine And Peripherals User Guide
[x] Cancel search | Manufacturer: RENAULT, Model Year: 2009, Model line: TWINGO, Model: RENAULT TWINGO 2009 2.GPages: 652
Page 190 of 652
11A-73
TOP AND FRONT OF ENGINE
Rocker cover: Removal - Refitting
D4F, and 780 or 782 or 784
11A
aDisconnect the oil vapour rebreathing circuit unions
(9) .
-on the inlet distributor,
-on the air filter box outlet air pipe,
-on the rocker cover.
aRemove the oil vapour rebreathing circuit.
aDisconnect the fuel vapour rebreathing circuit
unions (10) .
-on the air filter box outlet air pipe,
-to the inlet distributor.
aMove the fuel vapour rebreathing pipes to one side.
aDisconnect the vacuum pipe from the brake servo
(11) .
aMove the brake servo vacuum pipe to one side.II - OPERATION FOR REMOVAL OF PART
CONCERNED
aRemove:
-the rocker cover bolts,
-the rocker cover,
-the rocker cover gasket.
REFITTING
I - REFITTING PREPARATION OPERATION
aClean the joint faces with SUPER CLEANER FOR
JOINT FACES (see Vehicle: Parts and consum-
ables for the repair) (04B, Consumables - Prod-
ucts) to dissolve any part of the seal still adhering.
aparts always to be replaced: rocker cover seal.
122828
121026
WARNING
Do not allow this product to dr ip onto the paint-
work.
Clean the cylinder head carefully to prevent for-
eign bodies from entering the oil supply and
return galleries.
Failure to follow this advice could lead to the
blocking of the various oil inlet galleries, which
would quickly result in engine damage.
Page 191 of 652
11A-74
TOP AND FRONT OF ENGINE
Rocker cover: Removal - Refitting
D4F, and 780 or 782 or 784
11A
II - REFITTING OPERATION FOR PART
CONCERNED
aApply beads (1) of MASTIXO (see Vehicle: Parts
and consumables for the repair) (04B, Consum-
ables - Products) around the rocker cover rear bolts
(lower bolts, exhaust side) and on camshaft bearing
no.5.
aFit the new rocker cover seal, starting with bearing
No. 5, then gradually insert the seal studs as the
rocker cover fits into the groove.aRefit:
-the rocker cover fitted with a new seal,
-the rocker cover bolts.
aPretighten to torque and in order the rocker cover
bolts (initial torque) (5 N.m).
aTorque tighten in order the rocker cover bolts (13
N.m).
III - FINAL OPERATION
aFit the brake servo vacuum pipe.
aConnect the brake servo vacuum pipe.
aFit the fuel vapour rebreathing pipes.
aConnect the fuel vapour rebreathing circuit unions:
-on the inlet distributor,
-on the air filter box outlet air pipe.
aFit the oil vapour rebreathing circuit.
aConnect the oil vapour rebreathing circuit unions:
-on the rocker cover,
-on the air filter box outlet air pipe,
-to the inlet distributor.
aRefit:
-the ignition coil (see 17A, Ignition, Coils: Remov-
al - Refitting, page 17A-1) ,
-the filler neck,
-the filler neck bolt,
-the heat shield,
-the heat shield bolts.
aTorque tighten the heat shield bolts (8 N.m).
18441
WARNING
Applying excess sealant could cause it to be
squeezed out when parts are tightened. A mix-
ture of sealant and fluid could damage certain
components (engine, radiator, etc.).
121026
Page 232 of 652
11A-115
TOP AND FRONT OF ENGINE
Cylinder head: Removal - Refitting
K9K
11A
aFit blanking plugs to the fuel pipes and the high pres-
sure pump (see 13B, Diesel injection, Diesel in-
jection: Precautions for the repair, page 13B-1) .
aRemove the air filter unit (see 12A, Fuel mixture,
Air filter unit: Removal - Refitting, page 12A-13) .
aUnclip:
-the breather pipe on the gearbox,
-the wiring on the engine lifting eye on the gearbox
side.
aMove aside the engine wiring.
aDisconnect the brake servo pipe from the vacuum
pump.
aRemove the cooling hose clip from the EGR cooler
using the (Mot. 1202-01) or (Mot. 1202-02) or (Mot.
1448).
aDisconnect the cooling hose from the EGR cooler.
aSeparate the clip on the cooling hose of the coolant
pump inlet pipe using the tool (Mot. 1202-01) or
(Mot. 1202-02) or (Mot. 1448).
aDisconnect the cooling hose from the coolant pump
inlet pipe.
aRemove the heater matrix cooling hose clip from the
water chamber using the (Mot. 1202-01) or (Mot.
1202-02) or (Mot. 1448).
aDisconnect:
-the heater matrix cooling hose from the water
chamber,
-the coolant temperature sensor connector.
aRemove the catalytic converter (see 19B, Exhaust,
Catalytic converter: Removal - Refitting, page
19B-12) .aRemove:
-the oil return pipe bolts (1) from the turbocharger,
-the oil return pipe by detaching it from the cylinder
block,
-the rocker cover (see 11A, Top and front of en-
gine, Rocker cover: Removal - Refitting, page
11A-66) ,
-the two high pressure pipes between the rail and
injector at the timing end (see 13B, Diesel injec-
tion, High pressure pipe between rail and injec-
tor: Removal - Refitting, page 13B-39) ,
-the timing end bracket bolt from the air filter box,
-the timing end bracket from the air filter box.
112327
Page 234 of 652
11A-117
TOP AND FRONT OF ENGINE
Cylinder head: Removal - Refitting
K9K
11A
aIf necessary, carry out a complete check of the cylin-
der head (see Cylinder head: Check) .
II - REFITTING OPERATION FOR PART
CONCERNED
aBring the pistons to mid-stroke position to prevent
them from coming into contact with the valves during
the tightening of the cylinder head.
aRefit:
-a new cylinder head gasket,
-the cylinder head.
Cylinder head tightening procedure
aRefit the cylinder head bolts.
aFit the cylinder head bolts, without tightening them.
aTighten to torque and in order the cylinder head
bolts (initial torque) (25 N.m).
aCheck that the cylinder head bolts are tightened to
25 Nm.
aAngle tighten the cylinder head bolts (270˚ ±± ± ±
10˚) in
order using a cylinder head bolt tightening gauge
(angular measuring type).
III - FINAL OPERATION
aRefit:
-the timing end bracket on the air filter box.
-the timing end bracket bolt on the air filter box,-the two high pressure pipes between the rail and
injector at the timing end (see 13B, Diesel injec-
tion, High pressure pipe between rail and injec-
tor: Removal - Refitting, page 13B-39) ,
-the rocker cover (see 11A, Top and front of en-
gine, Rocker cover: Removal - Refitting, page
11A-66) ,
-the oil return pipe fitted with new seals, fitting it into
the cylinder block (see 12B, Turbocharging, Tur-
bocharger oil pipe: Removal - Refitting, page
12B-12) .
aRefit the catalytic converter (see 19B, Exhaust,
Catalytic converter: Removal - Refitting, page
19B-12) .
aConnect:
-the coolant temperature sensor connector,
-the heater matrix cooling hose to the water cham-
ber.
aFit the clip on the heater matrix cooling hose onto
the water chamber using the (Mot. 1202-01) or
(Mot. 1202-02) or (Mot. 1448).
aConnect the coolant pump inlet pipe cooling hose.
aFit the cooling hose clip at the coolant pump inlet
pipe end using the (Mot. 1202-01) or (Mot. 1202-02)
or (Mot. 1448).
aConnect the EGR cooler cooling hose.
aFit the cooling hose clip at the EGR cooler end using
the (Mot. 1202-01) or (Mot. 1202-02) or (Mot.
1448).
aConnect the brake servo pipe onto the vacuum
pump.
aFit the engine wiring.
aClip:
-the breather pipe onto the gearbox,
-the wiring on the engine lifting eye on the gearbox
side.
aRefit the air filter unit (see 12A, Fuel mixture, Air fil-
ter unit: Removal - Refitting, page 12A-13) .
aRemove the blanking plugs from the fuel pipes and
high pressure pump.
aConnect the fuel inlet and return pipes to the high
pressure pump.
aFit the engine wiring.
aConnect:
-the accelerometer connector,
-injector rail pressure sensor connector, WARNING
In order to ensure that the bolts are correctly
tightened, use a syringe to remove any oil which
may be in the cylinder head mounting holes.
19712
Page 281 of 652
12A-16
FUEL MIXTURE
Air filter unit: Removal - Refitting
D7F
12A
PARTS AND CONSUMABLES FOR THE
REPAIR WORK
aParts always to be replaced :
-the air filter.
REMOVAL
I - REMOVAL PREPARATION OPERATION
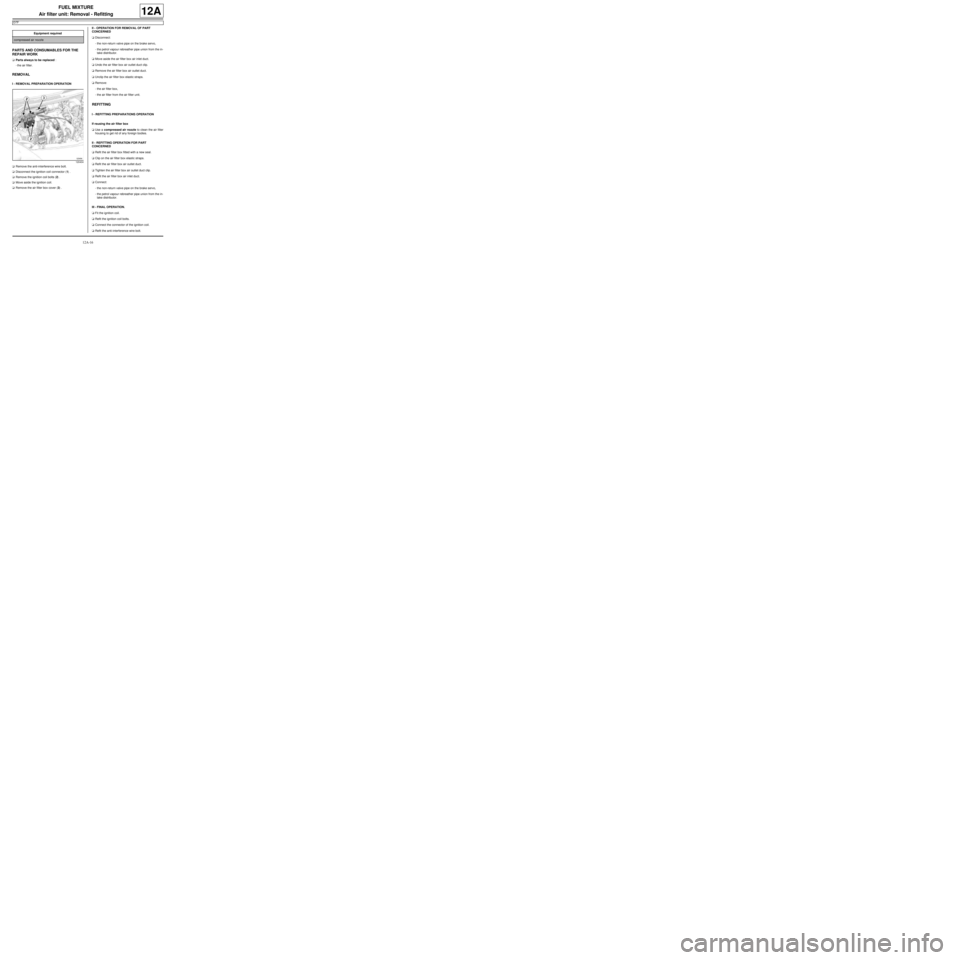
aRemove the anti-interference wire bolt.
aDisconnect the ignition coil connector (1) .
aRemove the ignition coil bolts (2) .
aMove aside the ignition coil.
aRemove the air filter box cover (3) .II - OPERATION FOR REMOVAL OF PART
CONCERNED
aDisconnect:
-the non-return valve pipe on the brake servo,
-the petrol vapour rebreather pipe union from the in-
take distributor.
aMove aside the air filter box air inlet duct.
aUndo the air filter box air outlet duct clip.
aRemove the air filter box air outlet duct.
aUnclip the air filter box elastic straps.
aRemove:
-the air filter box,
-the air filter from the air filter unit.
REFITTING
I - REFITTING PREPARATIONS OPERATION
If reusing the air filter box
aUse a compressed air nozzle to clean the air filter
housing to get rid of any foreign bodies.
II - REFITTING OPERATION FOR PART
CONCERNED
aRefit the air filter box fitted with a new seal.
aClip on the air filter box elastic straps.
aRefit the air filter box air outlet duct.
aTighten the air filter box air outlet duct clip.
aRefit the air filter box air inlet duct.
aConnect:
-the non-return valve pipe on the brake servo,
-the petrol vapour rebreather pipe union from the in-
take distributor.
III - FINAL OPERATION.
aFit the ignition coil.
aRefit the ignition coil bolts.
aConnect the connector of the ignition coil.
aRefit the anti-interference wire bolt. Equipment required
compressed air nozzle
120404
Page 299 of 652
12A-34
FUEL MIXTURE
Inlet distributor: Removal - Refitting
D4F, and 772
12A
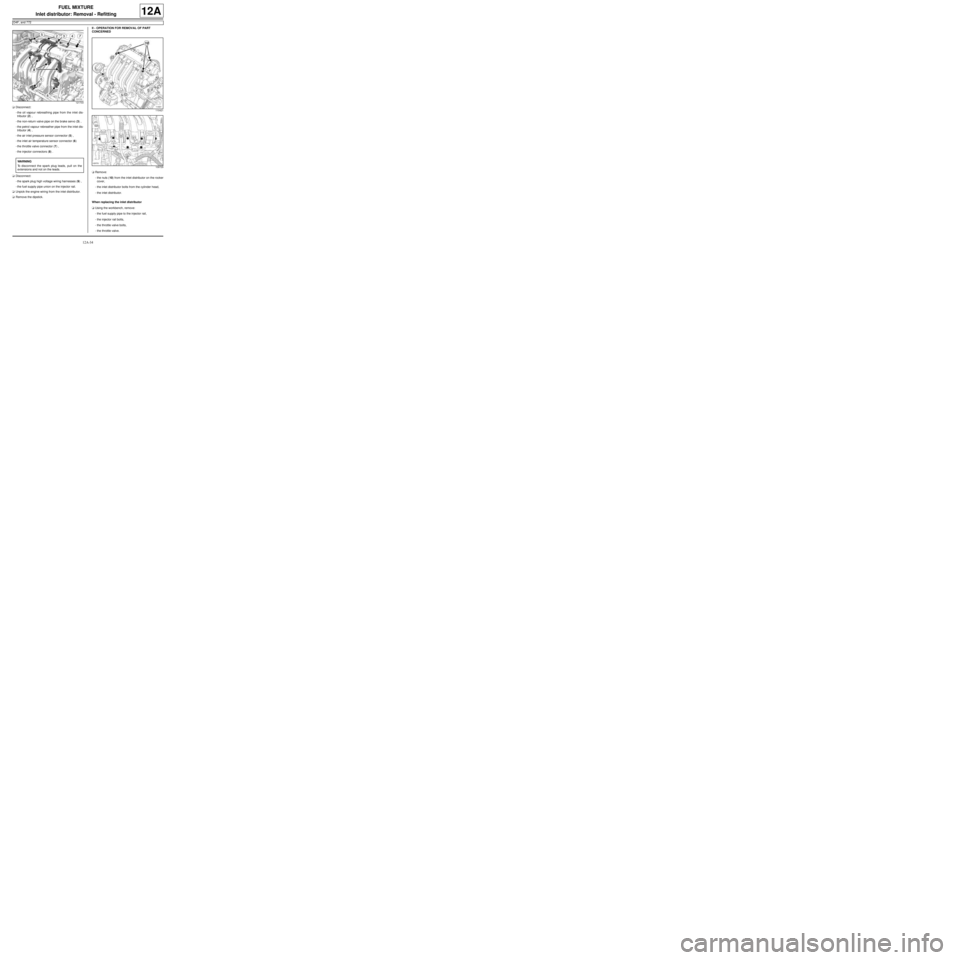
aDisconnect:
-the oil vapour rebreathing pipe from the inlet dis-
tributor (2) ,
-the non-return valve pipe on the brake servo (3) ,
-the petrol vapour rebreather pipe from the inlet dis-
tributor (4) ,
-the air inlet pressure sensor connector (5) ,
-the inlet air temperature sensor connector (6)
-the throttle valve connector (7) ,
-the injector connectors (8) .
aDisconnect:
-the spark plug high voltage wiring harnesses (9) ,
-the fuel supply pipe union on the injector rail.
aUnpick the engine wiring from the inlet distributor.
aRemove the dipstick.II - OPERATION FOR REMOVAL OF PART
CONCERNED
aRemove:
-the nuts (10) from the inlet distributor on the rocker
cover,
-the inlet distributor bolts from the cylinder head,
-the inlet distributor.
When replacing the inlet distributor
aUsing the workbench, remove:
-the fuel supply pipe to the injector rail,
-the injector rail bolts,
-the throttle valve bolts,
-the throttle valve.
121733
WARNING
To disconnect the spark plug leads, pull on the
extensions and not on the leads.
110421
109729
Page 301 of 652
12A-36
FUEL MIXTURE
Inlet distributor: Removal - Refitting
D4F, and 772
12A
III - FINAL OPERATION
aIt is essential to apply a bead of FLUOSTAR 2L
grease (see Vehicle: Parts and consumables for
the repair) (04B, Consumables - Products) 2 mm in
diameter on the inner edge of the high tension caps.
aConnect:
-the high voltage wiring harnesses to the spark
plugs,
-the fuel supply pipe union on the injector rail,
-the motorised throttle valve connector,
-the injector connectors,
-the air inlet temperature sensor connector,
-the non-return valve pipe on the brake servo,
-the petrol vapour rebreather pipe.
aRefit the dipstick.
aClip the engine wiring onto the inlet distributor.
aRefit the air filter unit (see 12A, Fuel mixture, Air fil-
ter unit: Removal - Refitting, page 12A-13) .
aConnect the battery (see Battery: Removal - Refit-
ting) (80A, Battery).
106640
Page 306 of 652
12A-41
FUEL MIXTURE
Inlet distributor: Removal - Refitting
K4M
12A
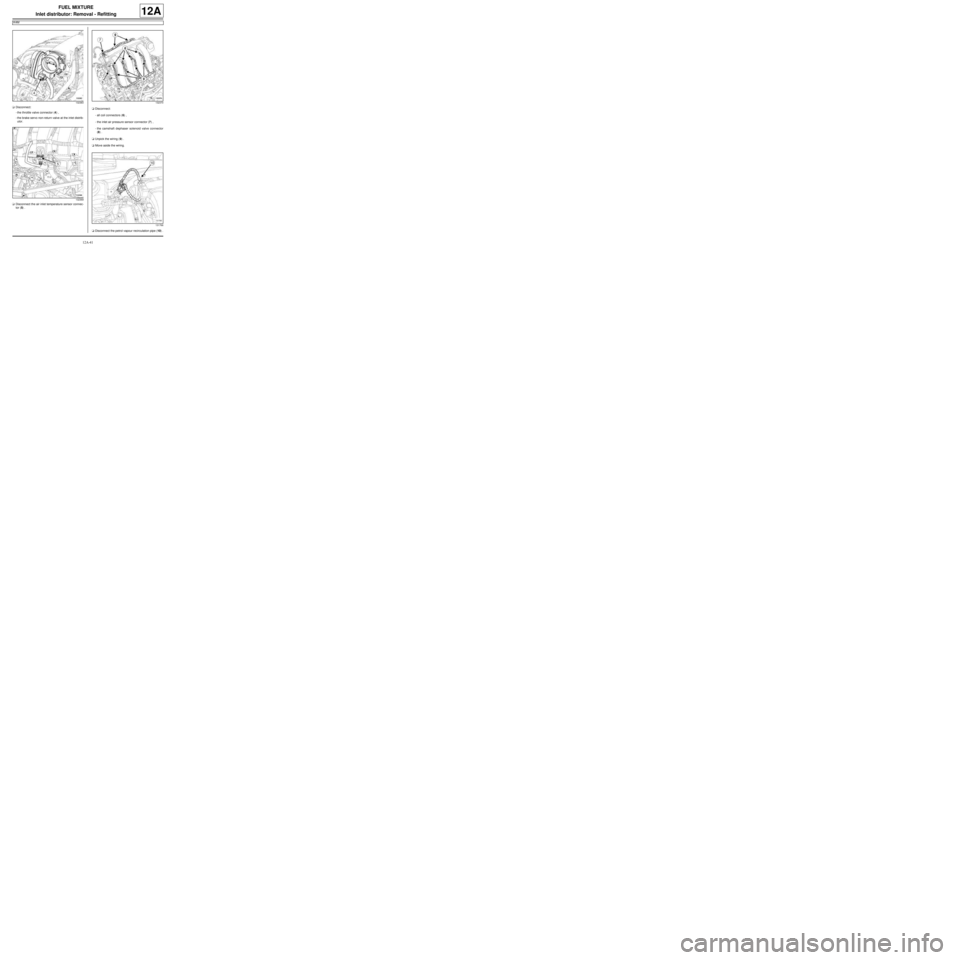
aDisconnect:
-the throttle valve connector (4) ,
-the brake servo non-return valve at the inlet distrib-
utor.
aDisconnect the air inlet temperature sensor connec-
tor (5) .aDisconnect:
-all coil connectors (6) ,
-the inlet air pressure sensor connector (7) ,
-the camshaft dephaser solenoid valve connector
(8) .
aUnpick the wiring (9) .
aMove aside the wiring.
aDisconnect the petrol vapour recirculation pipe (10) .
132383
132369132370
131766
Page 308 of 652
12A-43
FUEL MIXTURE
Inlet distributor: Removal - Refitting
K4M
12A
aFit new seals to the inlet distributor.
When replacing the inlet distributor
aparts always to be replaced: Throttle valve seal.
aUse SURFACE CLEANER (see Vehicle: Parts
and consumables for the repair) (04B, Consuma-
bles - Products) to clean and degrease:
-the throttle valve joint face if it is to be re-used,
-the inlet distributor seal housing.
aRefit:
-a new seal on the inlet distributor,
-the throttle valve.
aIn order, torque tighten the throttle valve bolts (10
N.m).
aRefit:
-the oil vapour rebreathing pipe,
-the heat shield,
-the air inlet pressure sensor,-the air inlet temperature sensor.
II - REFITTING OPERATION
aRefit:
-a new seal between the injector holder shim and
the inlet distributor,
-the inlet distributor.
aTighten to torque and in order the inlet distributor
bolts (12 N.m).
III - FINAL OPERATION
aConnect the petrol vapour recirculation pipe.
aPosition the wiring.
aClip on the wiring.
aConnect:
-the camshaft dephaser solenoid valve connector,
-the air inlet pressure sensor connector,
-the connector of each coil,
-the air inlet temperature sensor connector,
-the brake servo non-return valve,
-the throttle valve connector.
aRefit the air outlet pipe onto the air filter unit.
aConnect:
-the air outlet pipe of the air filter unit,
-the oil vapour rebreathing pipe on the air filter unit
air outlet pipe. WARNING
The joint faces must be clean, dr y and free from
grease (avoid finger marks).
WARNING
Do not scrape the joint faces of the aluminium,
any damage caused to the joint face will result in
a risk of leaks.
132383
132371
Page 362 of 652
13B-1
DIESEL INJECTION
Diesel injection: Precautions for the repair
K9K
13B
I - RISKS RELATING TO CONTAMINATION
The high-pressure direct injection system is highly sen-
sitive to contamination. The risks caused by contami-
nation are:
-damage to or destruction of the high pressure injec-
tion system,
-a component seizing,
-a component not being properly sealed.
All After-Sales operations must be performed under
very clean conditions. Having carried out an operation
in good conditions means that no impurities (particles a
few microns in size) have penetrated the system during
dismantling.
The cleanliness principle must be applied from the filter
to the injectors.
What are the sources of contamination?
-metal or plastic swarf,
-paint,
-fibres:
•cardboard,
•brushes,
•paper,
•clothing,
•cloth,
-foreign bodies such as hair,
-ambient air,
-etc.
1 - Cleaning cloths
Use lint-free cleaning cloths (see Vehicle: Parts and
consumables for the repair) (04B, Consumables -
Products).
It is prohibited to use cloths or ordinary paper towels:
these produce lint and lose fibres, which then contami-
nate the fuel circuit.
Each cloth must only be used once.2 - Blanking plugs
The blanking plugs are used to cap the fuel circuit once
it is opened and to therefore prevent contaminants
from entering.
A set of blanking plugs should be used once only and
used plugs must be discarded after use: once used,
the plugs are soiled and cleaning them is not sufficient
to make them reusable.
Unused plugs must also be discarded and must not be
used when carrying out work on an injection system.
Part number for set of blanking plugs: (see Vehicle:
Parts and consumables for the repair) (04B, Con-
sumables - Products).
3 - Protective bags
Use hermetically-resealable plastic bags, using adhe-
sive tape, for example, to store components which will
be refitted and reused. Stored parts will therefore be
less subject to the risk of contamination.
These are single-use bags: after use they must be dis-
carded.
4 - Cleaning products
Two cleaning products can be used:
-an injector cleaner (see Vehicle: Parts and consum-
ables for the repair) (04B, Consumables - Products),
-an aerosol spray brake cleaner (see Vehicle: Parts
and consumables for the repair) (04B, Consum-
ables - Products).
To use the injector cleaner, be sure to have a clean
brush in good condition (the brush must not lose any
bristles) as well as a clean container which has no im-
purities in it. WARNING
Do not clean the engine with a high pressure
cleaner to prevent damaging the connections.
Note:
There is no specific set of blanking plugs for S9U
and S9W engines. In order to comply with the
cleanliness recommendations, use plugs that are
compatible with the blanking plug sets for F9Q,
G9U, G9T or ZD3 engines.
Note:
Use a new injector cleaner each time work is car-
ried out (a used cleaning agent will contain impuri-
ties).