towing RENAULT TWINGO 2009 2.G Engine And Peripherals User Guide
[x] Cancel search | Manufacturer: RENAULT, Model Year: 2009, Model line: TWINGO, Model: RENAULT TWINGO 2009 2.GPages: 652
Page 37 of 652
10A-31
ENGINE AND CYLINDER BLOCK ASSEMBLY
Oil filter: Removal - Refitting
K4M
10A
REMOVAL
I - REMOVAL PREPARATION OPERATION
aPosition the vehicle on a two-post lift (see Vehicle:
Towing and lifting) (02A, Lifting equipment).
aDisconnect the battery (see Battery: Removal - Re-
fitting) (80A, Battery).
aRemove the engine undertray.
aPosition oil recovery tray under the engine.II - REMOVAL OPERATION
aRemove the oil filter using the (Mot. 1329) (1) .
REFITTING
I - REFITTING PREPARATION OPERATION
aUsing SURFACE CLEANER (see Vehicle: Parts
and consumables for the repair) (04B, Consum-
ables - Products), clean and degrease the cylinder
block joint faces.
aparts always to be replaced: Oil filter.
aLubricate the oil filter seal with new engine oil.
II - REFITTING OPERATION
aFit a new oil filter.
aTighten the oil filter until it makes contact.
aTighten the oil filter three-quarters of a turn using the
(Mot. 1329).
III - FINAL OPERATION
aRemove the oil recovery tray. Special tooling required
Mot. 1329Oil filter removing tool (76
mm diameter)
Equipment required
oil recovery tray
IMPORTANT
Wear leaktight gloves (Nitrile type) for this opera-
tion.
WARNING
Always check the oil level using the dipstick.
Do not exceed the maximum level on the dipstick
(could destroy the engine).
Correct the engine oil level if necessary before
deliver ing the vehicle to the customer.
Note:
When topping up the engine oil, always leave at
least 10 minutes before checking the level with a
dipstick.
When removing the oil filter, check that the oil filter
seal is not still stuck to the cylinder block or oil filter
mounting.
132364
WARNING
The joint faces must be clean, dr y and free from
grease (avoid finger marks).
Page 39 of 652
10A-33
ENGINE AND CYLINDER BLOCK ASSEMBLY
Oil-coolant heat exchanger: Removal - Refitting
K9K
10A
REMOVAL
I - REMOVAL PREPARATION OPERATION
aPosition the vehicle on a two-post lift (see Vehicle:
Towing and lifting) (MR 411, 02A, Lifting equip-
ment).
aRemove:
-the engine cover,
-the front wheels (see Wheel: Removal - Refitting)
(MR 411, 35A, Wheels and tyres),
-the front wheel arch liners (see Front wheel arch
liner: Removal - Refitting) (MR 412, 55A, Exterior
protection),
-the front bumper (see Front bumper: Removal -
Refitting) (MR 412, 55A, Exterior protection).
aDrain the cooling system (see 19A, Cooling, Cool-
ing system: Draining - Refilling, page 19A-9) .
aRemove the expansion bottle bolt.
aRemove the expansion bottle.
aUnclip the cooling hose on the lower section of the
engine cooling fan.II - OPERATION FOR REMOVAL OF PART
CONCERNED
aDisconnect:
-the cooling hose (1) using the (Mot. 1448),
-the oil pressure sensor connector (2) .
aRemove:
-the bolt (3) from the oil filter support,
-the oil filter holder.
aRemove:
-the oil cooler nipple,
-the oil-water heat exchanger. Special tooling required
Mot. 1448Remote operation pliers for
hose clips .
121432
Note:
Be prepared for engine oil and coolant to flow
out.
Page 41 of 652
10A-35
ENGINE AND CYLINDER BLOCK ASSEMBLY
Oil-coolant heat exchanger: Removal - Refitting
D4F, and 780 or 782
10A
REMOVAL
I - REMOVAL PREPARATION OPERATION
aPosition the vehicle on a two-post lift (see Vehicle:
Towing and lifting) (02A, Lifting equipment).
aRemove:
-the front right-hand wheel (see Wheel: Removal -
Refitting) (35A, Wheels and tyres),
-the front right-hand wheel arch liner (see Front
wheel arch liner: Removal - Refitting) (55A, Ex-
terior protection),
-the oil filter (see 10A, Engine and cylinder block
assembly, Oil filter: Removal - Refitting, page
10A-29) .II - OPERATION FOR REMOVAL OF PART
CONCERNED
aFit the tool (Ms. 583) onto the oil-coolant heat ex-
changer hoses (1) .
aRelease the clips (2) using the (Mot. 1448).
aConnect the oil-coolant heat exchanger hoses.
aRemove:
-the nipple (3) from the oil-coolant heat exchanger,
-the oil-water heat exchanger. Special tooling required
Ms. 583Pipe clamps .
Mot. 1448Remote operation pliers for
hose clips .
Tightening torquesm
oil-coolant heat
exchanger nipple30 N.m
IMPORTANT
Wear leaktight gloves (Nitrile type) for this opera-
tion.121726
121402
Page 43 of 652
10A-37
ENGINE AND CYLINDER BLOCK ASSEMBLY
Conrod bearing shell: Removal - Refitting
K9K
10A
REMOVAL
I - REMOVAL PREPARATION OPERATION
aPosition the vehicle on a two-post lift (see Vehicle:
Towing and lifting) (02A, Lifting equipment).
aRemove the engine undertray.
aDrain the oil from the engine (see 10A, Engine and
cylinder block assembly, Engine oil: Draining -
Refilling, page 10A-22) .
aRemove the oil filter (see 10A, Engine and cylinder
block assembly, Oil filter: Removal - Refitting,
page 10A-29) .
aRemove the lower engine tie-bar (see 19D, Engine
mounting, Lower engine tie-bar: Removal - Refit-
ting, page 19D-18) .
aStrap the radiator to the vehicle using safety
strap(s).
aRemove the front axle subframe (see Front axle
subframe: Removal - Refitting) (31A, Front axle
components).
aRemove the relay bearing of the front right-hand
wheel driveshaft. Special tooling required
Mot. 1914Tool for fitting G9 con rod
bear ing shells
Mot. 1920Tool for fitting F9 / K9 con rod
bear ing shells
Equipment required
safety strap(s)
component jack
indelible pencil
torque wrench
Diagnostic tool
Tightening torquesm
con rod cap bolts20 N.m + 45˚ ±± ± ±
6˚
oil pump bolts25 N.m
IMPORTANT
To avoid all risk of damage to the systems, apply
the safety and cleanliness instructions and opera-
tion recommendations before carrying out any
repair (see Vehicle: Precautions for the repair) .
IMPORTANT
Wear leaktight gloves (Nitrile type) for this opera-
tion.
123838
Page 51 of 652
10A-45
ENGINE AND CYLINDER BLOCK ASSEMBLY
Oil pressure sensor: Removal - Refitting
K9K
10A
REMOVAL
I - REMOVAL PREPARATION OPERATION
aPosition the vehicle on a two-post lift ( (see Vehicle:
Towing and lifting) ).
II - OPERATION FOR REMOVAL OF PART
CONCERNED
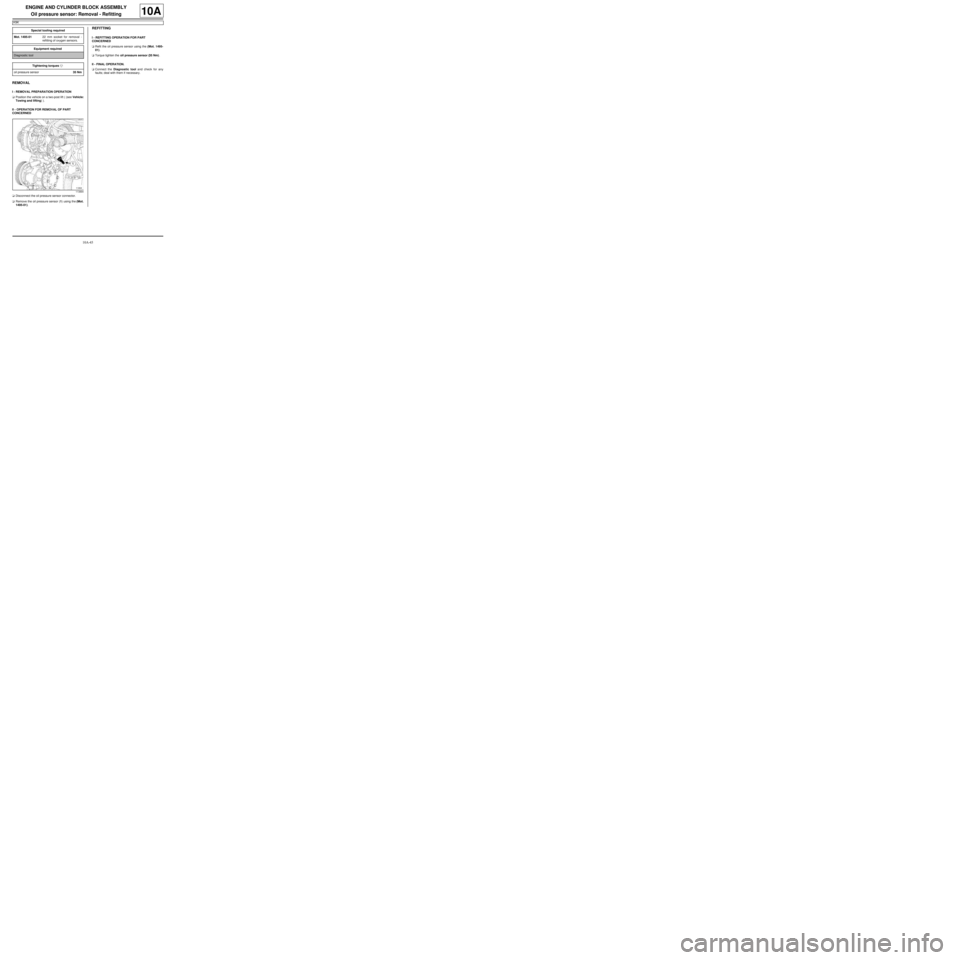
aDisconnect the oil pressure sensor connector.
aRemove the oil pressure sensor (1) using the (Mot.
1495-01).
REFITTING
I - REFITTING OPERATION FOR PART
CONCERNED
aRefit the oil pressure sensor using the (Mot. 1495-
01).
aTorque tighten the oil pressure sensor (35 Nm).
II - FINAL OPERATION.
aConnect the Diagnostic tool and check for any
faults; deal with them if necessary. Special tooling required
Mot. 1495-0122 mm socket for removal -
refitting of oxygen sensors.
Equipment required
Diagnostic tool
Tightening torquesm
oil pressure sensor35 Nm
113894
Page 52 of 652
10A-46
ENGINE AND CYLINDER BLOCK ASSEMBLY
Oil pressure sensor: Removal - Refitting
D4F, and 772 – D7F
10A
REMOVAL
I - REMOVAL PREPARATION OPERATION
aPosition the vehicle on a two-post lift (see Vehicle:
Towing and lifting) (02A, Lifting equipment).
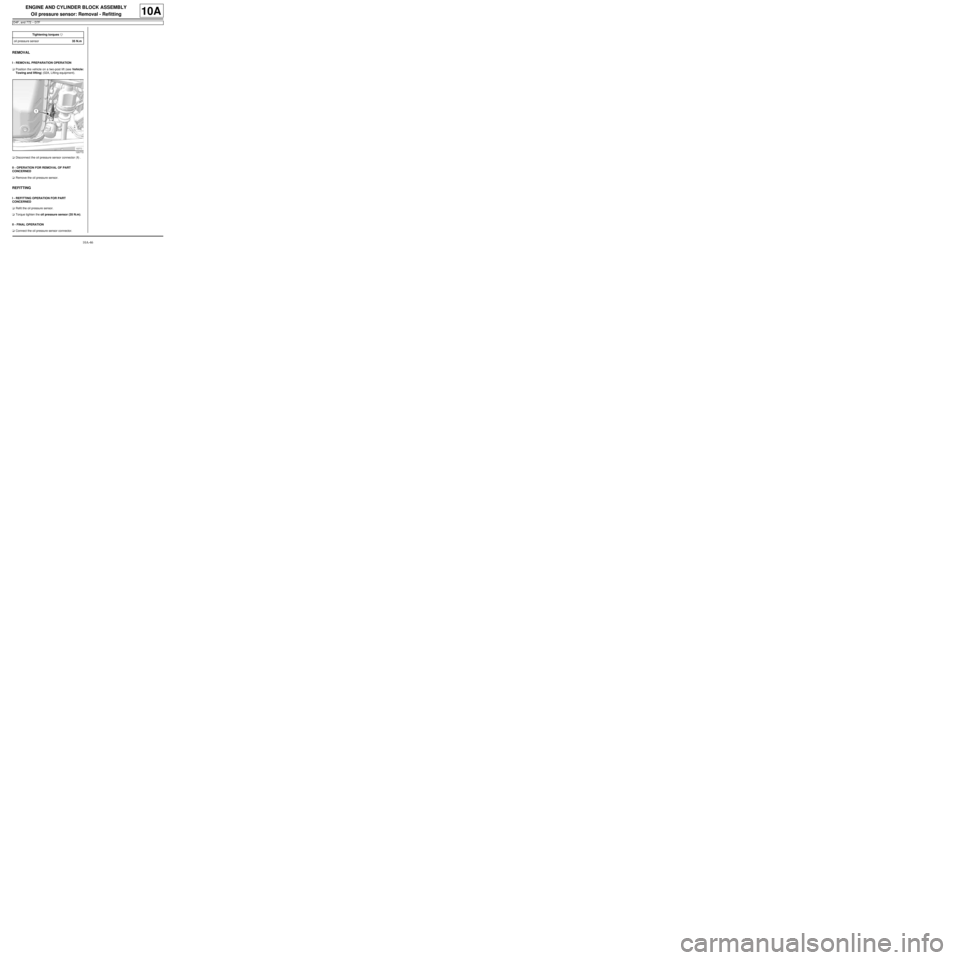
aDisconnect the oil pressure sensor connector (1) .
II - OPERATION FOR REMOVAL OF PART
CONCERNED
aRemove the oil pressure sensor.
REFITTING
I - REFITTING OPERATION FOR PART
CONCERNED
aRefit the oil pressure sensor.
aTorque tighten the oil pressure sensor (35 N.m).
II - FINAL OPERATION
aConnect the oil pressure sensor connector.Tightening torquesm
oil pressure sensor35 N.m
120772
Page 53 of 652
10A-47
ENGINE AND CYLINDER BLOCK ASSEMBLY
Oil pressure sensor: Removal - Refitting
D4F, and 780 or 782
10A
REMOVAL
I - REMOVAL PREPARATION OPERATION
aPosition the vehicle on a two-post lift (see Vehicle:
Towing and lifting) (02A, Lifting equipment).
aRemove the air filter unit (see 12A, Fuel mixture,
Air filter unit: Removal - Refitting, page 12A-13) .
aUnclip the upstream oxygen sensor wiring harness
from the turbocharger heat shield.
II - OPERATION FOR REMOVAL OF PART
CONCERNED
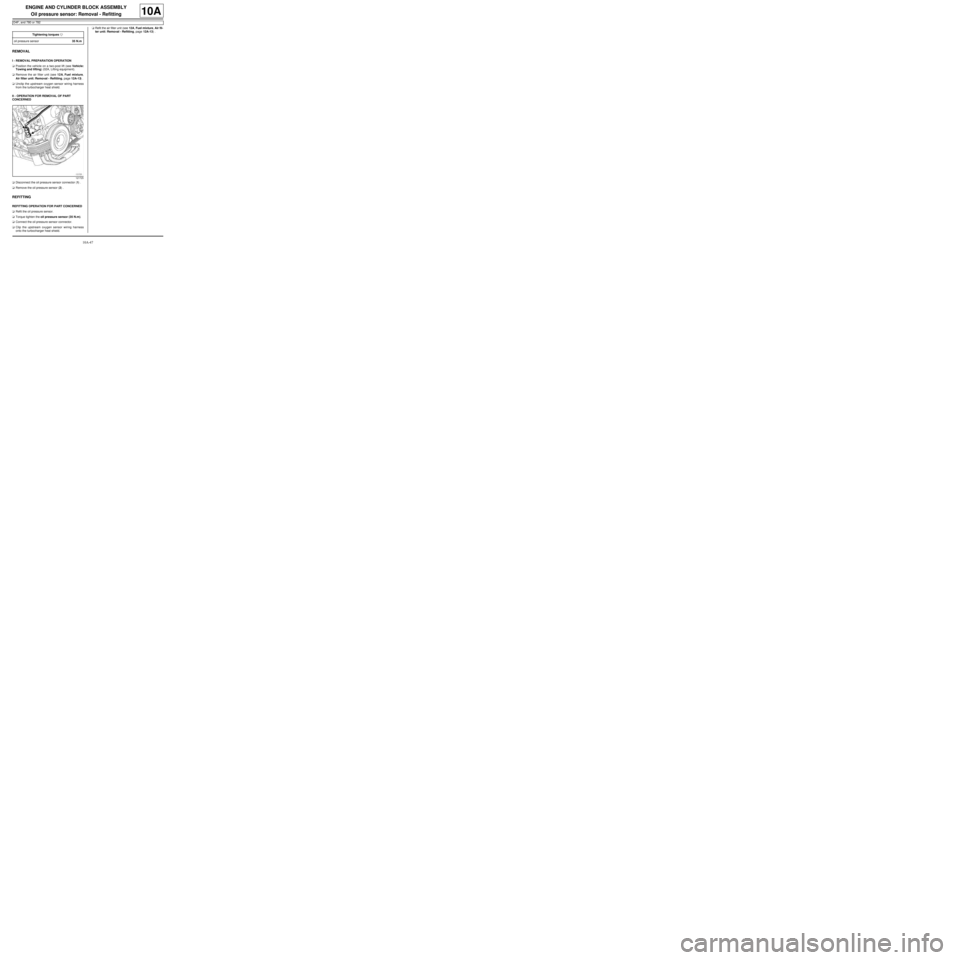
aDisconnect the oil pressure sensor connector (1) .
aRemove the oil pressure sensor (2) .
REFITTING
REFITTING OPERATION FOR PART CONCERNED
aRefit the oil pressure sensor.
aTorque tighten the oil pressure sensor (35 N.m).
aConnect the oil pressure sensor connector.
aClip the upstream oxygen sensor wiring harness
onto the turbocharger heat shield.aRefit the air filter unit (see 12A, Fuel mixture, Air fil-
ter unit: Removal - Refitting, page 12A-13) .
Tightening torquesm
oil pressure sensor35 N.m
121725
Page 56 of 652
10A-50
ENGINE AND CYLINDER BLOCK ASSEMBLY
Oil pump: Removal - Refitting
K9K
10A
REMOVAL
I - OPERATION FOR REMOVAL OF PART
CONCERNED
aPosition the vehicle on a two-post lift ( (see Vehicle:
Towing and lifting) ).
aDisconnect the battery ( (see Battery: Removal -
Refitting) ).
aRemove the sump (see 10A, Engine and cylinder
block assembly, Lower cover: Removal - Refit-
ting, page 10A-6) .
II - OPERATION FOR REMOVAL OF PART
CONCERNED
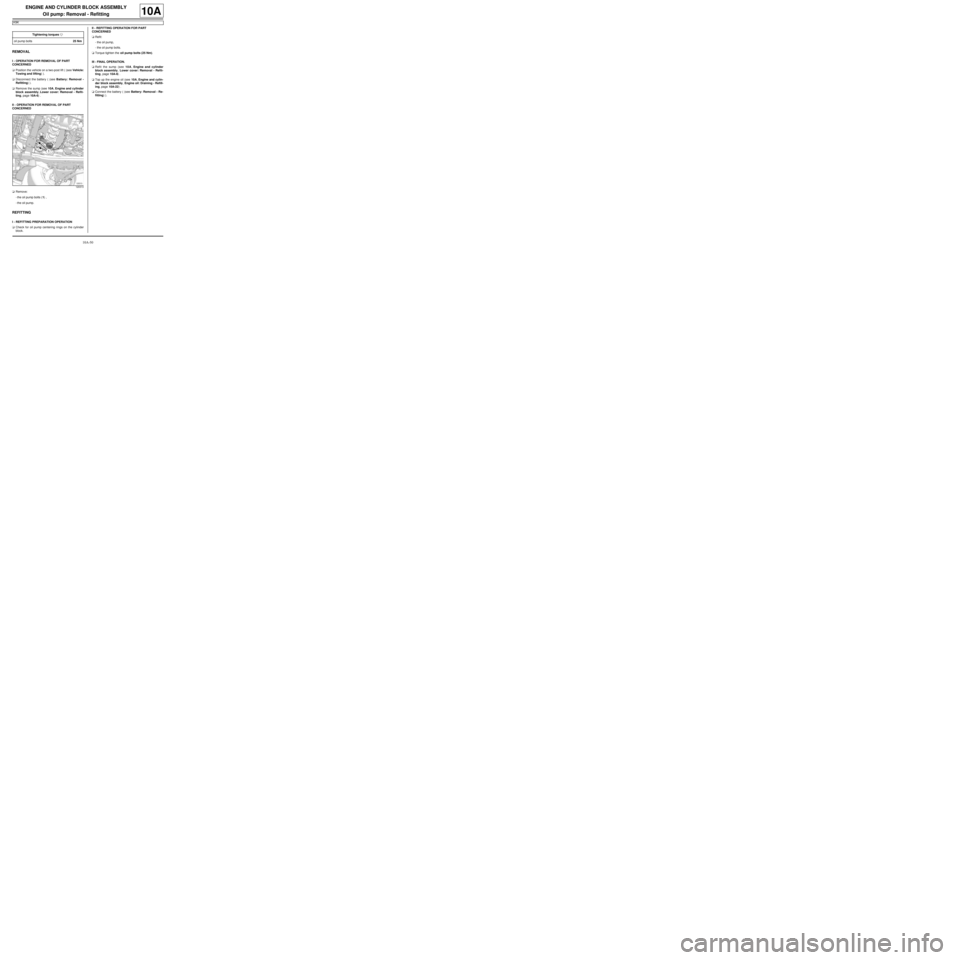
aRemove:
-the oil pump bolts (1) ,
-the oil pump.
REFITTING
I - REFITTING PREPARATION OPERATION
aCheck for oil pump centering rings on the cylinder
block.II - REFITTING OPERATION FOR PART
CONCERNED
aRefit:
-the oil pump,
-the oil pump bolts.
aTorque tighten the oil pump bolts (25 Nm).
III - FINAL OPERATION.
aRefit the sump (see 10A, Engine and cylinder
block assembly, Lower cover: Removal - Refit-
ting, page 10A-6) .
aTop up the engine oil (see 10A, Engine and cylin-
der block assembly, Engine oil: Draining - Refill-
ing, page 10A-22) .
aConnect the battery ( (see Battery: Removal - Re-
fitting) ). Tightening torquesm
oil pump bolts25 Nm
120313
Page 57 of 652
10A-51
ENGINE AND CYLINDER BLOCK ASSEMBLY
Oil pump: Removal - Refitting
D4F or D7F
10A
REMOVAL
I - REMOVAL PREPARATION OPERATION
aPosition the vehicle on a two-post lift (see Vehicle:
Towing and lifting) (02A, Lifting equipment).
aDrain the engine oil (see 10A, Engine and cylinder
block assembly, Engine oil: Draining - Refilling,
page 10A-22) .
aRemove:
-the oil filter (see 10A, Engine and cylinder block
assembly, Oil filter: Removal - Refitting, page
10A-29) ,
-the dipstick,
-the front wheels (see Wheel: Removal - Refitting)
(35A, Wheels and tyres),
-the front wheel arch liners (see Front wheel arch
liner: Removal - Refitting) (55A, Exterior protec-
tion),
-the accessories belt (see 11A, Top and front of
engine, Accessories belt: Removal - Refitting,
page 11A-3) ,
-the engine tie-bar (see 19D, Engine mounting,
Lower engine tie-bar: Removal - Refitting, page
19D-18) ,
-the right-hand suspended engine mounting (see
19D, Engine mounting, Right-hand suspended
engine mounting: Removal - Refitting, page
19D-13) ,-the crankshaft accessories pulley (see 11A, Top
and front of engine, Crankshaft accessories
pulley: Removal - Refitting, page 11A-20) ,
-the timing belt (see 11A, Top and front of engine,
Timing belt: Removal - Refitting, page 11A-27) .
aRefit:
-the upper timing cover,
-the upper timing cover bolts (1) ,
-the right-hand suspended engine mounting (see
19D, Engine mounting, Right-hand suspended
engine mounting: Removal - Refitting, page
19D-13) .
aRemove the lower engine support tool (Mot. 1379).
aRemove the sump (see 10A, Engine and cylinder
block assembly, Lower cover: Removal - Refit-
ting, page 10A-6) . Special tooling required
Mot. 1379Engine suppor t tool for cylin-
der head oper ations.
Ms. 583Pipe clamps .
Mot. 1448Remote operation pliers for
hose clips .
Mot. 1374Oil pump seal e xtractor.
Mot. 1626Tool for fitting the PTFE
cr ankshaft seal, timing end.
Tightening torquesm
oil pump bolts10 N.m
109740
Page 63 of 652
10A-57
ENGINE AND CYLINDER BLOCK ASSEMBLY
Oil pump: Removal - Refitting
K4M
10A
REMOVAL
I - REMOVAL PREPARATION OPERATION
aPosition the vehicle on a two-post lift (see Vehicle:
Towing and lifting) (02A, Lifting equipment).
aRemove:
-the front wheels (see Wheel: Removal - Refitting)
(35A, Wheels and tyres),
-the engine undertray.
aDrain the engine oil (see 10A, Engine and cylinder
block assembly, Engine oil: Draining - Refilling,
page 10A-22) .
aRemove:
-the front wheel arch liners (see Front wheel arch
liner: Removal - Refitting) (55A, Exterior protec-
tion),
-the front bumper (see Front bumper: Removal -
Refitting) (55A, Exterior protection),
-the rear engine tie-bar (see 19D, Engine mount-
ing, Lower engine tie-bar: Removal - Refitting,
page 19D-18) ,
-the front axle subframe (see Front axle subframe:
Removal - Refitting) (31A, Front axle compo-
nents).
aRemove the sump (see 10A, Engine and cylinder
block assembly, Lower cover: Removal - Refit-
ting, page 10A-6) .II - REMOVAL OPERATION
aRemove:
-the oil pump bolts (1) ,
-the oil pump.
REFITTING
I - REFITTING OPERATION
aPosition the oil pump pinion on the chain.
aRefit the oil pump.
aTorque tighten the oil pump bolts (25 N.m).
II - FINAL OPERATION
aRefit the sump (see 10A, Engine and cylinder
block assembly, Lower cover: Removal - Refit-
ting, page 10A-6) .
aRefit:
-the front axle subframe (see Front axle subframe:
Removal - Refitting) (31A, Front axle compo-
nents),
-the rear engine tie-bar (see 19D, Engine mount-
ing, Lower engine tie-bar: Removal - Refitting,
page 19D-18) ,
-the front bumper (see Front bumper: Removal -
Refitting) (55A, Exterior protection),
-the front wheel arch liners (see Front wheel arch
liner: Removal - Refitting) (55A, Exterior protec-
tion), Tightening torquesm
oil pump bolts25 N.m
128799