engine RENAULT TWINGO 2009 2.G Engine And Peripherals Workshop Manual
[x] Cancel search | Manufacturer: RENAULT, Model Year: 2009, Model line: TWINGO, Model: RENAULT TWINGO 2009 2.GPages: 652
Page 202 of 652
11A-85
TOP AND FRONT OF ENGINE
Camshaft: Removal - Refitting
D4F, and 772
11A
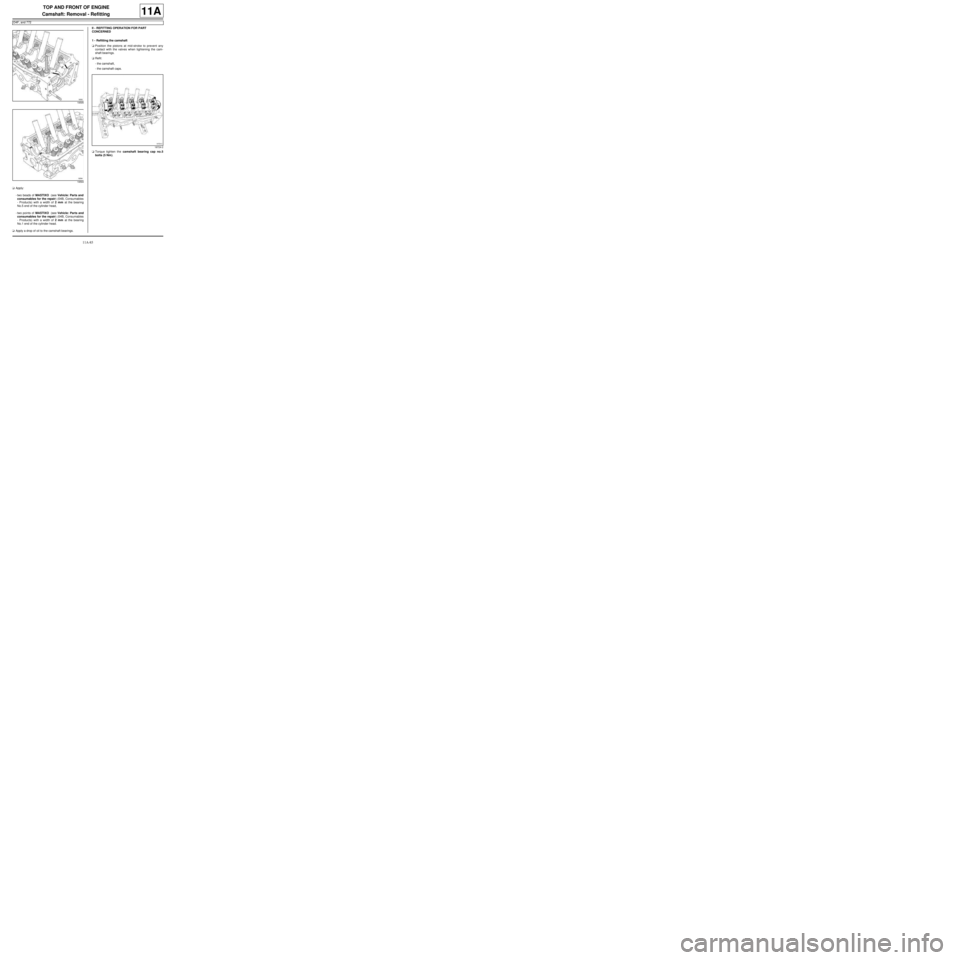
aApply:
-two beads of MASTIXO (see Vehicle: Parts and
consumables for the repair) (04B, Consumables
- Products) with a width of 2 mm at the bearing
No.5 end of the cylinder head,
-two points of MASTIXO (see Vehicle: Parts and
consumables for the repair) (04B, Consumables
- Products) with a width of 2 mm at the bearing
No.1 end of the cylinder head.
aApply a drop of oil to the camshaft bearings.II - REFITTING OPERATION FOR PART
CONCERNED
1 - Refitting the camshaft
aPosition the pistons at mid-stroke to prevent any
contact with the valves when tightening the cam-
shaft bearings.
aRefit:
-the camshaft,
-the camshaft caps.
aTorque tighten the camshaft bearing cap no.5
bolts (5 Nm ).
19595
19594
18724-2
Page 203 of 652
11A-86
TOP AND FRONT OF ENGINE
Camshaft: Removal - Refitting
D4F, and 772
11A
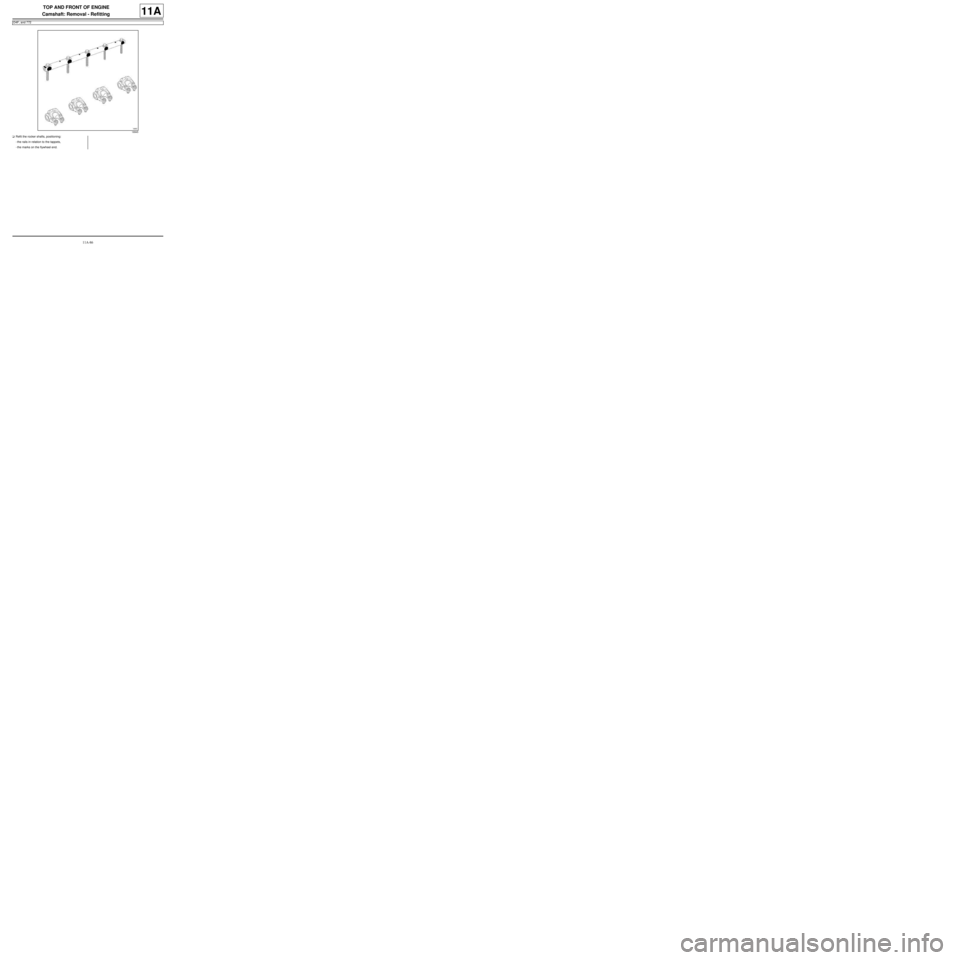
aRefit the rocker shafts, positioning:
-the rails in relation to the tappets,
-the marks on the flywheel end.
18945
Page 204 of 652
11A-87
TOP AND FRONT OF ENGINE
Camshaft: Removal - Refitting
D4F, and 772
11A
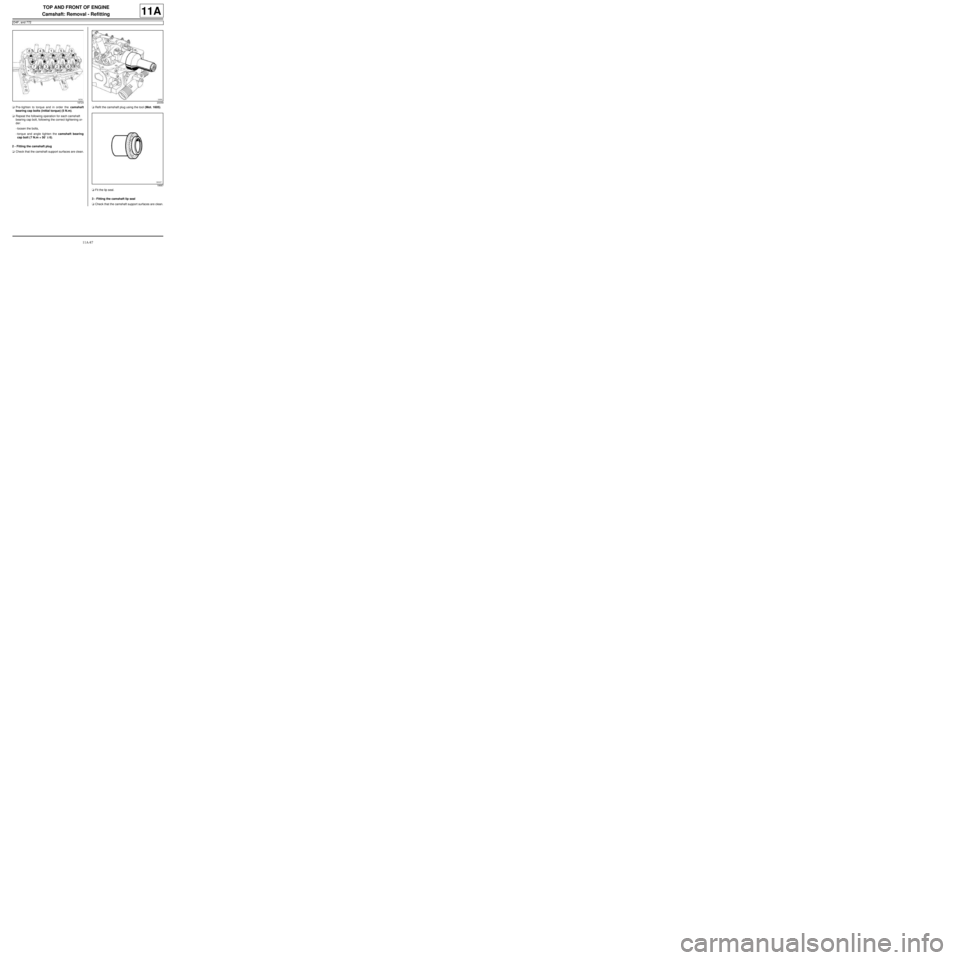
aPre-tighten to torque and in order the camshaft
bearing cap bolts (initial torque) (5 N.m).
aRepeat the following operation for each camshaft
bearing cap bolt, following the correct tightening or-
der:
-loosen the bolts,
-torque and angle tighten the camshaft bearing
cap bolt ( 7 N.m + 50˚ ±± ± ±
6).
2 - Fitting the camshaft plug
aCheck that the camshaft support surfaces are clean.aRefit the camshaft plug using the tool (Mot. 1605).
aFit the lip seal.
3 - Fitting the camshaft lip seal
aCheck that the camshaft support surfaces are clean.
1872420058
18687
Page 205 of 652
11A-88
TOP AND FRONT OF ENGINE
Camshaft: Removal - Refitting
D4F, and 772
11A
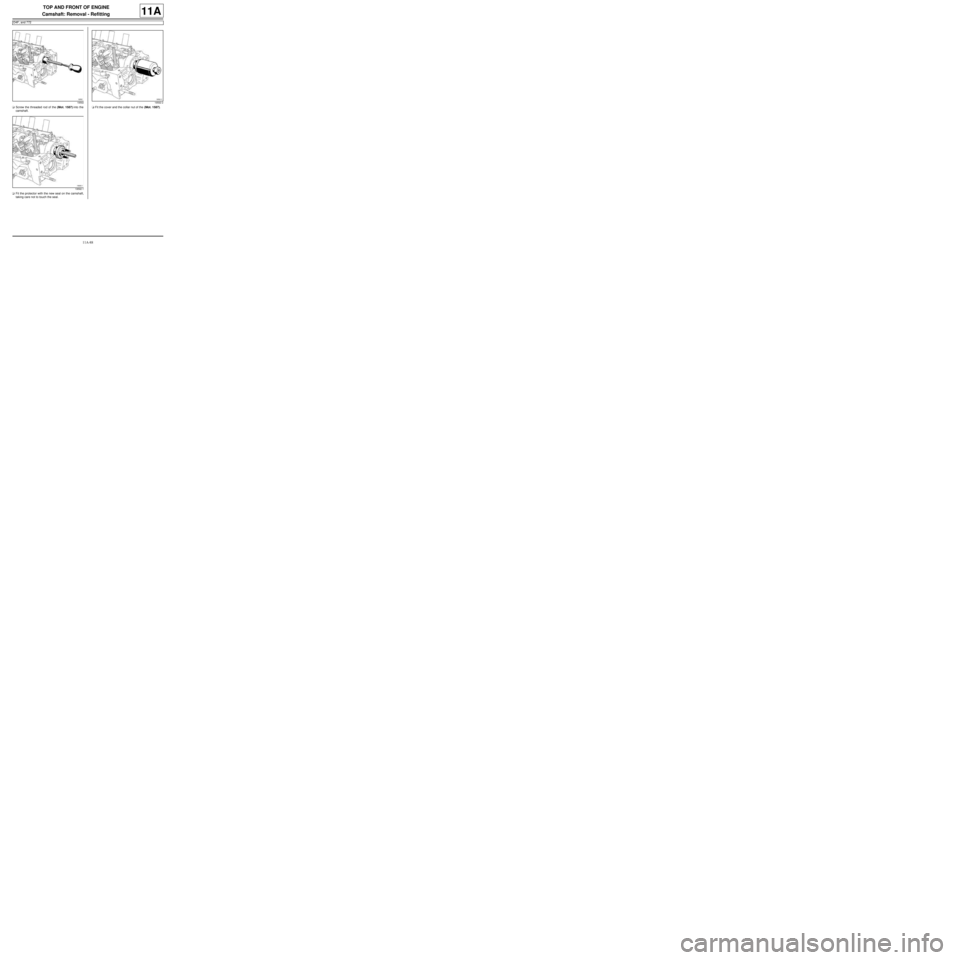
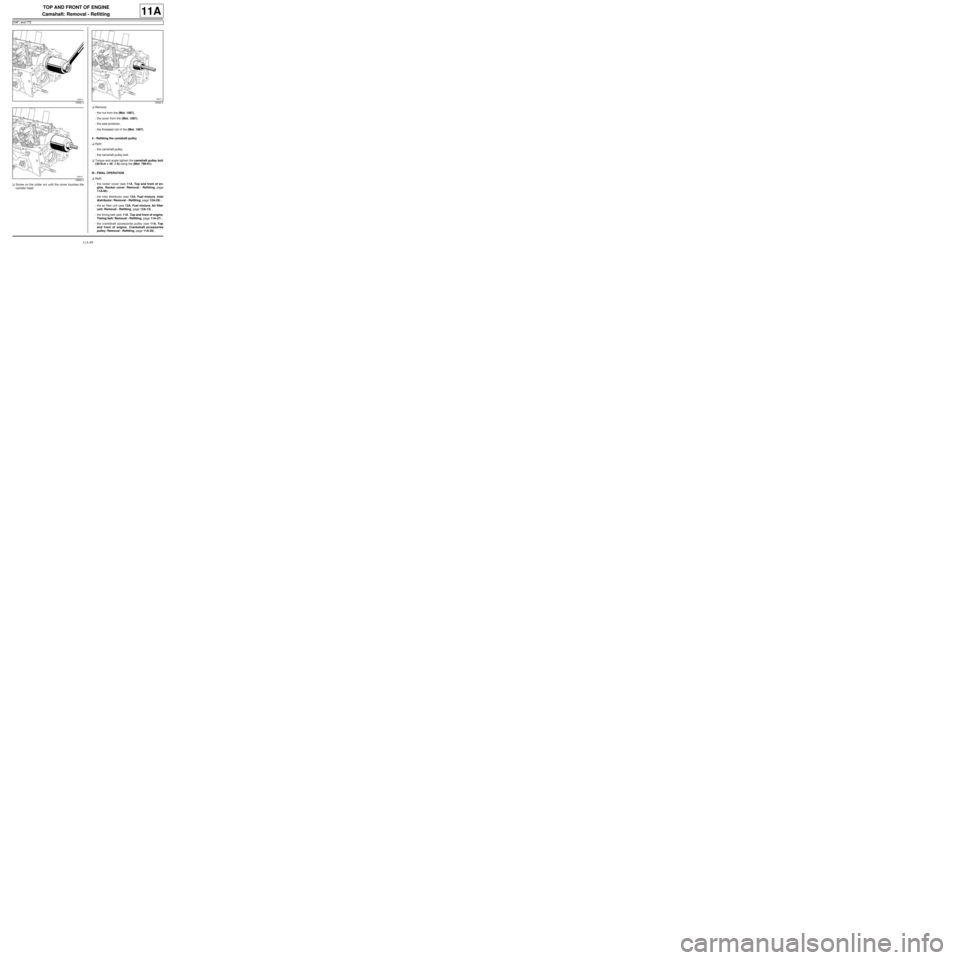
aScrew the threaded rod of the (Mot. 1587) into the
camshaft.
aFit the protector with the new seal on the camshaft,
taking care not to touch the seal.aFit the cover and the collar nut of the (Mot. 1587).
19592
19592-119592-2
Page 206 of 652
11A-89
TOP AND FRONT OF ENGINE
Camshaft: Removal - Refitting
D4F, and 772
11A
aScrew on the collar nut until the cover touches the
cylinder head.aRemove:
-the nut from the (Mot. 1587),
-the cover from the (Mot. 1587),
-the seal protector,
-the threaded rod of the (Mot. 1587).
4 - Refitting the camshaft pulley
aRefit:
-the camshaft pulley,
-the camshaft pulley bolt.
aTorque and angle tighten the camshaft pulley bolt
(30 N.m + 45˚ ±± ± ±
6) using the (Mot. 799-01).
III - FINAL OPERATION
aRefit:
-the rocker cover (see 11A, Top and front of en-
gine, Rocker cover: Removal - Refitting, page
11A-66) ,
-the inlet distributor (see 12A, Fuel mixture, Inlet
distributor: Removal - Refitting, page 12A-29) ,
-the air filter unit (see 12A, Fuel mixture, Air filter
unit: Removal - Refitting, page 12A-13) ,
-the timing belt (see 11A, Top and front of engine,
Timing belt: Removal - Refitting, page 11A-27) ,
-the crankshaft accessories pulley (see 11A, Top
and front of engine, Crankshaft accessories
pulley: Removal - Refitting, page 11A-20) ,
19592-3
19592-419592-5
Page 207 of 652
11A-90
TOP AND FRONT OF ENGINE
Camshaft: Removal - Refitting
D4F, and 772
11A
-the accessories belt (see 11A, Top and front of
engine, Accessories belt: Removal - Refitting,
page 11A-3) ,
-the front right-hand wheel (see Wheel: Removal -
Refitting) (35A, Wheels and tyres),
-the scoop under the scuttle panel grille (see Scoop
under the scuttle panel grille: Removal - Refit-
ting) (56A, Exterior equipment),
-the scuttle panel grille (see Scuttle panel grille:
Removal - Refitting) (56A, Exterior equipment).
aConnect the battery (see Battery: Removal - Refit-
ting) (80A, Battery).
Page 208 of 652
11A-91
TOP AND FRONT OF ENGINE
Camshaft: Removal - Refitting
D4F, and 780 or 782
11A
REMOVAL
I - REMOVAL PREPARATION OPERATION
aPosition the vehicle on a two-post lift (see Vehicle:
Towing and lifting) (02A, Lifting equipment).
aDisconnect the battery (see Battery: Removal - Re-
fitting) (80A, Battery).
aRemove:
-the front right-hand wheel (see Wheel: Removal -
Refitting) (35A, Wheels and tyres),
-the front right-hand wheel arch liner (see Front
wheel arch liner: Removal - Refitting) (55A, Ex-
terior protection),
-the air filter unit (see 12A, Fuel mixture, Air filter
unit: Removal - Refitting, page 12A-13) ,
-the ignition coil (see 17A, Ignition, Coils: Remov-
al - Refitting, page 17A-1) ,
-the accessories belt (see 11A, Top and front of
engine, Accessories belt: Removal - Refitting,
page 11A-3) ,
-the right-hand suspended engine mounting (see
19D, Engine mounting, Right-hand suspended
engine mounting: Removal - Refitting, page
19D-13) ,
-the timing belt (see 11A, Top and front of engine,
Timing belt: Removal - Refitting, page 11A-27) ,-the rocker cover (see 11A, Top and front of en-
gine, Rocker cover: Removal - Refitting, page
11A-66) .
aRemove:
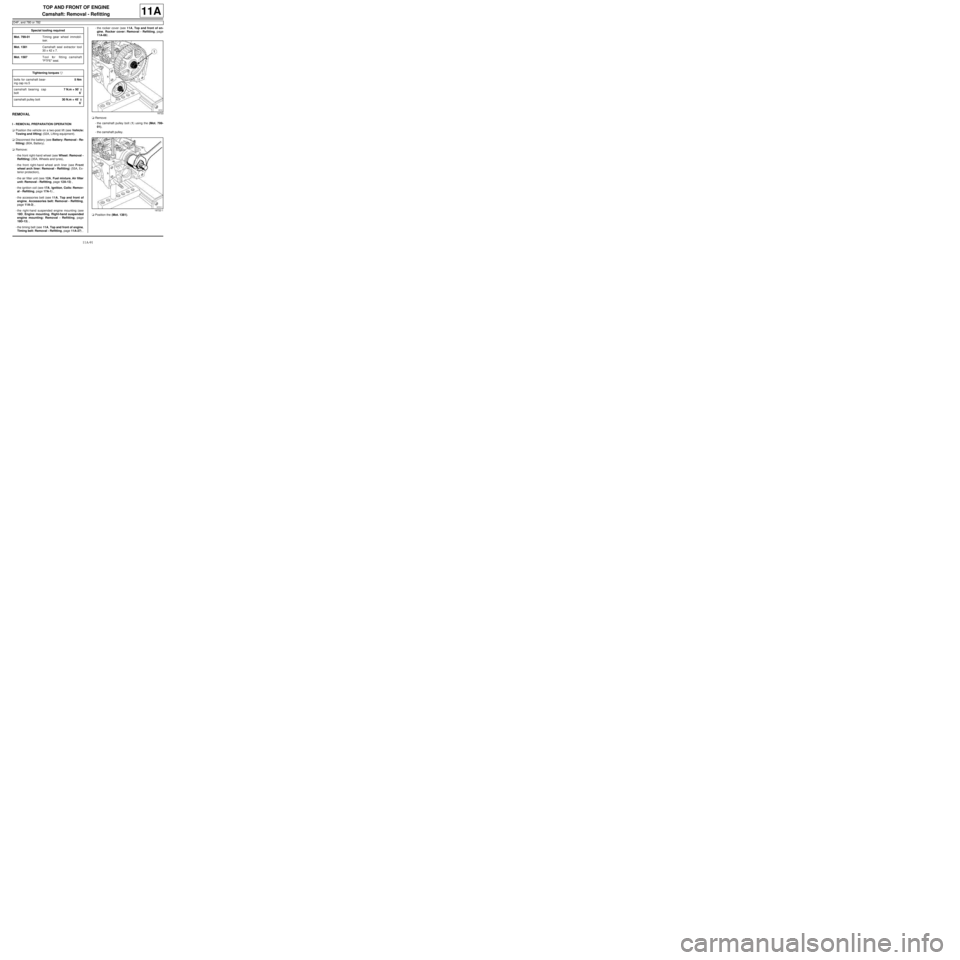
-the camshaft pulley bolt (1) using the (Mot. 799-
01),
-the camshaft pulley.
aPosition the (Mot. 1381). Special tooling required
Mot. 799-01Timing gear wheel immobil-
iser.
Mot. 1381Camshaft seal extractor tool
30 x 42 x 7.
Mot. 1587Tool for fitting camshaft
"PTFE" seal.
Tightening torquesm
bolts for camshaft bear-
ing cap no.55 Nm
camshaft bearing cap
bolt7 N.m + 50˚ ±± ± ±
6˚
camshaft pulley bolt30 N.m + 45˚ ±± ± ±
6˚
18722
18722-1
Page 209 of 652
11A-92
TOP AND FRONT OF ENGINE
Camshaft: Removal - Refitting
D4F, and 780 or 782
11A
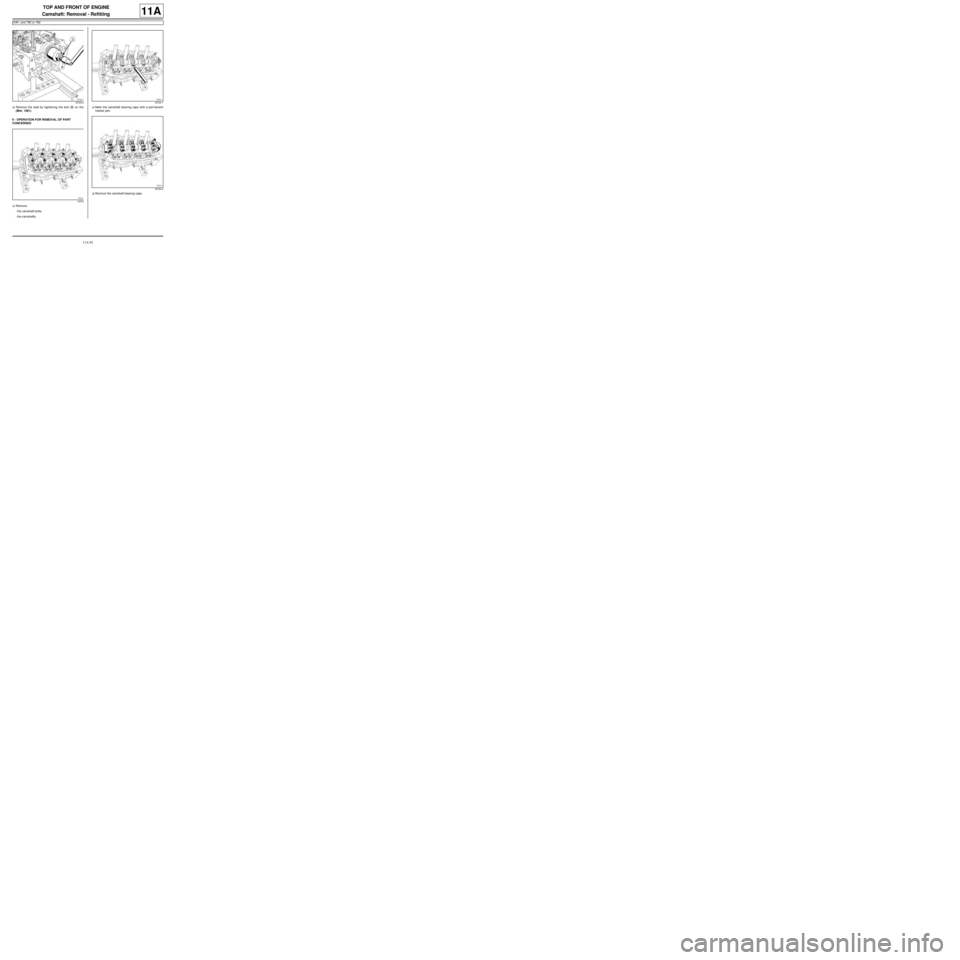
aRemove the seal by tightening the bolt (2) on the
(Mot. 1381).
II - OPERATION FOR REMOVAL OF PART
CONCERNED
aRemove:
-the camshaft bolts,
-the camshafts.aMark the camshaft bearing caps with a permanent
marker pen.
aRemove the camshaft bearing caps.
18722-2
1872418724-1
18724-2
Page 210 of 652
11A-93
TOP AND FRONT OF ENGINE
Camshaft: Removal - Refitting
D4F, and 780 or 782
11A
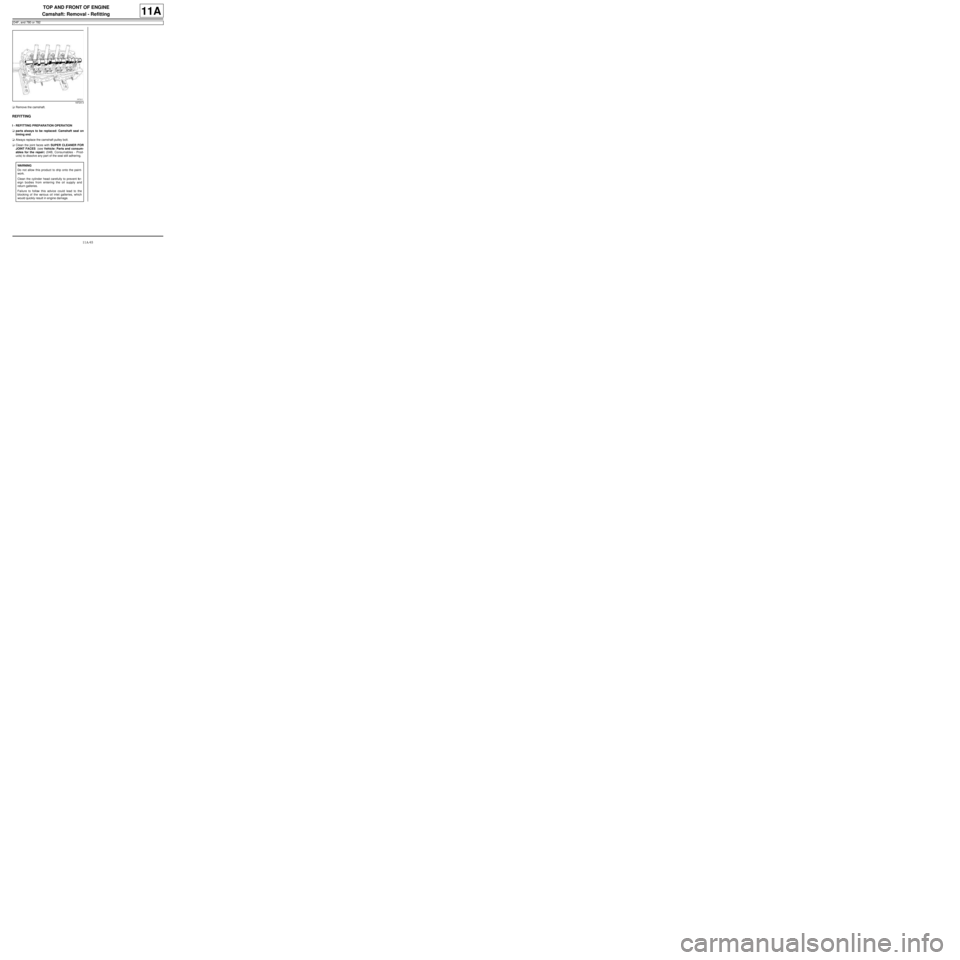
aRemove the camshaft.
REFITTING
I - REFITTING PREPARATION OPERATION
aparts always to be replaced: Camshaft seal on
timing end.
aAlways replace the camshaft pulley bolt.
aClean the joint faces with SUPER CLEANER FOR
JOINT FACES (see Vehicle: Parts and consum-
ables for the repair) (04B, Consumables - Prod-
ucts) to dissolve any part of the seal still adhering.
18724-3
WARNING
Do not allow this product to drip onto the paint-
work.
Clean the cylinder head carefully to prevent for-
eign bodies from entering the oil supply and
return galleries.
Failure to follow this advice could lead to the
blocking of the various oil inlet galleries, which
would quickly result in engine damage.
Page 211 of 652
11A-94
TOP AND FRONT OF ENGINE
Camshaft: Removal - Refitting
D4F, and 780 or 782
11A
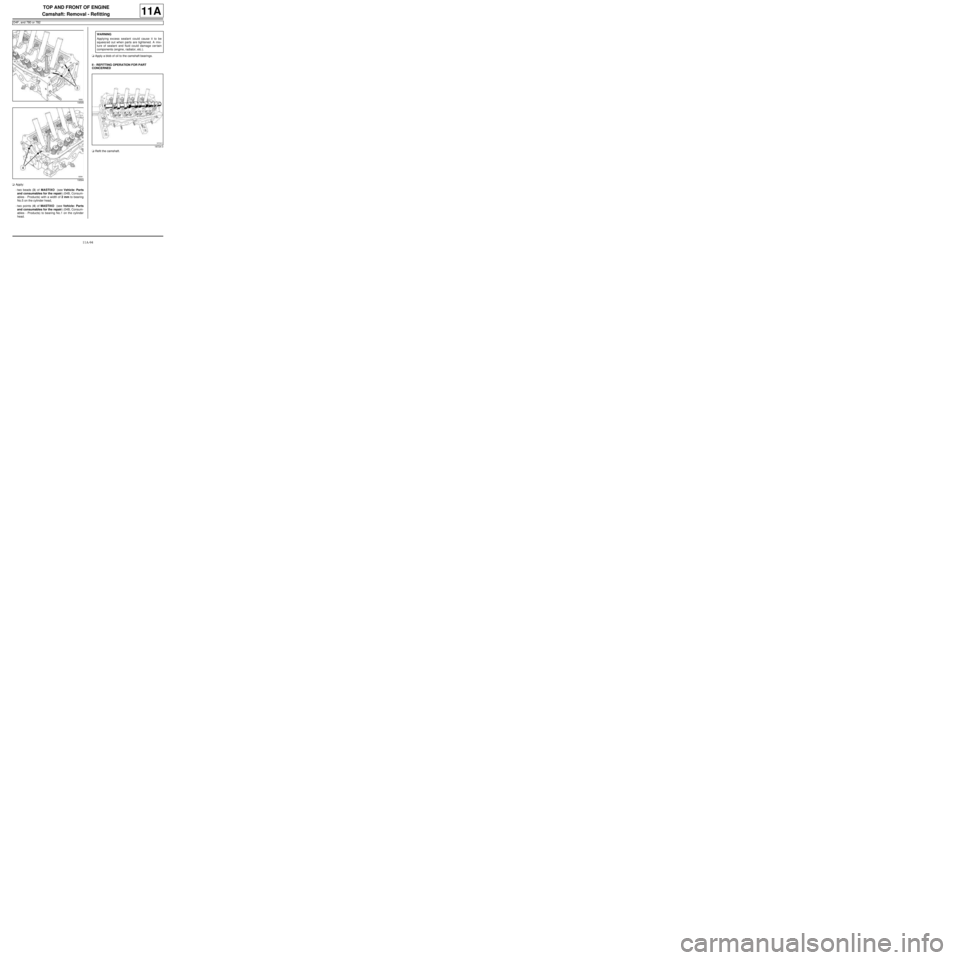
aApply:
-two beads (3) of MASTIXO (see Vehicle: Parts
and consumables for the repair) (04B, Consum-
ables - Products) with a width of 2 mm to bearing
No.5 on the cylinder head,
-two points (4) of MASTIXO (see Vehicle: Parts
and consumables for the repair) (04B, Consum-
ables - Products) to bearing No.1 on the cylinder
head.aApply a blob of oil to the camshaft bearings.
II - REFITTING OPERATION FOR PART
CONCERNED
aRefit the camshaft.
19595
19594
WARNING
Applying excess sealant could cause it to be
squeezed out when parts are tightened. A mix-
ture of sealant and fluid could damage certain
components (engine, radiator, etc.).
18724-3