RENAULT TWINGO 2009 2.G Engine And Peripherals Workshop Manual
TWINGO 2009 2.G
RENAULT
RENAULT
https://www.carmanualsonline.info/img/7/1710/w960_1710-0.png
RENAULT TWINGO 2009 2.G Engine And Peripherals Workshop Manual
Trending: battery replacement, air condition, check engine, torque, tyre pressure, sump, low oil pressure
Page 451 of 652
16A-12
STARTING - CHARGING
Starter: Removal - Refitting
D4F or D7F
16A
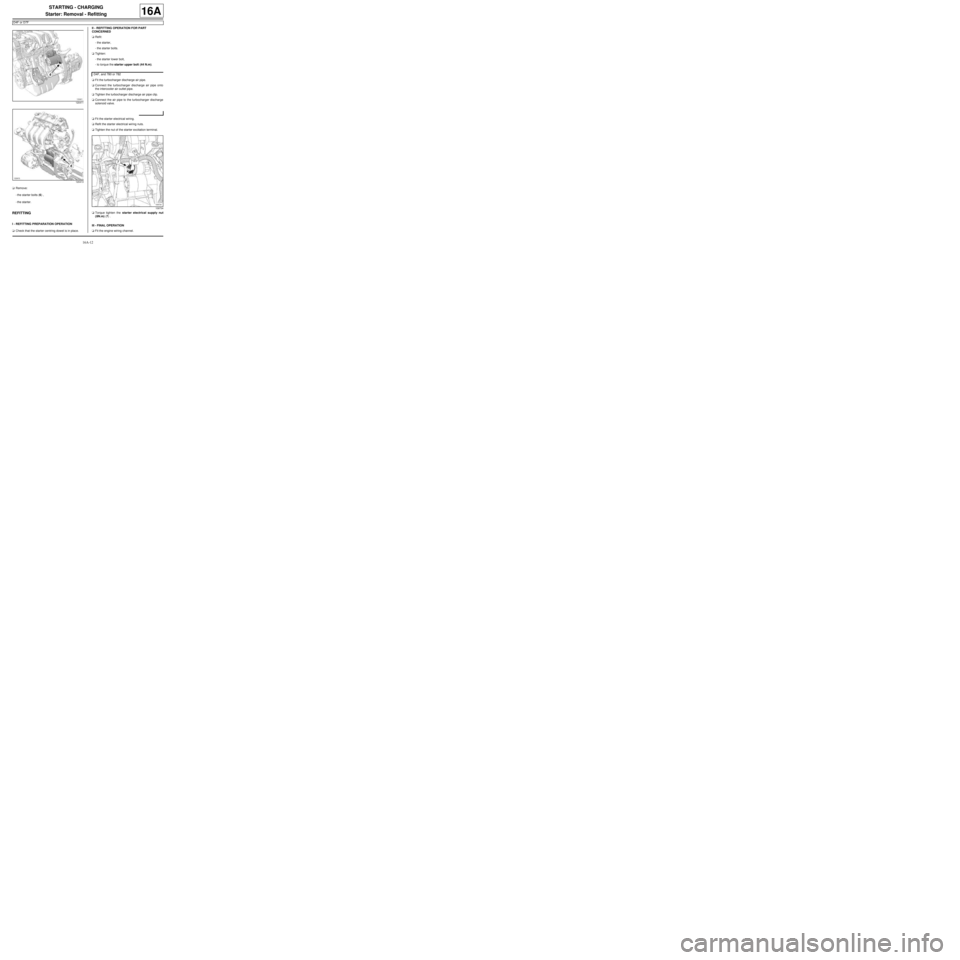
aRemove:
-the starter bolts (6) ,
-the starter.
REFITTING
I - REFITTING PREPARATION OPERATION
aCheck that the starter centring dowel is in place.II - REFITTING OPERATION FOR PART
CONCERNED
aRefit:
-the starter,
-the starter bolts.
aTighten:
-the starter lower bolt,
-to torque the starter upper bolt (44 N.m).
aFit the turbocharger discharge air pipe.
aConnect the turbocharger discharge air pipe onto
the intercooler air outlet pipe.
aTighten the turbocharger discharge air pipe clip.
aConnect the air pipe to the turbocharger discharge
solenoid valve.
aFit the starter electrical wiring.
aRefit the starter electrical wiring nuts.
aTighten the nut of the starter excitation terminal.
aTorque tighten the starter electrical supply nut
(8N.m) (7) .
III - FINAL OPERATION
aFit the engine wiring channel.
120411
120413
D4F, and 780 or 782
109734
Page 452 of 652
16A-13
STARTING - CHARGING
Starter: Removal - Refitting
D4F or D7F
16A
aClip the engine wiring channel onto the gearbox.
aRefit the engine wiring channel bolt to the gearbox.
aTighten the engine wiring channel bolt on the gear-
box.
aConnect the pinking sensor connector.
aFit the air filter unit air inlet pipe on the air filter unit
cover.
aConnect the air filter unit air inlet pipe on the air filter
unit cover.
aRefit the air filter unit (see 12A, Fuel mixture, Air fil-
ter unit: Removal - Refitting, page 12A-13) .
aRefit the engine oil dipstick.
aConnect the battery (see ) (80A, Battery). D4F, and 780 or 782
D4F, and 772
Page 453 of 652
16A-14
STARTING - CHARGING
Starter: Removal - Refitting
K9K
16A
REMOVAL
I - REMOVAL PREPARATION OPERATION
aDisconnect the battery (see ) (MR 411, 80A, Bat-
tery).
aRemove the front engine cover.
II - OPERATION FOR REMOVAL OF PART
CONCERNED
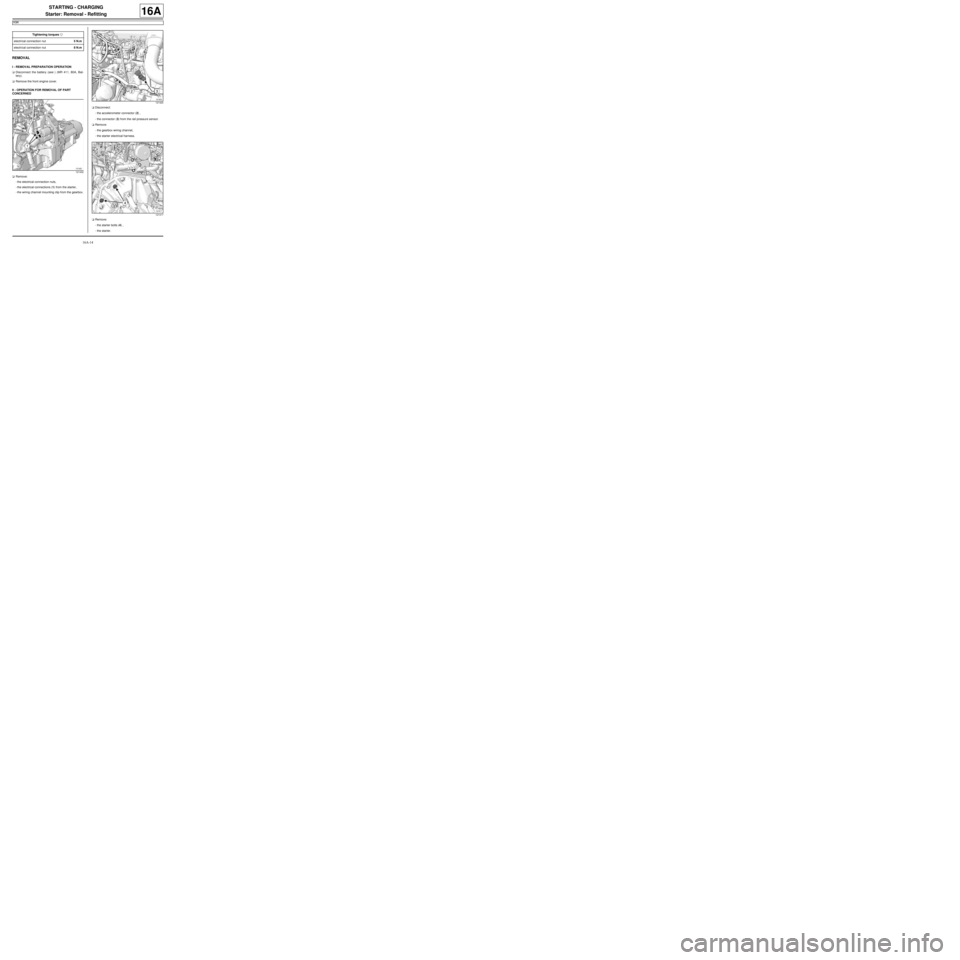
aRemove:
-the electrical connection nuts,
-the electrical connections (1) from the starter,
-the wiring channel mounting clip from the gearbox.aDisconnect:
-the accelerometer connector (2) ,
-the connector (3) from the rail pressure sensor.
aRemove:
-the gearbox wiring channel,
-the starter electrical harness.
aRemove:
-the starter bolts (4) ,
-the starter. Tightening torquesm
electr ical connection nut5 N.m
electr ical connection nut8 N.m
121432
121420
121417
Page 454 of 652
16A-15
STARTING - CHARGING
Starter: Removal - Refitting
K9K
16A
REFITTING
I - REFITTING OPERATION FOR PART
CONCERNED
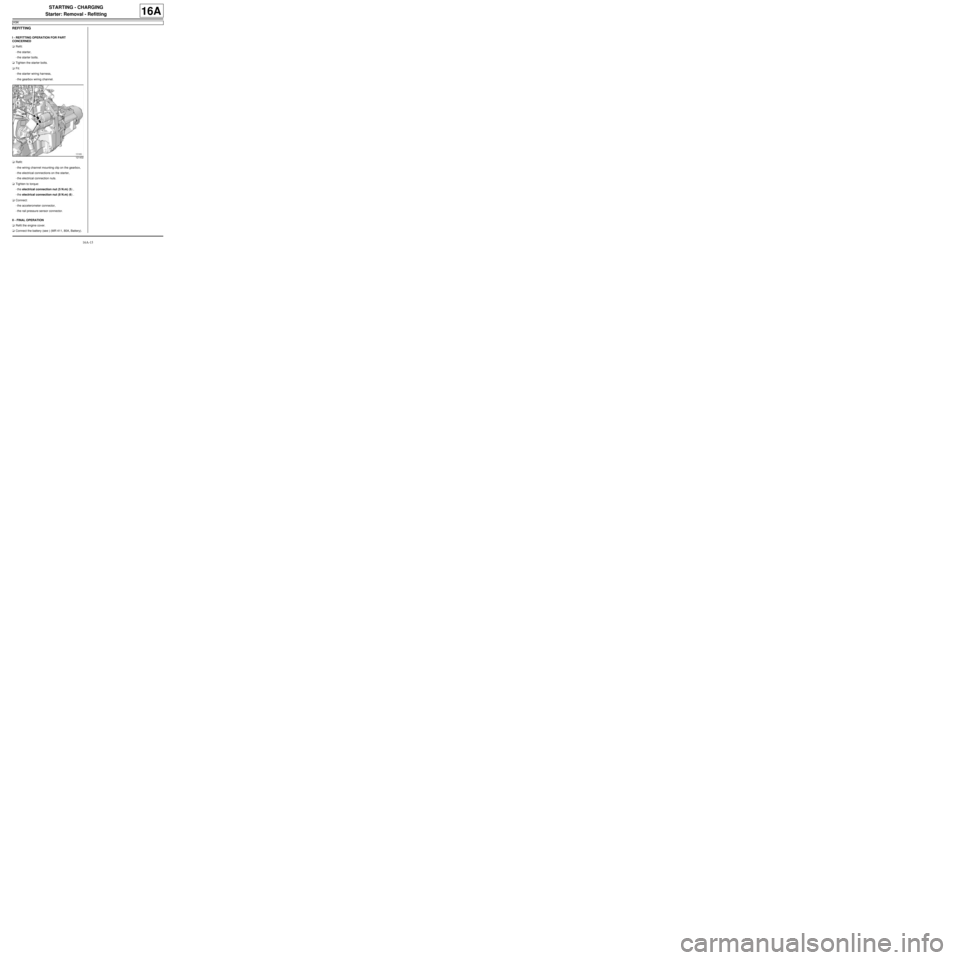
aRefit:
-the starter,
-the starter bolts.
aTighten the starter bolts.
aFit:
-the starter wiring harness,
-the gearbox wiring channel.
aRefit:
-the wiring channel mounting clip on the gearbox,
-the electrical connections on the starter,
-the electrical connection nuts.
aTighten to torque:
-the electrical connection nut (5 N.m) (5) ,
-the electrical connection nut (8 N.m) (6) .
aConnect:
-the accelerometer connector,
-the rail pressure sensor connector.
II - FINAL OPERATION
aRefit the engine cover.
aConnect the battery (see ) (MR 411, 80A, Battery).
121432
Page 455 of 652
16A-16
STARTING - CHARGING
Starter: Removal - Refitting
K4M
16A
REMOVAL
I - REMOVAL PREPARATION OPERATION
aDisconnect the battery (see Battery: Removal - Re-
fitting) (80A, Battery).
aRemove the air filter unit (see 12A, Fuel mixture,
Air filter unit: Removal - Refitting, page 12A-13) .
II - REMOVAL OPERATION
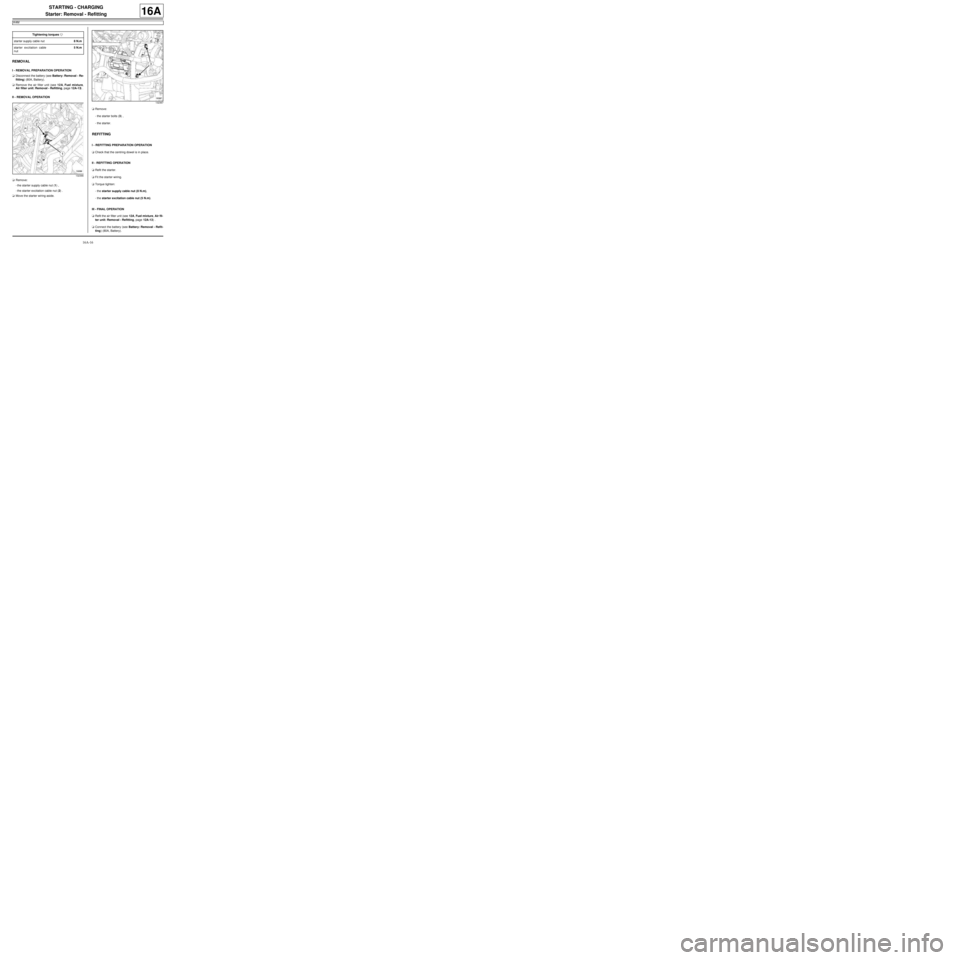
aRemove:
-the starter supply cable nut (1) ,
-the starter excitation cable nut (2) .
aMove the starter wiring aside.aRemove:
-the starter bolts (3) ,
-the starter.
REFITTING
I - REFITTING PREPARATION OPERATION
aCheck that the centring dowel is in place.
II - REFITTING OPERATION
aRefit the starter.
aFit the starter wiring.
aTorque tighten:
-the starter supply cable nut (8 N.m),
-the starter excitation cable nut (5 N.m).
III - FINAL OPERATION
aRefit the air filter unit (see 12A, Fuel mixture, Air fil-
ter unit: Removal - Refitting, page 12A-13) .
aConnect the battery (see Battery: Removal - Refit-
ting) (80A, Battery). Tightening torquesm
starter supply cable nut8 N.m
starter excitation cable
nut5 N.m
132366
132367
Page 456 of 652
16A-17
STARTING - CHARGING
Alternator pulley: Removal - Refitting
K9K – K4M
16A
aTo remove and refit the alternator pulley (see 16A,
Starting - Charging, Alternator pulley: Removal -
Refitting, page 16A-17) (Technical Note 5008A,
16A, Starting - Charging).
Page 457 of 652
17A-1
IGNITION
Coils: Removal - Refitting
D7F
17A
PARTS AND CONSUMABLES FOR THE
REPAIR WORK
aConsumable (see Vehicle: Parts and consuma-
bles for the repair) :
-Fluostar 2L.
REMOVAL
I - REMOVAL PREPARATION OPERATION
aDisconnect the battery ( (see Battery: Removal -
Refitting) ).
II - OPERATION FOR REMOVAL OF PART
CONCERNED
a
aDisconnect:
-the wiring (1) from the ignition coil,
-the connector (2) from the ignition coil.
aRemove the bolt from the interference suppressor.
aMove aside the air filter unit cover (3) .
aRemove:
-the bolts (4) from the ignition coil,
-the ignition coil.
REFITTING
I - REFITTING OPERATION FOR PART
CONCERNED
aRefit:
-the ignition coil,
-the ignition coil bolts.
aRefit the air filter unit cover.
120404
WARNING
To disconnect the spark plug leads, pull on the
extensions and not on the leads.
Page 458 of 652
17A-2
IGNITION
Coils: Removal - Refitting
D7F
17A
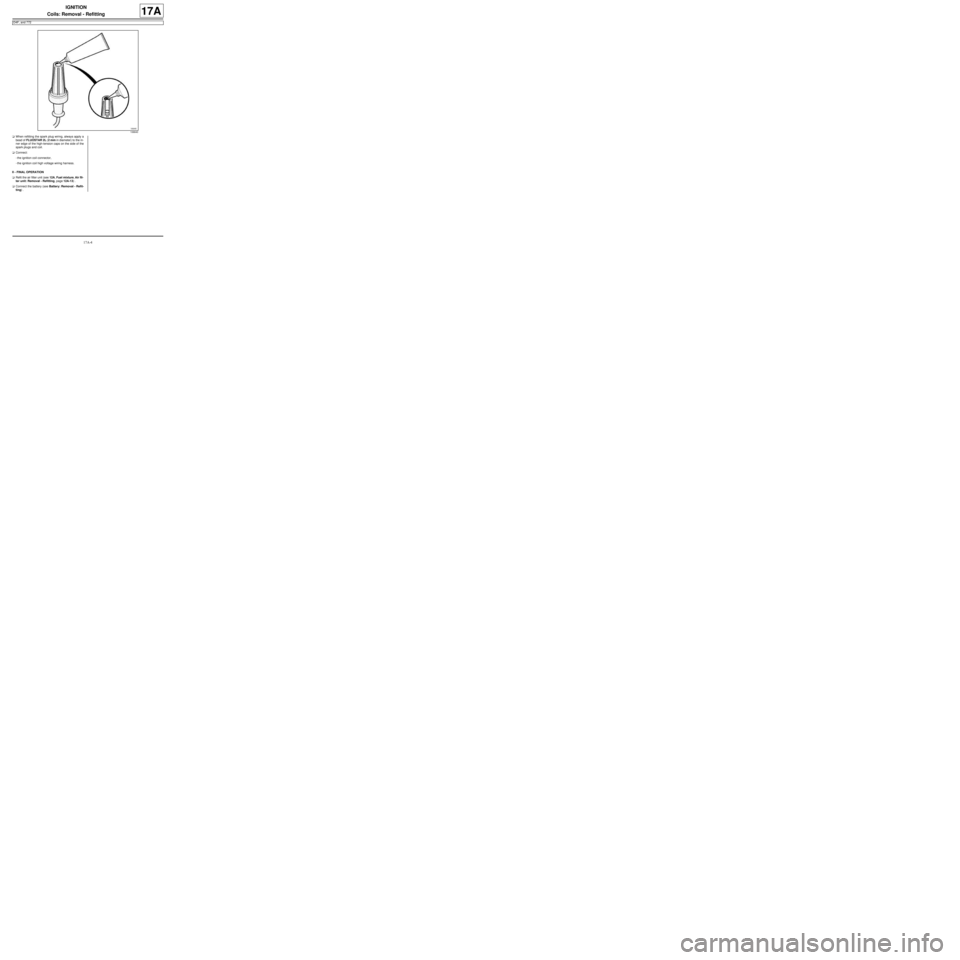
aWhen refitting the spark plug wiring, always apply a
bead of FLUOSTAR 2L (2 mm in diameter) to the in-
ner edge of the high-tension caps on the side of the
spark plugs and coil.
aConnect:
-the ignition coil connector,
-the ignition coil wiring.
II - FINAL OPERATION
aConnect the battery ( (see Battery: Removal - Re-
fitting) ).
106640
Page 459 of 652
17A-3
IGNITION
Coils: Removal - Refitting
D4F, and 772
17A
PARTS AND CONSUMABLES FOR THE
REPAIR WORK
aConsumable (see Vehicle: Parts and consuma-
bles for the repair) :
-Fluostar 2L.
REMOVAL
I - REMOVAL PREPARATION OPERATION
aDisconnect the battery (see Battery: Removal - Re-
fitting) .
aRemove the air filter unit (see 12A, Fuel mixture,
Air filter unit: Removal - Refitting, page 12A-13) .
II - OPERATION FOR REMOVAL OF PART
CONCERNED
a
aDisconnect:
-the ignition coil high voltage wiring harness,
-the ignition coil connector.aRemove:
-the ignition coil bolts ,
-the ignition coil.
REFITTING
I - REFITTING OPERATION FOR PART
CONCERNED
aRefit:
-the ignition coil,
-the ignition coil bolts.
120300
WARNING
To disconnect the spark plug leads, pull on the
extensions and not on the leads.
113044
Page 460 of 652
17A-4
IGNITION
Coils: Removal - Refitting
D4F, and 772
17A
aWhen refitting the spark plug wiring, always apply a
bead of FLUOSTAR 2L (2 mm in diameter) to the in-
ner edge of the high-tension caps on the side of the
spark plugs and coil.
aConnect:
-the ignition coil connector,
-the ignition coil high voltage wiring harness.
II - FINAL OPERATION
aRefit the air filter unit (see 12A, Fuel mixture, Air fil-
ter unit: Removal - Refitting, page 12A-13) .
aConnect the battery (see Battery: Removal - Refit-
ting) .
106640
Trending: instrument panel, oil filter, battery, oil, engine oil, wheel size, fuel pressure
