trip RENAULT TWINGO 2009 2.G Mechanism And Accessories User Guide
[x] Cancel search | Manufacturer: RENAULT, Model Year: 2009, Model line: TWINGO, Model: RENAULT TWINGO 2009 2.GPages: 95
Page 45 of 95
55A-7
EXTERIOR PROTECTION
Front bumper: Stripping - Rebuilding
C44, and EQUIPMENT LEVEL SPORT
55A
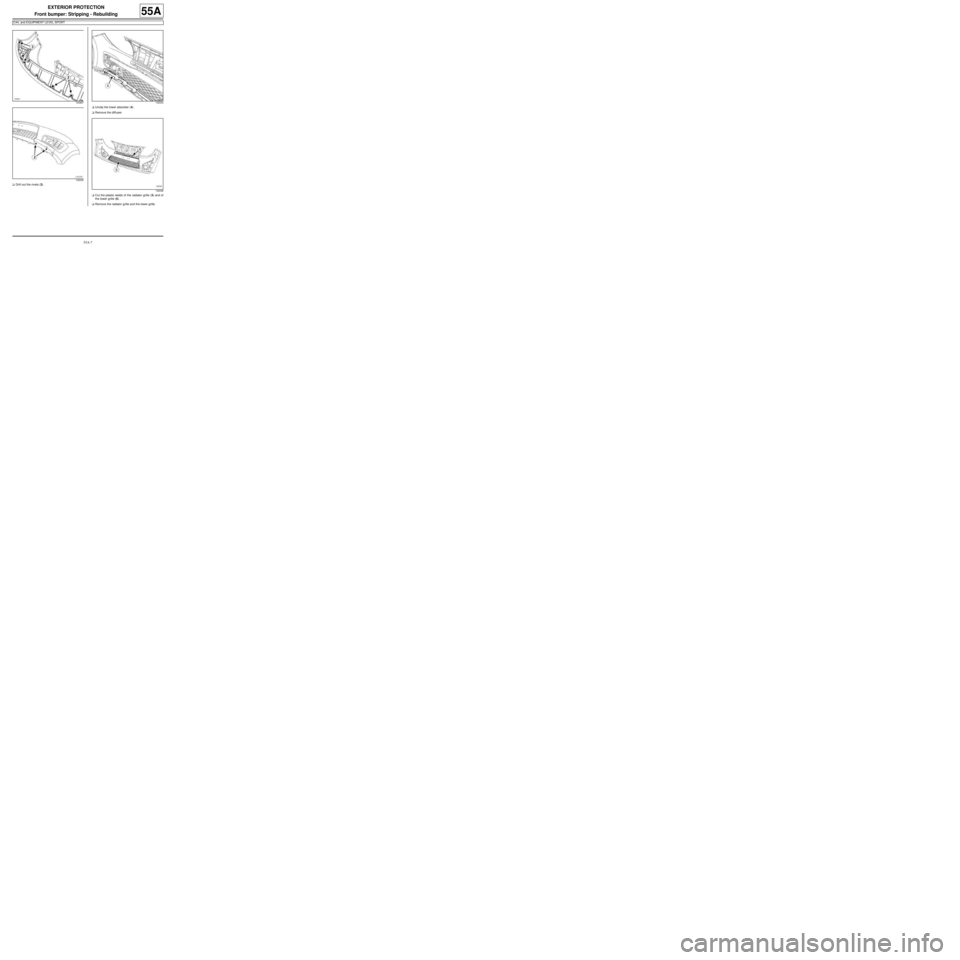
aDrill out the rivets (3) .aUnclip the lower absorber (4) .
aRemove the diffuser.
aCut the plastic welds of the radiator grille (5) and of
the lower grille (6) .
aRemove the radiator grille and the lower grille.
120887
132035132034
132038
Page 46 of 95
55A-8
EXTERIOR PROTECTION
Front bumper: Stripping - Rebuilding
C44, and EQUIPMENT LEVEL SPORT
55A
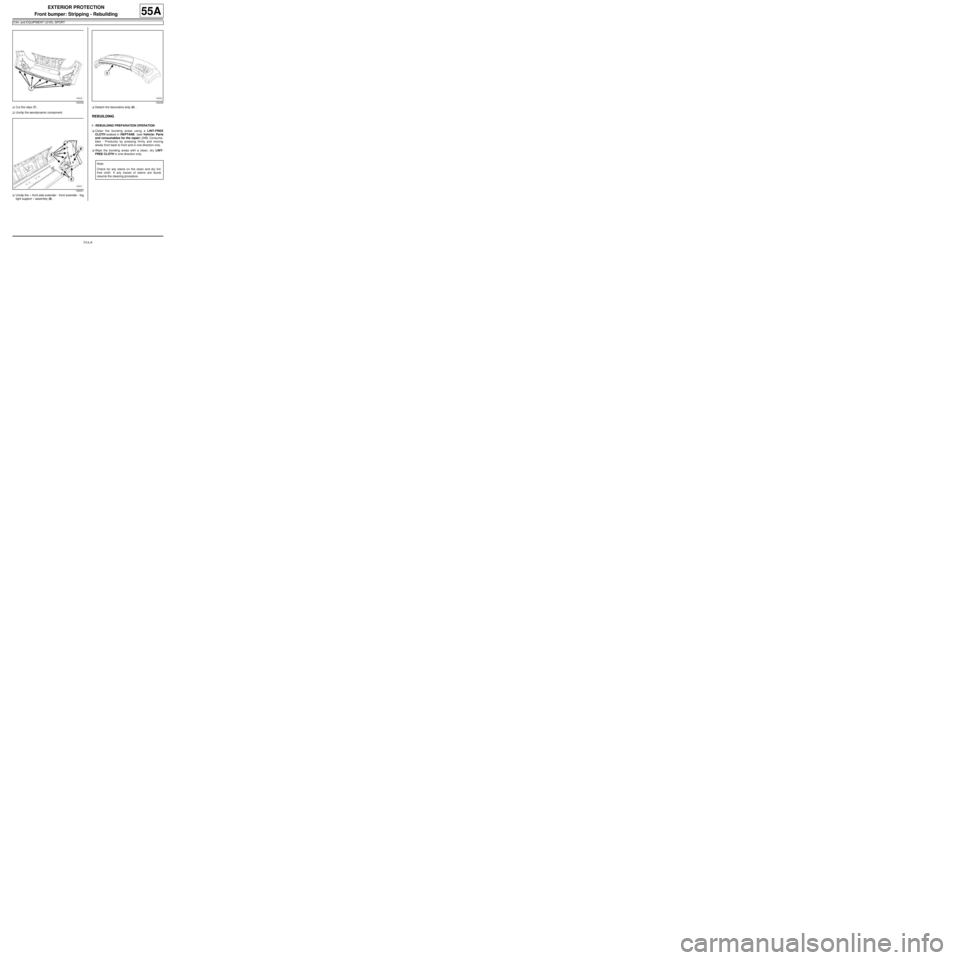
aCut the clips (7) .
aUnclip the aerodynamic component.
aUnclip the « front side extender - front extender - fog
light support » assembly (8) .aDetach the decorative strip (9) .
REBUILDING
I - REBUILDING PREPARATION OPERATION
aClean the bonding areas using a LINT-FREE
CLOTH soaked in HEPTANE (see Vehicle: Parts
and consumables for the repair) (04B, Consuma-
bles - Products) by pressing firmly and moving
slowly from back to front and in one direction only.
aWipe the bonding areas with a clean, dry LINT-
FREE CLOTH in one direction only.
132039
132037132036
Note:
Chec k for any stains on the clean and dry lint-
free cloth. If any traces of stains are found,
resume the cleaning procedure.
Page 47 of 95
55A-9
EXTERIOR PROTECTION
Front bumper: Stripping - Rebuilding
C44, and EQUIPMENT LEVEL SPORT
55A
II - REBUILDING OPERATION FOR PART
CONCERNED
aPlace the decorative strip to be bonded on the front
bumper and centre it visually.
aStick the decorative strip down taking care to keep it
properly aligned.
aClip:
-the « front side extender - front extender - fog light
support » assembly,
-the aerodynamic component.
aDrill a hole at each clip position (7) using a ∅ 4.5 mm
drill bit.
aRivet the aerodynamic component.
aClip the lower grille and the radiator grille onto the
tabs provided using the clips (part no.: 77 03 076
037).
aRefit the diffuser.
aClip on the lower absorber (4) .
aRefit new rivets.
aClip:
-the central absorber (2) ,
-the badge.
aRefit the front fog lights (see Front fog light: Remo-
val - Refitting) (80B, Headlights).
III - FINAL OPERATION.
aRefit the front bumper (see 55A, Exterior protec-
tion, Front bumper: Removal - Refitting, page
55A-1) .
Page 51 of 95
55A-13
EXTERIOR PROTECTION
Rear bumper: Stripping - Rebuilding
55A
STRIPPING
I - STRIPPING PREPARATION OPERATION
aRemove the rear bumper (see 55A, Exterior pro-
tection, Rear bumper: Removal - Refitting, page
55A-10) .
II - STRIPPING OPERATION FOR PART
CONCERNED
aRemove the proximity radars (see Proximity radar:
Removal - Refitting) (87F, Parking distance con-
trol).
aRemove:
-the number plate lights (see Number plate light:
Removal - Refitting) (81A, Rear lighting),
-the electrical wiring.
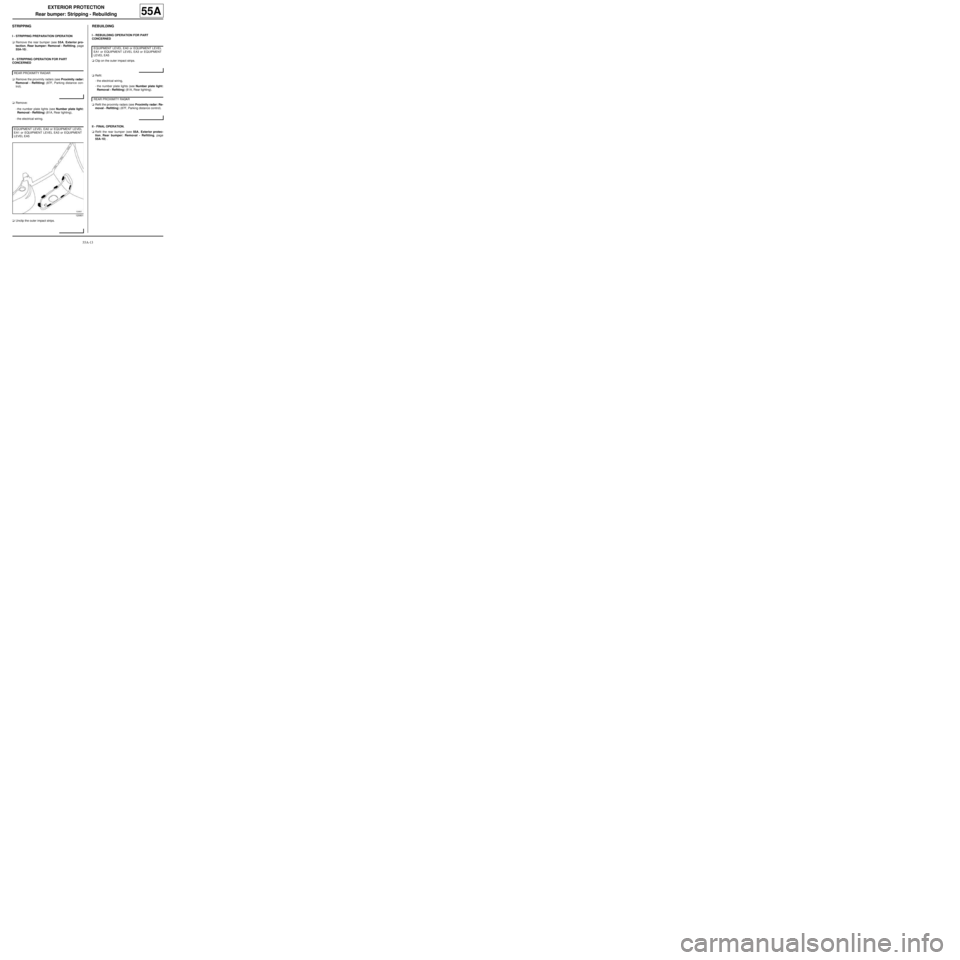
aUnclip the outer impact strips.
REBUILDING
I - REBUILDING OPERATION FOR PART
CONCERNED
aClip on the outer impact strips.
aRefit:
-the electrical wiring,
-the number plate lights (see Number plate light:
Removal - Refitting) (81A, Rear lighting).
aRefit the proximity radars (see Proximity radar: Re-
moval - Refitting) (87F, Parking distance control).
II - FINAL OPERATION.
aRefit the rear bumper (see 55A, Exterior protec-
tion, Rear bumper: Removal - Refitting, page
55A-10) . REAR PROXIMITY RADAR
EQUIPMENT LEVEL EA0 or EQUIPMENT LEVEL
EA1 or EQUIPMENT LEVEL EA3 or EQUIPMENT
LEVEL EA5
120801
EQUIPMENT LEVEL EA0 or EQUIPMENT LEVEL
EA1 or EQUIPMENT LEVEL EA3 or EQUIPMENT
LEVEL EA5
REAR PROXIMITY RADAR
Page 53 of 95
55A-15
EXTERIOR PROTECTION
Front side door protective strip: Removal - Refitting
55A
REMOVAL
OPERATION FOR REMOVAL OF PART
CONCERNED
aRemove the bolt (1) .
aSlide the door rubbing strip towards the rear of the
vehicle.
REFITTING
REFITTING OPERATION FOR PART CONCERNED
aSlide the door moulding towards the front of the ve-
hicle.
aRefit the bolt (1) .
119275
119291
Page 54 of 95
55A-16
EXTERIOR PROTECTION
Rear wing protective strip: Removal - Refitting
55A
REMOVAL
OPERATION FOR REMOVAL OF PART
CONCERNED
aUnclip the clip from the front section of the rear wing
protective strip using the (Car. 1363).aProtect the rear wing using masking tape.
aSlide the wing protective strip towards the rear of the
vehicle.
aRemove the rear wing protective strip.
REFITTING
I - REFITTING PREPARATIONS OPERATION
aReplace the rear wing protective strip clip if neces-
sary.
II - REFITTING OPERATION FOR PART
CONCERNED
aSlide the wing protective strip towards the front of
the vehicle.
aClip the clip onto the front section of rear wing pro-
tective strip. Special tooling required
Car. 1363Set of tr im removal levers.119284
119285
Page 55 of 95
55A-17
EXTERIOR PROTECTION
Roof protection strip: Removal - Refitting
55A
REMOVAL
I - REMOVAL PREPARATION OPERATION
aOpen the moving panel.
II - REMOVAL OPERATION FOR PART
CONCERNED
aUnclip the rear protective strip from the roof (1) .
aRemove the rear protective strip from the roof in the
direction (2) .a
aRemove:
-the bolt (4) ,
-the front protective strip from the roof in the direc-
tion shown (5) .
REFITTING
REFITTING OPERATION FOR PART CONCERNED
aRefit:
-the front protective strip to the roof,
-the bolt (4) ,
-the rear protective strip to the roof.
aClip on the rear roof protective strip (1) .
121151
124863
Note:
When removing the front protective strip from the
roof, it is necessary on some vehicles to detach
the end (3) of the front protective strip from the
roof carefully, as it may be bonded with the
windscreen.
Page 59 of 95
56A-2
EXTERIOR EQUIPMENT
Scuttle panel grille: Removal - Refitting
56A
REFITTING
I - REFITTING PREPARATIONS OPERATION
aAlways replace:
-the clips under the scuttle panel grille,
-the foam strips which ensure the scuttle panel grille
sealing.
II - REFITTING OPERATION FOR PART
CONCERNED
aRefit:
-the scuttle panel grille,
-the clips (4) ,
-the bolts (3)
III - FINAL OPERATION.
aClip on the windscreen lower trims (2) .
aRefit:
-the seal (1) ,
-the windscreen wiper arms (see Windscreen wi-
per arm: Removal - Refitting) (MR 411 Mechani-
cal, 85A, Wiping - Washing).Note:
Check the condition and cleanliness of the
windscreen and scuttle panel grille before refit-
ting the scuttle panel grille.
Page 64 of 95
56A-7
EXTERIOR EQUIPMENT
Scoop under the scuttle panel grille: Removal - Refitting56A
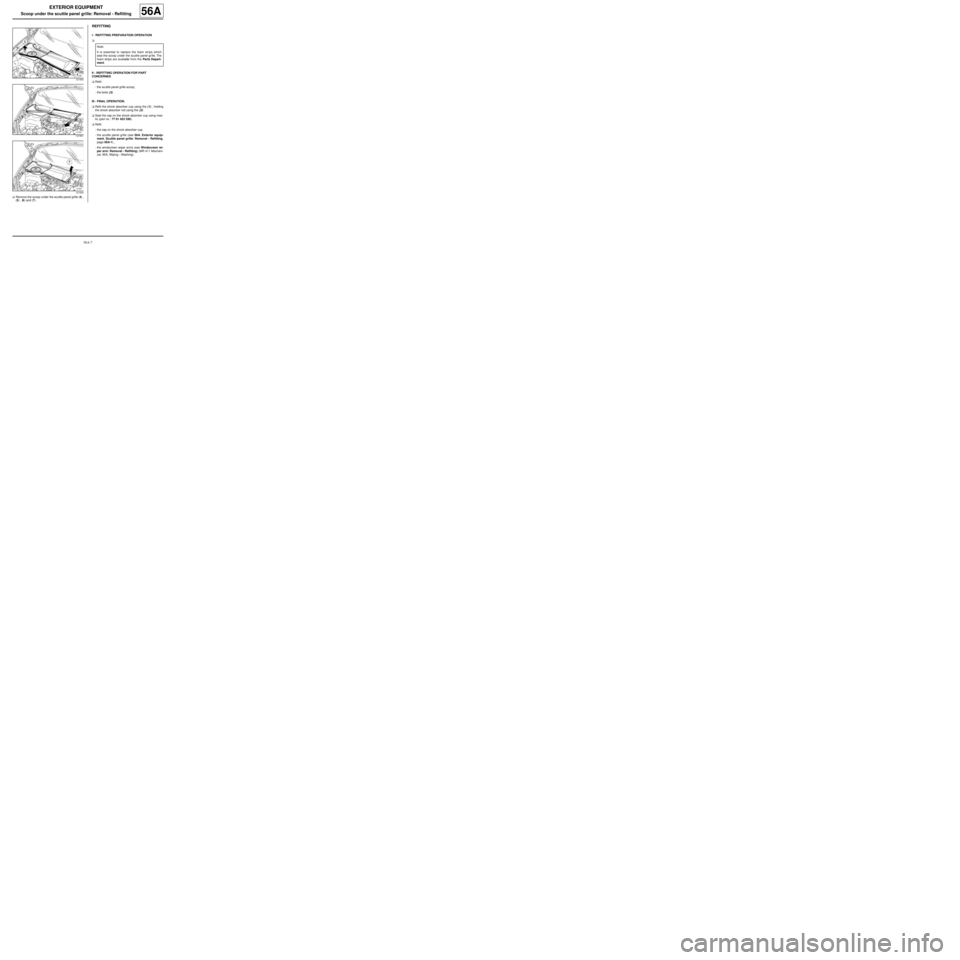
aRemove the scoop under the scuttle panel grille (4) ,
(5) , (6) and (7) .
REFITTING
I - REFITTING PREPARATION OPERATION
a
II - REFITTING OPERATION FOR PART
CONCERNED
aRefit:
-the scuttle panel grille scoop,
-the bolts (3) .
III - FINAL OPERATION.
aRefit the shock absorber cup using the (1) , holding
the shock absorber rod using the (2) .
aSeal the cap on the shock absorber cup using mas-
tic (part no.: 77 01 423 330).
aRefit:
-the cap on the shock absorber cup.
-the scuttle panel grille (see 56A, Exterior equip-
ment, Scuttle panel grille: Removal - Refitting,
page 56A-1) ,
-the windscreen wiper arms (see Windscreen wi-
per arm: Removal - Refitting) (MR 411 Mechani-
cal, 85A, Wiping - Washing).
121500
121501
121502
Note:
It is essential to replace the foam strips which
seal the scoop under the scuttle panel gr ille. The
foam strips are available from the Parts Depart-
ment.
Page 68 of 95
56A-11
EXTERIOR EQUIPMENT
Side decorative strips: Removal - Refitting
56A
a
REMOVAL
I - REMOVAL PREPARATION OPERATION
aRemove:
-the front door exterior weatherstrip (see Front side
door exterior weatherstrip: Removal - Refitting)
,
-the front door glass run channel (see Front side
door window run channel: Removal - Refitting) .
II - REMOVAL OPERATION FOR PART
CONCERNED
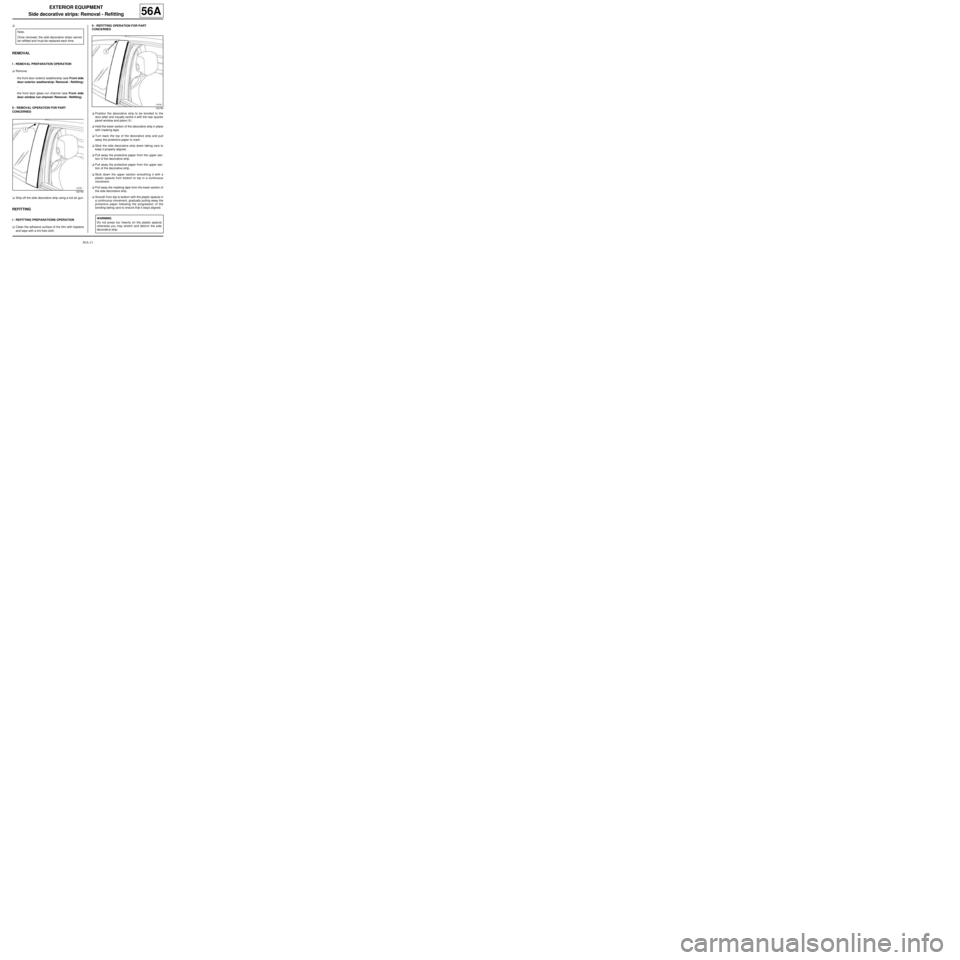
aStrip off the side decorative strip using a hot air gun.
REFITTING
I - REFITTING PREPARATIONS OPERATION
aClean the adhesive surface of the film with heptane
and wipe with a lint-free cloth.II - REFITTING OPERATION FOR PART
CONCERNED
aPosition the decorative strip to be bonded to the
door pillar and visually centre it with the rear quarter
panel window end piece (1) .
aHold the lower section of the decorative strip in place
with masking tape.
aTurn back the top of the decorative strip and pull
away the protective paper to mark.
aStick the side decorative strip down taking care to
keep it properly aligned.
aPull away the protective paper from the upper sec-
tion of the decorative strip.
aPull away the protective paper from the upper sec-
tion of the decorative strip.
aStick down the upper section smoothing it with a
plastic spatula from bottom to top in a continuous
movement.
aPull away the masking tape from the lower section of
the side decorative strip.
aSmooth from top to bottom with the plastic spatula in
a continuous movement, gradually pulling away the
protective paper following the progression of the
bonding taking care to ensure that it stays aligned. Note:
Once removed, the side decorative strips cannot
be refitted and must be replaced each time.
120790
120790
WARNING
Do not press too heavily on the plastic spatula
otherwise you may stretch and deform the side
decorative strip.