MR 411 RENAULT TWINGO 2009 2.G Sequential Transmission Owner's Manual
[x] Cancel search | Manufacturer: RENAULT, Model Year: 2009, Model line: TWINGO, Model: RENAULT TWINGO 2009 2.GPages: 138
Page 69 of 138
21B-69
MR-413-X44-21B000$472.mif
V2
SEQUENTIAL GEARBOX
Fault finding - Interpretation of faults
Vdiag No: 04
21B
DF252
PRESENT
OR
STOREDPUMP RELAY
1.DEF : Relay jammed
NOTESConditions for applying the fault finding procedure to stored faults:
The fault is declared present after a road test.
Special note:
–all gear changes are inhibited,
–fault warning light comes on,
–automatic mode is inhibited.
Use the Wiring Diagrams Technical Note for New TWINGO.
After switching on the ignition, check that the PR018 “Hydraulic pressure” is between 40 bar and 50 bar.If this
is not the case, apply the interpretation for fault DF166 “Pressure sensor circuit”.
If the checks described in DF166 "Pressure sensor circuit" are correct and that PR018 "Hydraulic pressure"
indicates a lower pressure than that measured previously following activation of the pump motor, replace the
pressure sensor (see MR 411, 21B, Sequential gearbox, Solenoid valve unit: Removal - Refitting).
Disconnect the relay and check that there is no continuity between connections BP36 and 5AE of component
762.
Replace the relay if it is not correct.
Check the continuity and insulation of the following connection:
●Connection code 5AE,
Between components 724 and 762.
If the connection(s) are faulty and there is a repair method (see Technical Note 6015A, Repairing electrical
wiring, W iring: Precautions for repair), repair the wiring, otherwise replace it.
Check for the absence of + 12 V on connection 5AE of component 762.
Check the continuity and insulation of the following connection:
●Connection code 5AF,
Between components 119 and 762.
If the connection(s) are faulty and there is a repair method (see Technical Note 6015A, Repairing electrical
wiring, W iring: Precautions for repair), repair the wiring, otherwise replace it.
If the fault is still present, contact the Techline.
AFTER REPAIRDeal with any faults detected by the diagnostic tool.
Clear the computer memory.
Carry out a road test followed by another check with the diagnostic tool.
BVRJH1_V04_DF252
Page 71 of 138
21B-71
MR-413-X44-21B000$472.mif
V2
SEQUENTIAL GEARBOX
Fault finding - Interpretation of faults
Vdiag No: 04
21B
DF256
PRESENT
OR
STOREDERRATIC GEAR JUMPING
1.DEF : Erratic gear jumping
NOTESConditions for applying the fault finding procedure to stored faults:
The fault is declared present after the previous gear has been engaged.
Special note:
Fault warning light comes on following erratic gear disengagement and after the
previous gear has been engaged.
Check that there are no engagement or selection sensor faults.
Repair if necessary.
Check that the selection control lever is correctly clipped onto the hydraulic unit.
Carry out the necessary repairs (see MR 411 Mechanical, 21B, Sequential gearbox, Electro-hydraulic unit,
Removal - Refitting).
Check that there is no water in the gearbox oil.
Repair if necessary.
Clear the faults using command RZ001 "Stored fault(s)".
Reprogram VP008 Program selection/engagement ranges.
Check there are no other faults by carrying out a road test.
If the fault is still present, contact the Techline.
AFTER REPAIRDeal with any faults detected by the diagnostic tool.
Clear the computer memory.
Carry out a road test followed by another check with the diagnostic tool.
BVRJH1_V04_DF256
Page 72 of 138
21B-72
MR-413-X44-21B000$472.mif
V2
SEQUENTIAL GEARBOX
Fault finding - Interpretation of faults
Vdiag No: 04
21B
DF257
PRESENT
OR
STOREDSLOW LOSS OF HYDRAULIC PRESSURE
1.DEF : Slow loss of pressure
NOTESSpecial note:
Fault warning light comes on.
Small internal leak: replace the hydraulic unit or clutch solenoid valve (see MR 411 Mechanical, 21B, Sequential
gearbox, Electro-hydraulic unit: Removal - Refitting).
Slow external leak: repair or replace the component concerned (see Replacement of components).
AFTER REPAIRDeal with any faults detected by the diagnostic tool.
Clear the computer memory.
Carry out a road test followed by another check with the diagnostic tool.
BVRJH1_V04_DF257
Page 73 of 138
21B-73
MR-413-X44-21B000$472.mif
V2
SEQUENTIAL GEARBOX
Fault finding - Interpretation of faults
Vdiag No: 04
21B
DF258
PRESENT
OR
STOREDRAPID LOSS OF HYDRAULIC PRESSURE
1.DEF : Rapid loss of pressure
NOTESSpecial note:
Warning light comes on.
Small internal leak: replace the hydraulic unit or clutch solenoid valve (see MR 411 Mechanical, 21B, Sequential
gearbox, Electro-hydraulic unit: Removal - Refitting).
Slow external leak: repair or replace the component concerned (see Replacement of components).
AFTER REPAIRDeal with any faults detected by the diagnostic tool.
Clear the computer memory.
Carry out a road test followed by another check with the diagnostic tool.
BVRJH1_V04_DF258
Page 74 of 138
21B-74
MR-413-X44-21B000$472.mif
V2
SEQUENTIAL GEARBOX
Fault finding - Interpretation of faults
Vdiag No: 04
21B
DF259
PRESENT
OR
STOREDPRESSURE ACCUMULATOR
1.DEF : Pressure accumulator fault
NOTESConditions for applying the fault finding procedure to stored faults:
The fault is declared present after low nitrogen pressure has been recorded at least
40 times.
Special note:
–Fault warning light comes on when low nitrogen pressure has been recorded at
least 40 times.
–Engine stalls when the vehicle is slowing down.
–Gear change impossible when driving.
Replace the accumulator (see MR 411 Mechanical, 21B, Sequential gearbox, Pressure accumulator:
Removal - Refitting).
AFTER REPAIRDeal with any faults detected by the diagnostic tool.
Clear the computer memory.
Carry out a road test followed by another check with the diagnostic tool.
BVRJH1_V04_DF259
Page 80 of 138
21B-80
MR-413-X44-21B000$649.mif
V2
21B
SEQUENTIAL GEARBOX
Fault finding - Interpretation of statuses
ET003
ET004
BRAKE LIGHT SWITCH (OPENING)
STOP LIGHT SWITCH (CLOSURE)
STATUS
DEFINITIONThese statuses indicate the position of the brake pedal.
NOTESUse the Wiring Diagrams Technical Note for New TWINGO.
Engine stopped, ignition on
–Brake pedal released: ET003: "Closed" and ET004: "Open".
–Brake pedal depressed: ET003: "Open" and ET004: ''Closed".
If the statuses do not correspond with the position of the brake pedal, perform the following fault finding
procedure.
Electrical check of the sensor
Check the condition of the 15 A fuse of the brake light switch located on component 1016.
Check the brake light switch is correctly positioned on the brake pedal.
Check the condition and correct connection of component 160.
If the connector is faulty and there is a repair procedure (see Technical Note 6015A, Electrical wiring repair,
Wiring: Precautions for repair), repair the connector, otherwise replace the wiring.
Check for the + after ignition feed on both connections AP10 of component 160.
If there is no + after ignition feed, check the continuity and insulation to earth of the two connections AP10
between components 160 and 1016.
If the connection(s) are faulty and there is a repair method (see Technical Note 6015A, Repairing electrical
wiring, W iring: Precautions for repair), repair the wiring, otherwise replace it.
Pedal released:
Check the continuity between connections AP10 (track 4) and 5A of component 160.
Check the insulation between connections AP10 (track 2) and 65A of component 160.
Pedal depressed:
Check the continuity between connections AP10 (track 2) and 65A of component 160.
Check the insulation between connections AP10 (track 4) and 5A of component 160.
If one of these checks is incorrect, replace the brake light switch (see MR 411 Mechanical, 83D Cruise control,
Brake light switch: Removal - Refitting).
AFTER REPAIRCarry out another fault finding check on the system.
Deal with any other faults.
Clear the stored faults.
BVRJH1_V04_ET003 / BVRJH1_V04_ET004
MR-413-X44-21B000$649.mif
Vdiag No: 04
Page 88 of 138
21B-88
MR-413-X44-21B000$649.mif
V2
SEQUENTIAL GEARBOX
Fault finding - Interpretation of statuses
Vdiag No: 04
21B
ET043
ET044
ET045
ET046
CONTINUED
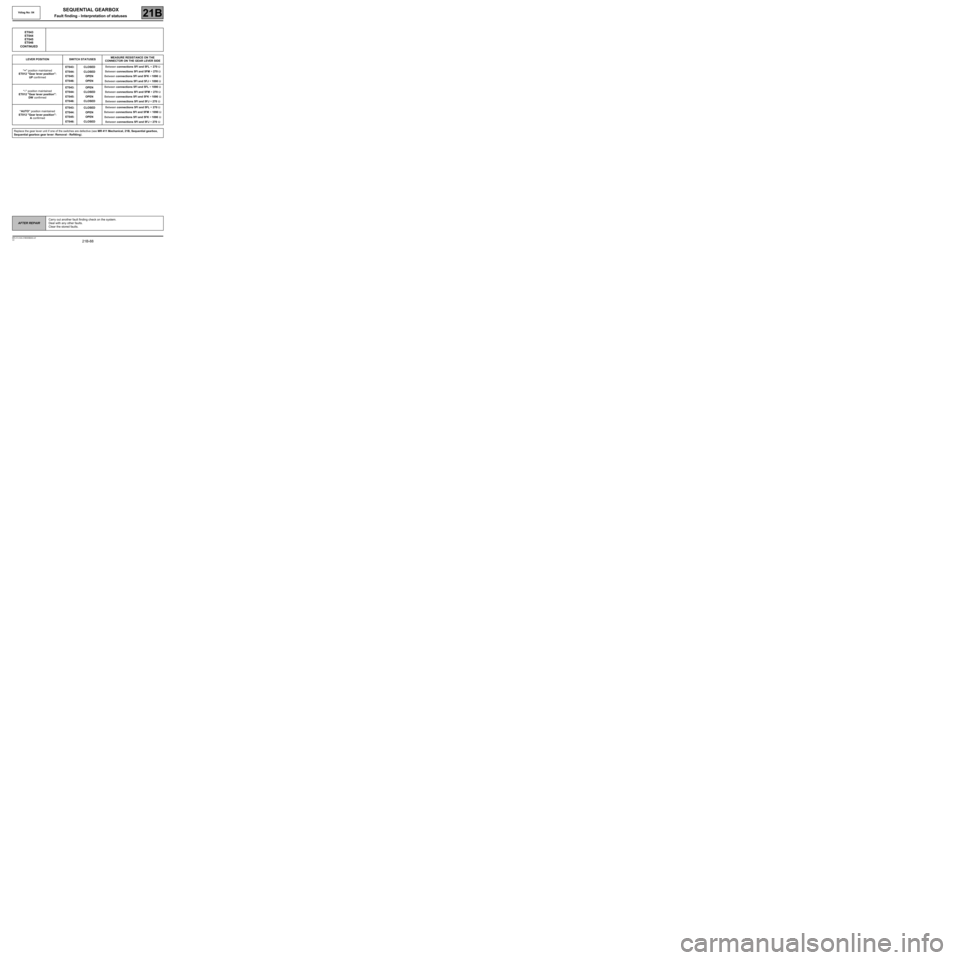
LEVER POSITION SWITCH STATUSESMEASURE RESISTANCE ON THE
CONNECTOR ON THE GEAR LEVER SIDE
“+” position maintained
ET012 "Gear lever position":
UP confirmedET043:
ET044:
ET045:
ET046:CLOSED
CLOSED
OPEN
OPENBetween connections 5FI and 5FL = 270 Ω
Between connections 5FI and 5FM = 270 Ω
Between connections 5FI and 5FK = 1090 Ω
Between connections 5FI and 5FJ = 1090 Ω
“-” position maintained
ET012 "Gear lever position":
DW confirmedET043:
ET044:
ET045:
ET046:OPEN
CLOSED
OPEN
CLOSEDBetween connections 5FI and 5FL = 1090 Ω
Between connections 5FI and 5FM = 270 Ω
Between connections 5FI and 5FK = 1090 Ω
Between connections 5FI and 5FJ = 270 Ω
“AUTO” position maintained
ET012 "Gear lever position":
A confirmedET043:
ET044:
ET045:
ET046:CLOSED
OPEN
OPEN
CLOSEDBetween connections 5FI and 5FL = 270 Ω
Between connections 5FI and 5FM = 1090 Ω
Between connections 5FI and 5FK = 1090 Ω
Between connections 5FI and 5FJ = 270 Ω
Replace the gear lever unit if one of the switches are defective (see MR 411 Mechanical, 21B, Sequential gearbox,
Sequential gearbox gear lever: Removal - Refitting).
AFTER REPAIRCarry out another fault finding check on the system.
Deal with any other faults.
Clear the stored faults.
Page 127 of 138
21B -127
MR-413-X44-21B000$944.mif
V2
SEQUENTIAL GEARBOX
Diagnostic - Fault finding chart
Vdiag No: 04
21B
ALP 2Cannot select a forward or reverse gear when stationary
Impossible to select N
Impossible to start engine with gear engaged, even with brake
pedal depressed
NOTESSpecial notes:
Only consult this customer complaint after a complete check with the diagnostic tool.
Use the Wiring Diagrams Technical Note for New TWINGO.
Check the + after ignition feeds and the earths of the sequential gearbox computer.
Check the condition of the gear lever contacts and that it is operating correctly (consult the interpretation of
statuses ET043 "Lever contact No. 0", ET044 "Lever contact No. 1", ET045 "Lever contact No. 2" and
ET046 Lever contact No. 3").
Repair if necessary.
Check for the presence and condition of the brake light switch supply fuse on the passenger compartment fuse
board.
Repair if necessary.
Check that the brake light switch connector is correctly connected, check the condition of the connections as well
as those of the computer.
If the connectors are faulty and if there is a repair method (see Technical Note 6015A, Repairing electrical
wiring, W iring: Precautions for repair), repair the connectors; otherwise, replace the wiring.
Check that the brake light switch on the pedal is correctly fitted and adjusted.
Check for continuity, with the pedal depressed, between connections AP10 (track 2) and 65A of
component 160.
Replace the switch if necessary (see MR 411 Mechanical, 83D Cruise control, Brake light switch: Removal -
Refitting).
Check there is no continuity with the pedal released, between connections AP10 (track 2) and 65A of
component 160.
Replace the switch if necessary (see MR 411 Mechanical, 83D Cruise control, Brake light switch: Removal -
Refitting).
If the fault is still present, check the continuity of the following connection:
●Connection code 65A between components 160 and 119.
Also ensure the insulation to earth.
AFTER REPAIRClear the computer fault memory. Switch off the ignition and wait 20 seconds.
Carry out a road test followed by another check with the diagnostic tool.
BVRJH1_V04_ALP2
Page 128 of 138
21B -128
MR-413-X44-21B000$944.mif
V2
SEQUENTIAL GEARBOX
Diagnostic - Fault finding chart
Vdiag No: 04
21B
ALP 3Impossible to engage or disengage a gear
Engine can only be started if brake pedal depressed
Semiautomatic mode not possible
Engine stalls when brake pedal is depressed
NOTESSpecial notes:
Only consult this customer complaint after a complete check with the diagnostic tool.
Check the + after ignition feeds and the earths of the sequential gearbox computer.
Check that the gear lever is not jammed or damaged or even broken. Replace the lever if necessary (see MR 411
Mechanical, 21B, Sequential gearbox, Sequential gearbox selector lever: Removal - Refitting).
Apply the fault finding procedure for ET043 "Lever switch No. 0", ET044 "Lever switch No. 1", ET045 "Lever
switch No. 2" and ET046 Lever switch No. 3".
If the fault is still present, run a multiplex network test using the diagnostic tool (see 88B, Multiplex).
AFTER REPAIRClear the computer fault memory. Switch off the ignition and wait 20 seconds.
Carry out a road test followed by another check with the diagnostic tool.
BVRJH1_V04_ALP3
Page 132 of 138
21B -132
MR-413-X44-21B000$944.mif
V2
SEQUENTIAL GEARBOX
Diagnostic - Fault finding chart
Vdiag No: 04
21B
ALP 6No creeping
Brake lights permanently lit
Forward or reverse gear can be selected without depressing the
brake pedal
NOTESSpecial notes:
Only consult this customer complaint after a complete check with the diagnostic tool.
In a case where there is no creeping, if the customer has heard the buzzer whilst
driving, it is normal for creeping to be prohibited (clutch overheating). Leave the clutch
to cool down and then check if there is any creep. Apply the following procedure if the
fault persists.
Use the Wiring Diagrams Technical Note for New TWINGO.
Check for the presence, condition and correct positioning of the brake light fuse in the passenger
compartment fuse box.
Check the connection and condition of the connectors of components 160, 156 and 119.
If the connectors are faulty and if there is a repair method (see Technical Note 6015A, Repairing electrical
wiring, W iring: Precautions for repair), repair the connectors; otherwise, replace the wiring.
Check the fitting and adjustment of component 160 on the pedals.
Pedal depressed:
Check the continuity between connections AP10 (track 2) and 65A of component 160.
Check the insulation between connections AP10 (track 4) and 5A of component 160.
If the checks are incorrect, replace the switch (see MR 411 Mechanical systems, 83D Cruise control, Brake
light switch: Removal - Refitting).
Pedal released:
Check the insulation between connections AP10 (track 2) and 65A of component 160.
Check the continuity between connections AP10 (track 4) and 5A of component 160.
If the checks are incorrect, replace the switch (see MR 411 Mechanical systems, 83D Cruise control, Brake
light switch: Removal - Refitting).
Check the continuity and insulation from earth of the following connection:
●Connection code 65A,
between components 160 and 119.
If the connection is faulty and there is a repair procedure (see Technical Note 6015A, Electrical wiring repair,
Wiring: Precautions for repair), repair the wiring, otherwise replace it.
AFTER REPAIRClear the computer fault memory. Switch off the ignition and wait 20 seconds.
Carry out a road test followed by another check with the diagnostic tool.
BVRJH1_V04_ALP6