stop start RENAULT TWINGO 2009 2.G Transmission Workshop Manual
[x] Cancel search | Manufacturer: RENAULT, Model Year: 2009, Model line: TWINGO, Model: RENAULT TWINGO 2009 2.GPages: 135
Page 40 of 135

21A-25
MANUAL GEARBOX
Manual gearbox: Removal - Refitting
K9K, and JH3 or JR5
21A
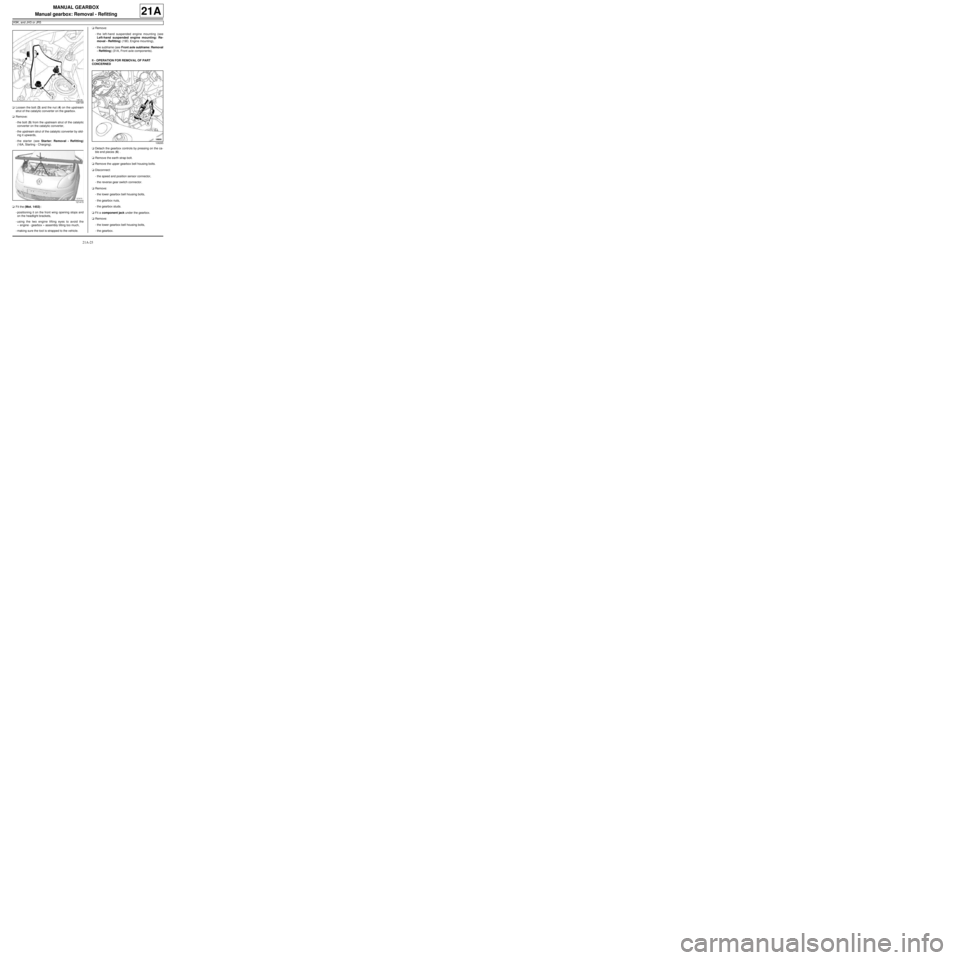
aLoosen the bolt (3) and the nut (4) on the upstream
strut of the catalytic converter on the gearbox.
aRemove:
-the bolt (5) from the upstream strut of the catalytic
converter on the catalytic converter,
-the upstream strut of the catalytic converter by slid-
ing it upwards,
-the starter (see Starter: Removal - Refitting)
(16A, Starting - Charging).
aFit the (Mot. 1453) :
-positioning it on the front wing opening stops and
on the headlight brackets,
-using the two engine lifting eyes to avoid the
« engine - gearbox » assembly tilting too much,
-making sure the tool is strapped to the vehicle.aRemove:
-the left-hand suspended engine mounting (see
Left-hand suspended engine mounting: Re-
moval - Refitting) (19D, Engine mounting),
-the subframe (see Front axle subframe: Removal
- Refitting) (31A, Front axle components).
II - OPERATION FOR REMOVAL OF PART
CONCERNED
aDetach the gearbox controls by pressing on the ca-
ble end pieces (6) .
aRemove the earth strap bolt.
aRemove the upper gearbox bell housing bolts.
aDisconnect:
-the speed and position sensor connector,
-the reverse gear switch connector.
aRemove:
-the lower gearbox bell housing bolts,
-the gearbox nuts,
-the gearbox studs.
aFit a component jack under the gearbox.
aRemove:
-the lower gearbox bell housing bolts,
-the gearbox.
106199
121415
108265
Page 43 of 135

21A-28
MANUAL GEARBOX
Manual gearbox: Removal - Refitting
D4F, and JB1 – D7F, and JB1
21A
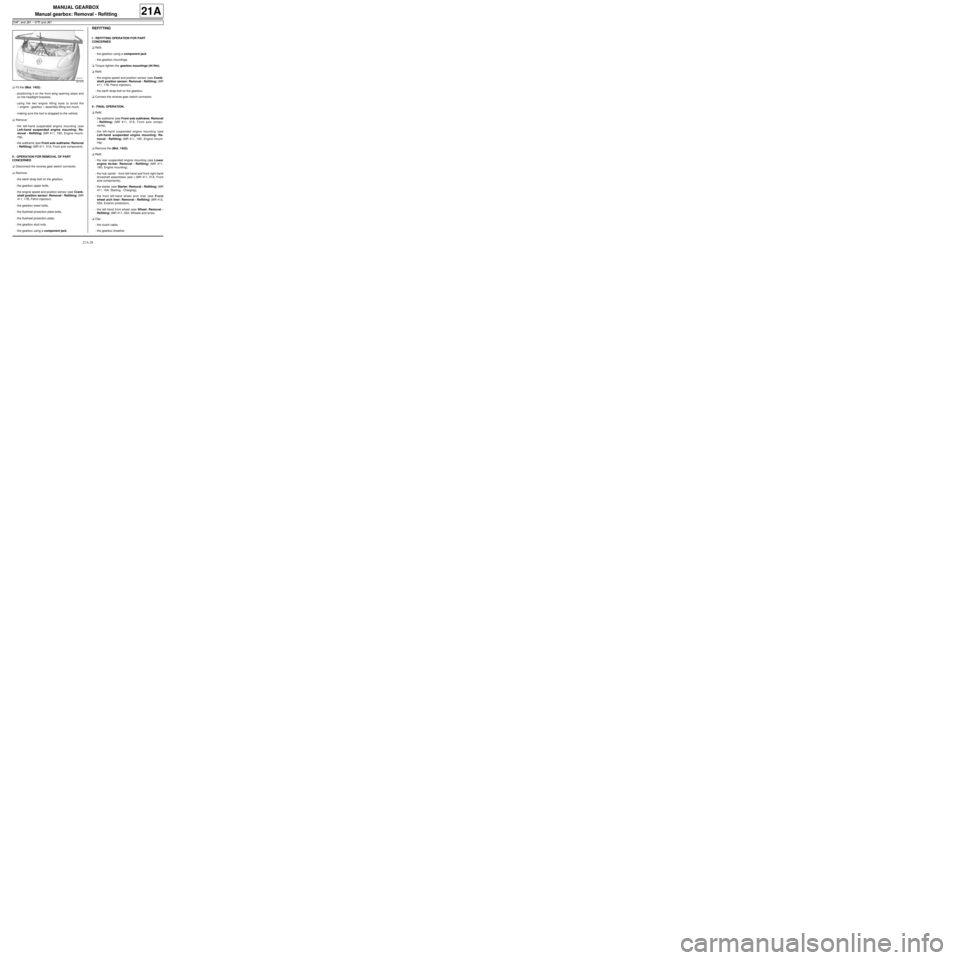
aFit the (Mot. 1453) :
-positioning it on the front wing opening stops and
on the headlight brackets,
-using the two engine lifting eyes to avoid the
« engine - gearbox » assembly tilting too much,
-making sure the tool is strapped to the vehicle.
aRemove:
-the left-hand suspended engine mounting (see
Left-hand suspended engine mounting: Re-
moval - Refitting) (MR 411, 19D, Engine mount-
ing),
-the subframe (see Front axle subframe: Removal
- Refitting) (MR 411, 31A, Front axle component).
II - OPERATION FOR REMOVAL OF PART
CONCERNED
aDisconnect the reverse gear switch connector.
aRemove:
-the earth strap bolt on the gearbox,
-the gearbox upper bolts,
-the engine speed and position sensor (see Crank-
shaft position sensor: Removal - Refitting) (MR
411, 17B, Petrol injection).
-the gearbox lower bolts,
-the flywheel protection plate bolts,
-the flywheel protection plate,
-the gearbox stud nuts,
-the gearbox using a component jack.
REFITTING
I - REFITTING OPERATION FOR PART
CONCERNED
aRefit:
-the gearbox using a component jack.
-the gearbox mountings.
aTorque tighten the gearbox mountings (44 Nm).
aRefit:
-the engine speed and position sensor (see Crank-
shaft position sensor: Removal - Refitting) (MR
411, 17B, Petrol injection),
-the earth strap bolt on the gearbox.
aConnect the reverse gear switch connector.
II - FINAL OPERATION.
aRefit:
-the subframe (see Front axle subframe: Removal
- Refitting) (MR 411, 31A, Front axle compo-
nents),
-the left-hand suspended engine mounting (see
Left-hand suspended engine mounting: Re-
moval - Refitting) (MR 411, 19D, Engine mount-
ing).
aRemove the (Mot. 1453).
aRefit:
-the rear suspended engine mounting (see Lower
engine tie-bar: Removal - Refitting) (MR 411,
19D, Engine mounting),
-the hub carrier - front left-hand and front right-hand
driveshaft assemblies (see ) (MR 411, 31A, Front
axle components),
-the starter (see Starter: Removal - Refitting) (MR
411, 16A, Starting - Charging),
-the front left-hand wheel arch liner (see Front
wheel arch liner: Removal - Refitting) (MR 412,
55A, Exterior protection),
-the left-hand front wheel (see Wheel: Removal -
Refitting) (MR 411, 35A, Wheels and tyres).
aClip:
-the clutch cable,
-the gearbox breather.
121415