instrument panel RENAULT TWINGO RS 2009 2.G Air Conditioning Owner's Manual
[x] Cancel search | Manufacturer: RENAULT, Model Year: 2009, Model line: TWINGO RS, Model: RENAULT TWINGO RS 2009 2.GPages: 122
Page 39 of 122
61A-36
HEATING
Distribution unit: Removal - Refitting
AIR CONDITIONING
61A
aRefit the storage compartment.
aRefit the radio (see Radio: Removal - Refitting)
(86A, Radio).
aRefit the tweeters (see Tweeter: Removal - Refit-
ting) (86A, Radio).
aRefit:
-the control panel (see 61A, Heating, Control pan-
el: Removal - Refitting, page 61A-65) ,
-the instrument panel (see Instrument panel: Re-
moval - Refitting) (83A, Instrument panel),
-the passenger front airbag (see Passenger's fron-
tal airbag: Removal - Refitting) (88C, Airbags
and pretensioners),
-the steering column switch assembly (see Steer-
ing column switch assembly: Removal - Refit-
ting) (84A, Control - Signals),
-the steering wheel (see Steering wheel: Removal
- Refitting) (36A, Steering assembly),
-the driver's front airbag (see Driver's frontal air-
bag: Removal - Refitting) (88C, Airbags and seat
belt pretensioners).
aRefit the rev counter (see Rev counter: Removal -
Refitting) (83A, Instrument panel).
aConnect:
-the air filter unit air inlet pipe onto the air filter unit,
-the heater matrix inlet and outlet hoses.aFit the heater matrix inlet and outlet hose clips using
the (Mot. 1448) or (Mot. 1202-01) or (Mot. 1202-
02).
aRemove the (Ms. 583) on the heater matrix inlet and
outlet hoses.
aRefit the air outlet pipe onto the air filter unit.
aFit the air filter unit air inlet pipe.
aRemove the plugs from the openings.
aFit the connecting pipes.
aRefit:
-the bolt to the expansion valve - compressor con-
necting pipe,
-the bolt to the condenser - expansion valve con-
necting pipe.
aRefit:
-the scoop under the scuttle panel grille (see Scoop
under the scuttle panel grille: Removal - Refit-
ting) (56A, Exterior equipment),
-the scuttle panel grille (see Scuttle panel grille:
Removal - Refitting) (56A, Exterior equipment),
-the windscreen wiper arms (see Windscreen wip-
er arm: Removal - Refitting) (85A, Wiping -
Washing).
aConnect the battery (see Battery: Removal - Refit-
ting) (80A, Battery).
aUnlock the airbag computer using the Diagnostic
tool (see Fault finding - Replacement of compo-
nents) (88C, Airbags and pretensioners).
aFill up and bleed the cooling system (see Cooling
system: Draining - Refilling) (19A, Cooling).
aCheck the cooling circuit (see Engine cooling sys-
tem: Check) (19A, Cooling).
aConsult the refrigerant and oil quantity values before
filling the circuit (see 62A, Air conditioning, Air
conditioning: Parts and consumables for the re-
pair, page 62A-2) .
aFill the refrigerant circuit using the refrigerant
charging station (see 62A, Air conditioning, Re-
frigerant circuit: Draining - Filling, page 62A-8) .
aCheck that the air conditioning system is operating
correctly (see 62A, Air conditioning, Air condi-
tioning: Check, page 62A-4) . WITH 2 SPEAKERS, WITHOUT RADIO or VEHI-
CLE WITHOUT RADIO
RADIO NO. 01 or RADIO NO. 03
WITH 2 SPEAKERS, WITHOUT RADIO or RADIO
NO. 01 or RADIO NO. 03
ENGINE REV COUNTER
D7F
Page 43 of 122
61A-40
HEATING
Distribution unit: Removal - Refitting
CLIMATE CONTROL
61A
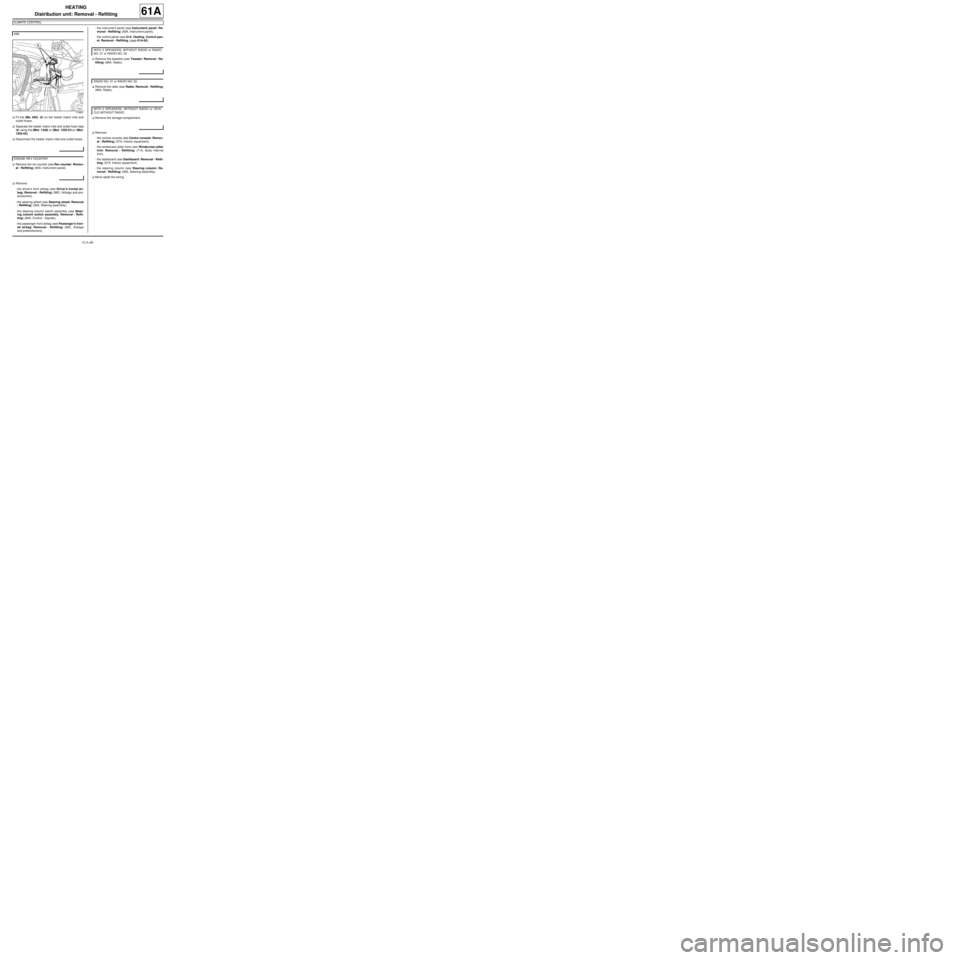
aFit the (Ms. 583) (8) on the heater matrix inlet and
outlet hoses.
aSeparate the heater matrix inlet and outlet hose clips
(9) using the (Mot. 1448) or (Mot. 1202-01) or (Mot.
1202-02).
aDisconnect the heater matrix inlet and outlet hoses.
aRemove the rev counter (see Rev counter: Remov-
al - Refitting) (83A, Instrument panel).
aRemove:
-the driver's front airbag (see Driver's frontal air-
bag: Removal - Refitting) (88C, Airbags and pre-
tensioners),
-the steering wheel (see Steering wheel: Removal
- Refitting) (36A, Steering assembly),
-the steering column switch assembly (see Steer-
ing column switch assembly: Removal - Refit-
ting) (84A, Control - Signals),
-the passenger front airbag (see Passenger's fron-
tal airbag: Removal - Refitting) (88C, Airbags
and pretensioners),-the instrument panel (see Instrument panel: Re-
moval - Refitting) (83A, Instrument panel),
-the control panel (see 61A, Heating, Control pan-
el: Removal - Refitting, page 61A-65) .
aRemove the tweeters (see Tweeter: Removal - Re-
fitting) (86A, Radio).
aRemove the radio (see Radio: Removal - Refitting)
(86A, Radio).
aRemove the storage compartment.
aRemove:
-the central console (see Centre console: Remov-
al - Refitting) (57A, Interior equipment),
-the windscreen pillar trims (see Windscreen pillar
trim: Removal - Refitting) (71A, Body internal
trim),
-the dashboard (see Dashboard: Removal - Refit-
ting) (57A, Interior equipment),
-the steering column (see Steering column: Re-
moval - Refitting) (36A, Steering assembly).
aMove aside the wiring. K9K
119861
ENGINE REV COUNTER
WITH 2 SPEAKERS, WITHOUT RADIO or RADIO
NO. 01 or RADIO NO. 03
RADIO NO. 01 or RADIO NO. 03
WITH 2 SPEAKERS, WITHOUT RADIO or VEHI-
CLE WITHOUT RADIO
Page 45 of 122
61A-42
HEATING
Distribution unit: Removal - Refitting
CLIMATE CONTROL
61A
aRefit the storage compartment.
aRefit the radio (see Radio: Removal - Refitting)
(86A, Radio).
aRefit the tweeters (see Tweeter: Removal - Refit-
ting) (86A, Radio).
aRefit:
-the control panel (see 61A, Heating, Control pan-
el: Removal - Refitting, page 61A-65) ,
-the instrument panel (see Instrument panel: Re-
moval - Refitting) (83A, Instrument panel),
-the passenger front airbag (see Passenger's fron-
tal airbag: Removal - Refitting) (88C, Airbags
and pretensioners),
-the steering column switch assembly (see Steer-
ing column switch assembly: Removal - Refit-
ting) (84A, Control - Signals),
-the steering wheel (see Steering wheel: Removal
- Refitting) (36A, Steering assembly),
-the driver's front airbag (see Driver's frontal air-
bag: Removal - Refitting) (88C, Airbags and seat
belt pretensioners).
aRefit the rev counter (see Rev counter: Removal -
Refitting) (83A, Instrument panel).
aConnect:
-the air filter unit air inlet pipe onto the air filter unit,
-the heater matrix inlet and outlet hoses.aFit the heater matrix inlet and outlet hose clips using
the (Mot. 1448) or (Mot. 1202-01) or (Mot. 1202-
02).
aRemove the (Ms. 583) on the heater matrix inlet and
outlet hoses.
aRefit the air outlet pipe onto the air filter unit.
aFit the air filter unit air inlet pipe.
aRemove the plugs from the openings.
aFit the connecting pipes.
aRefit:
-the bolt to the expansion valve - compressor con-
necting pipe,
-the bolt to the condenser - expansion valve con-
necting pipe.
aRefit:
-the scoop under the scuttle panel grille (see Scoop
under the scuttle panel grille: Removal - Refit-
ting) (56A, Exterior equipment),
-the scuttle panel grille (see Scuttle panel grille:
Removal - Refitting) (56A, Exterior equipment),
-the windscreen wiper arms (see Windscreen wip-
er arm: Removal - Refitting) (85A, Wiping -
Washing).
aConnect the battery (see Battery: Removal - Refit-
ting) (80A, Battery).
aUnlock the airbag computer using the Diagnostic
tool (see Fault finding - Replacement of compo-
nents) (88C, Airbags and pretensioners).
aFill up and bleed the cooling system (see Cooling
system: Draining - Refilling) (19A, Cooling).
aCheck the cooling circuit (see Engine cooling sys-
tem: Check) (19A, Cooling).
aConsult the refrigerant and oil quantity values before
filling the circuit (see 62A, Air conditioning, Air
conditioning: Parts and consumables for the re-
pair, page 62A-2) .
aFill the refrigerant circuit using the refrigerant
charging station (see 62A, Air conditioning, Re-
frigerant circuit: Draining - Filling, page 62A-8) .
aCheck that the air conditioning system is operating
correctly (see 62A, Air conditioning, Air condi-
tioning: Check, page 62A-4) . WITH 2 SPEAKERS, WITHOUT RADIO or VEHI-
CLE WITHOUT RADIO
RADIO NO. 01 or RADIO NO. 03
WITH 2 SPEAKERS, WITHOUT RADIO or RADIO
NO. 01 or RADIO NO. 03
ENGINE REV COUNTER
D7F
Page 48 of 122
61A-45
HEATING
Heater matrix: Removal - Refitting
LEFT-HAND DRIVE
61A
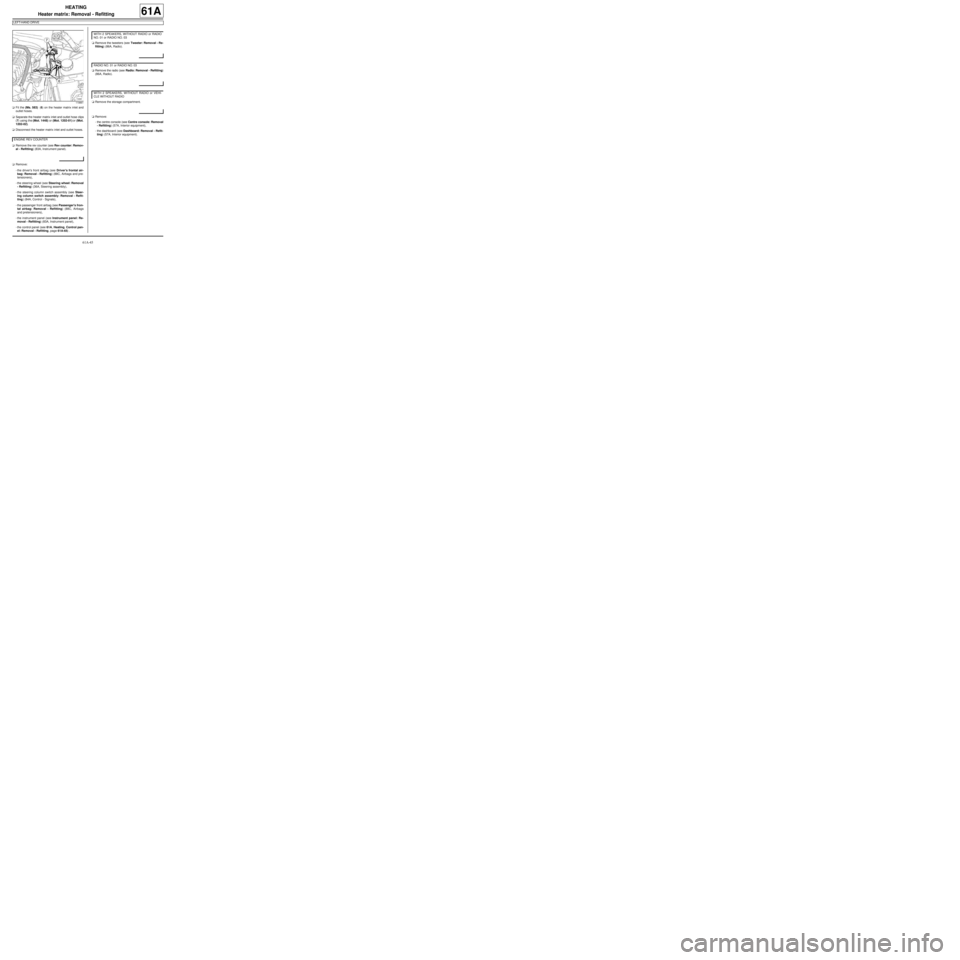
aFit the (Ms. 583) (6) on the heater matrix inlet and
outlet hoses.
aSeparate the heater matrix inlet and outlet hose clips
(7) using the (Mot. 1448) or (Mot. 1202-01) or (Mot.
1202-02).
aDisconnect the heater matrix inlet and outlet hoses.
aRemove the rev counter (see Rev counter: Remov-
al - Refitting) (83A, Instrument panel).
aRemove:
-the driver's front airbag (see Driver's frontal air-
bag: Removal - Refitting) (88C, Airbags and pre-
tensioners),
-the steering wheel (see Steering wheel: Removal
- Refitting) (36A, Steering assembly),
-the steering column switch assembly (see Steer-
ing column switch assembly: Removal - Refit-
ting) (84A, Control - Signals),
-the passenger front airbag (see Passenger's fron-
tal airbag: Removal - Refitting) (88C, Airbags
and pretensioners),
-the instrument panel (see Instrument panel: Re-
moval - Refitting) (83A, Instrument panel),
-the control panel (see 61A, Heating, Control pan-
el: Removal - Refitting, page 61A-65) .aRemove the tweeters (see Tweeter: Removal - Re-
fitting) (86A, Radio).
aRemove the radio (see Radio: Removal - Refitting)
(86A, Radio).
aRemove the storage compartment.
aRemove:
-the centre console (see Centre console: Removal
- Refitting) (57A, Interior equipment),
-the dashboard (see Dashboard: Removal - Refit-
ting) (57A, Interior equipment).
119861
ENGINE REV COUNTER
WITH 2 SPEAKERS, WITHOUT RADIO or RADIO
NO. 01 or RADIO NO. 03
RADIO NO. 01 or RADIO NO. 03
WITH 2 SPEAKERS, WITHOUT RADIO or VEHI-
CLE WITHOUT RADIO
Page 50 of 122
61A-47
HEATING
Heater matrix: Removal - Refitting
LEFT-HAND DRIVE
61A
II - REFITTING OPERATION FOR PART
CONCERNED
aFit the pipes on the heater matrix with new seals.
aClip on the pipe bracket.
aRefit the heater matrix and its pipes.
aRefit:
-the heater matrix bolts.
-the heater matrix pipe bracket,
-the bolt on the heater matrix pipe bracket,
-the heater matrix pipe bracket on the distribution
unit,
-the heater matrix pipe bracket bolt on the distribu-
tion unit,
III - FINAL OPERATION
aRemove the protective cover on the floor carpet.
aRefit:
-the cross member reinforcement,
-the cross member reinforcement bolts,
aTorque tighten the cross member reinforcement
bolts (21 N.m).
aRefit:
-the dashboard (see Dashboard: Removal - Refit-
ting) (57A, Interior equipment),
-the centre console (see Centre console: Removal
- Refitting) (57A, Interior equipment).
aRefit the storage compartment.
aRefit the radio (see Radio: Removal - Refitting)
(86A, Radio).aRefit the tweeters (see Tweeter: Removal - Refit-
ting) (86A, Radio).
aRefit:
-the control panel (see 61A, Heating, Control pan-
el: Removal - Refitting, page 61A-65) ,
-the instrument panel (see Instrument panel: Re-
moval - Refitting) (83A, Instrument panel),
-the passenger front airbag (see Passenger's fron-
tal airbag: Removal - Refitting) (88C, Airbags
and pretensioners),
-the steering column switch assembly (see Steer-
ing column switch assembly: Removal - Refit-
ting) (84A, Control - Signals),
-the steering wheel (see Centre console: Removal
- Refitting) (36A, Steering assembly),
-the driver's front airbag (see Driver's frontal air-
bag: Removal - Refitting) (88C, Airbags and seat
belt pretensioners).
aRefit the rev counter (see Rev counter: Removal -
Refitting) (83A, Instrument panel).
aRefit the air outlet pipe onto the air filter unit.
aFit the air filter unit air inlet pipe.
aRefit the air filter unit air inlet pipe on the air filter unit
aRefit the heater matrix inlet and outlet hoses.
aFit the heater matrix inlet and outlet hose clips using
the (Mot. 1448) or (Mot. 1202-01) or (Mot. 1202-
02).
aRemove the (Ms. 583) on the heater matrix inlet and
outlet hoses. WITH 2 SPEAKERS, WITHOUT RADIO or VEHI-
CLE WITHOUT RADIO
RADIO NO. 01 or RADIO NO. 03
WITH 2 SPEAKERS, WITHOUT RADIO or RADIO
NO. 01 or RADIO NO. 03
ENGINE REV COUNTER
D7F
Page 53 of 122
61A-50
HEATING
Heater matrix: Removal - Refitting
RIGHT-HAND DRIVE
61A
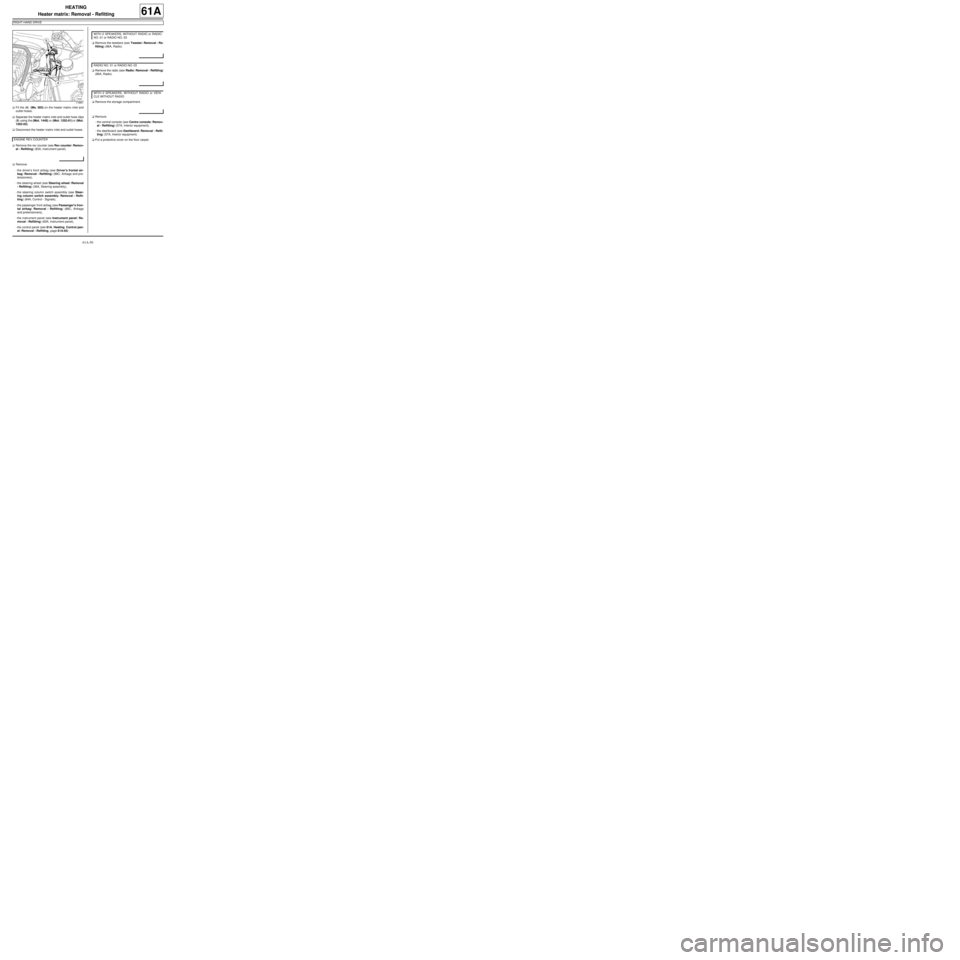
aFit the (4) (Ms. 583) on the heater matrix inlet and
outlet hoses.
aSeparate the heater matrix inlet and outlet hose clips
(5) using the (Mot. 1448) or (Mot. 1202-01) or (Mot.
1202-02).
aDisconnect the heater matrix inlet and outlet hoses.
aRemove the rev counter (see Rev counter: Remov-
al - Refitting) (83A, Instrument panel).
aRemove:
-the driver's front airbag (see Driver's frontal air-
bag: Removal - Refitting) (88C, Airbags and pre-
tensioners),
-the steering wheel (see Steering wheel: Removal
- Refitting) (36A, Steering assembly),
-the steering column switch assembly (see Steer-
ing column switch assembly: Removal - Refit-
ting) (84A, Control - Signals),
-the passenger front airbag (see Passenger's fron-
tal airbag: Removal - Refitting) (88C, Airbags
and pretensioners),
-the instrument panel (see Instrument panel: Re-
moval - Refitting) (83A, Instrument panel),
-the control panel (see 61A, Heating, Control pan-
el: Removal - Refitting, page 61A-65) .aRemove the tweeters (see Tweeter: Removal - Re-
fitting) (86A, Radio).
aRemove the radio (see Radio: Removal - Refitting)
(86A, Radio).
aRemove the storage compartment.
aRemove:
-the central console (see Centre console: Remov-
al - Refitting) (57A, Interior equipment),
-the dashboard (see Dashboard: Removal - Refit-
ting) (57A, Interior equipment).
aPut a protective cover on the floor carpet.
119861
ENGINE REV COUNTER
WITH 2 SPEAKERS, WITHOUT RADIO or RADIO
NO. 01 or RADIO NO. 03
RADIO NO. 01 or RADIO NO. 03
WITH 2 SPEAKERS, WITHOUT RADIO or VEHI-
CLE WITHOUT RADIO
Page 55 of 122
61A-52
HEATING
Heater matrix: Removal - Refitting
RIGHT-HAND DRIVE
61A
-the instrument panel (see Instrument panel: Re-
moval - Refitting) (83A, Instrument panel),
-the passenger front airbag (see Passenger's fron-
tal airbag: Removal - Refitting) (88C, Airbags
and pretensioners),
-the steering column switch assembly (see Steer-
ing column switch assembly: Removal - Refit-
ting) (84A, Control - Signals),
-the steering wheel (see Centre console: Removal
- Refitting) (36A, Steering assembly),
-the driver's front airbag (see Driver's frontal air-
bag: Removal - Refitting) (88C, Airbags and seat
belt pretensioners).
aRefit the rev counter (see Rev counter: Removal -
Refitting) (83A, Instrument panel).
aRefit the air outlet pipe onto the air filter unit.
aFit the air filter unit air inlet pipe.
aConnect the air filter unit air inlet pipe on the air filter
unit.
aConnect the heater matrix inlet and outlet hoses.
aFit the heater matrix inlet and outlet hose clips using
the (Mot. 1448) or (Mot. 1202-01) or (Mot. 1202-
02).
aRemove the (Ms. 583) from the heater matrix inlet
and outlet hoses.
aRefit:
-the scoop under the scuttle panel grille (see Scoop
under the scuttle panel grille: Removal - Refit-
ting) (56A, Exterior equipment),
-the scuttle panel grille (see Scuttle panel grille:
Removal - Refitting) (56A, Exterior equipment),
-the windscreen wiper arms (see Windscreen wip-
er arm: Removal - Refitting) (85A, Wiping -
Washing).
aConnect the battery (see Battery: Removal - Refit-
ting) (80A, Battery).aUnlock the airbag computer using the Diagnostic
tool (see Fault finding - Replacement of compo-
nents) (88C, Airbags and pretensioners).
aFill up and bleed the cooling system (see Cooling
system: Draining - Refilling) (19A, Cooling).
aCheck the cooling circuit (see Engine cooling sys-
tem: Check) (19A, Cooling).
ENGINE REV COUNTER
D7F
Page 58 of 122
61A-55
HEATING
Fan assembly: Removal - Refitting
RIGHT-HAND DRIVE
61A
REMOVAL
I - REMOVAL PREPARATION OPERATION
aLock the airbag computer using the Diagnostic tool
(see Fault finding - Replacement of components)
(MR 413, 88C, Airbags and pretensioners).
aDisconnect the battery (see Battery: Removal - Re-
fitting) (MR 411, 80A, Battery).
aRemove:
-the driver's front airbag (see Driver's frontal air-
bag: Removal - Refitting) (MR 411, 88C, Airbags
and pretensioners),
-the steering wheel (see Steering wheel: Removal
- Refitting) (MR 411, 36B, Power-assisted steer-
ing),
-the steering column switch assembly (see Steer-
ing column switch assembly: Removal - Refit-
ting) (MR 411, 84A, Control - Signals),
-the passenger's front airbag (see Passenger's
frontal airbag: Removal - Refitting) (MR 411,
88C, Airbags and seat belt pretensioners),
-the instrument panel (see Instrument panel: Re-
moval - Refitting) (MR 411, 83A, Instrument pan-
el),
-the control panel (see 61A, Heating, Control pan-
el: Removal - Refitting, page 61A-65) .
aRemove the tweeter speakers (see Tweeter: Re-
moval - Refitting) (MR 411, 86A, Radio).
aRemove the radio (see Radio: Removal - Refitting)
(MR 411, 86A, Radio).aRemove the glovebox.
aRemove:
-the centre console (see Centre console: Removal
- Refitting) (MR 412, 57A, Interior equipment),
-the dashboard (see Dashboard: Removal - Refit-
ting) (MR 412, 57A, Interior equipment).
II - REMOVAL OPERATION FOR PART
CONCERNED
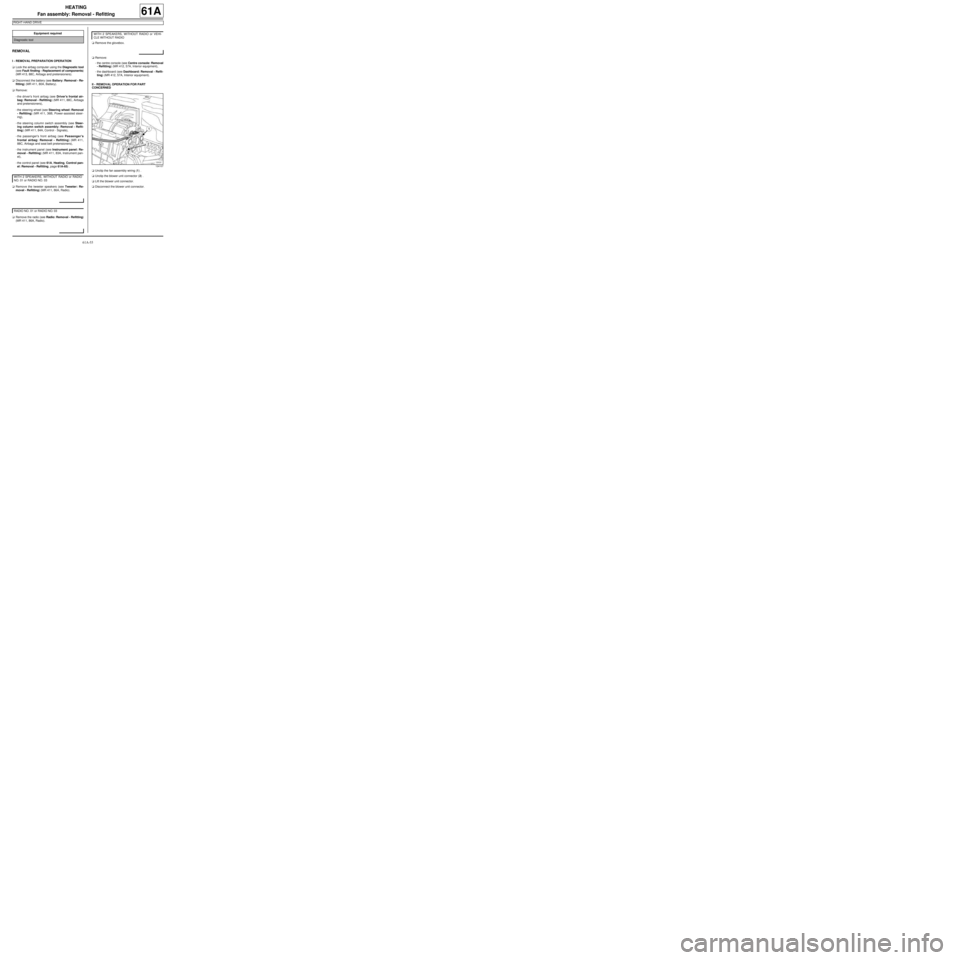
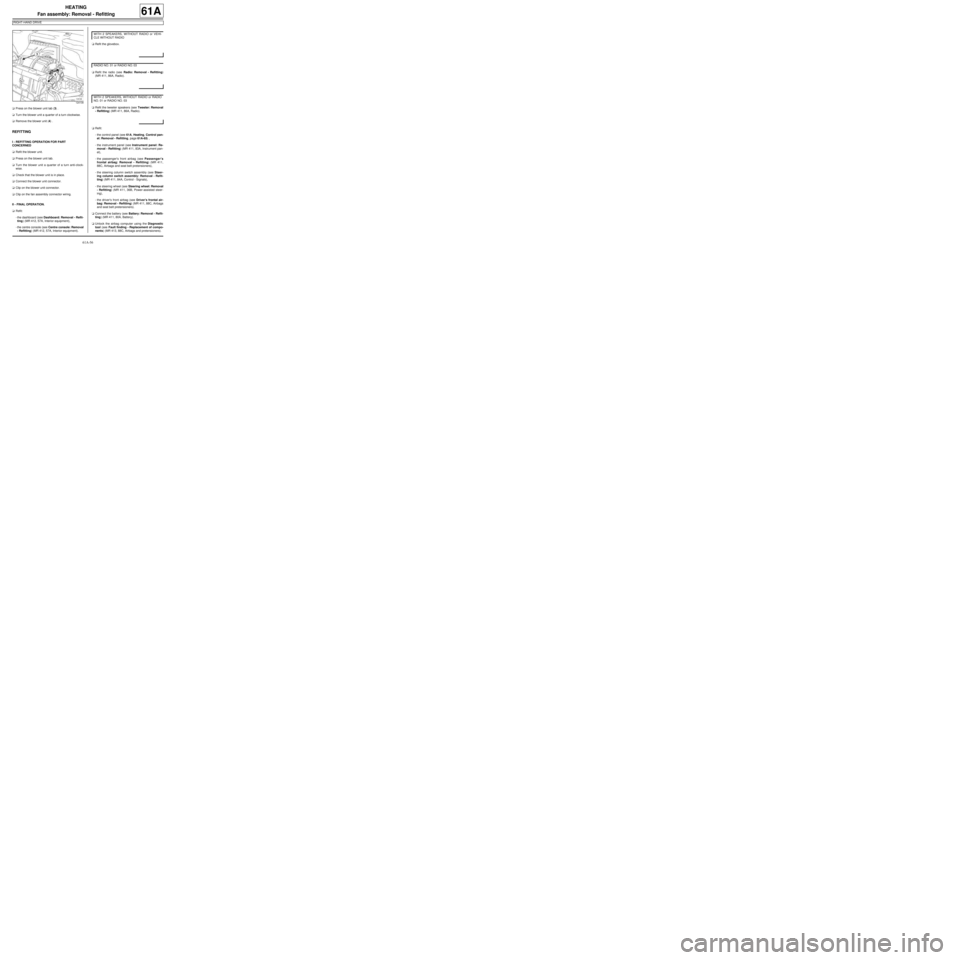
aUnclip the fan assembly wiring (1) .
aUnclip the blower unit connector (2) .
aLift the blower unit connector.
aDisconnect the blower unit connector. Equipment required
Diagnostic tool
WITH 2 SPEAKERS, WITHOUT RADIO or RADIO
NO. 01 or RADIO NO. 03
RADIO NO. 01 or RADIO NO. 03
WITH 2 SPEAKERS, WITHOUT RADIO or VEHI-
CLE WITHOUT RADIO
124107
Page 59 of 122
61A-56
HEATING
Fan assembly: Removal - Refitting
RIGHT-HAND DRIVE
61A
aPress on the blower unit tab (3) .
aTurn the blower unit a quarter of a turn clockwise.
aRemove the blower unit (4) .
REFITTING
I - REFITTING OPERATION FOR PART
CONCERNED
aRefit the blower unit.
aPress on the blower unit tab.
aTurn the blower unit a quarter of a turn anti-clock-
wise.
aCheck that the blower unit is in place.
aConnect the blower unit connector.
aClip on the blower unit connector.
aClip on the fan assembly connector wiring.
II - FINAL OPERATION.
aRefit:
-the dashboard (see Dashboard: Removal - Refit-
ting) (MR 412, 57A, Interior equipment),
-the centre console (see Centre console: Removal
- Refitting) (MR 412, 57A, Interior equipment).aRefit the glovebox.
aRefit the radio (see Radio: Removal - Refitting)
(MR 411, 86A, Radio).
aRefit the tweeter speakers (see Tweeter: Removal
- Refitting) (MR 411, 86A, Radio).
aRefit:
-the control panel (see 61A, Heating, Control pan-
el: Removal - Refitting, page 61A-65) ,
-the instrument panel (see Instrument panel: Re-
moval - Refitting) (MR 411, 83A, Instrument pan-
el),
-the passenger's front airbag (see Passenger's
frontal airbag: Removal - Refitting) (MR 411,
88C, Airbags and seat belt pretensioners),
-the steering column switch assembly (see Steer-
ing column switch assembly: Removal - Refit-
ting) (MR 411, 84A, Control - Signals),
-the steering wheel (see Steering wheel: Removal
- Refitting) (MR 411, 36B, Power-assisted steer-
ing),
-the driver's front airbag (see Driver's frontal air-
bag: Removal - Refitting) (MR 411, 88C, Airbags
and seat belt pretensioners).
aConnect the battery (see Battery: Removal - Refit-
ting) (MR 411, 80A, Battery).
aUnlock the airbag computer using the Diagnostic
tool (see Fault finding - Replacement of compo-
nents) (MR 413, 88C, Airbags and pretensioners).
124108
WITH 2 SPEAKERS, WITHOUT RADIO or VEHI-
CLE WITHOUT RADIO
RADIO NO. 01 or RADIO NO. 03
WITH 2 SPEAKERS, WITHOUT RADIO or RADIO
NO. 01 or RADIO NO. 03
Page 61 of 122
61A-58
HEATING
Passenger compartment fan assembly control unit: Removal - Refitting
LEFT-HAND DRIVE
61A
REMOVAL
I - REMOVAL PREPARATION OPERATION
aLock the airbag computer using the Diagnostic tool
(see Fault finding - Replacement of compo-
nents)(MR 413, 88C, Airbags and seat belt preten-
sioners).
aDisconnect the battery (see ) (MR 411, 80A, Bat-
tery).
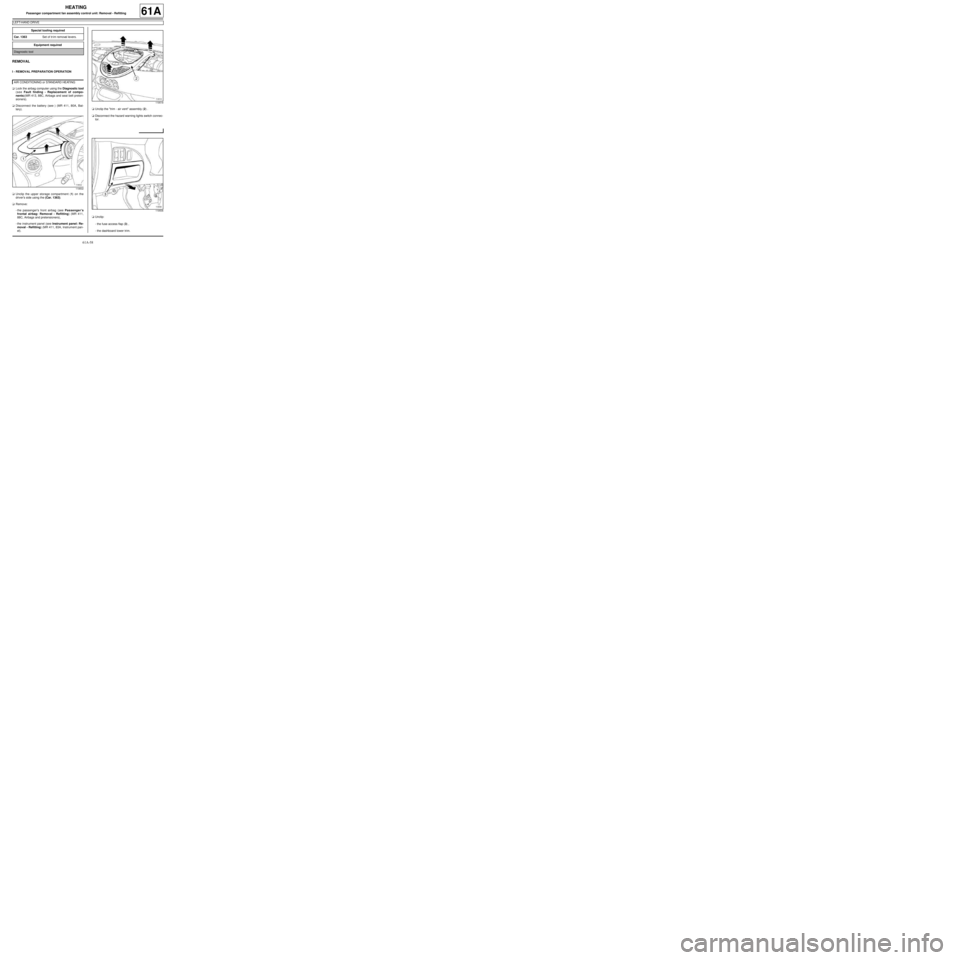
aUnclip the upper storage compartment (1) on the
driver's side using the (Car. 1363).
aRemove:
-the passenger's front airbag (see Passenger's
frontal airbag: Removal - Refitting) (MR 411,
88C, Airbags and pretensioners),
-the instrument panel (see Instrument panel: Re-
moval - Refitting) (MR 411, 83A, Instrument pan-
el).aUnclip the "trim - air vent" assembly (2) .
aDisconnect the hazard warning lights switch connec-
tor.
aUnclip:
-the fuse access flap (3) ,
-the dashboard lower trim. Special tooling required
Car. 1363Set of tr im removal levers.
Equipment required
Diagnostic tool
AIR CONDITIONING or STANDARD HEATING
119502
119518
119506