tow RENAULT TWINGO RS 2009 2.G Chasiss Owner's Guide
[x] Cancel search | Manufacturer: RENAULT, Model Year: 2009, Model line: TWINGO RS, Model: RENAULT TWINGO RS 2009 2.GPages: 281
Page 112 of 281
33A-14
REAR AXLE COMPONENTS
Rear brake lining: Removal - Refitting
33A
Replace all the brake pads on one axle at the same
time. Never mix brake pads of different brands or qual-
ities.
REMOVAL
I - REMOVAL PREPARATION OPERATION
aPosition the vehicle on a two-post lift ( (see Vehicle:
Towing and lifting) ).
aRelease the parking brake.
aRemove:
-the rear wheels (see 35A, Wheels and tyres,
Wheel: Removal - Refitting, page 35A-1) ,
-the rear brake drums (see 33A, Rear axle compo-
nents, Rear brake drum: Removal - Refitting,
page 33A-19) .
II - OPERATION FOR REMOVAL OF PART
CONCERNED
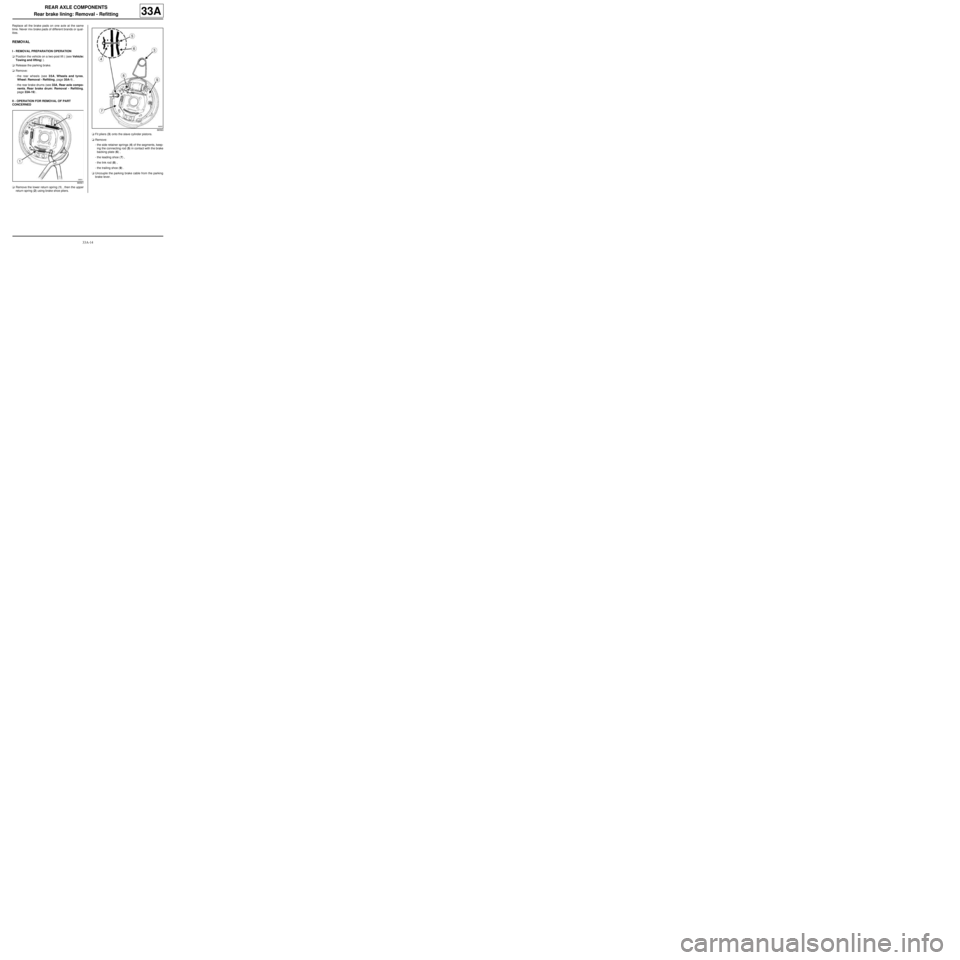
aRemove the lower return spring (1) , then the upper
return spring (2) using brake shoe pliers.aFit pliers (3) onto the slave cylinder pistons.
aRemove:
-the side retainer springs (4) of the segments, keep-
ing the connecting rod (5) in contact with the brake
backing plate (6) ,
-the leading shoe (7) ,
-the link rod (8) ,
-the trailing shoe (9) .
aUncouple the parking brake cable from the parking
brake lever.
86561
86560
Page 115 of 281
33A-17
REAR AXLE COMPONENTS
Rear brake cylinder: Removal - Refitting
33A
REMOVAL
I - OPERATION FOR PREPARATION OF PART
CONCERNED
aPosition the vehicle on a lift ( (see Vehicle: Towing
and lifting) ).
aRelease the parking brake.
aRemove:
-the rear wheels (see 35A, Wheels and tyres,
Wheel: Removal - Refitting, page 35A-1) ,
-the rear brake drum (see 33A, Rear axle compo-
nents, Rear brake drum: Removal - Refitting,
page 33A-19) .
II - REMOVAL OPERATION FOR PART
CONCERNED
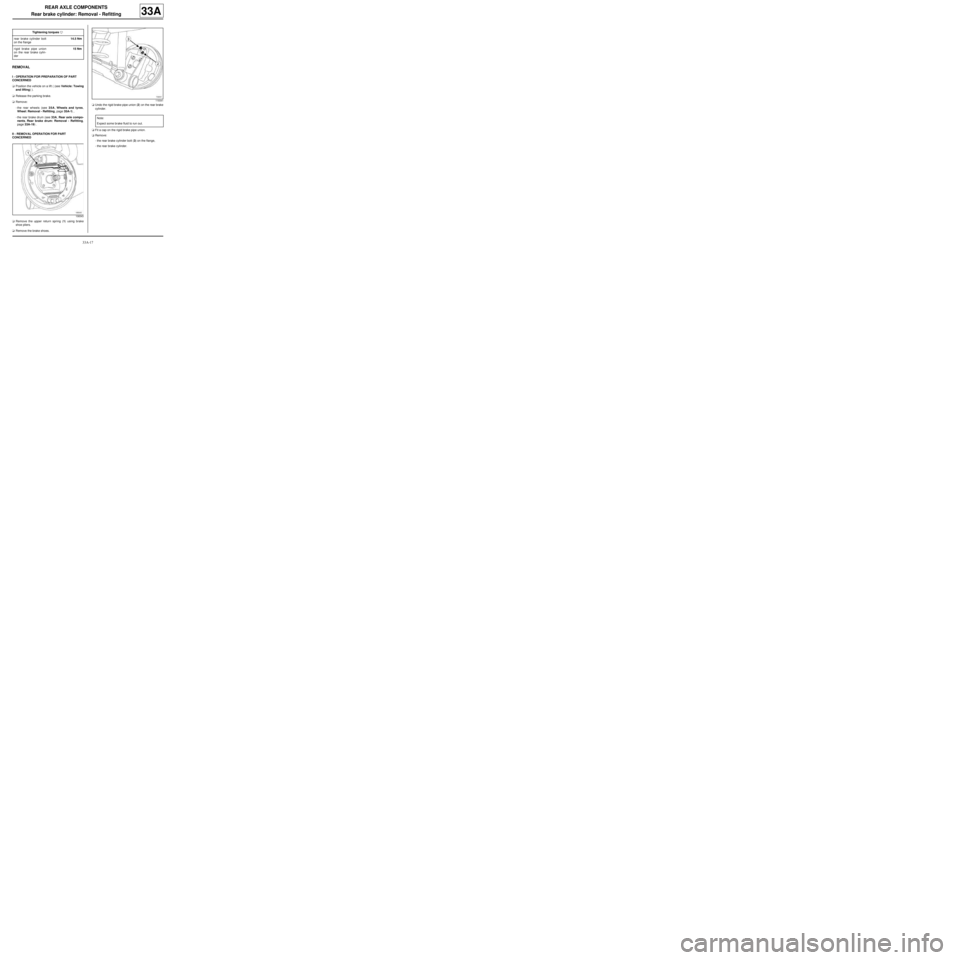
aRemove the upper return spring (1) using brake
shoe pliers.
aRemove the brake shoes.aUndo the rigid brake pipe union (2) on the rear brake
cylinder.
aFit a cap on the rigid brake pipe union.
aRemove:
-the rear brake cylinder bolt (3) on the flange,
-the rear brake cylinder. Tightening torquesm
rear brake cylinder bolt
on the flange14.5 Nm
rigid brake pipe union
on the rear brake cylin-
der15 Nm
108343
119341
Note:
Expect some br ake fluid to run out.
Page 117 of 281
33A-19
REAR AXLE COMPONENTS
Rear brake drum: Removal - Refitting
33A
When a brake drum is replaced, the brake drum on the
opposite side must be replaced as well.
Always replace the brake pads if the brake drums are
being replaced.
REMOVAL
I - REMOVAL PREPARATION OPERATION
aPosition the vehicle on a two-post lift (see Vehicle:
Towing and lifting) (02A, Lifting equipment).
aRelease the parking brake.
aRemove the rear wheels (see 35A, Wheels and ty-
res, Wheel: Removal - Refitting, page 35A-1) .II - OPERATION FOR REMOVAL OF PART
CONCERNED
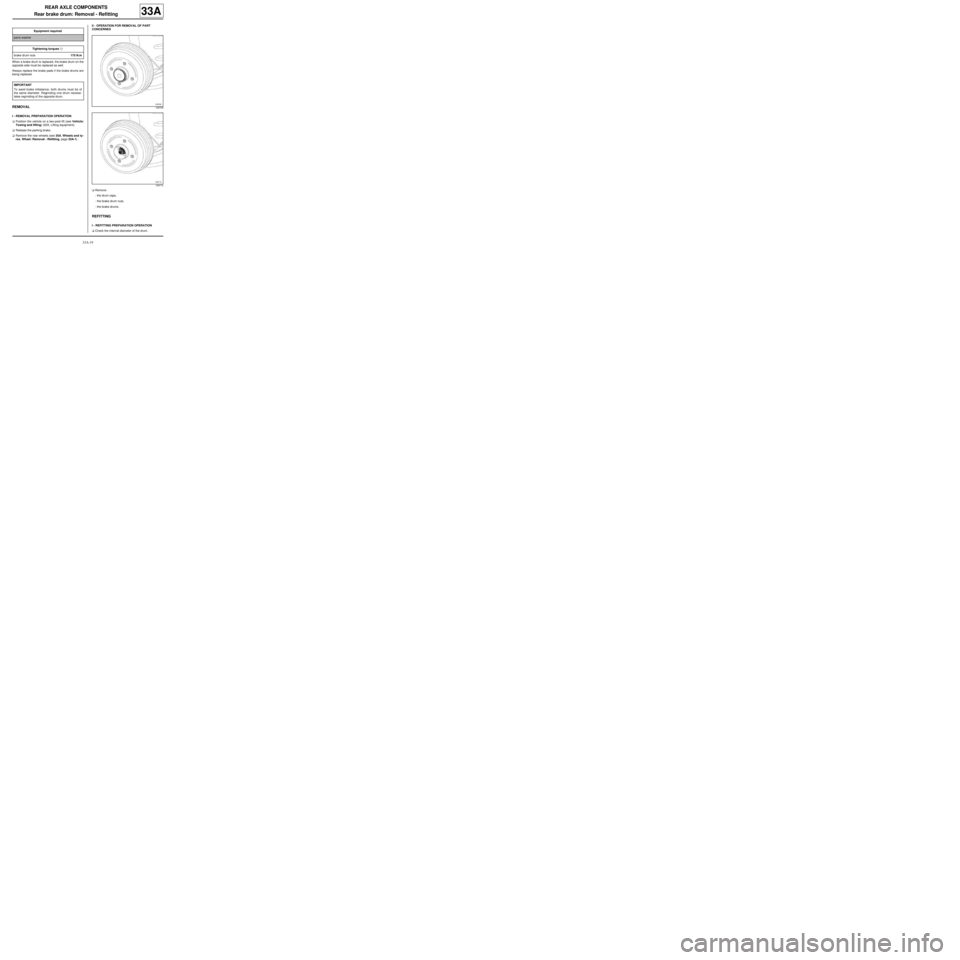
aRemove:
-the drum caps,
-the brake drum nuts,
-the brake drums.
REFITTING
I - REFITTING PREPARATION OPERATION
aCheck the internal diameter of the drum. Equipment required
par ts washer
Tightening torquesm
brake drum nuts175 N.m
IMPORTANT
To avoid brake imbalance, both drums must be of
the same diameter. Regrinding one drum necessi-
tates regrinding of the opposite drum.
109709
109710
Page 119 of 281
33A-21
REAR AXLE COMPONENTS
Rear brake drum: Description
33A
I - PREPARATION OPERATION FOR CHECK
Position the vehicle on a two-post lift (see Vehicle:
Towing and lifting) (02A, Lifting equipment).
Remove:
-the rear wheel (see 35A, Wheels and tyres, Wheel:
Removal - Refitting, page 35A-1) ,
-the rear brake drum (see 33A, Rear axle compo-
nents, Rear brake drum: Removal - Refitting, page
33A-19) .
II - TEST OPERATION
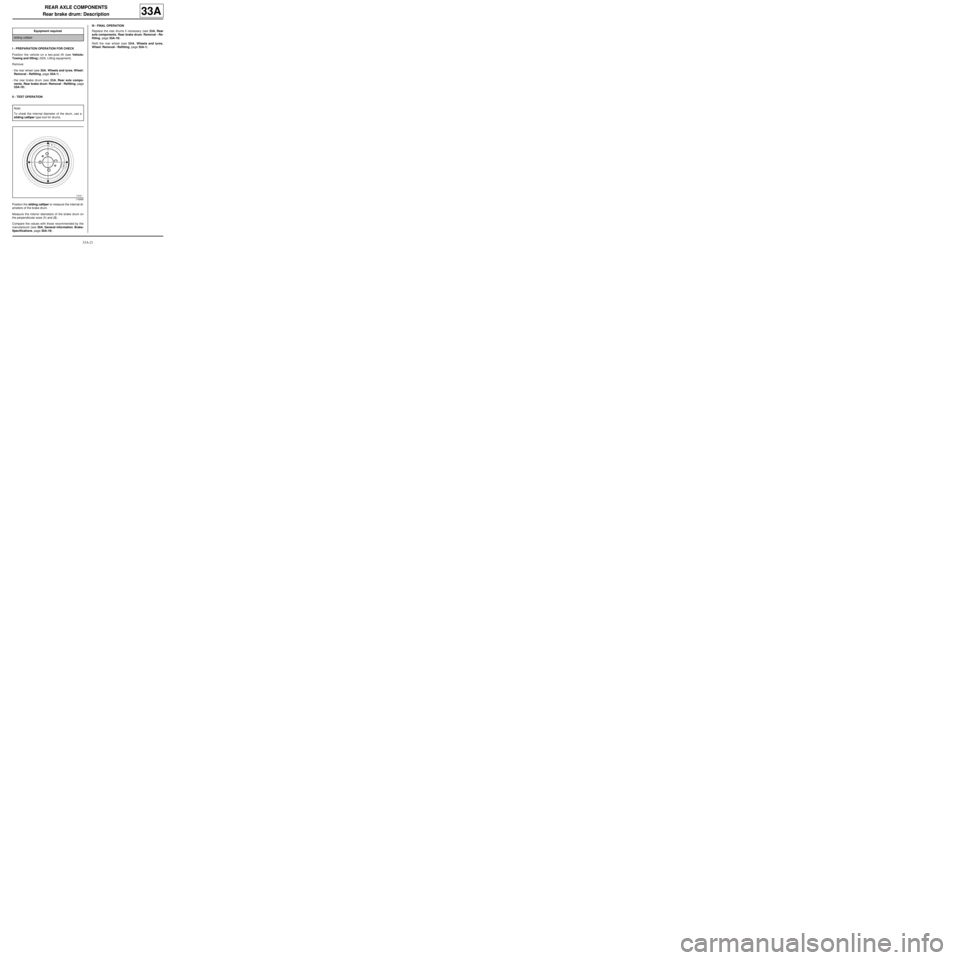
Position the sliding calliper to measure the internal di-
ameters of the brake drum.
Measure the interior diameters of the brake drum on
the perpendicular axes (1) and (2) .
Compare the values with those recommended by the
manufacturer (see 30A, General information, Brake:
Specifications, page 30A-19) .III - FINAL OPERATION
Replace the rear drums if necessary (see 33A, Rear
axle components, Rear brake drum: Removal - Re-
fitting, page 33A-19) .
Refit the rear wheel (see 35A, Wheels and tyres,
Wheel: Removal - Refitting, page 35A-1) . Equipment required
sliding calliper
Note:
To check the internal diameter of the drum, use a
sliding calliper type tool for drums.
116995
Page 120 of 281
33A-22
REAR AXLE COMPONENTS
Rigid brake pipe: Removal - Refitting
C44
33A
The pipes have a rigid section and a flexible section.
REMOVAL
I - REMOVAL PREPARATION OPERATION
aPosition the vehicle on a two-post lift ( (see Vehicle:
Towing and lifting) ).
aFit the pedal press tool to the brake pedal to limit
the escape of brake fluid.II - OPERATION FOR REMOVAL OF PART
CONCERNED
1 - Rear left-hand rigid brake pipe
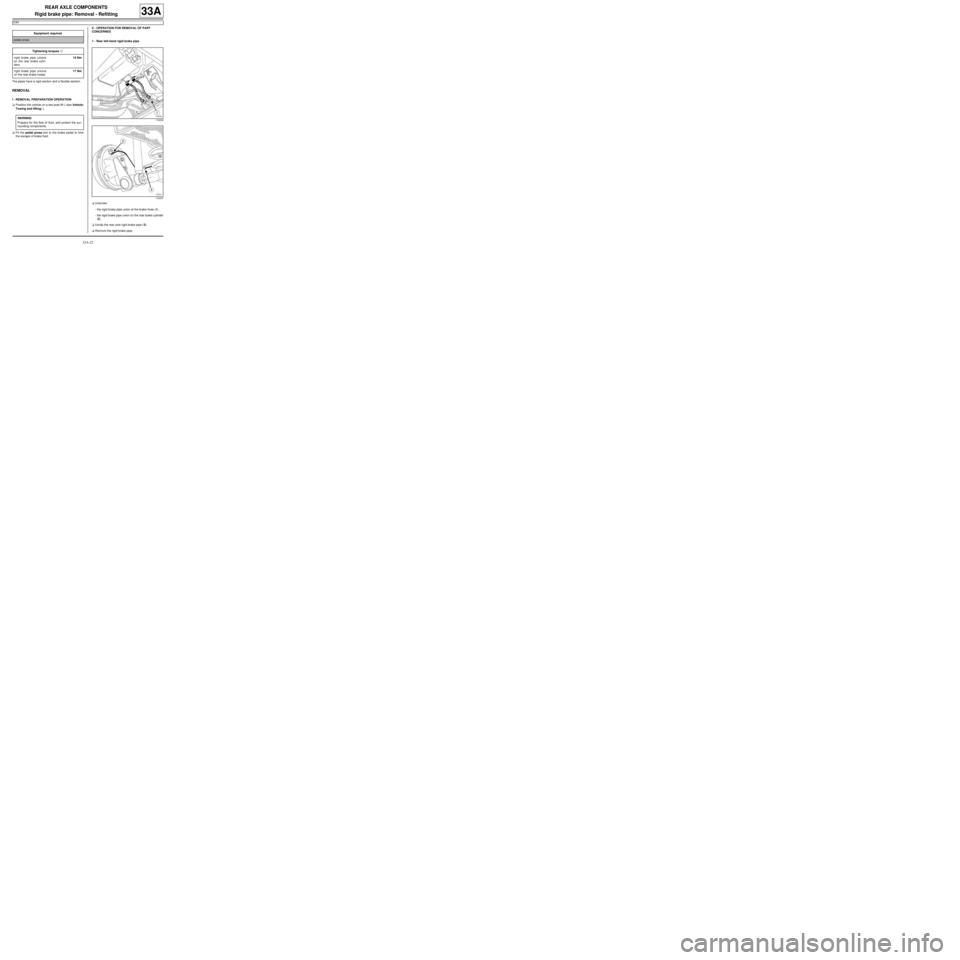
aUnscrew:
-the rigid brake pipe union at the brake hose (1) .
-the rigid brake pipe union on the rear brake cylinder
(2) .
aUnclip the rear axle rigid brake pipe (3) .
aRemove the rigid brake pipe. Equipment required
pedal press
Tightening torquesm
rigid brake pipe unions
on the rear brake cylin-
ders15 Nm
rigid brake pipe unions
on the rear brake hoses17 Nm
WARNING
Prepare for the flow of fluid, and protect the sur-
rounding components.
119339
119337
Page 122 of 281
33A-24
REAR AXLE COMPONENTS
Shock absorber: Removal - Refitting
33A
If a shock absorber is replaced, the shock absorber on
the opposite side must also be replaced.
REMOVAL
I - REMOVAL PREPARATION OPERATION
aPosition the vehicle on a two-post lift (see Vehicle:
Towing and lifting) (MR 411, 02A, Lifting equip-
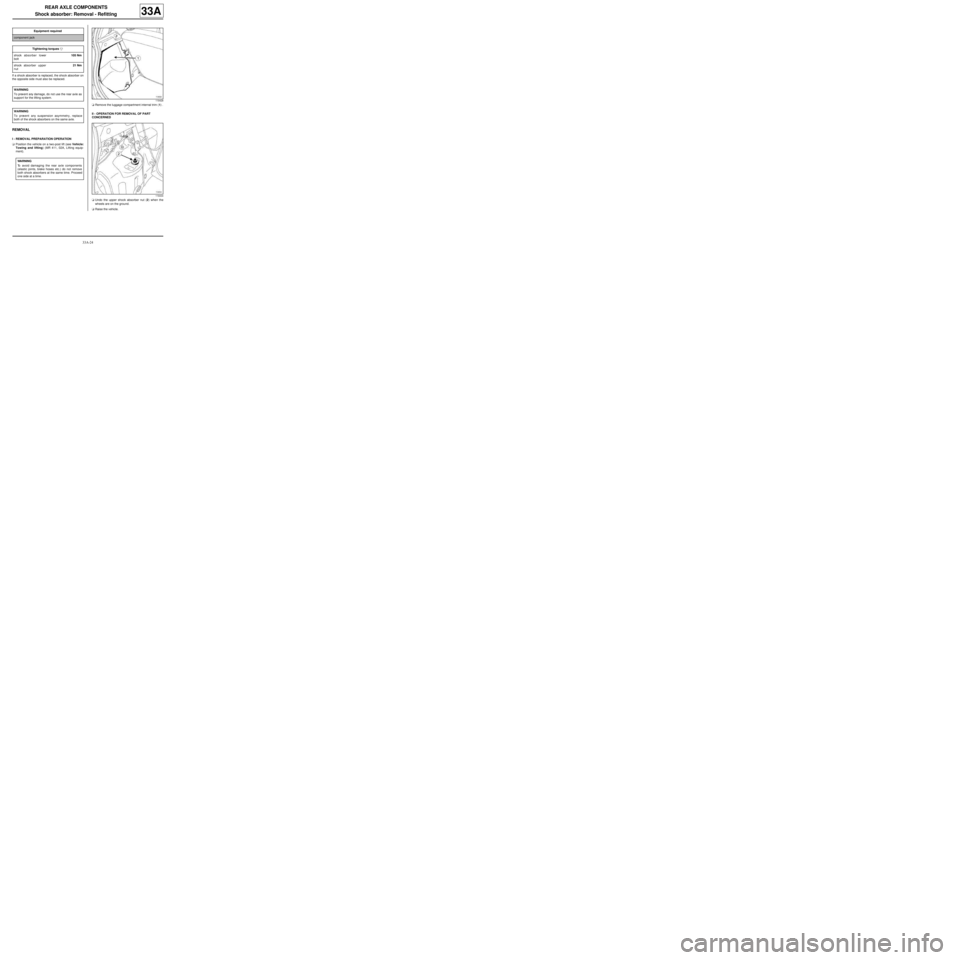
ment).aRemove the luggage compartment internal trim (1) .
II - OPERATION FOR REMOVAL OF PART
CONCERNED
aUndo the upper shock absorber nut (2) when the
wheels are on the ground.
aRaise the vehicle. Equipment required
component jack
Tightening torquesm
shock absorber lower
bolt105 Nm
shock absorber upper
nut21 Nm
WARNING
To prevent any damage, do not use the rear axle as
support for the lifting system.
WARNING
To prevent any suspension asymmetry, replace
both of the shock absorbers on the same axle.
WARNING
To avoid damaging the rear axle components
(elastic joints, brake hoses etc.) do not remove
both shock absorbers at the same time. Proceed
one side at a time.
119428
119434
Page 124 of 281
33A-26
REAR AXLE COMPONENTS
Shock absorber: Removal - Refitting
G44
33A
REMOVAL
I - REMOVAL PREPARATION OPERATION
aPosition the vehicle on a two-post lift (see Vehicle:
Towing and lifting) (MR 411, 02A, Lifting equip-
ment).
aRemove the luggage compartment interior trim (see
Rear loading trim: Removal - Refitting) (MR 412,
71A, Body internal trim).II - OPERATION FOR REMOVAL OF PART
CONCERNED
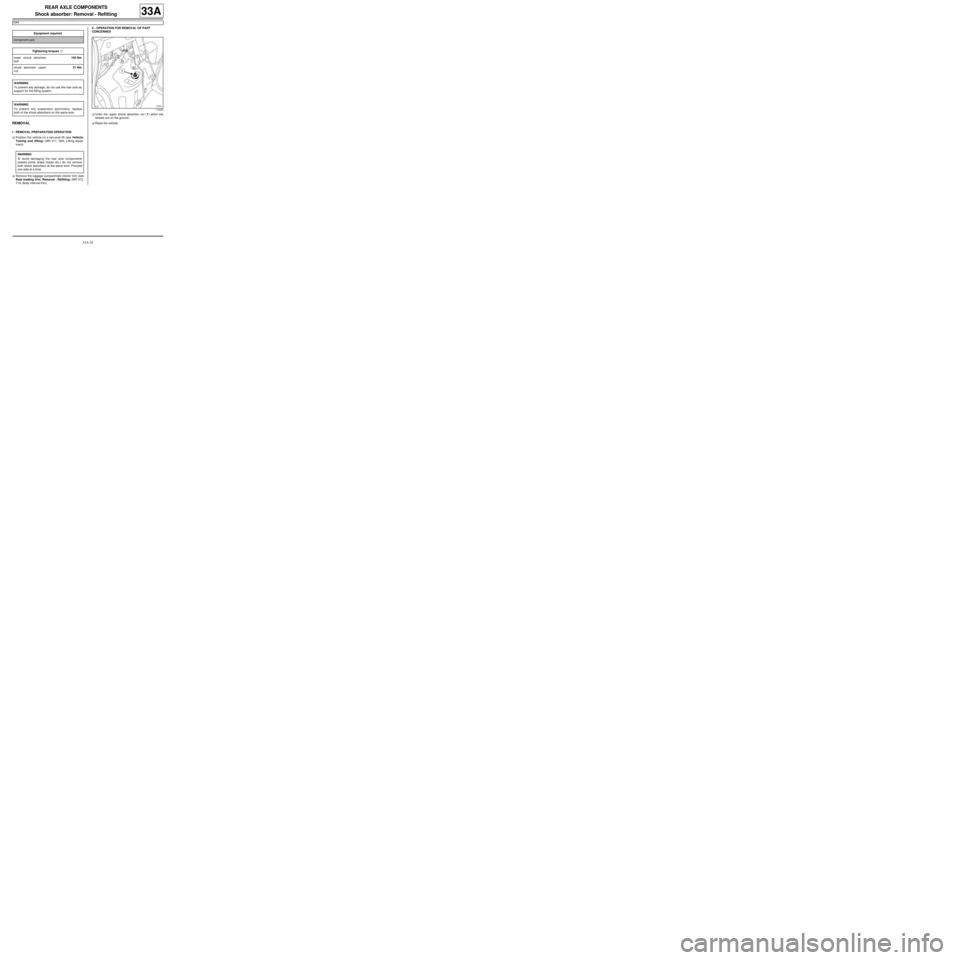
aUndo the upper shock absorber nut (1) when the
wheels are on the ground.
aRaise the vehicle. Equipment required
component jack
Tightening torquesm
lower shock absorber
bolt105 Nm
shock absorber upper
nut21 Nm
WARNING
To prevent any damage, do not use the rear axle as
support for the lifting system.
WARNING
To prevent any suspension asymmetry, replace
both of the shock absorbers on the same axle.
WARNING
To avoid damaging the rear axle components
(elastic joints, brake hoses etc.) do not remove
both shock absorbers at the same time. Proceed
one side at a time.
119434
Page 126 of 281
33A-28
REAR AXLE COMPONENTS
Rear suspension spring: Removal - Refitting
33A
REMOVAL
I - REMOVAL PREPARATION OPERATION
aPosition the vehicle on a two-post lift ( (see Vehicle:
Towing and lifting) ).
aRemove the rear wheels (see 35A, Wheels and ty-
res, Wheel: Removal - Refitting, page 35A-1) .
II - OPERATION FOR REMOVAL OF PART
CONCERNED
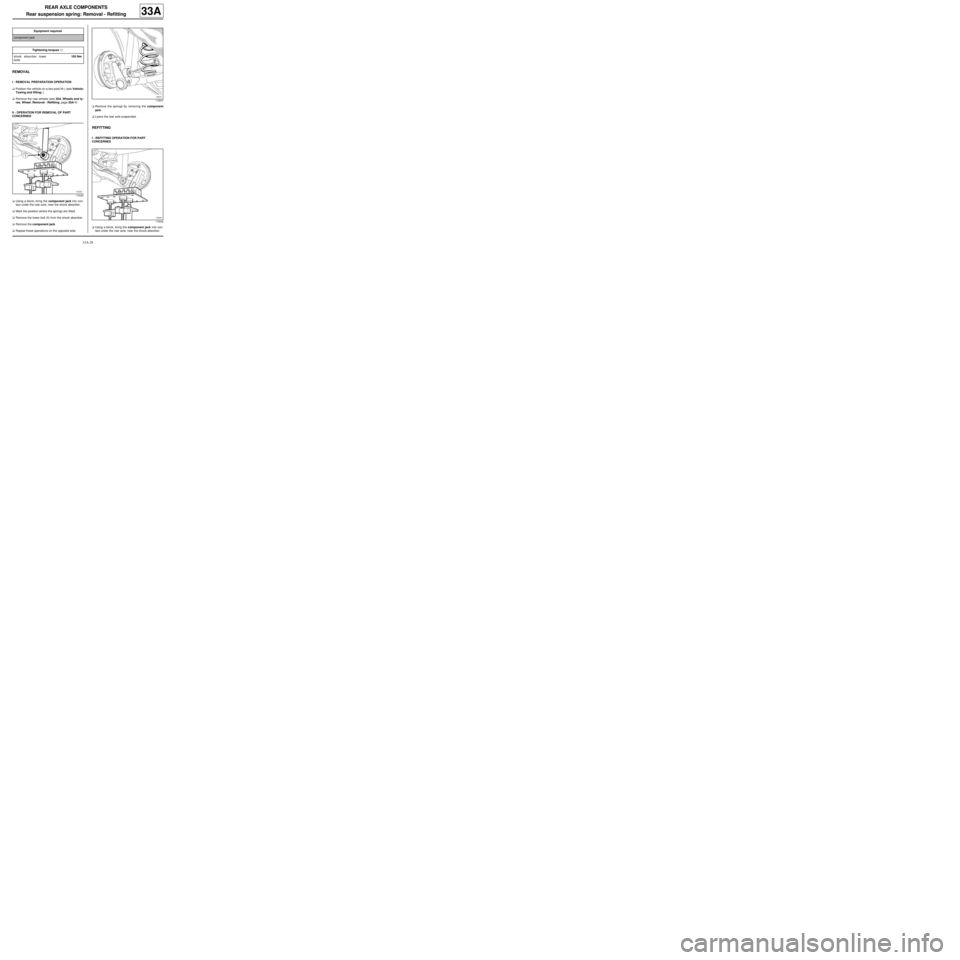
aUsing a block, bring the component jack into con-
tact under the rear axle, near the shock absorber.
aMark the position where the springs are fitted.
aRemove the lower bolt (1) from the shock absorber.
aRemove the component jack.
aRepeat these operations on the opposite side.aRemove the springs by removing the component
jack.
aLeave the rear axle suspended.
REFITTING
I - REFITTING OPERATION FOR PART
CONCERNED
aUsing a block, bring the component jack into con-
tact under the rear axle, near the shock absorber. Equipment required
component jack
Tightening torquesm
shock absorber lower
bolts105 Nm
119340
119547
119546
Page 128 of 281
33A-30
REAR AXLE COMPONENTS
Rear drum bearing: Removal - Refitting
33A
Using a dial gauge connected to the drum, check that
the end float is greater than 0.03 mm.
REMOVAL
I - REMOVAL PREPARATION OPERATION
aPosition the vehicle on a two-post lift (see Vehicle:
Towing and lifting) (MR 411, 02A, Lifting equip-
ment).
aRemove:
-the rear wheel (see 35A, Wheels and tyres,
Wheel: Removal - Refitting, page 35A-1) ,
-the rear brake drum (see 33A, Rear axle compo-
nents, Rear brake drum: Removal - Refitting,
page 33A-19) .II - OPERATION FOR REMOVAL OF PART
CONCERNED
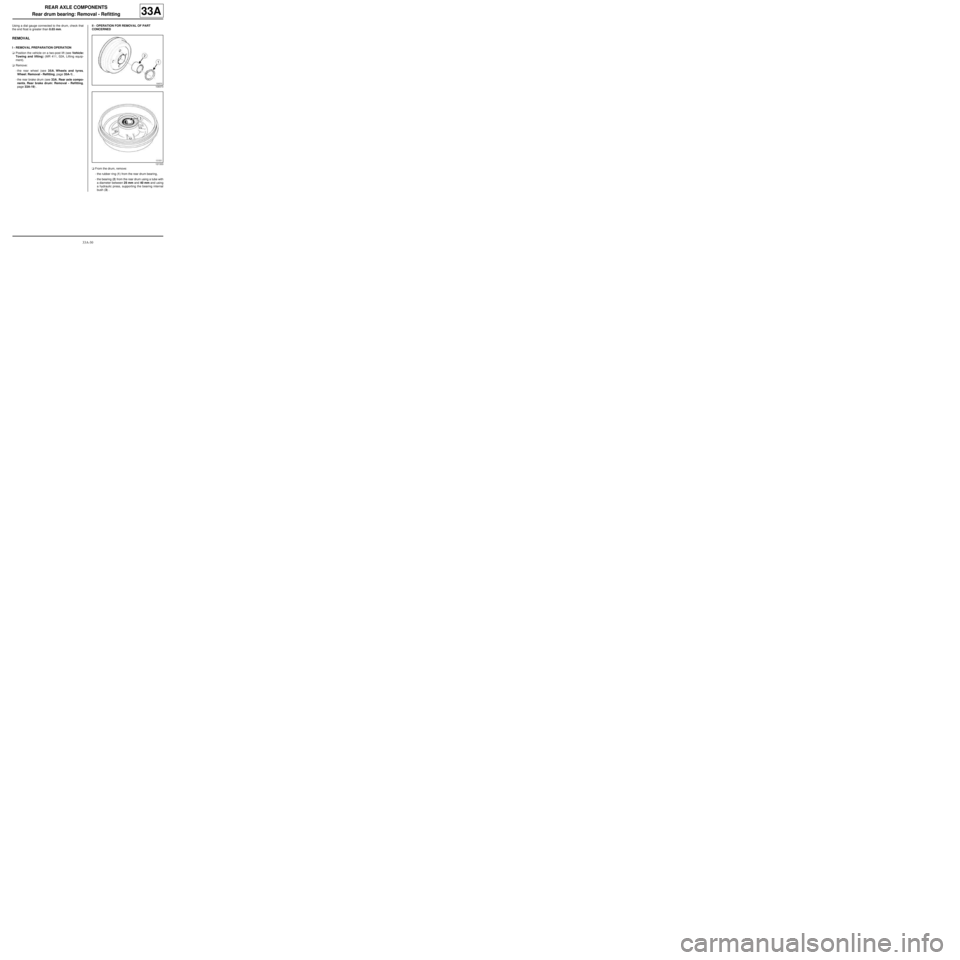
aFrom the drum, remove:
-the rubber ring (1) from the rear drum bearing,
-the bearing (2) from the rear drum using a tube with
a diameter between 25 mm and 40 mm and using
a hydraulic press, supporting the bearing internal
bush (3) .
109373
121333
Page 130 of 281
33A-32
REAR AXLE COMPONENTS
Rear stub axle carrier: Removal - Refitting
33A
REMOVAL
I - REMOVAL PREPARATION OPERATION
aPosition the vehicle on a two-post lift ( (see Vehicle:
Towing and lifting) ).
aRelease the parking brake.
aRemove:
-the rear wheel on the side concerned (see 35A,
Wheels and tyres, Wheel: Removal - Refitting,
page 35A-1) ,
-the brake drum (see 33A, Rear axle components,
Rear brake drum: Removal - Refitting, page
33A-19) .
aFit the component jack to undo the shock absorber
mountings.
aRemove the shock absorber lower bolt.II - OPERATION FOR REMOVAL OF PART
CONCERNED
aAdjust the component jack.
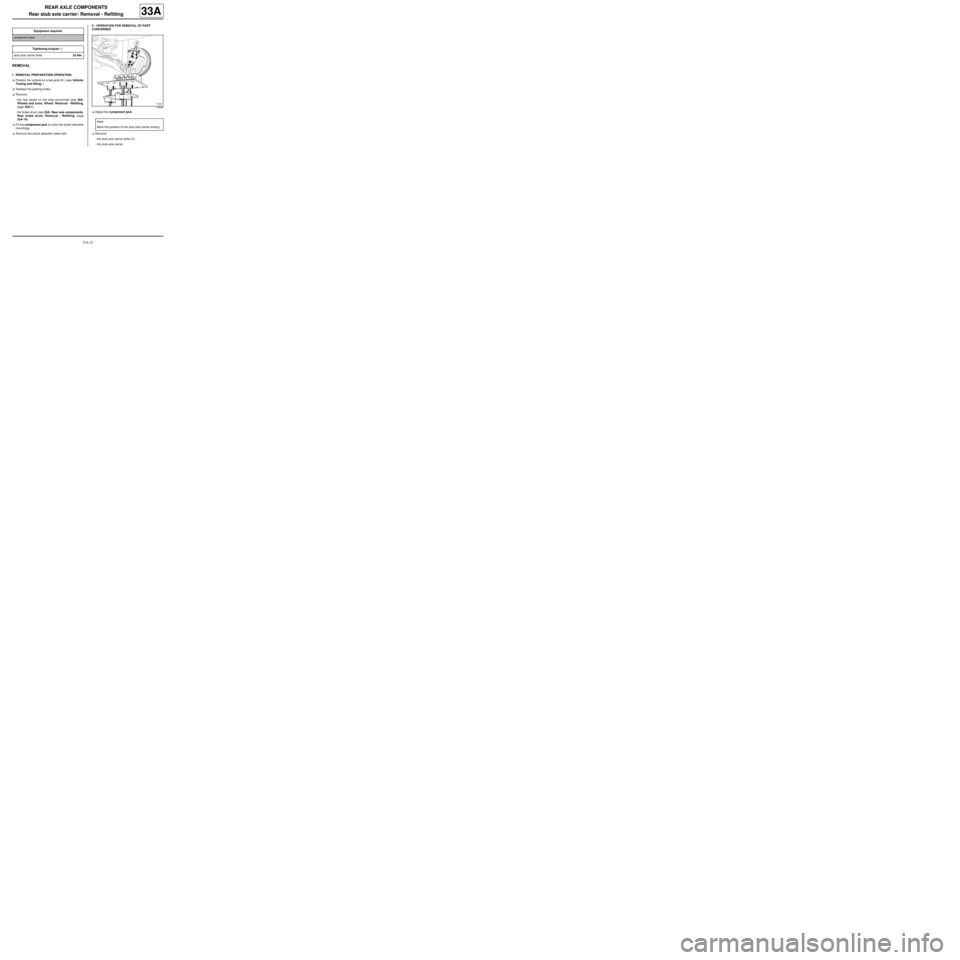
aRemove:
-the stub axle carrier bolts (1) ,
-the stub axle carrier. Equipment required
component jack
Tightening torquesm
stub axle carrier bolts53 Nm
119648
Note:
Mar k the position of the stub axle carrier writing.