instrument panel RENAULT TWINGO RS 2009 2.G Chasiss Workshop Manual
[x] Cancel search | Manufacturer: RENAULT, Model Year: 2009, Model line: TWINGO RS, Model: RENAULT TWINGO RS 2009 2.GPages: 281
Page 158 of 281

36A-7
STEERING ASSEMBLY
Steering column: Removal - Refitting
LEFT-HAND DRIVE
36A
REMOVAL
I - REMOVAL PREPARATION OPERATION
aUnlock the steering column.
aLock the airbag computer using the Diagnostic tool
(see Fault finding - Replacement of components)
(MR 413, 88C, Airbags - Pretensioners).
aDisconnect the battery (see Battery: Removal - Re-
fitting) (MR 411, 80A, Battery).
aSet the wheels straight ahead.
aRemove:
-the driver's front airbag (see Driver's frontal air-
bag: Removal - Refitting) (MR 411, 88C, Airbags
- Pretensioners),
-the steering wheel (see 36A, Steering assembly,
Steering wheel: Removal - Refitting, page 36A-
23) ,-the steering column switch assembly (see Steer-
ing column switch assembly: Removal - Refit-
ting) (MR 411, 84A, Steering column switch
assembly),
-the immobiliser antenna/transponder ring (see
Transponder ring: Removal - Refitting) (MR
411, 82A, Immobiliser),
-the ignition switch if the steering column is replaced
(see Ignition switch: Removal - Refitting) (MR
411, 82A, Immobiliser).
II - REMOVAL OPERATION FOR PART
CONCERNED
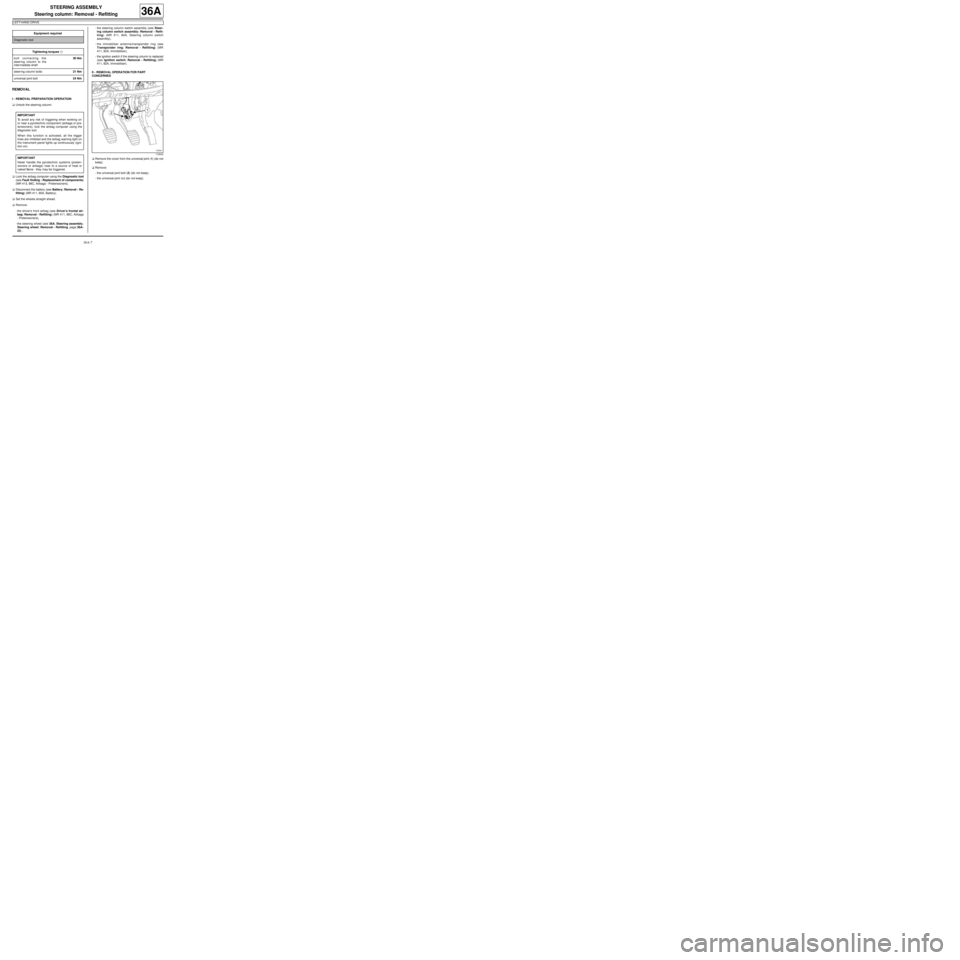
aRemove the cover from the universal joint (1) (do not
keep).
aRemove:
-the universal joint bolt (2) (do not keep),
-the universal joint nut (do not keep). Equipment required
Diagnostic tool
Tightening torquesm
bolt connecting the
steering column to the
inter mediate shaft30 Nm
steer ing column bolts21 Nm
universal joint bolt24 Nm
IMPORTANT
To avoid any risk of triggering when working on
or near a pyrotechnic component (airbags or pre-
tensioners), lock the airbag computer using the
diagnostic tool.
When this function is activated, all the trigger
lines are inhibited and the airbag warning light on
the instrument panel lights up continuously (igni-
tion on).
IMPORTANT
Never handle the pyrotechnic systems (preten-
sioners or airbags) near to a source of heat or
naked flame - they may be triggered.
119544
Page 162 of 281

36A-11
STEERING ASSEMBLY
Steering column: Removal - Refitting
RIGHT-HAND DRIVE
36A
REMOVAL
I - REMOVAL PREPARATION OPERATION
aUnlock the steering column.
a
Lock the airbag computer using the Diagnostic tool
(see Fault finding - Replacement of components)
(MR 413, 88C, Airbags and seat belt pretensioners).
aDisconnect the battery (see Battery: Removal - Re-
fitting) (MR 411, 80A, Battery).
aRemove:
-the driver's front airbag (see Driver's frontal air-
bag: Removal - Refitting) (MR 411, 88C, Airbags
and pretensioners),
-the steering wheel (see 36A, Steering assembly,
Steering wheel: Removal - Refitting, page 36A-
23) .aRemove the rev counter (see Rev counter: Remov-
al - Refitting) (MR 411, 83A, Instrument panel).
aRemove:
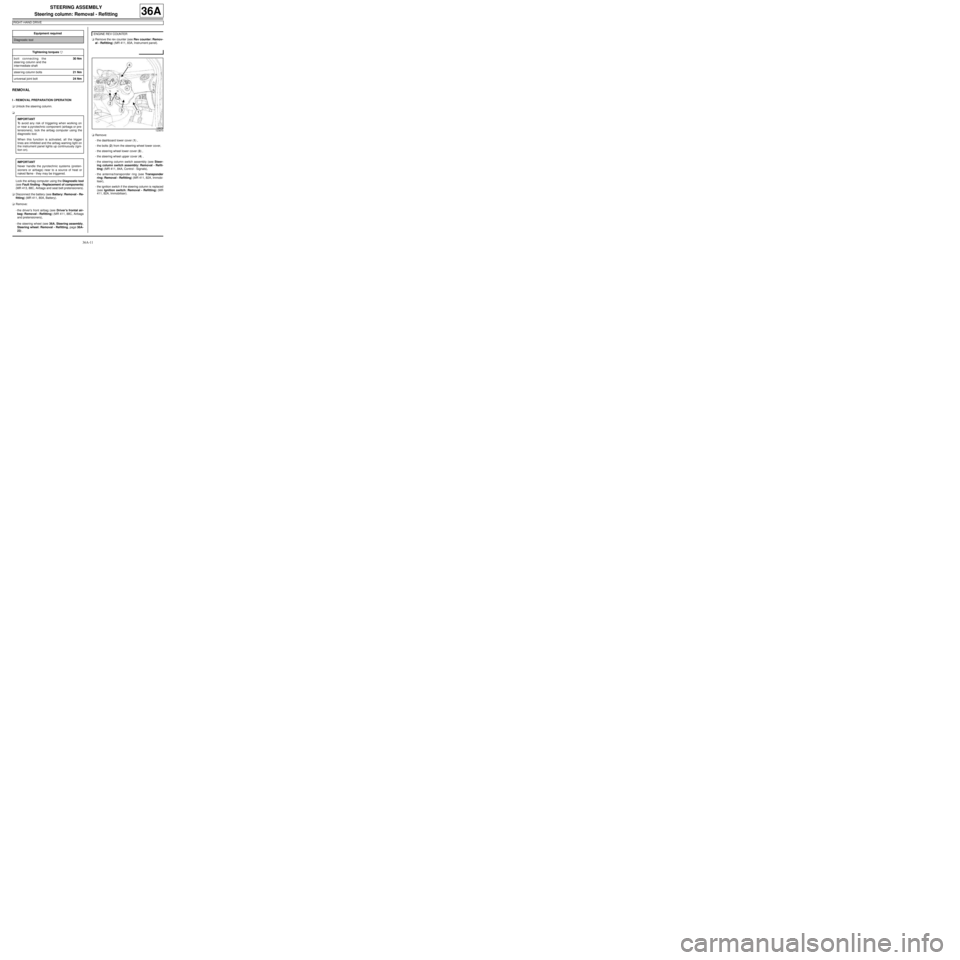
-the dashboard lower cover (1) ,
-the bolts (2) from the steering wheel lower cover,
-the steering wheel lower cover (3) ,
-the steering wheel upper cover (4) ,
-the steering column switch assembly (see Steer-
ing column switch assembly: Removal - Refit-
ting) (MR 411, 84A, Control - Signals),
-the antenna/transponder ring (see Transponder
ring: Removal - Refitting) (MR 411, 82A, Immobi-
liser),
-the ignition switch if the steering column is replaced
(see Ignition switch: Removal - Refitting) (MR
411, 82A, Immobiliser). Equipment required
Diagnostic tool
Tightening torquesm
bolt connecting the
steer ing column and the
inter mediate shaft30 Nm
steer ing column bolts21 Nm
universal joint bolt24 Nm
IMPORTANT
To avoid any risk of triggering when working on
or near a pyrotechnic component (airbags or pre-
tensioners), lock the airbag computer using the
diagnostic tool.
When this function is activated, all the trigger
lines are inhibited and the airbag warning light on
the instrument panel lights up continuously (igni-
tion on).
IMPORTANT
Never handle the pyrotechnic systems (preten-
sioners or airbags) near to a source of heat or
naked flame - they may be triggered.
ENGINE REV COUNTER
123870
Page 166 of 281

36A-15
STEERING ASSEMBLY
Steering column: Removal - Refitting
RIGHT-HAND DRIVE
36A
-the steering wheel lower cover,
-the steering wheel lower cover bolts,
-the dashboard lower cover.
aRefit the rev counter (see Rev counter: Removal -
Refitting) (MR 411, 83A, Instrument panel).
aRefit:
-the steering wheel (see 36A, Steering assembly,
Steering wheel: Removal - Refitting, page 36A-
23) ,
-the driver's front airbag (see Driver's frontal air-
bag: Removal - Refitting) (MR 411, 88C, Airbags
and pretensioners).
aConnect the battery (see Battery: Removal - Refit-
ting) (MR 411, 80A, Battery).
a
Unlock the airbag computer using the Diagnostic
tool (see Fault finding - Replacement of compo-
nents) (MR 413, 88C, Airbags and pretensioners). ENGINE REV COUNTER
IMPORTANT
To avoid a fault with or even triggering of pyro-
technic components (airbags or pretensioners),
check the airbag computer using the diagnostic
tool.
Page 175 of 281

36A-24
STEERING ASSEMBLY
Steering wheel: Removal - Refitting
36A
II - REFITTING OPERATION FOR PART
CONCERNED
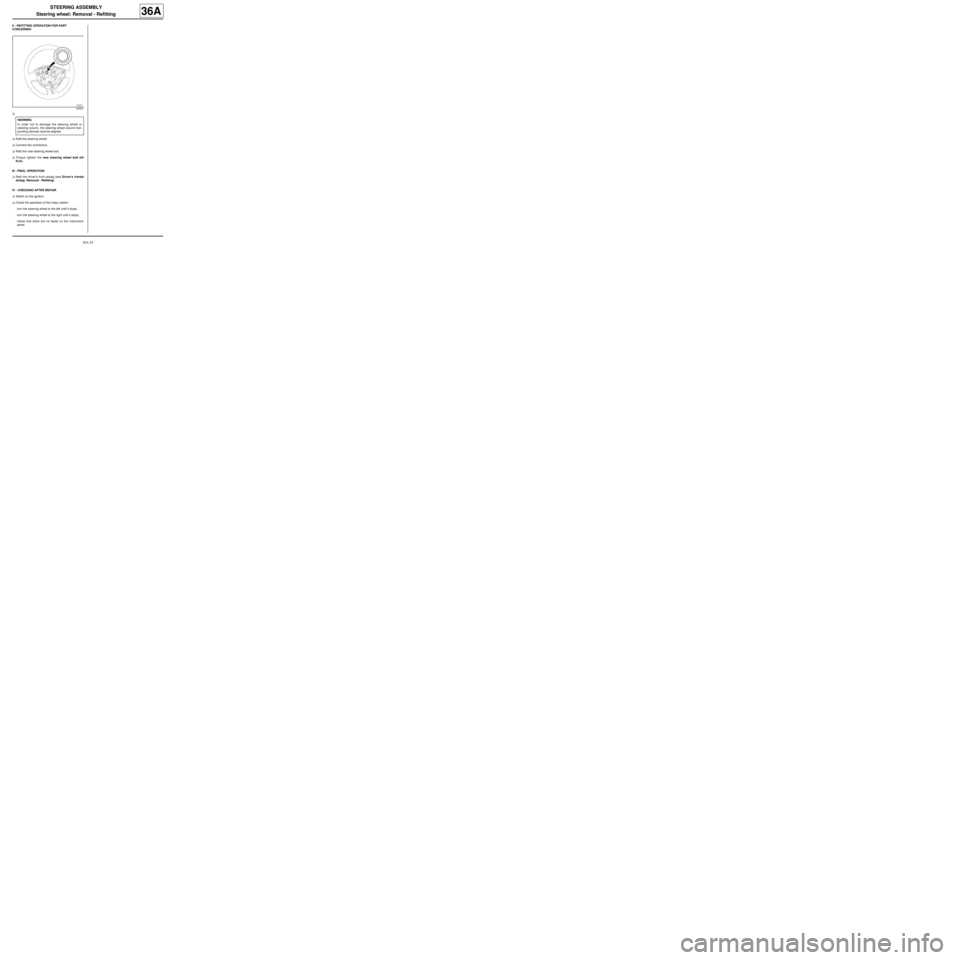
a
aRefit the steering wheel.
aConnect the connectors.
aRefit the new steering wheel bolt.
aTorque tighten the new steering wheel bolt (44
N.m).
III - FINAL OPERATION
aRefit the driver's front airbag (see Driver's frontal
airbag: Removal - Refitting) .
IV - CHECKING AFTER REPAIR
aSwitch on the ignition.
aCheck the operation of the rotary switch:
-turn the steering wheel to the left until it stops,
-turn the steering wheel to the right until it stops,
-check that there are no faults on the instrument
panel.
105327
WARNING
In order not to damage the steering wheel or
steering column, the steering wheel-column fool-
proofing devices must be aligned.