RENAULT TWINGO RS 2009 2.G Electrical Equipment Workshop Manual
Manufacturer: RENAULT, Model Year: 2009, Model line: TWINGO RS, Model: RENAULT TWINGO RS 2009 2.GPages: 241
Page 1 of 241
© Renault s.a.s 2007 "The repair procedures given by the manufacturer in this document are based on the
technical specifications current when it was prepared.
The procedures may be modified as a result of changes introduced by the manufacturer in
the production of the various component units and accessories from which the vehicles are
constructed".All rights reserved by Renault.
Copying or translating, in part or in full, of this document or use of the service part reference
numbering system is forbidden without the prior written authority of Renault.
JUNE 2009 EDITION ANGLAISE
X44
8Electrical equipment
80ABATTERY
80BHEADLIGHTS
81AREAR LIGHTING
81BINTERIOR LIGHTING
81CFUSES
82AENGINE IMMOBILISER
82BHORN
83AINSTRUMENT PANEL
83DCRUISE CONTROL
84ACONTROL - SIGNALS
85AWIPING - WASHING
Page 2 of 241
© Renault s.a.s 2007 "The repair procedures given by the manufacturer in this document are based on the
technical specifications current when it was prepared.
The procedures may be modified as a result of changes introduced by the manufacturer in
the production of the various component units and accessories from which the vehicles are
constructed".All rights reserved by Renault.
Copying or translating, in part or in full, of this document or use of the service part reference
numbering system is forbidden without the prior written authority of Renault.
JUNE 2009 EDITION ANGLAISE
X44
86ARADIO
86BCAR PHONE
87BPASSENGER COMPARTMENT CONNECTION
UNIT
87COPENING ELEMENT MANAGEMENT
87DELECTRIC WINDOWS - SUNROOF
87FPARKING DISTANCE CONTROL
88AWIRING HARNESS
88CAIR BAG AND PRETENSIONERS
88DDRIVER'S POSITION
Page 3 of 241
TWINGO - Section 8
Contents
Pages
TWINGO - Section 8 ContentsPages
80A BATTERY
Battery: Precautions for the
repair 80A-1
Battery: Removal - Refitting 80A-2
Battery tray: Removal -
Refitting 80A-6
80B HEADLIGHTS
Front lighting: List and
location of components 80B-1
Halogen bulb: Removal -
Refitting 80B-3
Remote headlight beam
adjustment motor: Removal -
Refitting 80B-5
Halogen headlight: Removal
- Refitting 80B-7
Halogen headlight:
Adjustment 80B-9
Front fog light: Removal -
Refitting 80B-10
Side indicator: Removal -
Refitting 80B-1381A REAR LIGHTING
Rear lighting: List and
location of components 81A-1
Rear wing light: Removal -
Refitting 81A-3
Rear light bulb: Removal -
Refitting 81A-4
3rd brake light: Removal -
Refitting 81A-6
Number plate light: Removal
- Refitting 81A-8
81B INTERIOR LIGHTING
Interior lighting: List and
location of components 81B-1
Interior light: Removal -
Refitting 81B-2
Door switch: Removal -
Refitting 81B-3
Luggage compartment light:
Removal - Refitting 81B-5
81C FUSES
Fuses: List and location of
components 81C-1
Page 4 of 241
Contents
82A ENGINE IMMOBILISER
Immobiliser system: List and
location of components 82A-1
Ignition switch: Removal -
Refitting 82A-3
Transponder ring: Removal -
Refitting 82A-6
Battery for remote door
locking control: Removal -
Refitting 82A-8
82B HORN
Audible warning: Removal -
Refitting 82B-1
83A INSTRUMENT PANEL
Instr ument panel: Removal -
Refitting 83A-1
Rev counter: Removal -
Refitting 83A-3
83D CRUISE CONTROL
Cruise control - speed
limiter: List and location of
components 83D-1
Switch: Removal - Refitting 83D-2
Steering wheel switch:
Removal - Refitting 83D-384A CONTROL - SIGNALS
Steering column switch
assembly: List and location
of components 84A-1
Steering column switch
assembly: Removal -
Refitting 84A-2
Screen wiper switch:
Removal - Refitting 84A-6
Signals and lighting switch:
Removal - Refitting 84A-8
Hazard warning lights and
central door control:
Removal - Refitting 84A-10
Lighting dimmer: Removal -
Refitting 84A-12
Exter ior rear view mirror
control switch: Removal -
Refitting 84A-13
Heated rear screen: Repair 84A-14
85A WIPING - WASHING
Wiping and washing: List and
location of components 85A-1
Windscreen wiper blade:
Removal - Refitting 85A-5
Windscreen wiper arm:
Removal - Refitting 85A-6
Windscreen wiper
mechanism: Removal -
Refitting 85A-10
Windscreen wiper motor:
Removal - Refitting 85A-12
Rear screen wiper blade:
Removal - Refitting 85A-16
Rear screen wiper arm:
Removal - Refitting 85A-17
Rear screen wiper motor :
Removal - Refitting 85A-19
Rain and light sensor:
Removal - Refitting 85A-20
Page 5 of 241

Contents
Screen washer pump:
Removal - Refitting 85A-23
Front screen washer jet:
Removal - Refitting 85A-24
Rear screen washer jet:
Removal - Refitting 85A-25
Windscreen washer
reservoir: Removal - Refitting 85A-26
86A RADIO
Radio: List and location of
components 86A-1
Radio: Removal - Refitting 86A-4
Radio aer ial: Removal -
Refitting 86A-5
Tweeter: Removal - Refitting 86A-7
Front speakers: Removal -
Refitting 86A-8
Rear speakers: Removal -
Refitting 86A-9
Display: Removal - Refitting 86A-10
Radio control satellite:
Removal - Refitting 86A-11
Offset multimedia socket:
Removal - Refitting 86A-13
86B CAR PHONE
Car phone: List and location
of components 86B-1
"Hands-free" microphone:
Removal - Refitting 86B-2
Computer: Removal -
Refitting 86B-4 85A WIPING - WASHING
87BPASSENGER COMPARTMENT
CONNECTION UNIT
UCH: Removal - Refitting 87B-1
87C OPENING ELEMENT MANAGEMENT
Opening elements
management: List and
location of components 87C-1
Tailgate opening switch:
Removal - Refitting 87C-3
87D ELECTRIC WINDOWS - SUNROOF
Electric window: List and
location of components 87D-1
Electric sunroof: List and
location of components 87D-2
Front electric window
switches on driver's door:
Removal - Refitting 87D-4
Front electric window switch
on passenger door: Removal
- Refitting 87D-5
Sunroof switch: Removal -
Refitting 87D-6
Sunroof opening motor:
Removal - Refitting 87D-7
87F PARKING DISTANCE CONTROL
Parking distance control: List
and location of components 87F-1
Parking distance control
switch: Removal - Refitting 87F-3
Parking distance control
buzzer: Removal - Refitting 87F-4
Page 6 of 241
Contents
Proximity radar: Removal -
Refitting 87F-5
Parking distance control
computer: Removal -
Refitting 87F-6
88A WIRING HARNESS
Diagnostic socket: List and
location of components 88A-1
Wiring: Precautions for the
repair 88A-2
Front left-hand wiring:
Removal - Refitting 88A-3
Engine wiring: Connector
access 88A-10
Engine wiring: Removal -
Refitting 88A-16
Passenger compartment
wiring: Connector access 88A-43
Passenger compartment
wiring: Removal - Refitting 88A-54
Driver's front side door
wiring: Removal - Refitting 88A-66
Passenger's front side door
wiring: Removal - Refitting 88A-72
Rear bumper wiring:
Removal - Refitting 88A-78
88C AIR BAG AND PRETENSIONERS
Airbag and pretensioners:
Precautions for the repair 88C-1
Airbags and pretensioners:
Recycling - Destruction 88C-2
Airbag computer : Removal -
Refitting 88C-4
Driver's frontal airbag:
Removal - Refitting 88C-6 87F PARKING DISTANCE CONTROLPassenger's frontal airbag:
Removal - Refitting 88C-8
Front (chest-level) side
airbag: Removal - Refi tting 88C-11
Side cur tain airbag: Removal
- Refitting 88C-14
Side impact sensor: Removal
- Refitting 88C-18
Front buckle pretensioner:
Removal - Refitting 88C-21
Inhibitor switch: Removal -
Refitting 88C-24
88D DRIVER'S POSITION
Electrical accessories
socket: Removal - Refitting 88D-1 88C AIR BAG AND PRETENSIONERS
Page 7 of 241
80A-1
BATTERY
Battery: Precautions for the repair
80A
I - SAFETY
1 - DANGER: RISK FROM ACID LINKED TO
HANDLING
Sulphuric acid is a highly aggressive and toxic subs-
tance which corrodes most metals.
When handling batteries, it is very important to take the
following precautions:
-protect your eyes by wearing goggles,
-wear acid-proof gloves and clothing.
2 - DANGER: RISK OF EXPLOSION LINKED TO
CHARGING AND TO INCORRECT TIGHTENING OF
THE TERMINALS.
When a battery is charging, oxygen and hydrogen are
produced. The mixture of these two gases is explosive.
The smallest of sparks or heat sources can cause an
explosion. The explosion is so strong that the battery
can shatter and spray the acid into the surrounding at-
mosphere.
People nearby are at risk (exploded fragments, acid
splashes). Acid splashes are dangerous. They also da-
mage clothing.
Safeguarding against the danger of explosion, which
can be caused by handling a battery carelessly, must
be taken very seriously.II - GENERAL RECOMMENDATIONS
IMPORTANT
A battery contains sulphuric acid, a dangerous
substance.
If acid splashes on to your clothing, rinse all conta-
minated areas thoroughly in water.
If it comes into contact with the skin or eyes, seek
medical attention.
IMPORTANT
To prevent damaging the battery or even causing it
to explode, do not place any heat sources or create
any spar ks near a charging battery.
WARNING
Incorrect tightening could cause heating of con-
tacts, star ting or charging faults, sparking, or could
cause the battery to explode.
IMPORTANT
To avoid all risk of sparks, ensure that all electrical
consumers are fully switched off.
When a battery is being charged inside a building,
switch off the charger before connecting or discon-
necting the batter y.
Do not place any metallic items on the battery as
this may create a short circuit across the ter minals.
Never hold a naked flame, welding gun, blowtorch,
cigarette or lighted match near to a battery.
WARNING
These vehicles are equipped with a battery with lo w
water consumption. Topping up the electrolyte is
therefore prohibited.
WARNING
Before disconnecting the battery:
-wait for the motor-driven fan assembly to stop,
-wait for the computer to finish saving (1 minute).
WARNING
Some vehicles are only fitted with « TB » (low hei-
ght) batteries. To avoid damaging the bonnet, only
refit a battery which is identical to the battery origi-
nally fitted.
Page 8 of 241
80A-2
BATTERY
Battery: Removal - Refitting
80A
REMOVAL
I - REMOVAL PREPARATION OPERATION
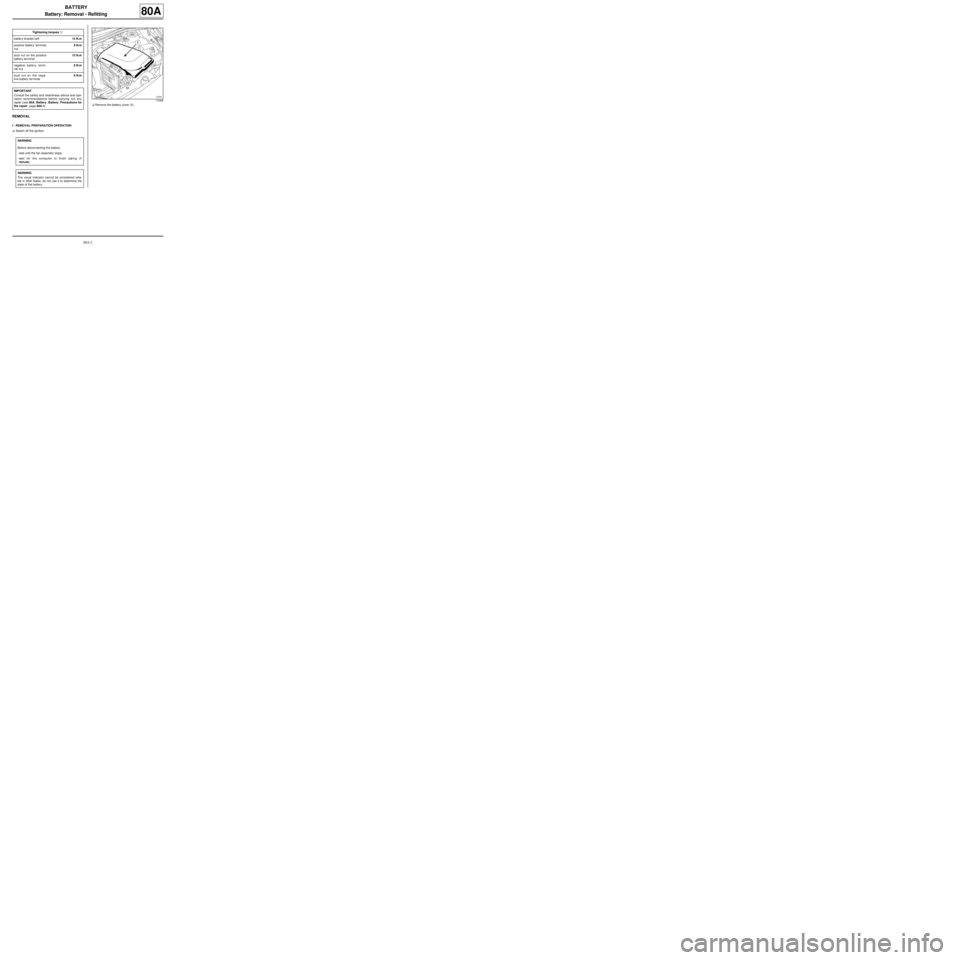
aSwitch off the ignition.aRemove the battery cover (1) . Tightening torquesm
battery bracket bolt12 N.m
positive battery terminal
nut8 N.m
stud nut on the positive
battery ter minal12 N.m
negative battery termi-
nal nut8 N.m
stud nut on the nega-
tive battery ter minal6 N.m
IMPORTANT
Consult the safety and cleanliness advice and ope-
ration recommendations before carrying out any
repair (see 80A, Battery, Battery: Precautions for
the repair, page 80A-1) .
WARNING
Before disconnecting the battery:
-wait until the fan assembly stops,
-wait for the computer to finish saving (1
minute).
WARNING
The visual indicator cannot be considered relia-
ble in After-Sales; do not use it to determine the
state of the battery.
119368
Page 9 of 241
80A-3
BATTERY
Battery: Removal - Refitting
80A
II - REMOVAL OF PART CONCERNED
1 - DISCONNECTING
a
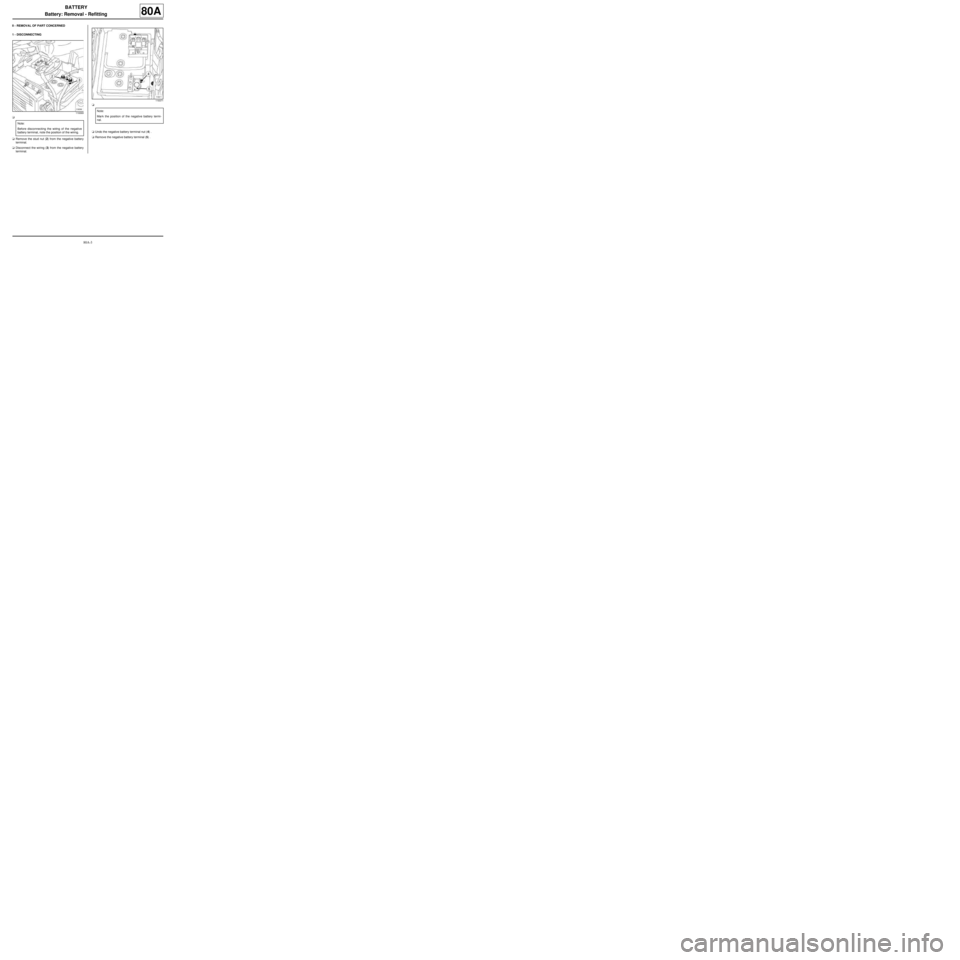
aRemove the stud nut (2) from the negative battery
terminal.
aDisconnect the wiring (3) from the negative battery
terminal.a
aUndo the negative battery terminal nut (4) .
aRemove the negative battery terminal (5) .
119369
Note:
Before disconnecting the wiring of the negative
battery terminal, note the position of the wiring.
119371
Note:
Mark the position of the negative battery termi-
nal.
Page 10 of 241
80A-4
BATTERY
Battery: Removal - Refitting
80A
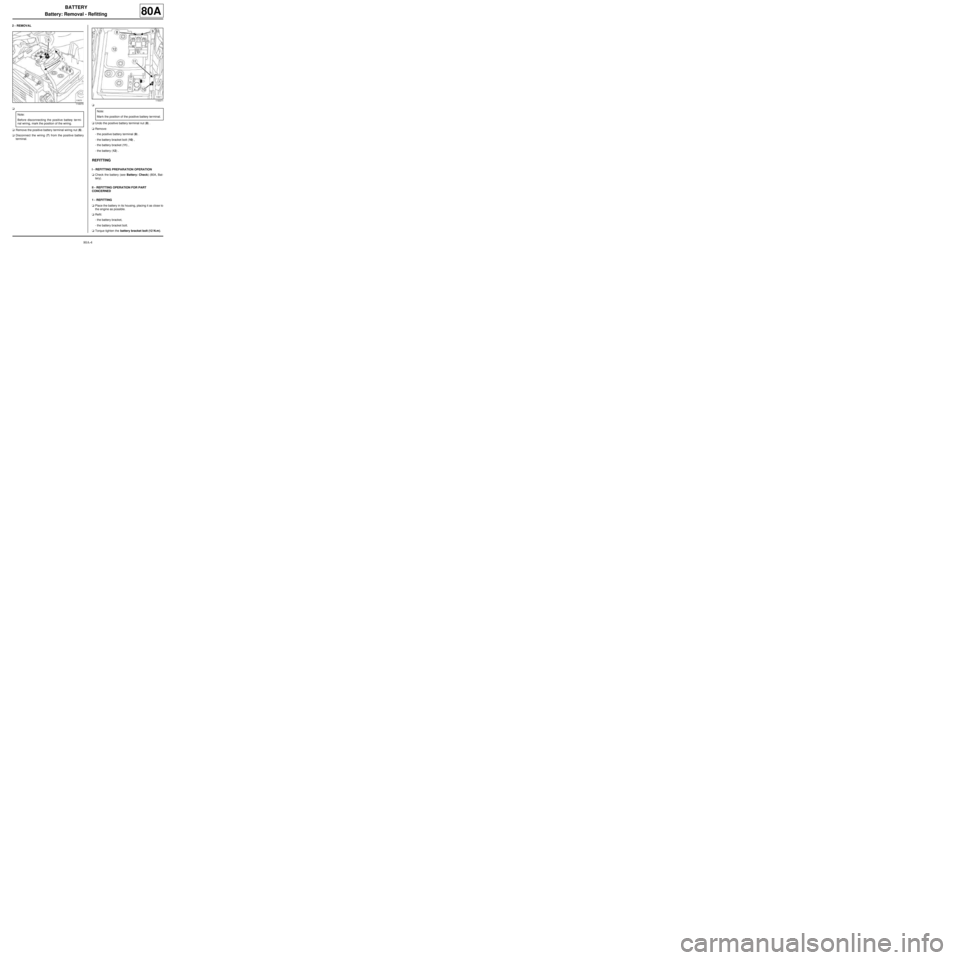
2 - REMOVAL
a
aRemove the positive battery terminal wiring nut (6) .
aDisconnect the wiring (7) from the positive battery
terminal.a
aUndo the positive battery terminal nut (8) .
aRemove:
-the positive battery terminal (9) .
-the battery bracket bolt (10) ,
-the battery bracket (11) ,
-the battery (12) .
REFITTING
I - REFITTING PREPARATION OPERATION
aCheck the battery (see Battery: Check) (80A, Bat-
tery).
II - REFITTING OPERATION FOR PART
CONCERNED
1 - REFITTING
aPlace the battery in its housing, placing it as close to
the engine as possible.
aRefit:
-the battery bracket,
-the battery bracket bolt.
aTorque tighten the battery bracket bolt (12 N.m).
119370
Note:
Before disconnecting the positive battery ter mi-
nal wiring, mark the position of the wiring.
119371
Note:
Mar k the position of the positive battery ter minal.