Fuel supply RENAULT TWINGO RS 2009 2.G Engine And Peripherals Repair Manual
[x] Cancel search | Manufacturer: RENAULT, Model Year: 2009, Model line: TWINGO RS, Model: RENAULT TWINGO RS 2009 2.GPages: 652
Page 408 of 652
13B-47
DIESEL INJECTION
Injector rail: Removal - Refitting
K9K
13B
aRemove the blanking plugs.
aFit the injector rail.
aFit the injector rail nuts without tightening them.
III - FINAL OPERATION.
a
aRemove the blanking plugs from the high pressure
pump and the injection rail and discard them.
aFit the high pressure pipe between the high pressure
pump and the injection rail.
aTighten the high pressure pipe unions between the
pump and the rail until contact is made.
aRemove the blanking plugs on the injection rail and
the diesel fuel injectors then discard them.
aFit the new high-pressure pipes between the rail and
the injectors.
aTighten until contact the unions of the high pressure
pipes between the rail and injector.aFit and lock the new clips between the high pressure
pipes on the rail and injectors.
aTighten to torque:
-the injector rail nuts (28 Nm),
-the unions for the high pressure pipes between
the rail and the yellow-coloured injector (24
Nm) using the tool (Mot. 1746),
-the unions for the high pressure pipes between
the rail and the silver-coloured injector (28 Nm)
using the tool (Mot. 1746),
-the unions for the high pressure pipes between
the pump and the yellow-coloured rail (24 Nm)
using the tool (Mot. 1746),
-the unions for the high pressure pipes between
the pump and the silver-coloured rail (28 Nm)
using the tool (Mot. 1746),
aConnect to the high pressure pump:
-the fuel return pipe to the fuel filter,
-the fuel supply pipe.
aRefit the neck on the injection rail.
aRemove the protection fitted on the inlet opening of
the oil level dipstick on the cylinder block.
aRefit:
-the dipstick guide,
-the oil level dipstick nut,
-the oil level dipstick.
aConnect the injector rail pressure sensor connector.
aPosition the wiring harness in its channel.
aFasten the electrical wiring to the channel.
aConnect:
-the diesel temperature sensor,
-the fuel flow actuator,
-the injector connectors,
-the heater plug connectors.
aPrime the fuel circuit using a manual priming pump
until the disconnected pipes are filled with fuel.
aCheck that there are no fuel leaks.
aConnect the battery (see Battery: Removal - Refit-
ting) (80A, Battery).
aCheck the high pressure circuit (see 13B, Diesel in-
jection, High pressure pipe: Check, page 13B-34)
.
aRefit the engine cover.
20960
WARNING
Before fitting a new high-pressure pipe, lightly
lubricate the nut threads with the oil from the
applicator provided in the new parts kit.
Be careful not to allow oil into the high-pressure
pipe.
Do not lubricate high-pressure pipes supplied
without an applicator, as these high-pressure
pipes are self-lubricating.
Page 417 of 652
13C-2
PREHEATING
Heater plugs: Removal - Refitting
K9K
13C
REMOVAL
I - REMOVAL PREPARATION OPERATION
aRemove the front engine cover.
aUnclip the fuel supply pipes (1) from the right-hand
suspended engine mounting.
aMove the fuel supply pipes away from the right-hand
suspended engine mounting.II - OPERATION FOR REMOVAL OF PART
CONCERNED
aDisconnect the heater plug connectors (2) .
aClean the edges of the heater plugs using a com-
pressed air nozzle to avoid any impurities getting
into the cylinders. Equipment required
compressed air nozzle
hinged wrench for heater plug
Tightening torquesm
heater plugs15 Nm
120045
127895
IMPORTANT
Wear goggles with side protectors for this opera-
tion.
Page 418 of 652
13C-3
PREHEATING
Heater plugs: Removal - Refitting
K9K
13C
a
aLoosen the heater plugs (3) using a 10 mm long ra-
dio socket connected to a universal joint or a hinged
wrench for heater plug.
aUse a hose to unscrew the heater plugscompletely.
aRemove the heater plugs.
aBlock the plug wells on the cylinder head using clean
cloths throughout the removal operation.
REFITTING
I - REFITTING OPERATION FOR PART
CONCERNED
aRemove the protection on the openings of the plug
well(s) on the cylinder head.
aBolt without tightening the heater plugs using the
hose.
aTorque tighten the heater plugs (15 Nm).
aConnect the heater plug connectors.
II - FINAL OPERATION.
aFit the fuel pipes on the right-hand suspended en-
gine mounting.aClip the fuel supply pipes onto the right-hand sus-
pended engine mounting.
aRefit the engine cover.
127905
Note:
If the heater plugs jam, use the heater plug
removal tool (see ) (Technical Note 5197A, 06A,
Tools).
Page 449 of 652
16A-10
STARTING - CHARGING
Starter: Removal - Refitting
D4F or D7F
16A
REMOVAL
I - REMOVAL PREPARATION OPERATION
aDisconnect the battery (see ) (80A, Battery).
aRemove the engine oil dipstick.
aRemove the air filter unit (see 12A, Fuel mixture,
Air filter unit: Removal - Refitting, page 12A-13) .
aDisconnect the air filter unit air inlet pipe from the air
filter unit cover (1) .
aMove the air filter unit air inlet pipe away from the air
filter unit cover.aDisconnect the pinking sensor connector (2) .
aRemove the engine wiring channel bolt from the
gearbox.
aUnclip the engine wiring channel from the gearbox.
aMove aside the engine wiring channel. Tightening torquesm
starter upper bolt44 N.m
starter electrical supply
nut8N.m
D4F, and 772
D4F, and 780 or 782
122833
120512
120414
Page 455 of 652
16A-16
STARTING - CHARGING
Starter: Removal - Refitting
K4M
16A
REMOVAL
I - REMOVAL PREPARATION OPERATION
aDisconnect the battery (see Battery: Removal - Re-
fitting) (80A, Battery).
aRemove the air filter unit (see 12A, Fuel mixture,
Air filter unit: Removal - Refitting, page 12A-13) .
II - REMOVAL OPERATION
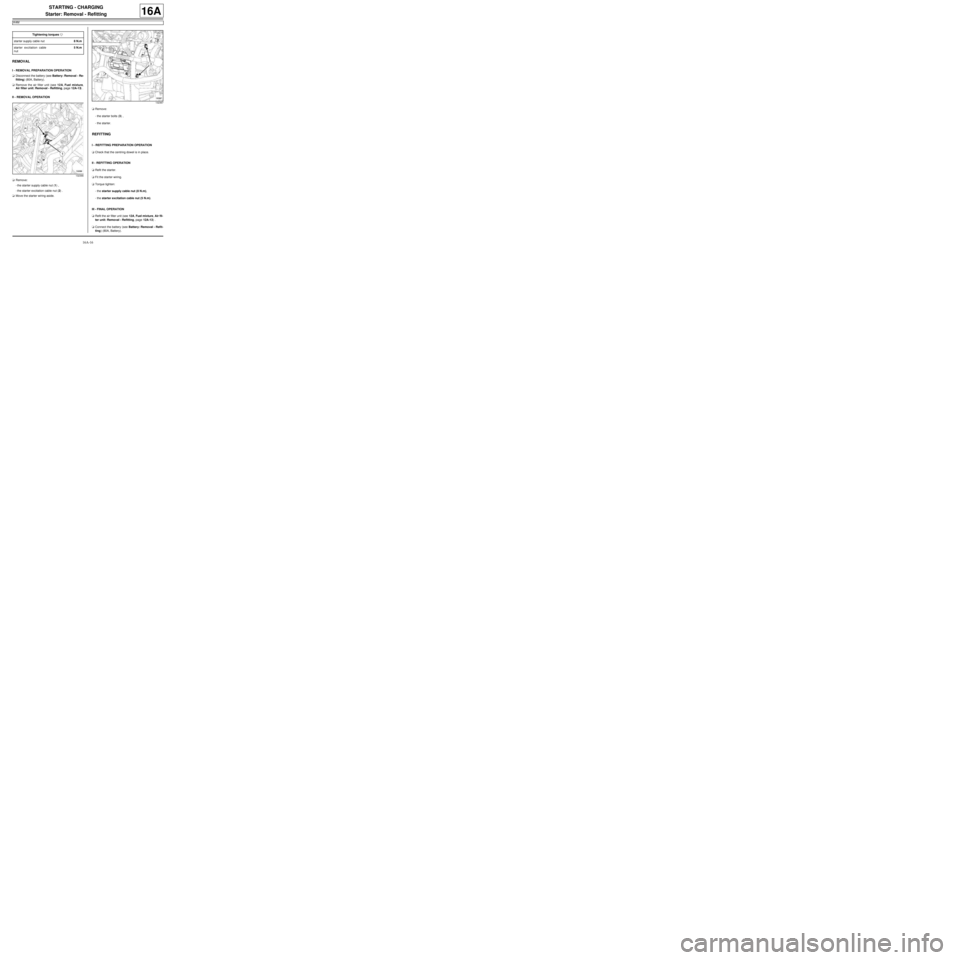
aRemove:
-the starter supply cable nut (1) ,
-the starter excitation cable nut (2) .
aMove the starter wiring aside.aRemove:
-the starter bolts (3) ,
-the starter.
REFITTING
I - REFITTING PREPARATION OPERATION
aCheck that the centring dowel is in place.
II - REFITTING OPERATION
aRefit the starter.
aFit the starter wiring.
aTorque tighten:
-the starter supply cable nut (8 N.m),
-the starter excitation cable nut (5 N.m).
III - FINAL OPERATION
aRefit the air filter unit (see 12A, Fuel mixture, Air fil-
ter unit: Removal - Refitting, page 12A-13) .
aConnect the battery (see Battery: Removal - Refit-
ting) (80A, Battery). Tightening torquesm
starter supply cable nut8 N.m
starter excitation cable
nut5 N.m
132366
132367
Page 506 of 652
17B-31
PETROL INJECTION
Injector rail - Injectors: Removal - Refitting
D4F, and 780 or 782
17B
II - OPERATION FOR REMOVAL OF PART
CONCERNED
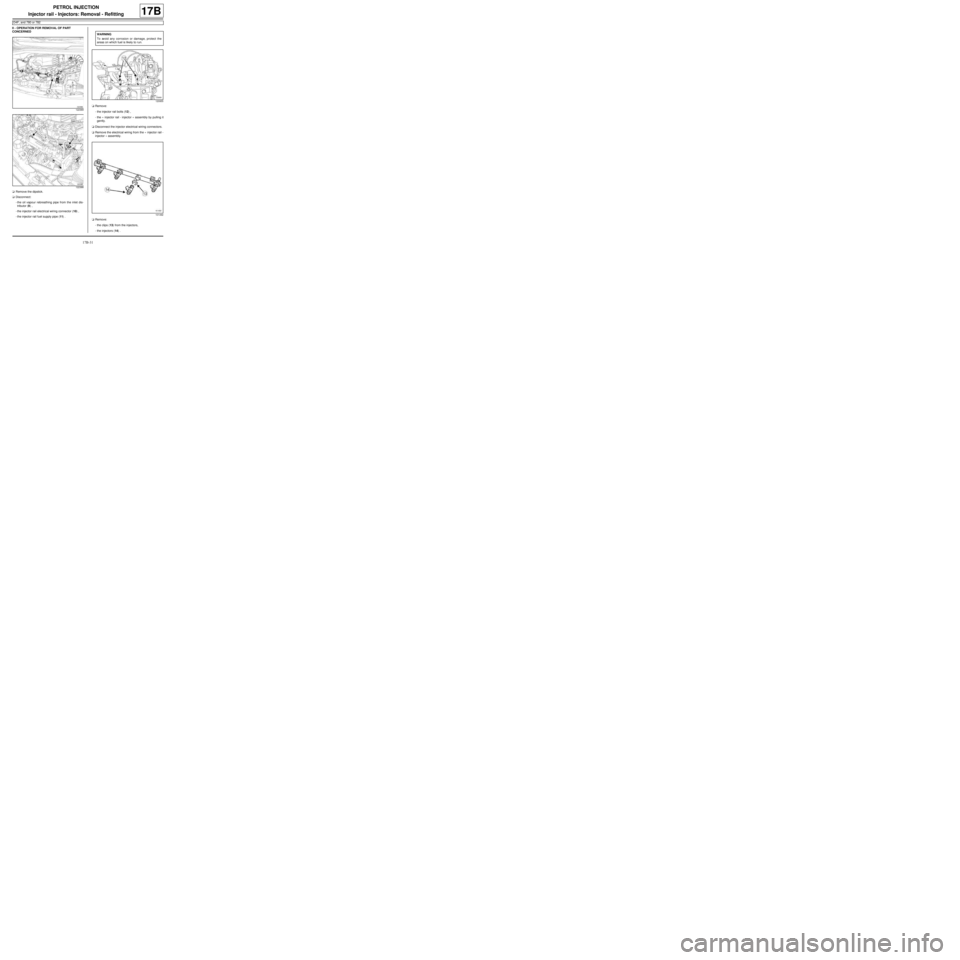
aRemove the dipstick.
aDisconnect:
-the oil vapour rebreathing pipe from the inlet dis-
tributor (9) ,
-the injector rail electrical wiring connector (10) ,
-the injector rail fuel supply pipe (11) .aRemove:
-the injector rail bolts (12) ,
-the « injector rail - injector » assembly by pulling it
gently.
aDisconnect the injector electrical wiring connectors.
aRemove the electrical wiring from the « injector rail -
injector » assembly.
aRemove:
-the clips (13) from the injectors,
-the injectors (14) .
122389
122388
WARNING
To avoid any corrosion or damage, protect the
areas on which fuel is likely to r un.
120955
101492
Page 507 of 652
17B-32
PETROL INJECTION
Injector rail - Injectors: Removal - Refitting
D4F, and 780 or 782
17B
REFITTING
I - REFITTING PREPARATION OPERATION
aparts always to be replaced: injector clip on in-
jector rail.
aparts always to be replaced: injector seal.
II - REFITTING OPERATION FOR PART
CONCERNED
aRefit:
-the injectors with new seals,
-new clips on the injectors,
-the injector rail - injector electrical wiring.
aConnect the connectors of the electrical wiring to the
injectors.
aRefit:
-the « injector rail - injector » assembly,
-the « injector rail - injector » assembly bolts.
aTorque tighten the injector rail - injector bolts (4.5
N.m).
aConnect:
-the fuel supply pipe on the injector rail,
-the electrical wiring connector to the injector rail,
-the oil vapour rebreathing pipe on the inlet distribu-
tor.
aRefit the dipstick.
III - FINAL OPERATION
aFit the petrol vapour rebreathing pipe.
aClip on the petrol vapour rebreathing pipe.
aConnect the petrol vapour rebreathing pipe to:
-the air outlet pipe of the air filter unit,
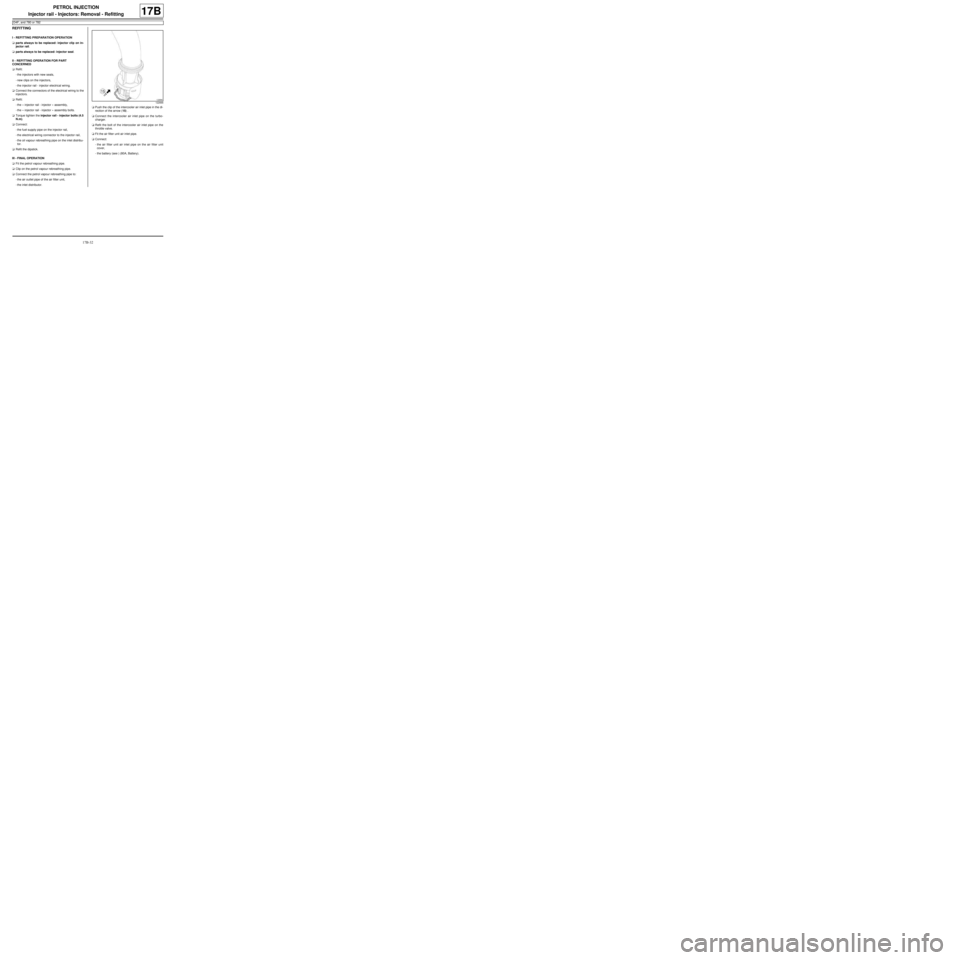
-the inlet distributor.aPush the clip of the intercooler air inlet pipe in the di-
rection of the arrow (15) .
aConnect the intercooler air inlet pipe on the turbo-
charger.
aRefit the bolt of the intercooler air inlet pipe on the
throttle valve.
aFit the air filter unit air inlet pipe.
aConnect:
-the air filter unit air inlet pipe on the air filter unit
cover,
-the battery (see ) (80A, Battery).
122666
Page 508 of 652
17B-33
PETROL INJECTION
Injector rail - Injectors: Removal - Refitting
K4M
17B
REMOVAL
I - REMOVAL PREPARATION OPERATION
aDisconnect the battery (see ) (80A, Battery).
aRemove:
-the windscreen wiper arms (see Windscreen wip-
er arm: Removal - Refitting) (85A, Wiping -
Washing),
-the scuttle panel grille (see Scuttle panel grille:
Removal - Refitting) (56A, Exterior equipment),
-the scoop under the scuttle panel grille (see Scoop
under the scuttle panel grille: Removal - Refit-
ting) (56A, Exterior equipment).a
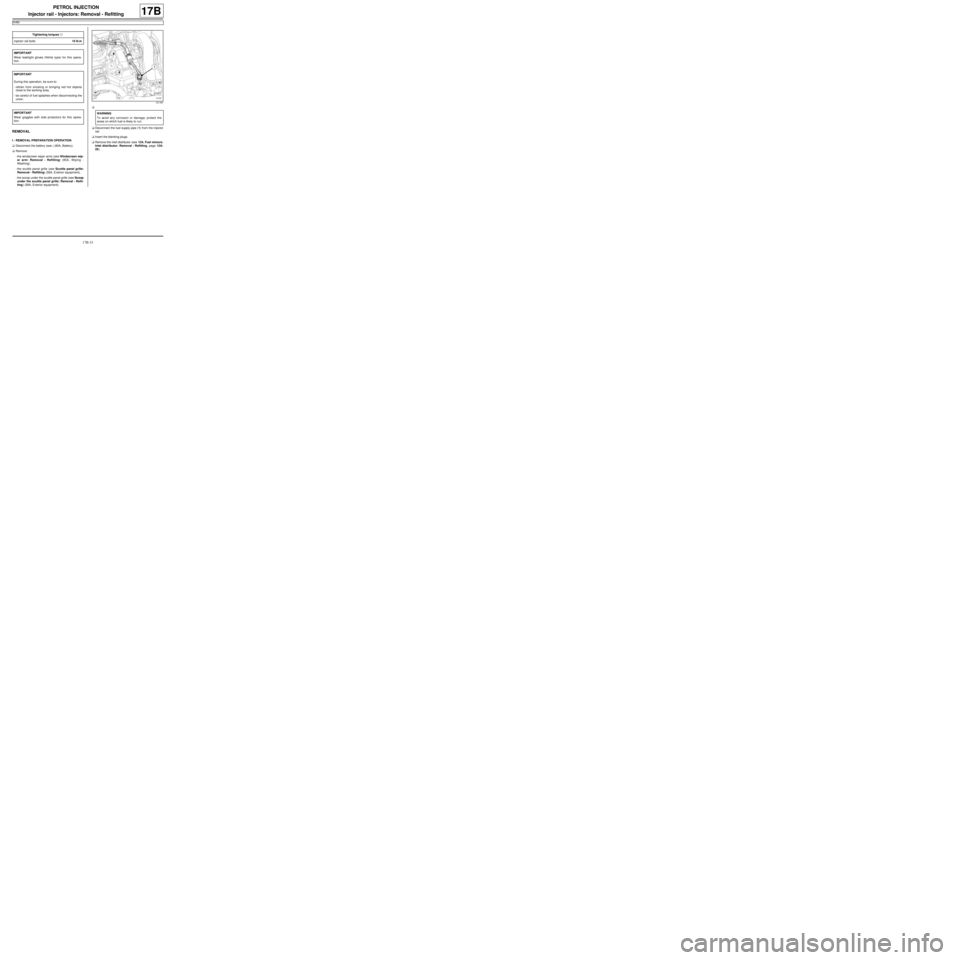
aDisconnect the fuel supply pipe (1) from the injector
rail.
aInsert the blanking plugs.
aRemove the inlet distributor (see 12A, Fuel mixture,
Inlet distributor: Removal - Refitting, page 12A-
29) . Tightening torquesm
injector rail bolts10 N.m
IMPORTANT
Wear leaktight gloves (Nitrile type) for this opera-
tion.
IMPORTANT
During this oper ation, be sure to:
-refrain from smoking or bringing red hot objects
close to the working area,
-be careful of fuel splashes when disconnecting the
union.
IMPORTANT
Wear goggles with side protectors for this opera-
tion.
131767
WARNING
To avoid any corrosion or damage, protect the
areas on which fuel is likely to r un.
Page 509 of 652
17B-34
PETROL INJECTION
Injector rail - Injectors: Removal - Refitting
K4M
17B
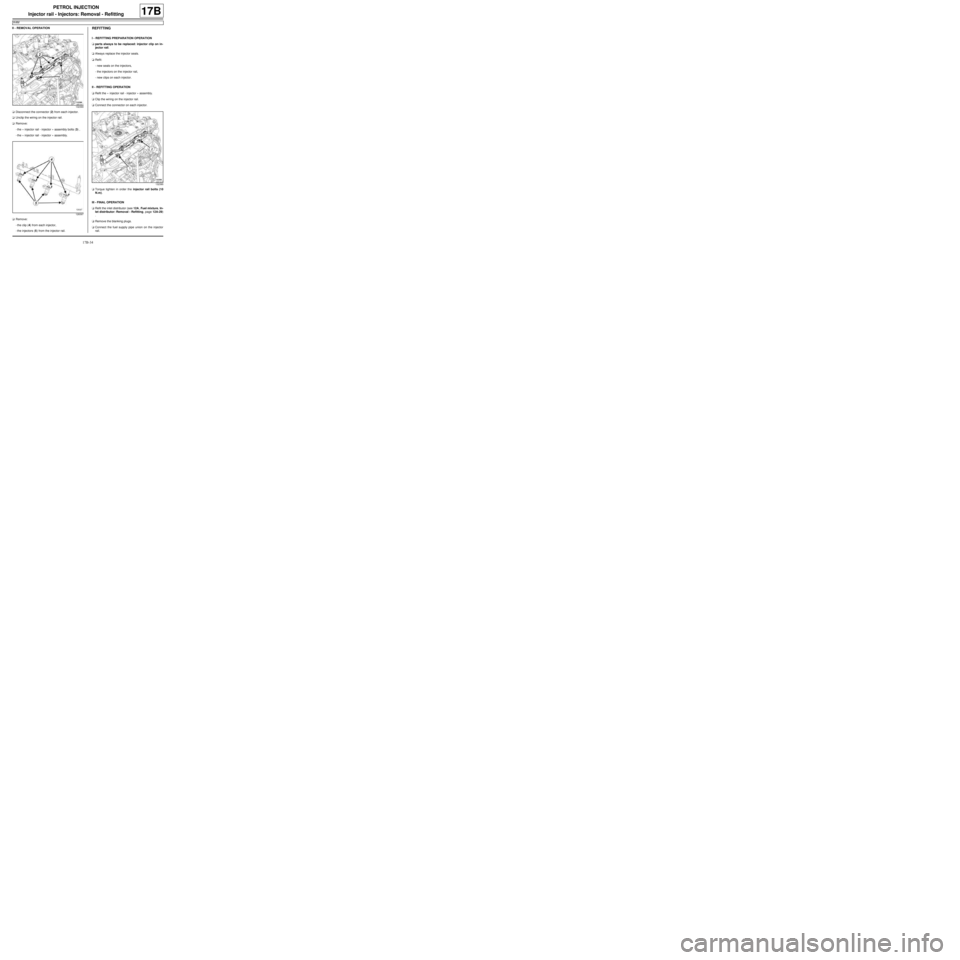
II - REMOVAL OPERATION
aDisconnect the connector (2) from each injector.
aUnclip the wiring on the injector rail.
aRemove:
-the « injector rail - injector » assembly bolts (3) ,
-the « injector rail - injector » assembly.
aRemove:
-the clip (4) from each injector,
-the injectors (5) from the injector rail.REFITTING
I - REFITTING PREPARATION OPERATION
aparts always to be replaced: injector clip on in-
jector rail.
aAlways replace the injector seals.
aRefit:
-new seals on the injectors,
-the injectors on the injector rail,
-new clips on each injector.
II - REFITTING OPERATION
aRefit the « injector rail - injector » assembly.
aClip the wiring on the injector rail.
aConnect the connector on each injector.
aTorque tighten in order the injector rail bolts (10
N.m).
III - FINAL OPERATION
aRefit the inlet distributor (see 12A, Fuel mixture, In-
let distributor: Removal - Refitting, page 12A-29)
.
aRemove the blanking plugs.
aConnect the fuel supply pipe union on the injector
rail.
132390
128397
132390
Page 615 of 652
19C-1
TANK
Fuel tank: Draining
K9K
19C
I - DRAINING PREPARATION OPERATION
aDisconnect the battery (see ) (MR 441, 80A, Bat-
tery).
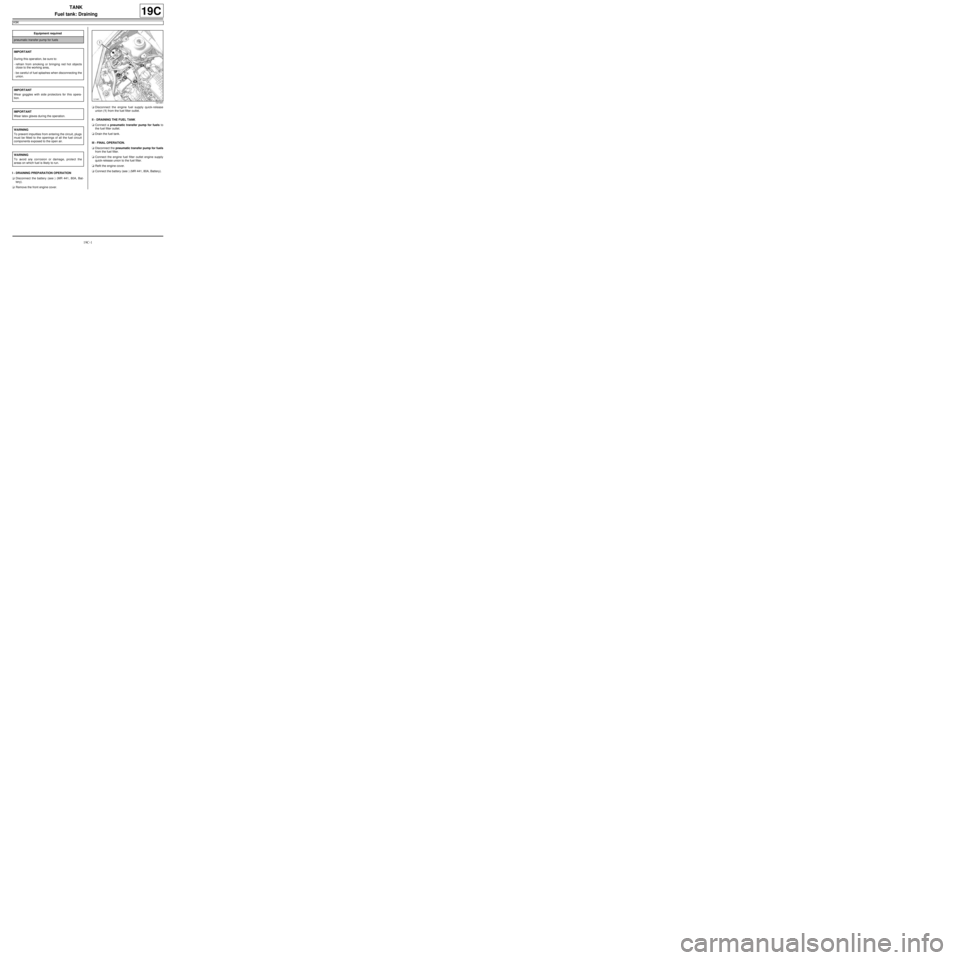
aRemove the front engine cover.aDisconnect the engine fuel supply quick-release
union (1) from the fuel filter outlet.
II - DRAINING THE FUEL TANK
aConnect a pneumatic transfer pump for fuels to
the fuel filter outlet.
aDrain the fuel tank.
III - FINAL OPERATION.
aDisconnect the pneumatic transfer pump for fuels
from the fuel filter.
aConnect the engine fuel filter outlet engine supply
quick-release union to the fuel filter.
aRefit the engine cover.
aConnect the battery (see ) (MR 441, 80A, Battery). Equipment required
pneumatic transfer pump for fuels
IMPORTANT
During this oper ation, be sure to:
-refrain from smoking or bringing red hot objects
close to the working area,
-be careful of fuel splashes when disconnecting the
union.
IMPORTANT
Wear goggles with side protectors for this opera-
tion.
IMPORTANT
Wear latex gloves during the operation.
WARNING
To prevent impurities from entering the circuit, plugs
must be fitted to the openings of all the fuel circuit
components exposed to the open air.
WARNING
To avoid any corrosion or damage, protect the
areas on which fuel is likely to run.
121441