air condition RENAULT TWINGO RS 2009 2.G Engine And Peripherals Repair Manual
[x] Cancel search | Manufacturer: RENAULT, Model Year: 2009, Model line: TWINGO RS, Model: RENAULT TWINGO RS 2009 2.GPages: 652
Page 531 of 652
19A-21
COOLING
Cooling radiator: Removal - Refitting
K4M
19A
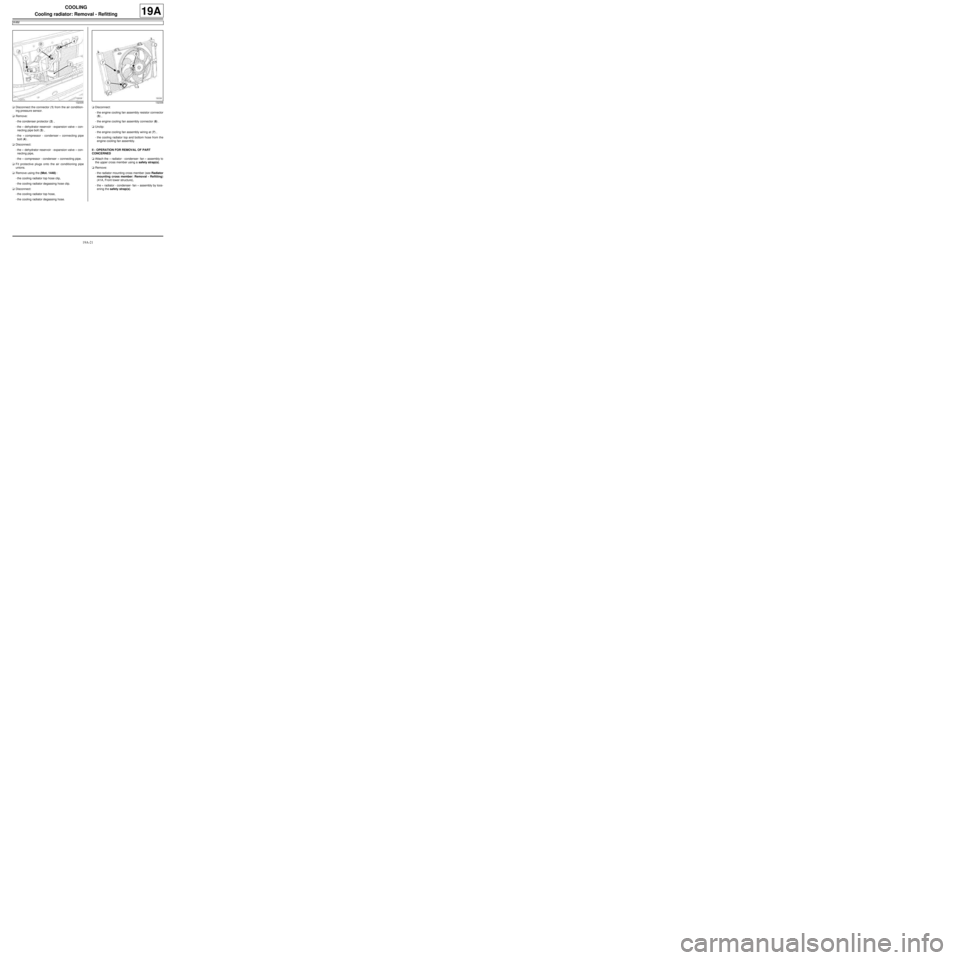
aDisconnect the connector (1) from the air condition-
ing pressure sensor.
aRemove:
-the condenser protector (2) ,
-the « dehydrator reservoir - expansion valve » con-
necting pipe bolt (3) ,
-the « compressor - condenser » connecting pipe
bolt (4) .
aDisconnect:
-the « dehydrator reservoir - expansion valve » con-
necting pipe,
-the « compressor - condenser » connecting pipe.
aFit protective plugs onto the air conditioning pipe
unions.
aRemove using the (Mot. 1448) :
-the cooling radiator top hose clip,
-the cooling radiator degassing hose clip.
aDisconnect:
-the cooling radiator top hose,
-the cooling radiator degassing hose.aDisconnect:
-the engine cooling fan assembly resistor connector
(5) ,
-the engine cooling fan assembly connector (6) .
aUnclip:
-the engine cooling fan assembly wiring at (7) ,
-the cooling radiator top and bottom hose from the
engine cooling fan assembly.
II - OPERATION FOR REMOVAL OF PART
CONCERNED
aAttach the « radiator - condenser- fan » assembly to
the upper cross member using a safety strap(s).
aRemove:
-the radiator mounting cross member (see Radiator
mounting cross member: Removal - Refitting)
(41A, Front lower structure),
-the « radiator - condenser- fan » assembly by loos-
ening the safety strap(s).
132335132336
Page 532 of 652
19A-22
COOLING
Cooling radiator: Removal - Refitting
K4M
19A
On the workbench
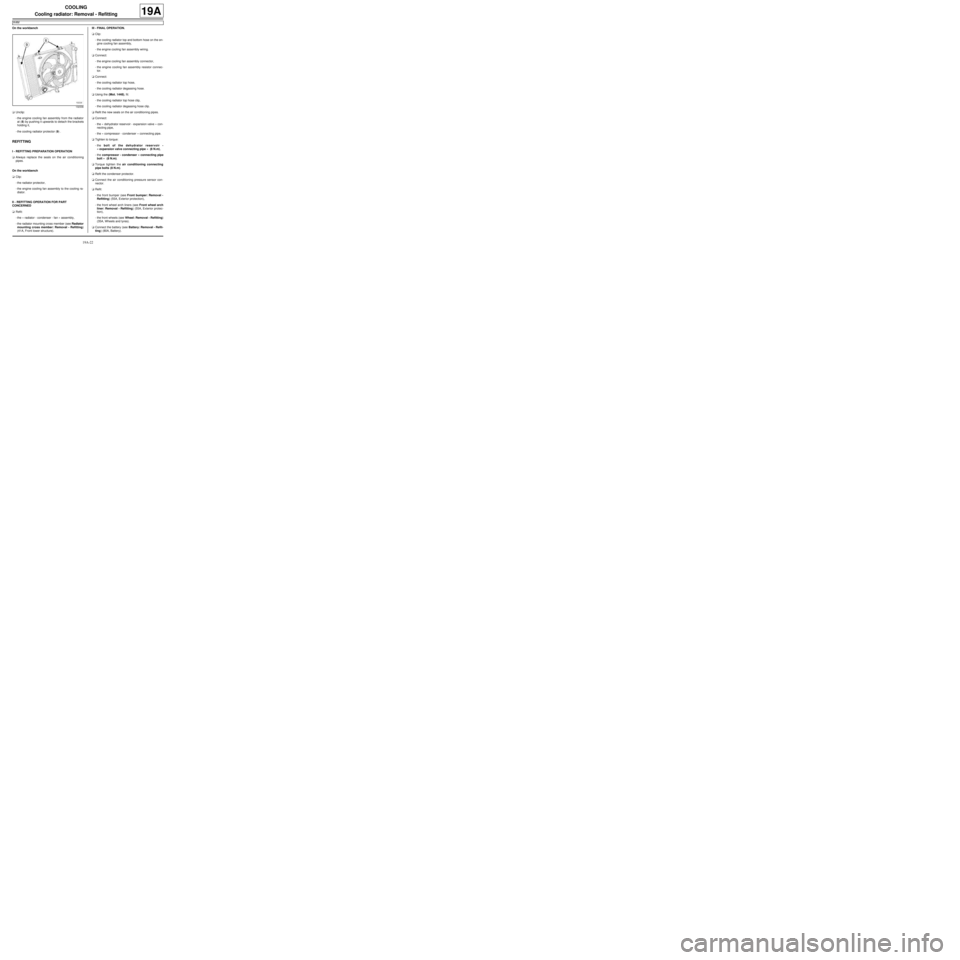
aUnclip:
-the engine cooling fan assembly from the radiator
at (8) by pushing it upwards to detach the brackets
holding it,
-the cooling radiator protector (9) .
REFITTING
I - REFITTING PREPARATION OPERATION
aAlways replace the seals on the air conditioning
pipes.
On the workbench
aClip:
-the radiator protector,
-the engine cooling fan assembly to the cooling ra-
diator.
II - REFITTING OPERATION FOR PART
CONCERNED
aRefit:
-the « radiator - condenser - fan » assembly,
-the radiator mounting cross member (see Radiator
mounting cross member: Removal - Refitting)
(41A, Front lower structure).III - FINAL OPERATION.
aClip:
-the cooling radiator top and bottom hose on the en-
gine cooling fan assembly,
-the engine cooling fan assembly wiring.
aConnect:
-the engine cooling fan assembly connector,
-the engine cooling fan assembly resistor connec-
tor.
aConnect:
-the cooling radiator top hose,
-the cooling radiator degassing hose.
aUsing the (Mot. 1448), fit:
-the cooling radiator top hose clip,
-the cooling radiator degassing hose clip.
aRefit the new seals on the air conditioning pipes.
aConnect:
-the « dehydrator reservoir - expansion valve » con-
necting pipe,
-the « compressor - condenser » connecting pipe.
aTighten to torque:
-the bolt of the dehydrator reservoir -
« expansion valve connecting pipe » (8 N.m),
-the compressor - condenser « connecting pipe
bolt » (8 N.m).
aTorque tighten the air conditioning connecting
pipe bolts (8 N.m).
aRefit the condenser protector.
aConnect the air conditioning pressure sensor con-
nector.
aRefit:
-the front bumper (see Front bumper: Removal -
Refitting) (55A, Exterior protection),
-the front wheel arch liners (see Front wheel arch
liner: Removal - Refitting) (55A, Exterior protec-
tion),
-the front wheels (see Wheel: Removal - Refitting)
(35A, Wheels and tyres).
aConnect the battery (see Battery: Removal - Refit-
ting) (80A, Battery).
132336
Page 533 of 652
19A-23
COOLING
Cooling radiator: Removal - Refitting
K4M
19A
aPerform the following operations:
-fill the air conditioning circuit using a refrigerant
charging station (see Refrigerant circuit: Drain-
ing - Filling) (62A, Air conditioning),
-fill and bleed the coolant circuit (see 19A, Cooling,
Cooling system: Draining - Refilling, page 19A-
9) .
aRefit the engine undertray.
Page 534 of 652
19A-24
COOLING
Coolant pump: Removal - Refitting
D4F or D7F
19A
REMOVAL
I - REMOVAL PREPARATION OPERATION
aPosition the vehicle on a two-post lift (see Vehicle:
Towing and lifting) (MR 411, 02A, Lifting equip-
ment).
aDisconnect the battery (see ) (MR 411, 80A, Bat-
tery).
aRemove:
-the front right-hand wheel (see Wheel: Removal -
Refitting) (MR 411, 35A, Wheels and tyres),
-the front wheel arch liner (see Front wheel arch
liner: Removal - Refitting) (MR 412, 55A, Exterior
protection),
-the accessories belt (see 11A, Top and front of
engine, Accessories belt: Removal - Refitting,
page 11A-3) ,
-the engine tie-bar (see 19D, Engine mounting,
Lower engine tie-bar: Removal - Refitting, page
19D-18) ,
-the right-hand suspended engine mounting (see
19D, Engine mounting, Right-hand suspended
engine mounting: Removal - Refitting, page
19D-13) ,
-the timing belt (see 11A, Top and front of engine,
Timing belt: Removal - Refitting, page 11A-27) .
aDrain the cooling system (see 19A, Cooling, Cool-
ing system: Draining - Refilling, page 19A-9) .
aRemove the rigid coolant pipe bolt on the multifunc-
tion support.
aMove the rigid water pump pipe aside.aRemove the coolant pump inlet pipe (see 19A,
Cooling, Coolant pump inlet pipe: Removal - Re-
fitting, page 19A-58) .
II - OPERATION FOR REMOVAL OF PART
CONCERNED
aRemove:
-the coolant pump bolts,
-the coolant pump,
-the coolant pump seal.
aRemove the coolant pump bolts.
aMove the coolant pump 5 mm away from its bearing
face.
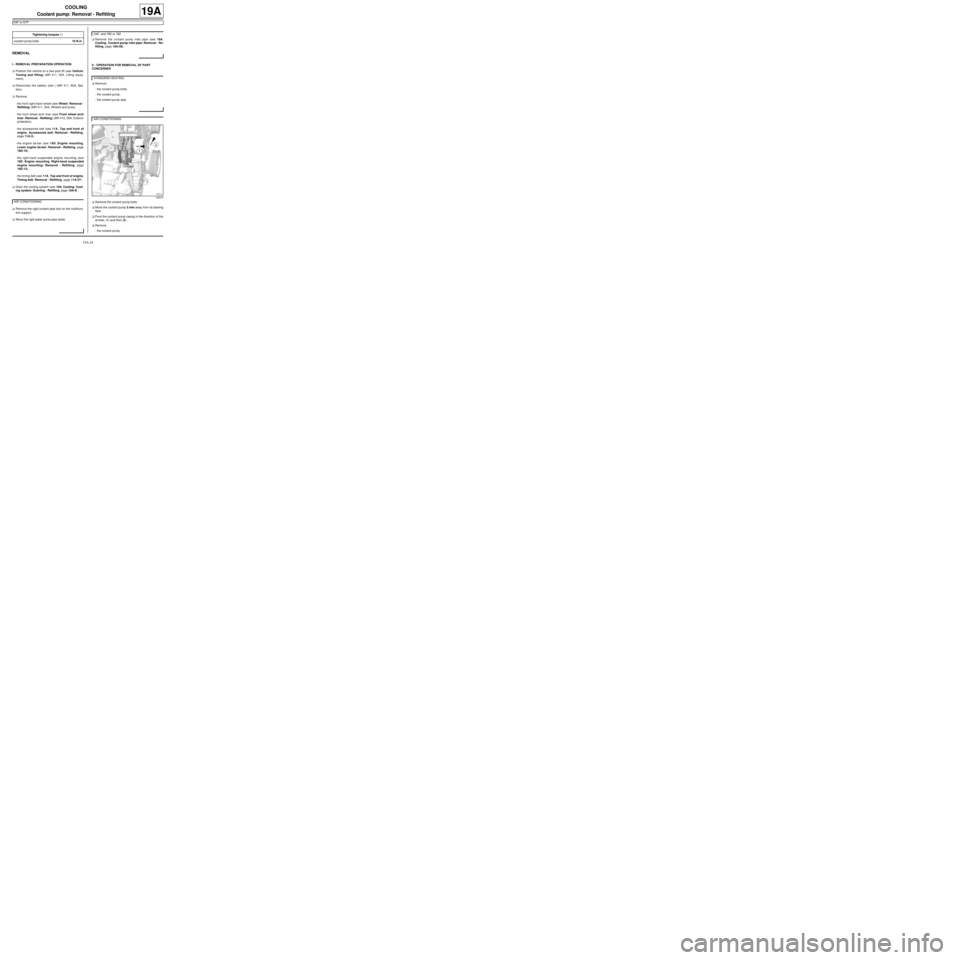
aPivot the coolant pump casing in the direction of the
arrows, (1) and then (2) .
aRemove:
-the coolant pump, Tightening torquesm
coolant pump bolts10 N.m
AIR CONDITIONING
D4F, and 780 or 782
STANDARD HEATING
AIR CONDITIONING
120515
Page 535 of 652
19A-25
COOLING
Coolant pump: Removal - Refitting
D4F or D7F
19A
-the coolant pump seal.
REFITTING
I - REFITTING PREPARATION OPERATION
aApply SUPER CLEANER FOR JOINT FACES (see
Vehicle: Parts and consumables for the repair)
(MR 411, 04B, Consumables - Products) to the ar-
eas to be cleaned.
aLeave for approximately ten minutes.
aRemove the residue using a wooden spatula.
aComplete the cleaning of the parts using an abrasive
pad.
aDegrease the joint faces with SURFACE CLEANER
(see Vehicle: Parts and consumables for the re-
pair) (MR 411, 04B, Consumables - Products).
II - REFITTING OPERATION FOR PART
CONCERNED
aRefit:
-the water pump fitted with a new seal,
-the coolant pump bolts.aTighten to torque and in order the coolant pump
bolts (10 N.m).
aRefit the coolant pump inlet pipe (see 19A, Cooling,
Coolant pump inlet pipe: Removal - Refitting,
page 19A-58) .
III - FINAL OPERATION
aFit the rigid water pump pipe with a new seal.
aRefit the rigid coolant pipe bolt on the multifunction
support.
aRefit:
-the timing belt (see 11A, Top and front of engine,
Timing belt: Removal - Refitting, page 11A-27) ,
-the right-hand suspended engine mounting (see
19D, Engine mounting, Right-hand suspended
engine mounting: Removal - Refitting, page
19D-13) ,
-the engine tie-bar (see 19D, Engine mounting,
Lower engine tie-bar: Removal - Refitting, page
19D-18) , WARNING
Do not scrape the joint faces of the aluminium,
any damage caused to the joint face will result in
a risk of leaks.
IMPORTANT
Wear latex gloves during the operation.
WARNING
The joint faces must be clean, dr y and free from
grease (avoid finger marks).
120516
D4F, and 780 or 782
AIR CONDITIONING
Page 561 of 652
19A-51
COOLING
Engine cooling fan assembly: Removal - Refitting
C44, and K9K
19A
REMOVAL
I - REMOVAL PREPARATION OPERATION
aPosition the vehicle on a two-post lift ( (see Vehicle:
Towing and lifting) )
aDisconnect the battery ( (see Battery: Removal -
Refitting) ).
aRemove:
-the engine undertray bolts,
-the engine undertray,
-the front bumper ( (see Front bumper: Removal -
Refitting) ),
-the left-hand and right-hand headlights (see Halo-
gen headlight: Removal - Refitting) .
aRemove:
-the cooling radiator retaining lug bolt,
-the expansion bottle bolt onto the front upper cross
member,
-the air filter inlet air pipe bolt on the front upper
cross member.
aUnclip and then remove from the front upper cross
member:
-the air filter inlet air pipe,
-the expansion bottle.
aRemove the bonnet lock nuts.
aRemove the « cable - bonnet catch » assembly.
aRemove the front upper cross member ( (see Front
upper cross member: Removal - Refitting) )
II - OPERATION FOR REMOVAL OF PART
CONCERNED
aDisconnect the electrical connectors on the engine
cooling fan assembly.
aUnclip:
-the engine cooling fan assembly wiring,
-the coolant hose at the bottom of the engine cool-
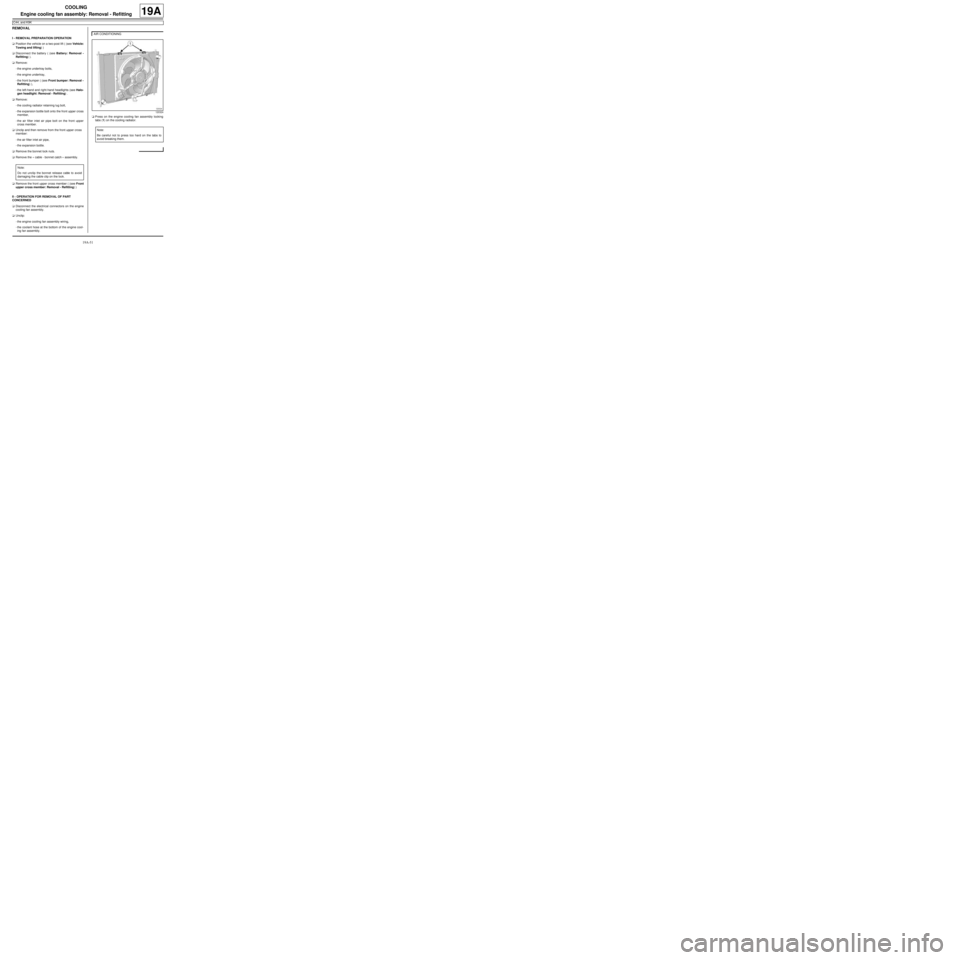
ing fan assembly.aPress on the engine cooling fan assembly locking
tabs (1) on the cooling radiator.
Note:
Do not unclip the bonnet release cable to avoid
damaging the cable clip on the lock.
AIR CONDITIONING
120324
Note:
Be careful not to press too hard on the tabs to
avoid breaking them.
Page 563 of 652
19A-53
COOLING
Engine cooling fan assembly: Removal - Refitting
D4F, and 772, and AIR CONDITIONING or STANDARD HEATING – D7F, and AIR CONDITIONING or STANDARD
HEATING
19A
REMOVAL
I - REMOVAL PREPARATION OPERATION
aPosition the vehicle on a two-post lift ( (see Vehicle:
Towing and lifting) ).
aRemove:
-the battery ( (see Battery: Removal - Refitting) ),
-the battery tray ( (see Battery tray: Removal - Re-
fitting) ),
-the engine computer mounting,
aRemove:
-the air filter unit air inlet pipe bolt on the front end
panel,
-the air filter unit air inlet pipe,
-the air scoop.
aRemove the bonnet catch.
aMove the bonnet lock and release cable unit aside.
II - OPERATION FOR REMOVAL OF PART
CONCERNED
aDisconnect the engine cooling fan assembly con-
nectors.
aUnclip the fan assembly wiring harness.
aMove the motor-driven fan assembly wiring harness
aside.
aUnclip:
-the expansion bottle hose from the cooling fan as-
sembly,
-the cooling radiator bottom hose from the cooling
fan assembly.
aUnclip the engine cooling fan assembly.
aRemove the engine cooling fan assembly from
above. .
aIf replacing the fan:
-Remove the engine cooling fan bolts.
-Remove the fan from the fan assembly.
REFITTING
I - REFITTING PREPARATION OPERATION
aIf replacing the fan:
-Fit the engine cooling fan to the motor-driven fan
assembly.
-Refit the cooling fan bolts.
II - REFITTING OPERATION FOR PART
CONCERNED
aRefit the engine cooling fan assembly from above.
aClip the engine cooling fan assembly in place.
aClip:
-the expansion bottle hose from the cooling fan as-
sembly,
-the cooling radiator bottom hose from the cooling
fan assembly.
aFit the motor-driven fan assembly wiring harness.
aConnect the fan assembly connectors.
aClip the fan assembly wiring harness.
III - FINAL OPERATION
aRefit the bonnet catch.
aRefit:
-the engine computer mounting,
-the battery tray ( (see Battery tray: Removal - Re-
fitting) ),
-the battery ( (see Battery: Removal - Refitting) ).
aRefit:
-the air scoop,
-the air filter unit air inlet pipe,
-the air filter unit air inlet pipe bolt on the front end
panel. AIR CONDITIONING
AIR CONDITIONING
Page 593 of 652
19B-11
EXHAUST
Exhaust: Precautions for the repair
19B
Note:
If there are leaks from the EXHAUST TRUNKING
WITH 1 BOLT, apply EXHAUST MASTIC to the
trunking (see par t no. in Technical Note 5068, 04B,
Consumables - Products).
If the application of exhaust mastic does not fix the
leak:
-remove and replace the used exhaust trunking,
-check the condition of the exhaust pipes (condition
of the pipe surface, deburring of the area cut,
damage to the pipes).
-fit the new trunking in accordance with the instruc-
tions given before.