roof RENAULT TWINGO RS 2009 2.G Mechanism And Accessories User Guide
[x] Cancel search | Manufacturer: RENAULT, Model Year: 2009, Model line: TWINGO RS, Model: RENAULT TWINGO RS 2009 2.GPages: 95
Page 27 of 95
52A-13
NON-SIDE OPENING ELEMENT MECHANISMS
Sunroof mobile panel guide: Removal - Refitting
PANORAMIC SUNROOF
52A
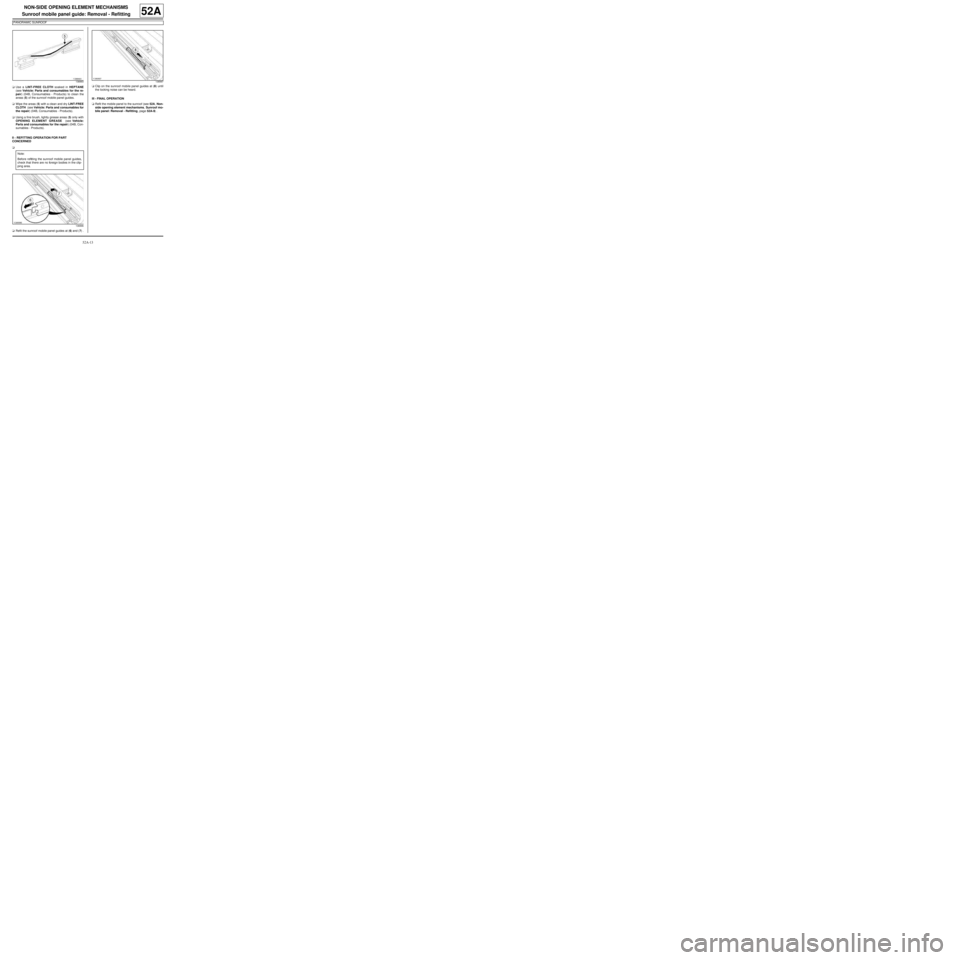
aUse a LINT-FREE CLOTH soaked in HEPTANE
(see Vehicle: Parts and consumables for the re-
pair) (04B, Consumables - Products) to clean the
areas (5) of the sunroof mobile panel guides.
aWipe the areas (5) with a clean and dry LINT-FREE
CLOTH (see Vehicle: Parts and consumables for
the repair) (04B, Consumables - Products).
aUsing a fine brush, lightly grease areas (5) only with
OPENING ELEMENT GREASE (see Vehicle:
Parts and consumables for the repair) (04B, Con-
sumables - Products).
II - REFITTING OPERATION FOR PART
CONCERNED
a
aRefit the sunroof mobile panel guides at (6) and (7) .aClip on the sunroof mobile panel guides at (8) until
the locking noise can be heard.
III - FINAL OPERATION
aRefit the mobile panel to the sunroof (see 52A, Non-
side opening element mechanisms, Sunroof mo-
bile panel: Removal - Refitting, page 52A-9) .
138993
Note:
Before refitting the sunroof mobile panel guides,
check that there are no foreign bodies in the clip-
ping area.
138996
138997
Page 28 of 95
52A-14
NON-SIDE OPENING ELEMENT MECHANISMS
Sunroof deflector: Removal - Refitting
52A
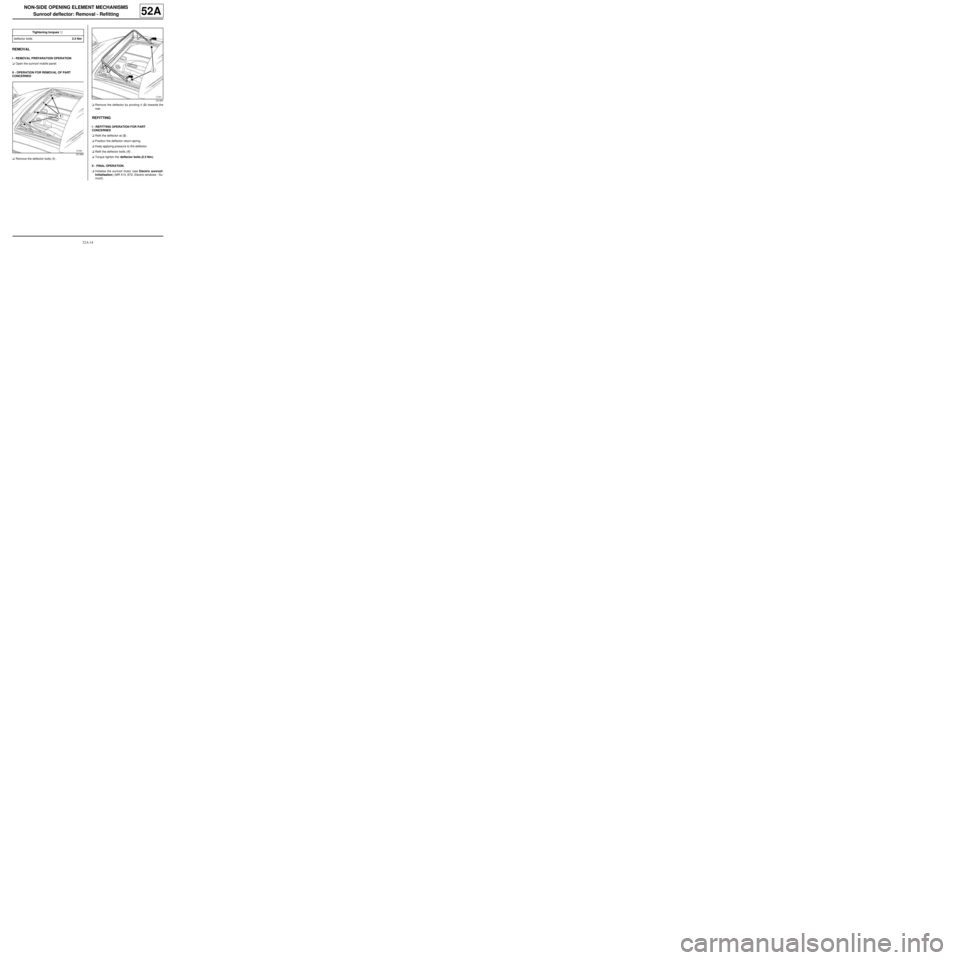
REMOVAL
I - REMOVAL PREPARATION OPERATION
aOpen the sunroof mobile panel.
II - OPERATION FOR REMOVAL OF PART
CONCERNED
aRemove the deflector bolts (1) .aRemove the deflector by pivoting it (2) towards the
rear.
REFITTING
I - REFITTING OPERATION FOR PART
CONCERNED
aRefit the deflector at (2) .
aPosition the deflector return spring.
aKeep applying pressure to the deflector.
aRefit the deflector bolts (1) .
aTorque tighten the deflector bolts (2.5 Nm).
II - FINAL OPERATION.
aInitialise the sunroof motor (see Electric sunroof:
Initialisation) (MR 413, 87D, Electric windows - Su-
nroof). Tightening torquesm
deflector bolts2.5 Nm
121490
121491
Page 29 of 95

52A-15
NON-SIDE OPENING ELEMENT MECHANISMS
Sunroof sun visors: Removal - Refitting
PANORAMIC SUNROOF
52A
REMOVAL
I - REMOVAL PREPARATION OPERATION
aLock the airbag computer using the Diagnostic tool
(see Fault finding - Replacement of components)
(88C, Airbags and pretensioners).
aDisconnect the battery (see Battery: Removal - Re-
fitting) (80A, Battery).
aRemove the headlining (see Headlining: Removal -
Refitting) (71A, Body internal trim).II - OPERATION FOR REMOVAL OF PART
CONCERNED
aUnroll the sun visors fully.
aRemove the roof middle cross member bolts (2) .
aRemove the stops (3) .
aRoll the sun visors.
aRemove the « sunroof sun visors - roof centre cross
member » assembly.
REFITTING
I - REFITTING OPERATION FOR PART
CONCERNED
aBring together the « sunroof sun visors - roof centre
cross member » assembly.
aEngage the sun visors into the guide runners.
aUnroll the sun visors fully.
aRefit:
-the stops (3) ,
-the roof middle cross member bolts (2) .
aTorque tighten the roof middle cross member
bolts (4 N.m ). Equipment required
Diagnostic tool
Tightening torquesm
roof middle cross mem-
ber bolts4 N.m
IMPORTANT
To avoid any risk of triggering when working on or
near a pyrotechnic component (airbags or preten-
sioners), lock the airbag computer using the dia-
gnostic tool.
When this function is activated, all the trigger lines
are inhibited and the airbag warning light on the ins-
trument panel lights up contin uously (ignition on).
IMPORTANT
Never handle the pyrotechnic systems (pretensio-
ners or airbags) near to a source of heat or naked
flame - they may be triggered.
121222
Note:
Do not remove the bolts (1) from the visor retai-
ning yokes; the visors are connected to the mid-
dle cross member.
Page 30 of 95
52A-16
NON-SIDE OPENING ELEMENT MECHANISMS
Sunroof sun visors: Removal - Refitting
PANORAMIC SUNROOF
52A
II - FINAL OPERATION
aCarry out a function test.
aRefit the headlining (see Headlining: Removal -
Refitting) (71A, Body internal trim).
aConnect the battery (see Battery: Removal - Refit-
ting) (80A, Battery).
aUnlock the airbag computer using the Diagnostic
tool (see Fault finding - Replacement of compo-
nents) (88C, Airbags and pretensioners).
Page 32 of 95
54A-2
WINDOWS
Windscreen: Removal - Refitting
54A
REFITTING
I - REFITTING PREPARATIONS OPERATION
aPosition the retaining shims and stops.
aPosition the seal (2) on the windscreen.
aFor preparation and bonding (see Technical Note
560A).
II - REFITTING OPERATION FOR PART
CONCERNED
aBond the windscreen (this operation requires two
people).
aRespect the following clearances and flush fitting:
- « Windscreen - Roof » ,
- « Windscreen - A-pillar » .
aHold the windscreen in position with masking tape.
III - FINAL OPERATION.
aReplace the rain and light sensor adhesive base
(depending on the equipment level) (see Rain and
light sensor: Removal - Refitting) (MR 411, 85A,
Wiping - Washing).
aConnect the rain and light sensor (depending on the
equipment level).
aRefit:
-the A-pillar trims (see Windscreen pillar trim: Re-
moval - Refitting) (MR 412, 71A, Body internal
trim),
-the interior rear-view mirror (see 57A, Interior
equipment, Interior rear-view mirror: Removal -
Refitting, page 57A-14) ,
-the scuttle panel grille (see 56A, Exterior equip-
ment, Scuttle panel grille: Removal - Refitting,
page 56A-1) ,
-the lower windscreen trims (1) ,
-the windscreen wiper arms (see Windscreen wi-
per arm: Removal - Refitting) (MR 411, 85A, Wi-
pers - Washers).
Page 35 of 95
54A-5
WINDOWS
Rear screen: Removal - Refitting
54A
REMOVAL
I - REMOVAL PREPARATION OPERATION
aRemove the rear screen wiper arm (see Rear
screen wiper arm: Removal - Refitting) (MR 411,
85A, Wiping - Washing).
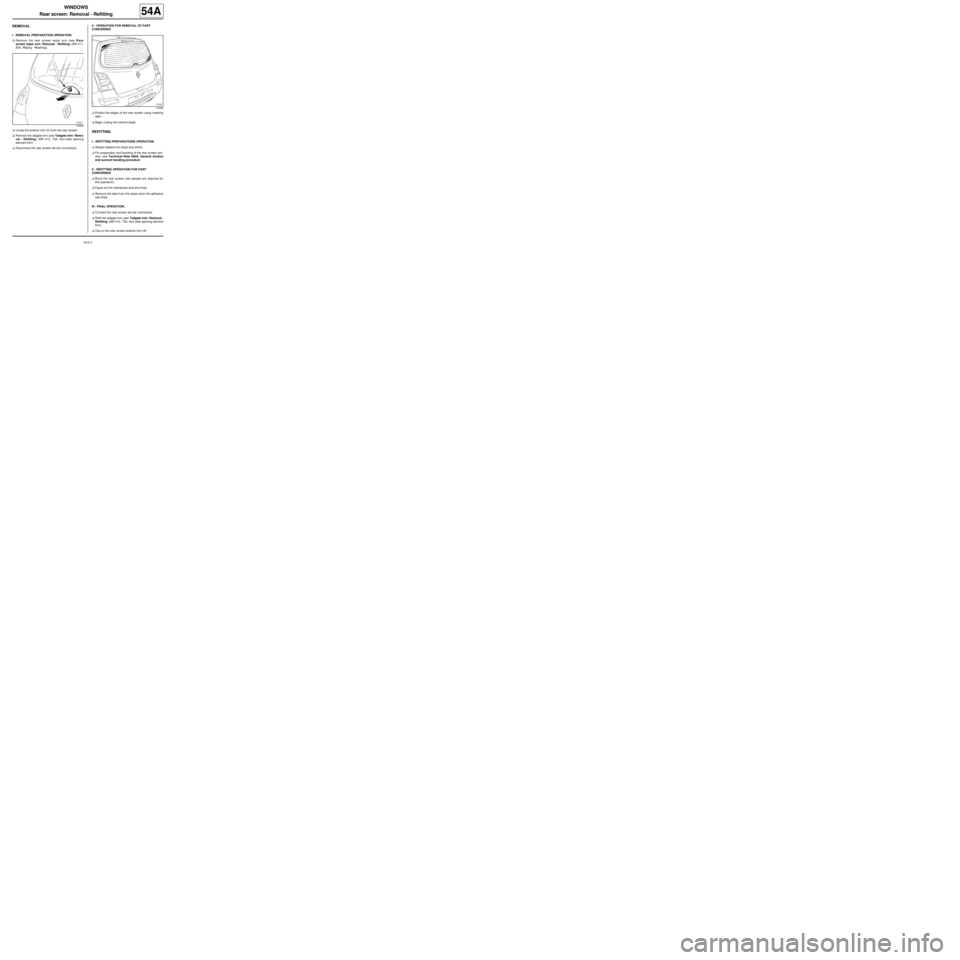
aUnclip the exterior trim (1) from the rear screen.
aRemove the tailgate trim (see Tailgate trim: Remo-
val - Refitting) (MR 412, 73A, Non-side opening
element trim).
aDisconnect the rear screen de-icer connectors.II - OPERATION FOR REMOVAL OF PART
CONCERNED
aProtect the edges of the rear screen using masking
tape.
aBegin cutting the cement bead.
REFITTING
I - REFITTING PREPARATIONS OPERATION
aAlways replace the stops and shims.
aFor preparation and bonding of the rear screen win-
dow, see Technical Note 560A, General window
and sunroof bonding procedure.
II - REFITTING OPERATION FOR PART
CONCERNED
aBond the rear screen (two people are required for
this operation).
aEqual out the clearances and shut lines.
aRemove the tabs from the stops when the adhesive
has dried.
III - FINAL OPERATION.
aConnect the rear screen de-icer connectors.
aRefit the tailgate trim (see Tailgate trim: Removal -
Refitting) (MR 412, 73A, Non-side opening element
trim).
aClip on the rear screen exterior trim (1) .
119525
119290
Page 37 of 95
54A-7
WINDOWS
Sunroof fixed window: Removal - Refitting
54A
REMOVAL
I - REMOVAL PREPARATION OPERATION
aLock the airbag computer using the Diagnostic tool
(see Fault finding - Replacement of components)
(MR 413, 88C, Airbags and seat belt pretensioners).
aDisconnect the battery (see Battery: Removal - Re-
fitting) (MR 411, 80A, Battery).
aRemove:
-the headlining (see Headlining: Removal - Refit-
ting) (MR 412, 71A, Body internal trim),
-the roof protection strips (see 55A, Exterior pro-
tection, Roof protection strip: Removal - Refit-
ting, page 55A-17) .
aProtect:
-the sunroof's fixed window surround and the rear
section of the roof using masking tape,
-the inside of the vehicle.II - REMOVAL OPERATION FOR PART
CONCERNED
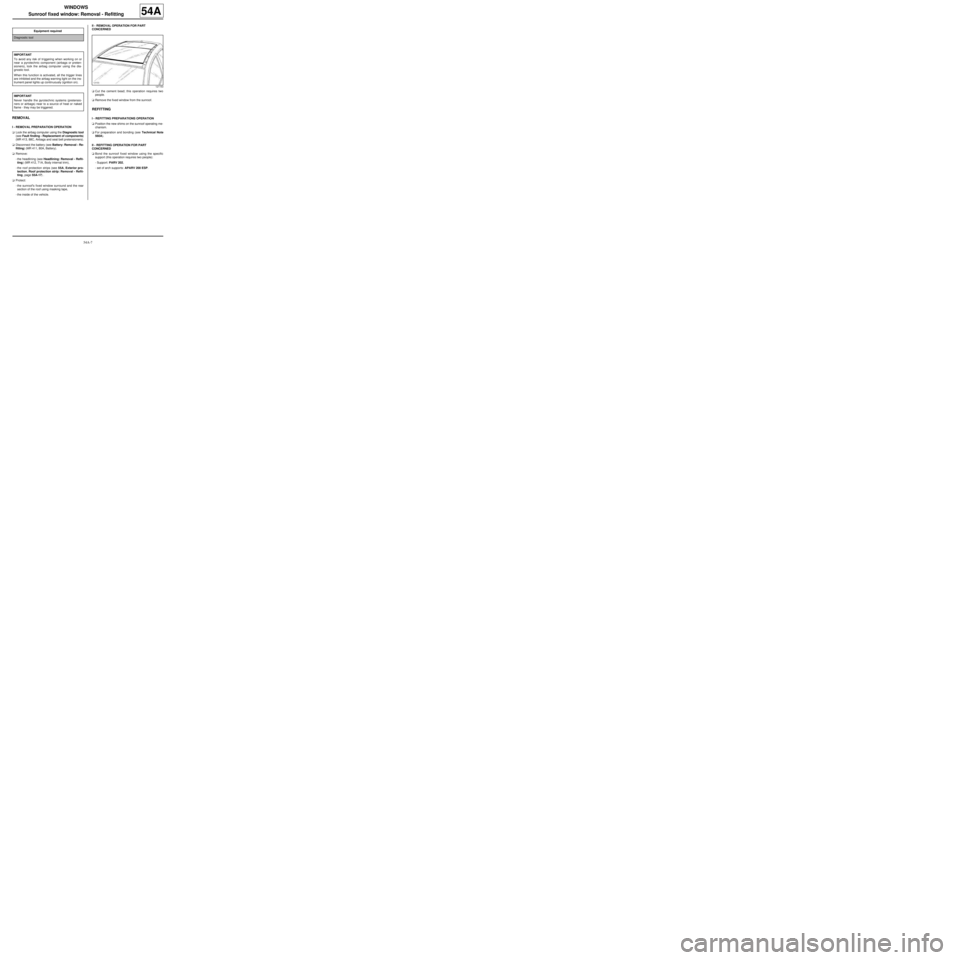
aCut the cement bead; this operation requires two
people.
aRemove the fixed window from the sunroof.
REFITTING
I - REFITTING PREPARATIONS OPERATION
aPosition the new shims on the sunroof operating me-
chanism.
aFor preparation and bonding (see Technical Note
560A).
II - REFITTING OPERATION FOR PART
CONCERNED
aBond the sunroof fixed window using the specific
support (this operation requires two people):
-Support: PARV 202,
-set of arch supports: APARV 200 ESP. Equipment required
Diagnostic tool
IMPORTANT
To avoid any risk of triggering when working on or
near a pyrotechnic component (airbags or preten-
sioners), lock the airbag computer using the dia-
gnostic tool.
When this function is activated, all the trigger lines
are inhibited and the airbag warning light on the ins-
trument panel lights up contin uously (ignition on).
IMPORTANT
Never handle the pyrotechnic systems (pretensio-
ners or airbags) near to a source of heat or naked
flame - they may be triggered.
121153
Page 38 of 95
54A-8
WINDOWS
Sunroof fixed window: Removal - Refitting
54A
Respect the clearances and shut lines
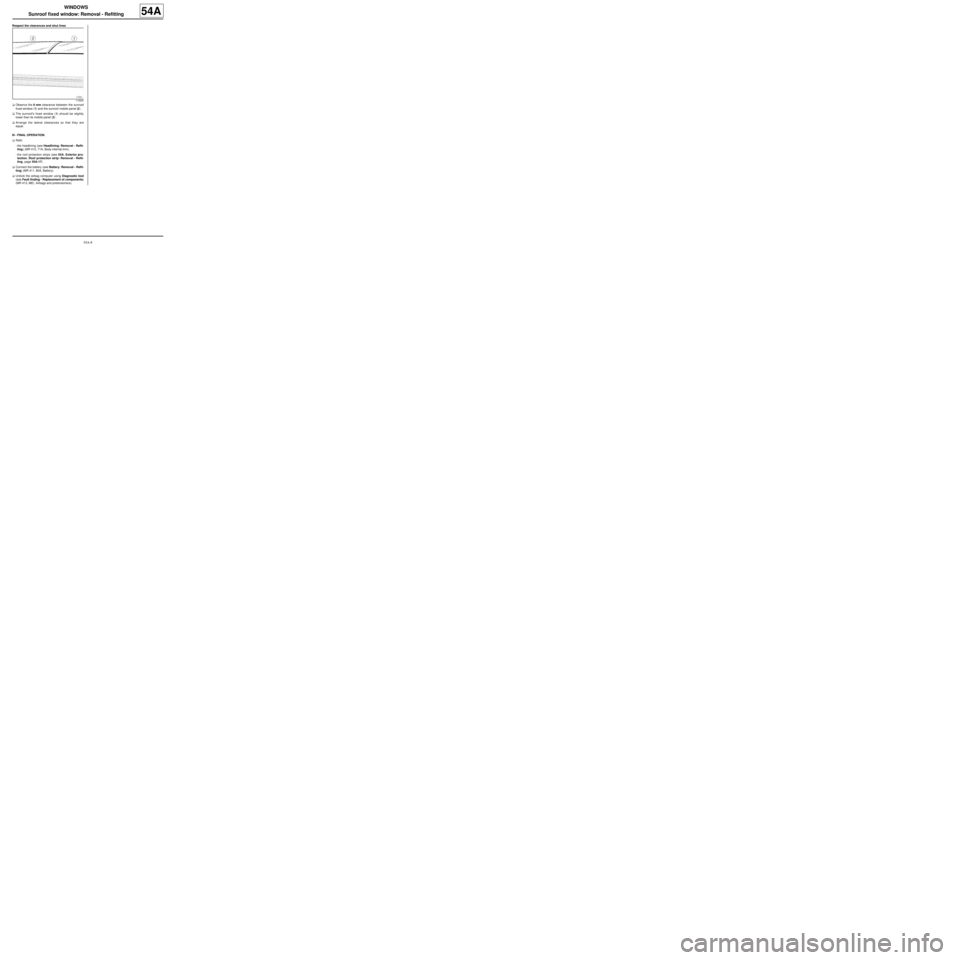
aObserve the 6 mm clearance between the sunroof
fixed window (1) and the sunroof mobile panel (2) .
aThe sunroof's fixed window (1) should be slightly
lower than its mobile panel (2) .
aArrange the lateral clearances so that they are
equal.
III - FINAL OPERATION.
aRefit:
-the headlining (see Headlining: Removal - Refit-
ting) (MR 412, 71A, Body internal trim),
-the roof protection strips (see 55A, Exterior pro-
tection, Roof protection strip: Removal - Refit-
ting, page 55A-17) .
aConnect the battery (see Battery: Removal - Refit-
ting) (MR 411, 80A, Battery).
aUnlock the airbag computer using Diagnostic tool
(see Fault finding - Replacement of components)
(MR 413, 88C, Airbags and pretensioners).
113525
Page 55 of 95
55A-17
EXTERIOR PROTECTION
Roof protection strip: Removal - Refitting
55A
REMOVAL
I - REMOVAL PREPARATION OPERATION
aOpen the moving panel.
II - REMOVAL OPERATION FOR PART
CONCERNED
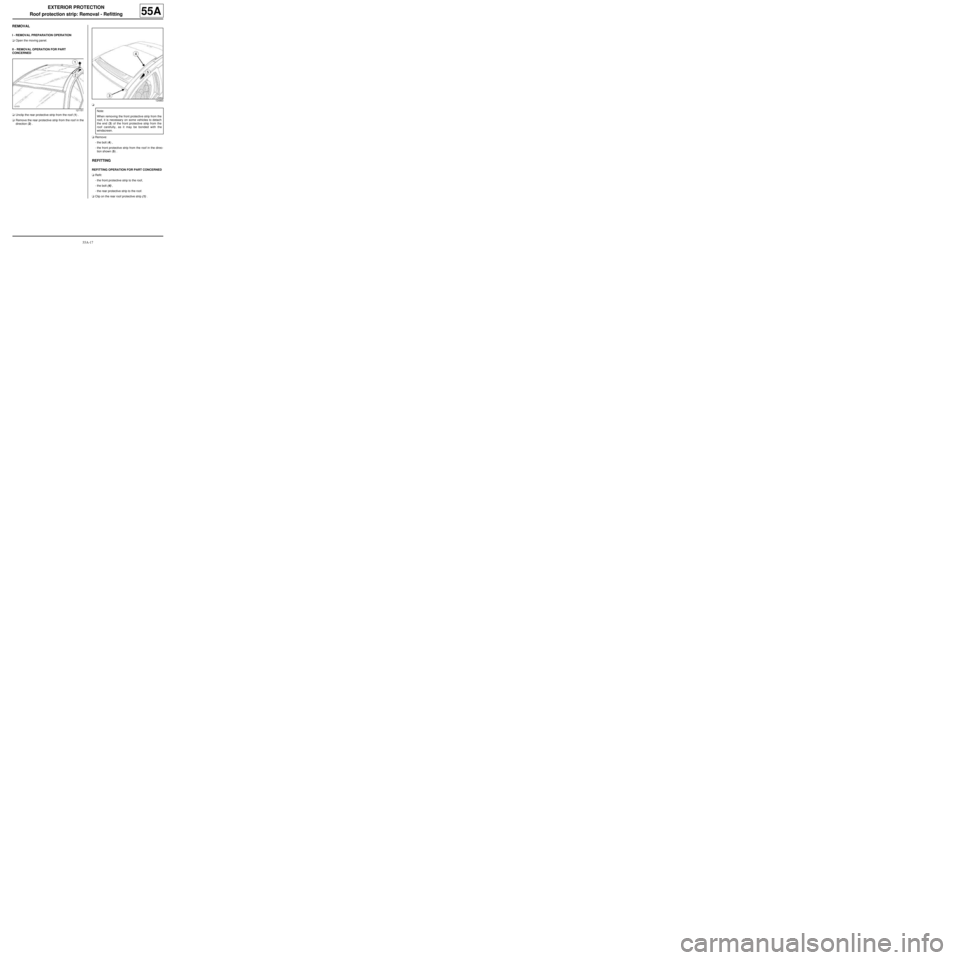
aUnclip the rear protective strip from the roof (1) .
aRemove the rear protective strip from the roof in the
direction (2) .a
aRemove:
-the bolt (4) ,
-the front protective strip from the roof in the direc-
tion shown (5) .
REFITTING
REFITTING OPERATION FOR PART CONCERNED
aRefit:
-the front protective strip to the roof,
-the bolt (4) ,
-the rear protective strip to the roof.
aClip on the rear roof protective strip (1) .
121151
124863
Note:
When removing the front protective strip from the
roof, it is necessary on some vehicles to detach
the end (3) of the front protective strip from the
roof carefully, as it may be bonded with the
windscreen.