roof RENAULT TWINGO RS 2009 2.G Panelwork User Guide
[x] Cancel search | Manufacturer: RENAULT, Model Year: 2009, Model line: TWINGO RS, Model: RENAULT TWINGO RS 2009 2.GPages: 209
Page 185 of 209
45A-4
TOP OF BODY
Roof: Description
45A
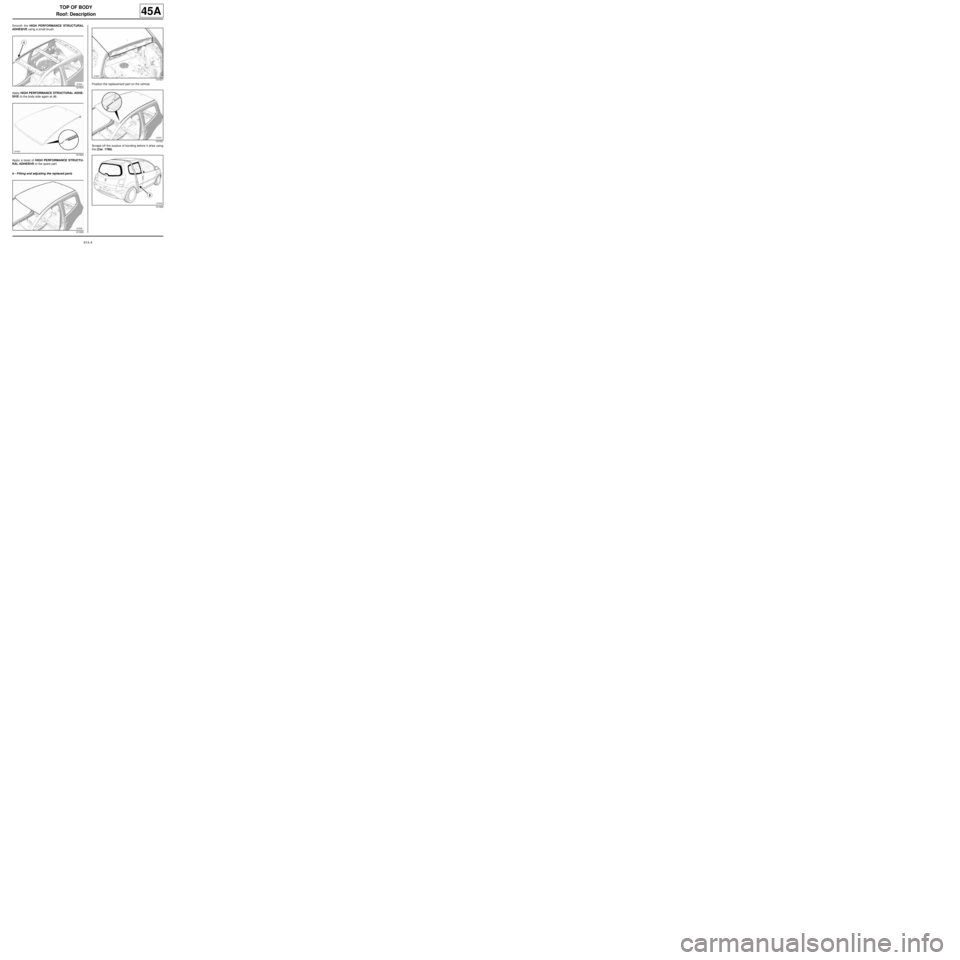
Smooth the HIGH PERFORMANCE STRUCTURAL
ADHESIVE using a small brush.
Apply HIGH PERFORMANCE STRUCTURAL ADHE-
SIVE to the body side again at (4) .
Apply a bead of HIGH PERFORMANCE STRUCTU-
RAL ADHESIVE to the spare part.
b - Fitting and adjusting the replaced partsPosition the replacement part on the vehicle.
Scrape off the surplus of bonding before it dries using
the (Car. 1786).
121624
121625
121628
121627
121631
121629
Page 186 of 209
45A-5
TOP OF BODY
Roof: Description
45A
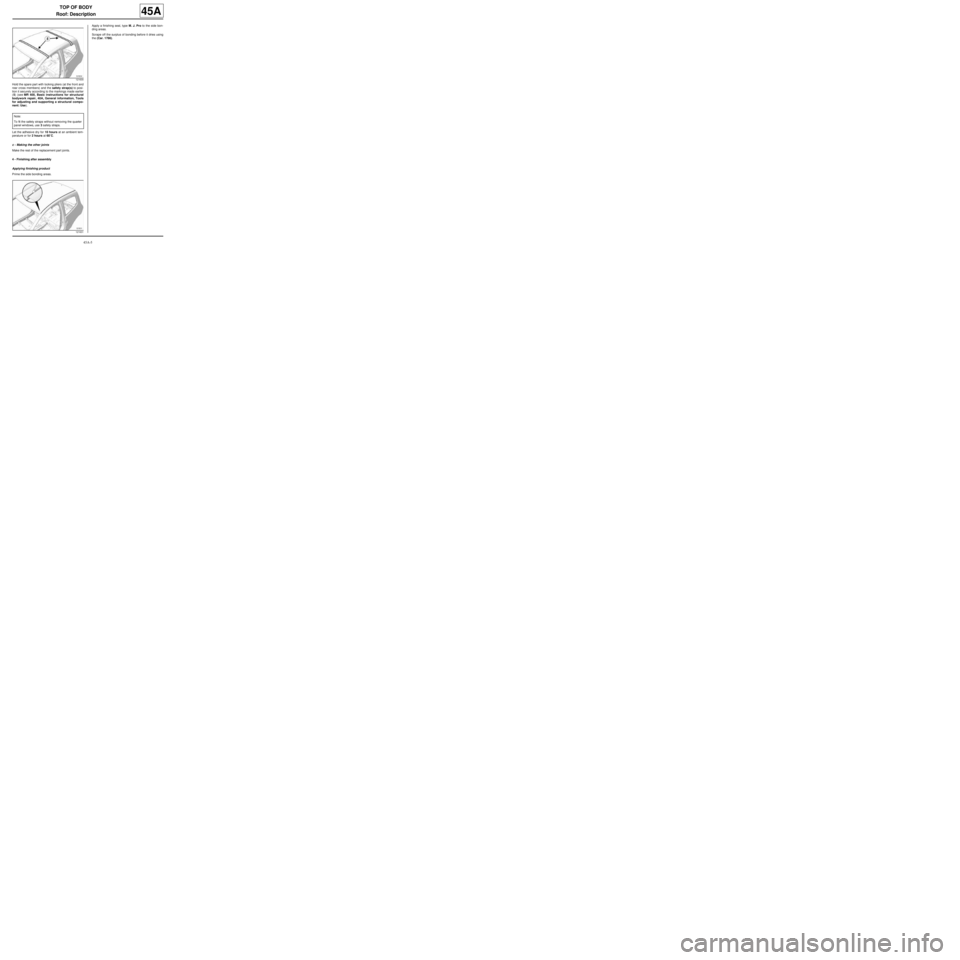
Hold the spare part with locking pliers (at the front and
rear cross members) and the safety strap(s) to posi-
tion it securely according to the markings made earlier
(5) (see MR 400, Basic instructions for structural
bodywork repair, 40A, General information, Tools
for adjusting and supporting a structural compo-
nent: Use).
Let the adhesive dry for 10 hours at an ambient tem-
perature or for 2 hours at 60˚C.
c - Making the other joints
Make the rest of the replacement part joints.
4 - Finishing after assembly
Applying finishing product
Prime the side bonding areas.Apply a finishing seal, type M. J. Pro to the side bon-
ding areas.
Scrape off the surplus of bonding before it dries using
the (Car. 1786).
121630
Note:
To fit the safety straps without removing the quarter
panel windows, use 3 safety straps.
121631
Page 187 of 209
45A-6
TOP OF BODY
Roof front section: Description
45A
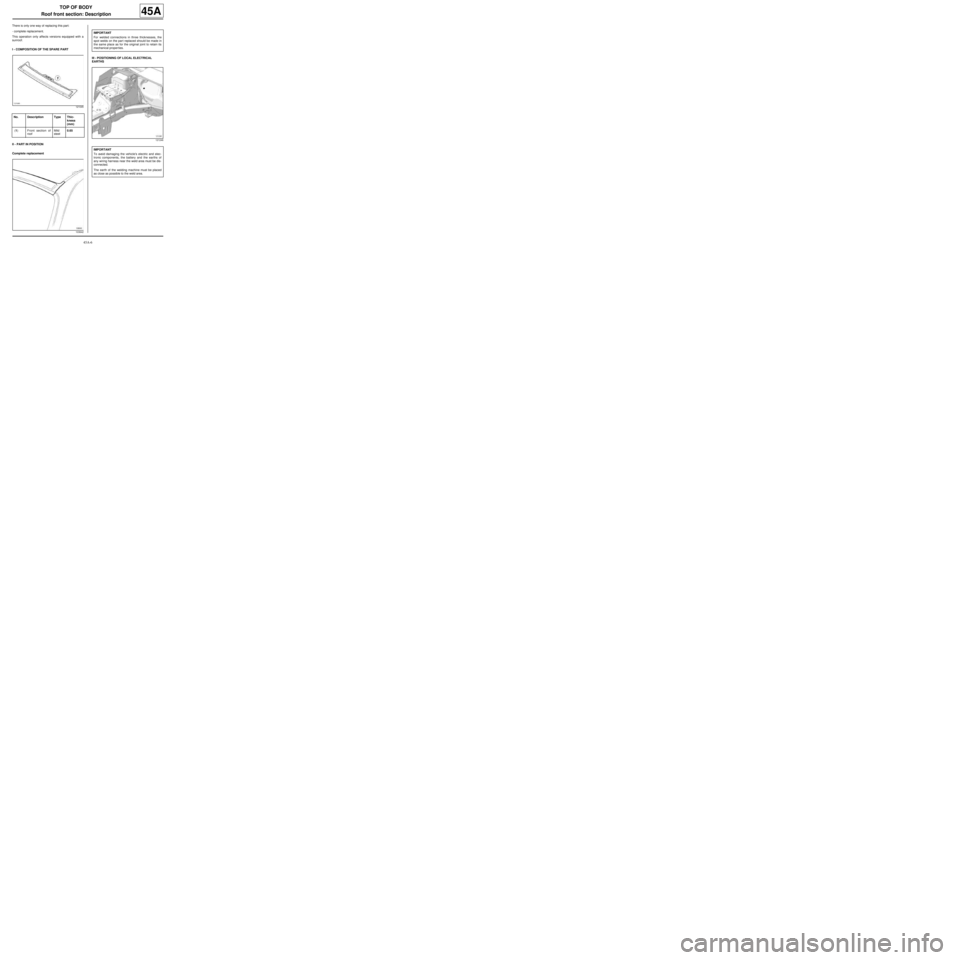
There is only one way of replacing this part:
-complete replacement.
This operation only affects versions equipped with a
sunroof.
I - COMPOSITION OF THE SPARE PART
II - PART IN POSITION
Complete replacementIII - POSITIONING OF LOCAL ELECTRICAL
EARTHS
121045
No. Description Type Thic-
kness
(mm)
(1) Front section of
roofMild
steel0.65
103642
IMPORTANT
For welded connections in three thicknesses, the
spot welds on the par t replaced should be made in
the same place as for the original joint to retain its
mechanical proper ties.
121246
IMPORTANT
To avoid damaging the vehicle's electric and elec-
tronic components, the battery and the earths of
any wiring harness near the weld area must be dis-
connected.
The earth of the welding machine must be placed
as close as possible to the weld area.
Page 188 of 209
45A-7
TOP OF BODY
Roof rear section: Description
45A
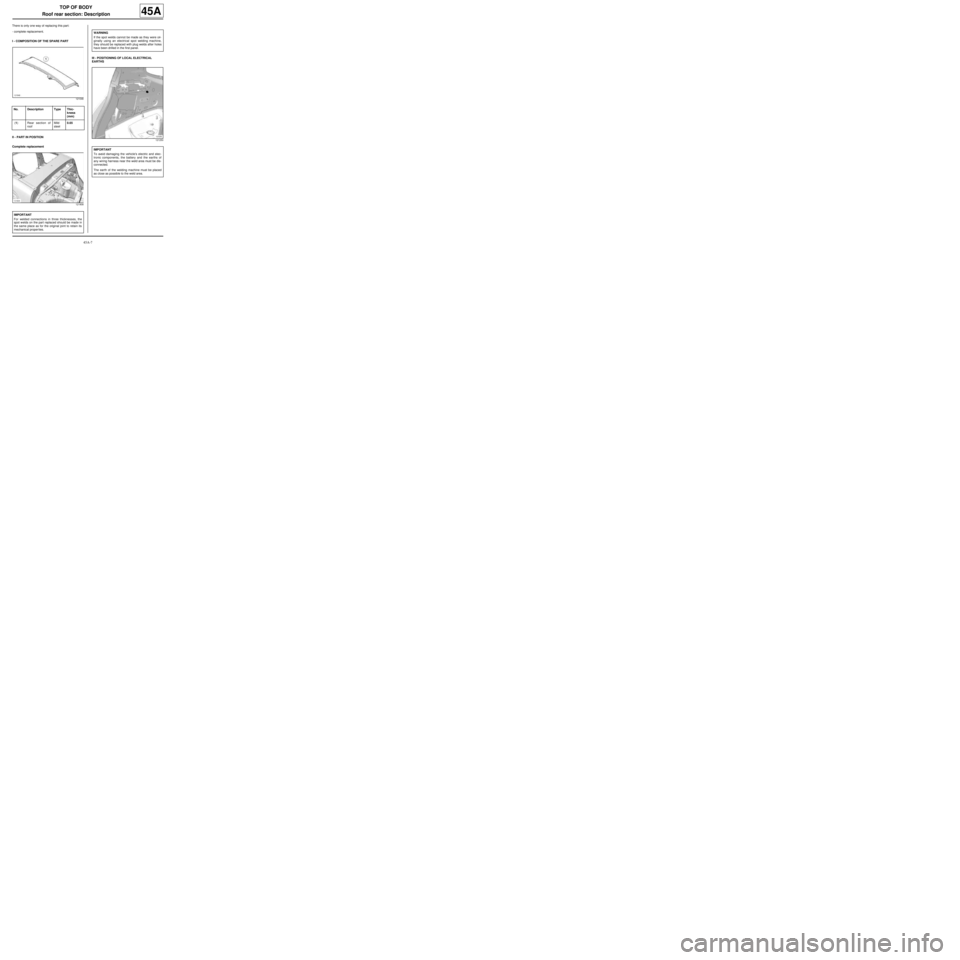
There is only one way of replacing this part:
-complete replacement.
I - COMPOSITION OF THE SPARE PART
II - PART IN POSITION
Complete replacementIII - POSITIONING OF LOCAL ELECTRICAL
EARTHS
121046
No. Description Type Thic-
kness
(mm)
(1) Rear section of
roofMild
steel0.65
121908
IMPORTANT
For welded connections in three thicknesses, the
spot welds on the part replaced should be made in
the same place as for the original joint to retain its
mechanical proper ties.
WARNING
If the spot welds cannot be made as they were ori-
ginally using an electrical spot welding machine,
they should be replaced with plug welds after holes
have been drilled in the first panel.
121250
IMPORTANT
To avoid damaging the vehicle's electric and elec-
tronic components, the battery and the earths of
any wiring harness near the weld area must be dis-
connected.
The earth of the welding machine must be placed
as close as possible to the weld area.
Page 189 of 209

45A-8
TOP OF BODY
Roof front cross member: General description
45A
DESIGN OF THE STRUCTURAL COMPONENT
This is a basic part; its only function is that of a roof
front cross member and roof stiffener by means of a
cemented connection.
For other issues regarding access to mating faces, the
various replacement possibilities are described in the
basic instructions for structural bodywork repair (see
MR 400). Note:
The information contained in the following descri-
bes the general repair procedure for all vehicles
having the same design for this part.
Before reading the following general information,
make sure that there are no special notes associa-
ted with the vehicle. These special notes are speci-
fied if necessary in other par ts of the sub-section
dealing with the component.
Note:
For a detailed description of a particular connec-
tion, see MR 400.
110529
Page 190 of 209
45A-9
TOP OF BODY
Roof centre cross member: General description
45A
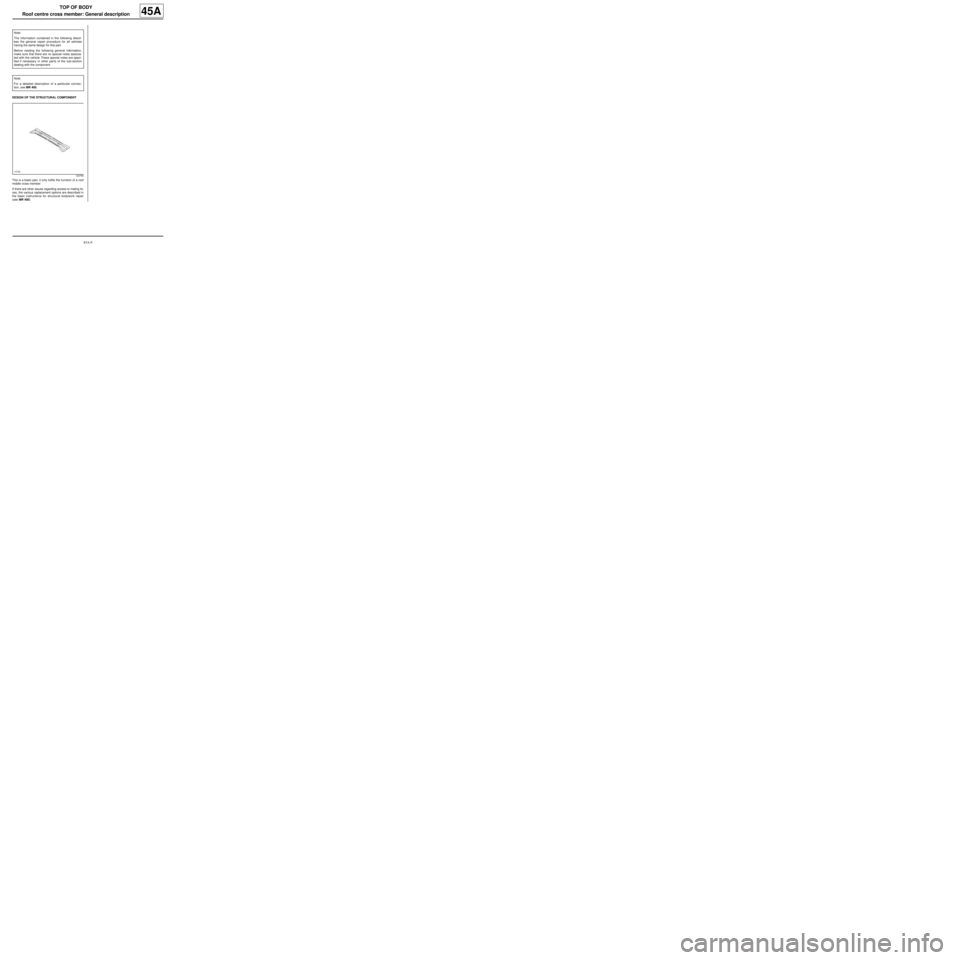
DESIGN OF THE STRUCTURAL COMPONENT
This is a basic part, it only fulfils the function of a roof
middle cross member.
If there are other issues regarding access to mating fa-
ces, the various replacement options are described in
the basic instructions for structural bodywork repair
(see MR 400). Note:
The information contained in the following descri-
bes the general repair procedure for all vehicles
having the same design for this part.
Before reading the following general information,
make sure that there are no special notes associa-
ted with the vehicle. These special notes are speci-
fied if necessary in other par ts of the sub-section
dealing with the component.
Note:
For a detailed description of a particular connec-
tion, see MR 400.
122769
Page 191 of 209
45A-10
TOP OF BODY
Roof rear cross member: General description
45A
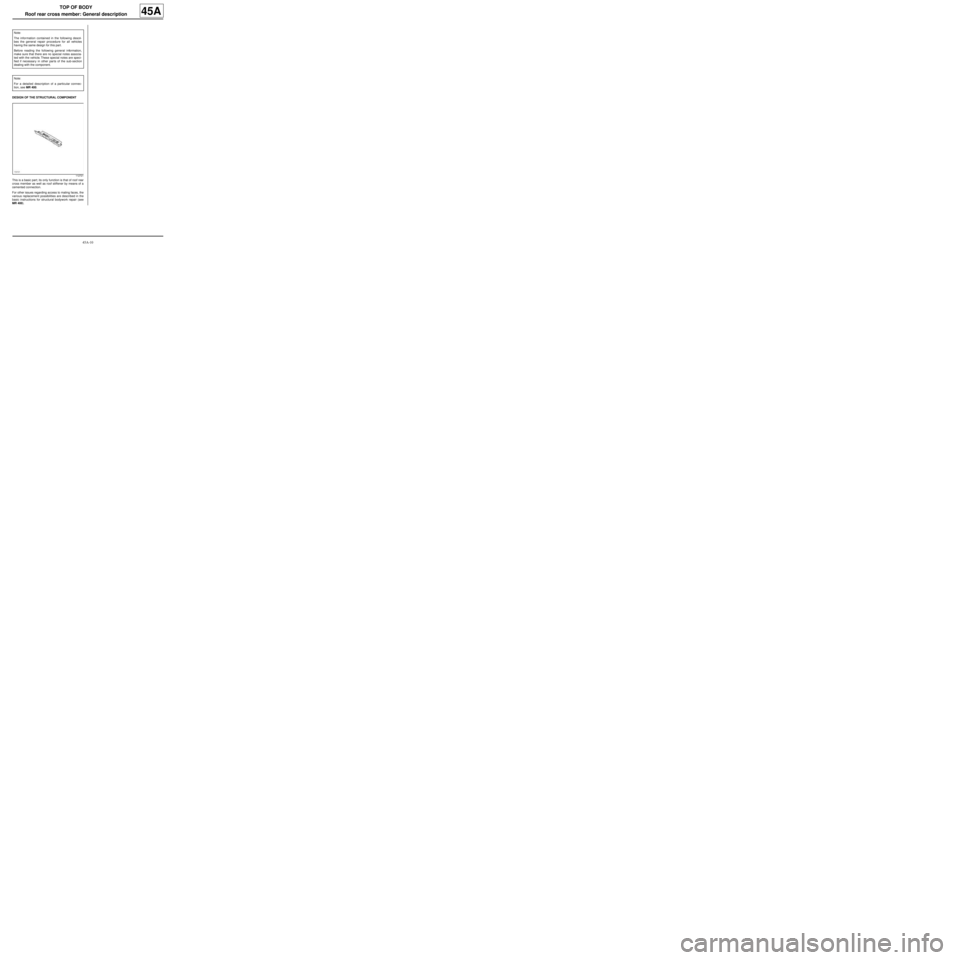
DESIGN OF THE STRUCTURAL COMPONENT
This is a basic part; its only function is that of roof rear
cross member as well as roof stiffener by means of a
cemented connection.
For other issues regarding access to mating faces, the
various replacement possibilities are described in the
basic instructions for structural bodywork repair (see
MR 400). Note:
The information contained in the following descri-
bes the general repair procedure for all vehicles
having the same design for this part.
Before reading the following general information,
make sure that there are no special notes associa-
ted with the vehicle. These special notes are speci-
fied if necessary in other par ts of the sub-section
dealing with the component.
Note:
For a detailed description of a particular connec-
tion, see MR 400.
112721