wiring RENAULT TWINGO RS 2009 2.G Panelwork Service Manual
[x] Cancel search | Manufacturer: RENAULT, Model Year: 2009, Model line: TWINGO RS, Model: RENAULT TWINGO RS 2009 2.GPages: 209
Page 176 of 209
44A-21
REAR UPPER STRUCTURE
Quarter panel lining: Description
44A
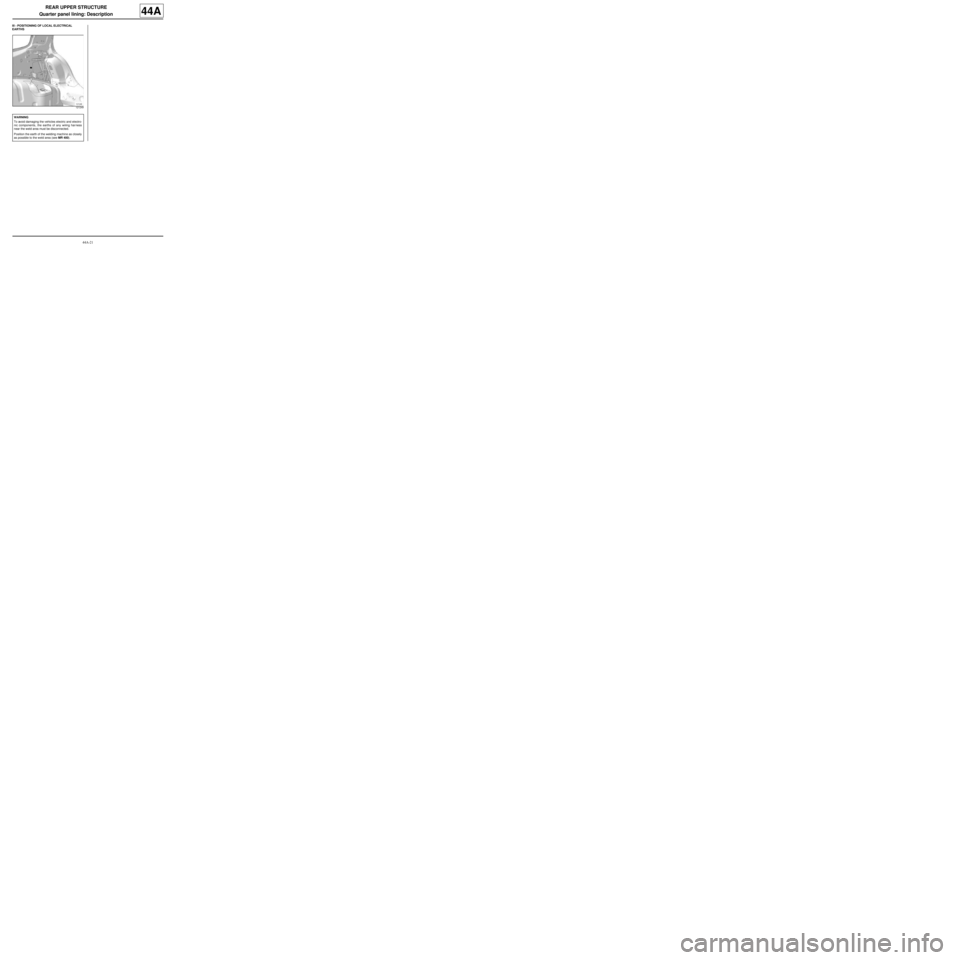
III - POSITIONING OF LOCAL ELECTRICAL
EARTHS
121249
WARNING
To avoid damaging the vehicles electric and electro-
nic components, the earths of any wiring harness
near the weld area must be disconnected.
Position the earth of the welding machine as closely
as possible to the weld area (see MR 400).
Page 178 of 209
44A-23
REAR UPPER STRUCTURE
Rear end panel assembly: Description
44A
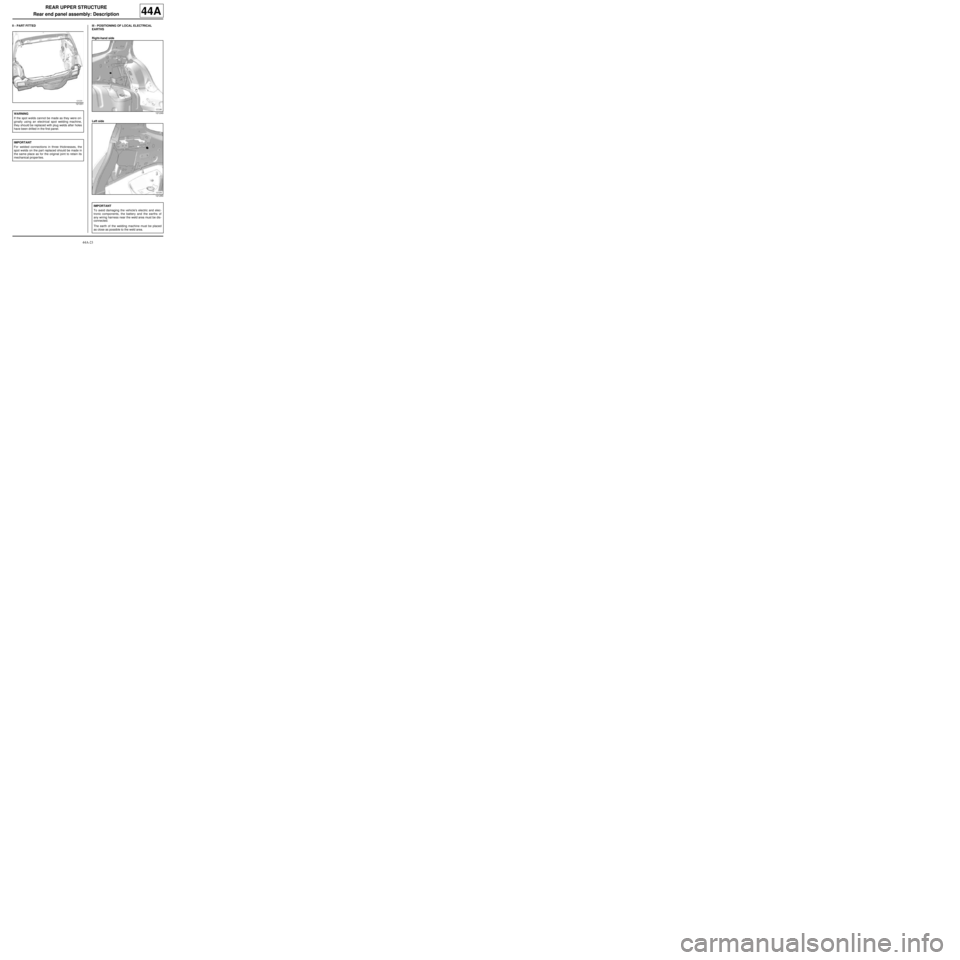
II - PART FITTED III - POSITIONING OF LOCAL ELECTRICAL
EARTHS
Right-hand side
Left side
121231
WARNING
If the spot welds cannot be made as they were ori-
ginally using an electrical spot welding machine,
they should be replaced with plug welds after holes
have been drilled in the first panel.
IMPORTANT
For welded connections in three thicknesses, the
spot welds on the part replaced should be made in
the same place as for the original joint to retain its
mechanical proper ties.121249
121250
IMPORTANT
To avoid damaging the vehicle's electric and elec-
tronic components, the battery and the earths of
any wiring harness near the weld area must be dis-
connected.
The earth of the welding machine must be placed
as close as possible to the weld area.
Page 181 of 209
44A-26
REAR UPPER STRUCTURE
Rear end panel: Description
44A
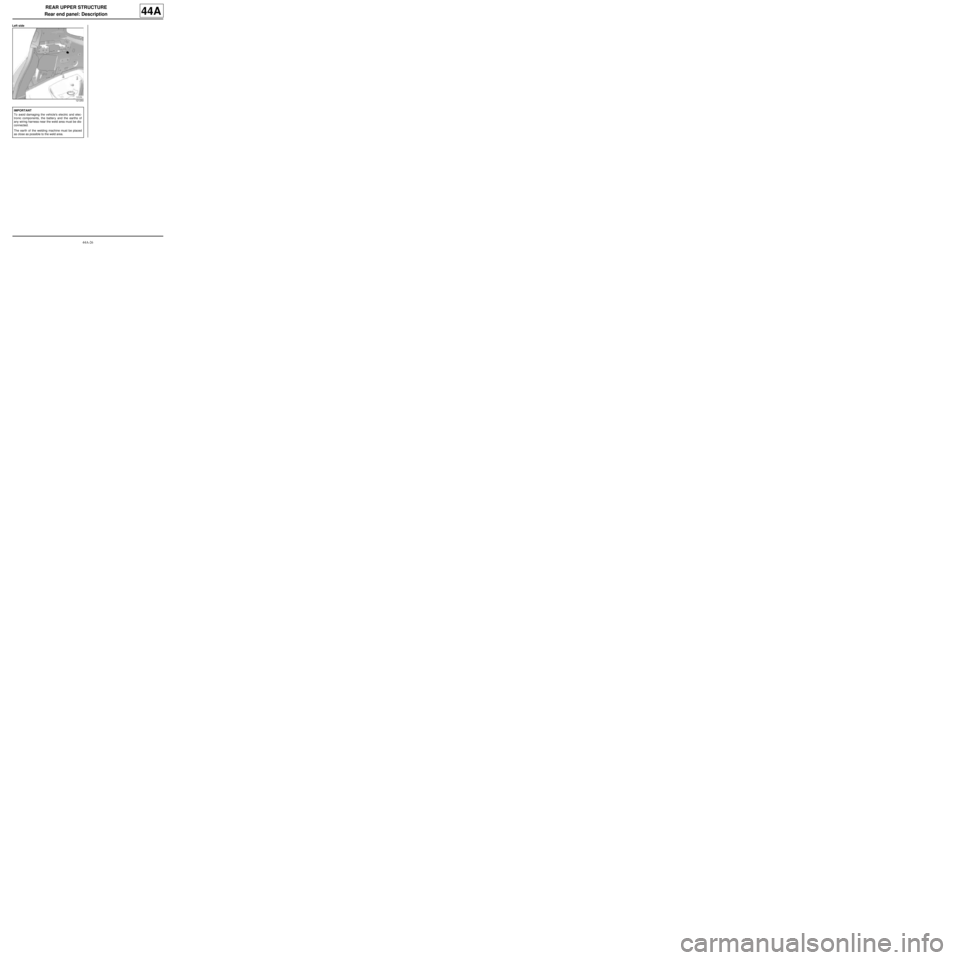
Left side
121250
IMPORTANT
To avoid damaging the vehicle's electric and elec-
tronic components, the battery and the earths of
any wiring harness near the weld area must be dis-
connected.
The earth of the welding machine must be placed
as close as possible to the weld area.
Page 187 of 209
45A-6
TOP OF BODY
Roof front section: Description
45A
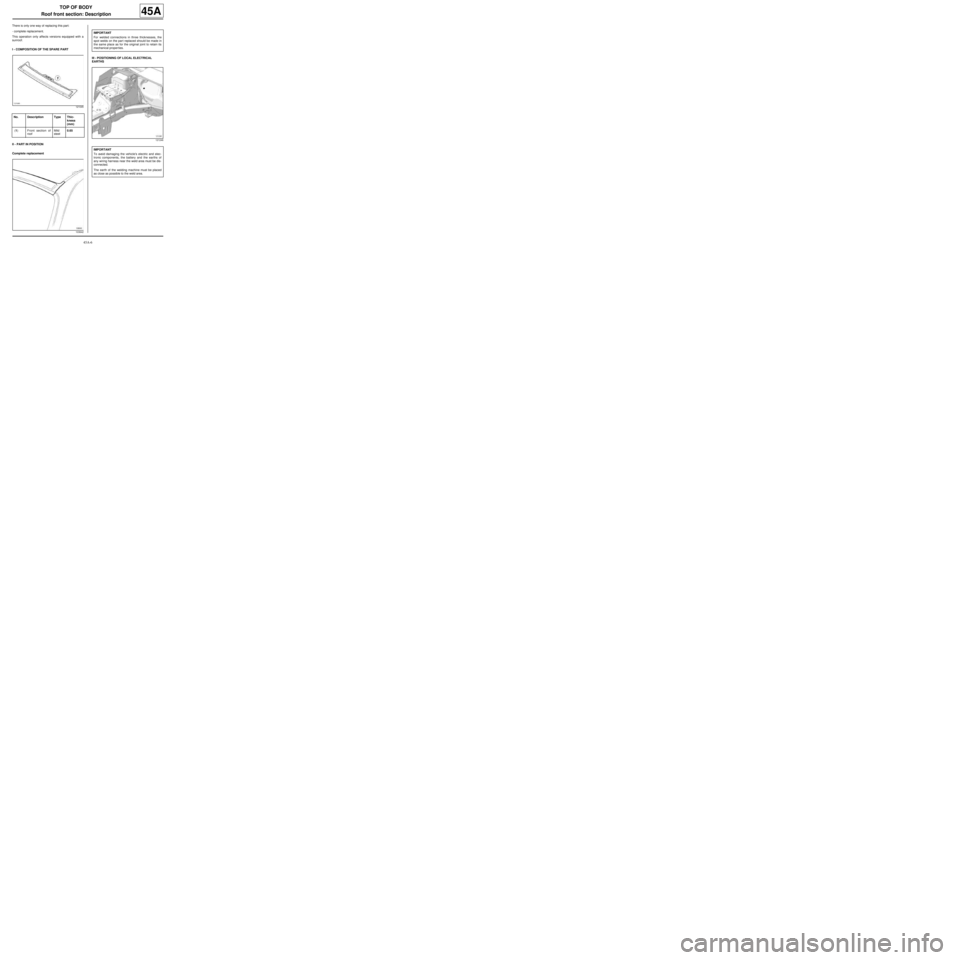
There is only one way of replacing this part:
-complete replacement.
This operation only affects versions equipped with a
sunroof.
I - COMPOSITION OF THE SPARE PART
II - PART IN POSITION
Complete replacementIII - POSITIONING OF LOCAL ELECTRICAL
EARTHS
121045
No. Description Type Thic-
kness
(mm)
(1) Front section of
roofMild
steel0.65
103642
IMPORTANT
For welded connections in three thicknesses, the
spot welds on the par t replaced should be made in
the same place as for the original joint to retain its
mechanical proper ties.
121246
IMPORTANT
To avoid damaging the vehicle's electric and elec-
tronic components, the battery and the earths of
any wiring harness near the weld area must be dis-
connected.
The earth of the welding machine must be placed
as close as possible to the weld area.
Page 188 of 209
45A-7
TOP OF BODY
Roof rear section: Description
45A
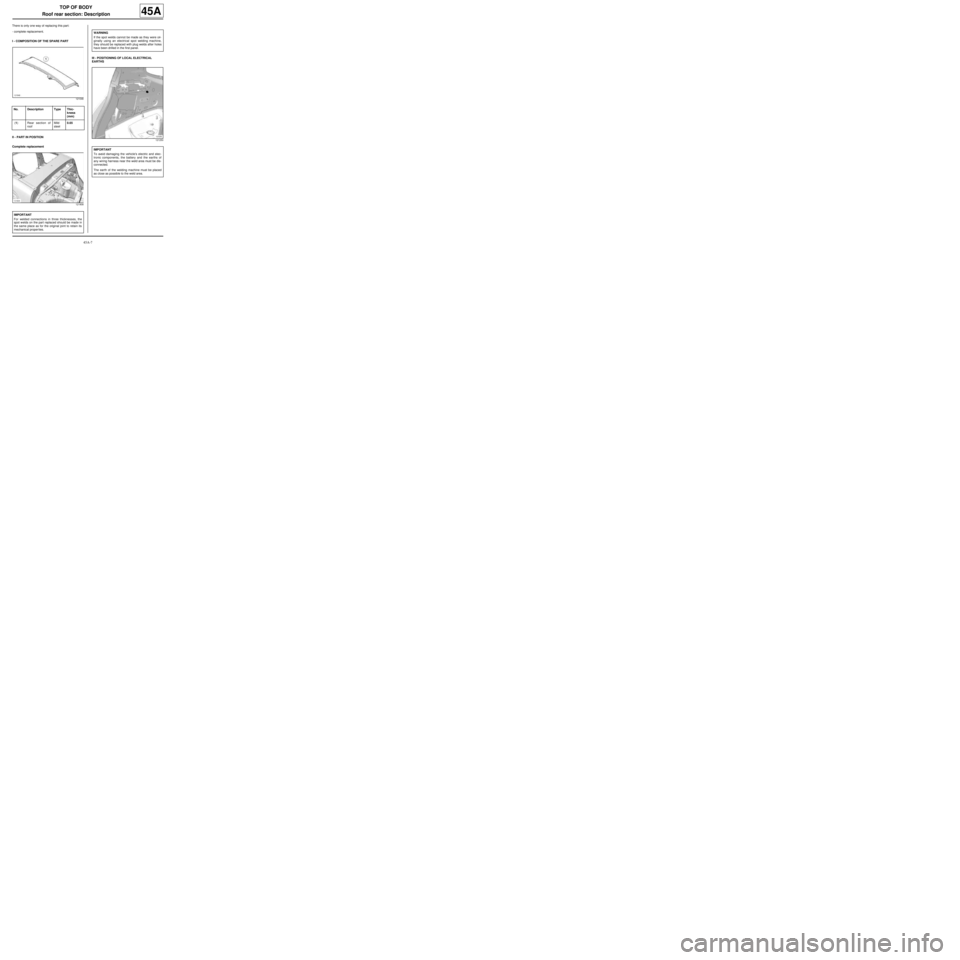
There is only one way of replacing this part:
-complete replacement.
I - COMPOSITION OF THE SPARE PART
II - PART IN POSITION
Complete replacementIII - POSITIONING OF LOCAL ELECTRICAL
EARTHS
121046
No. Description Type Thic-
kness
(mm)
(1) Rear section of
roofMild
steel0.65
121908
IMPORTANT
For welded connections in three thicknesses, the
spot welds on the part replaced should be made in
the same place as for the original joint to retain its
mechanical proper ties.
WARNING
If the spot welds cannot be made as they were ori-
ginally using an electrical spot welding machine,
they should be replaced with plug welds after holes
have been drilled in the first panel.
121250
IMPORTANT
To avoid damaging the vehicle's electric and elec-
tronic components, the battery and the earths of
any wiring harness near the weld area must be dis-
connected.
The earth of the welding machine must be placed
as close as possible to the weld area.
Page 192 of 209
47A-1
SIDE OPENING ELEMENTS
Front side door: Removal - Refitting
47A
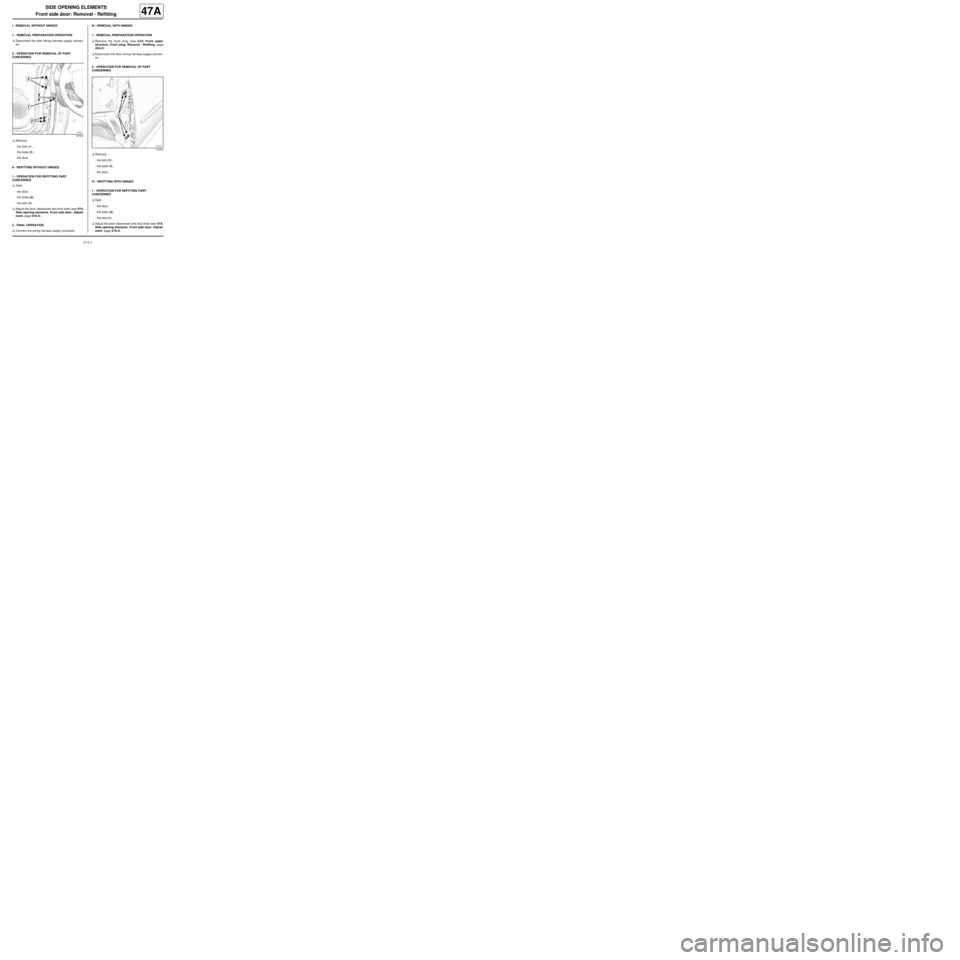
I - REMOVAL WITHOUT HINGES
1 - REMOVAL PREPARATION OPERATION
aDisconnect the door wiring harness supply connec-
tor.
2 - OPERATION FOR REMOVAL OF PART
CONCERNED
aRemove:
-the bolt (1) ,
-the bolts (2) ,
-the door.
II - REFITTING WITHOUT HINGES
1 - OPERATION FOR REFITTING PART
CONCERNED
aRefit:
-the door,
-the bolts (2) ,
-the bolt (1) .
aAdjust the door clearances and shut lines (see 47A,
Side opening elements, Front side door: Adjust-
ment, page 47A-5) .
2 - FINAL OPERATION
aConnect the wiring harness supply connector.III - REMOVAL WITH HINGES
1 - REMOVAL PREPARATION OPERATION
aRemove the front wing (see 42A, Front upper
structure, Front wing: Removal - Refitting, page
42A-3) .
aDisconnect the door wiring harness supply connec-
tor.
2 - OPERATION FOR REMOVAL OF PART
CONCERNED
aRemove:
-the bolt (1) ,
-the bolts (3) ,
-the door.
IV - REFITTING WITH HINGES
1 - OPERATION FOR REFITTING PART
CONCERNED
aRefit:
-the door,
-the bolts (3) ,
-the bolt (1) .
aAdjust the door clearances and shut lines (see 47A,
Side opening elements, Front side door: Adjust-
ment, page 47A-5) .
121521
121520
Page 193 of 209
47A-2
SIDE OPENING ELEMENTS
Front side door: Removal - Refitting
47A
2 - FINAL OPERATION
aConnect the wiring harness supply connector.
aRefit the front wing (see 42A, Front upper structu-
re, Front wing: Removal - Refitting, page 42A-3) .
Page 194 of 209
47A-3
SIDE OPENING ELEMENTS
Front side door: Stripping - rebuilding
47A
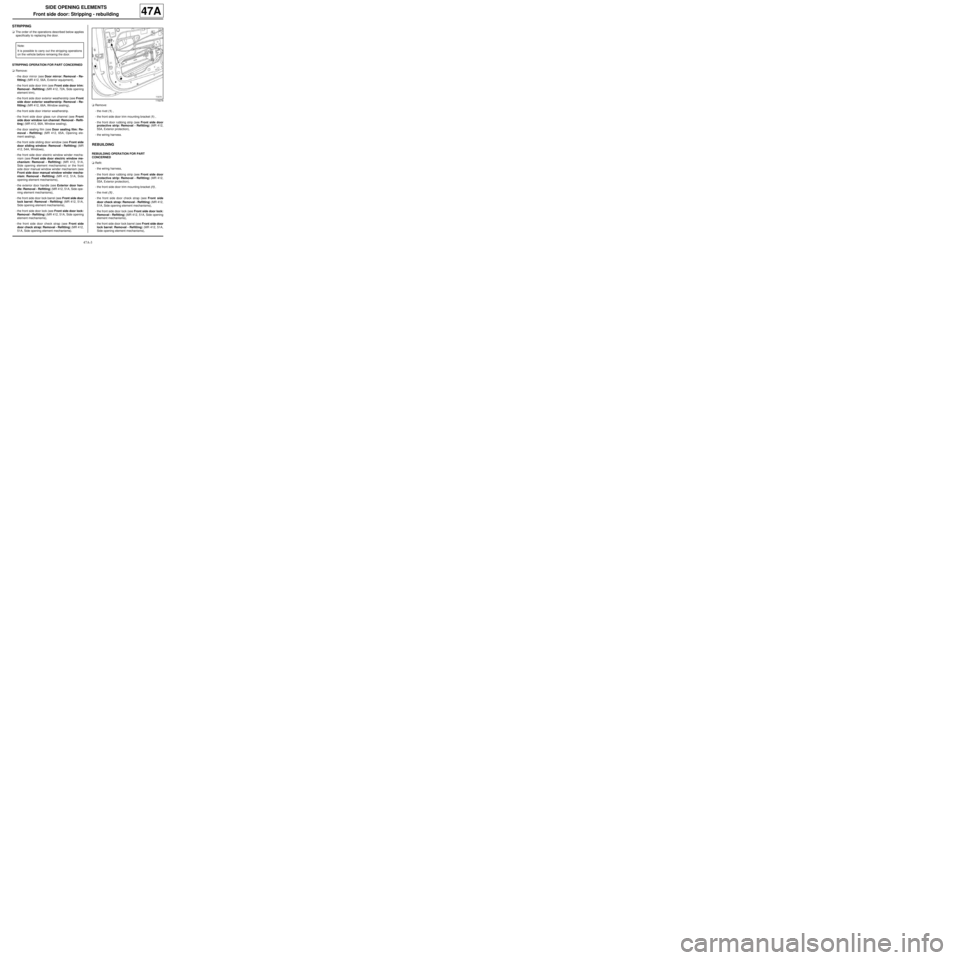
STRIPPING
aThe order of the operations described below applies
specifically to replacing the door.
STRIPPING OPERATION FOR PART CONCERNED
aRemove:
-the door mirror (see Door mirror: Removal - Re-
fitting) (MR 412, 56A, Exterior equipment),
-the front side door trim (see Front side door trim:
Removal - Refitting) (MR 412, 72A, Side opening
element trim),
-the front side door exterior weatherstrip (see Front
side door exterior weatherstrip: Removal - Re-
fitting) (MR 412, 66A, Window sealing),
-the front side door interior weatherstrip.
-the front side door glass run channel (see Front
side door window run channel: Removal - Refit-
ting) (MR 412, 66A, Window sealing),
-the door sealing film (see Door sealing film: Re-
moval - Refitting) (MR 412, 65A, Opening ele-
ment sealing),
-the front side sliding door window (see Front side
door sliding window: Removal - Refitting) (MR
412, 54A, Windows),
-the front side door electric window winder mecha-
nism (see Front side door electric window me-
chanism: Removal - Refitting) (MR 412, 51A,
Side opening element mechanisms) or the front
side door manual window winder mechanism (see
Front side door manual window winder mecha-
nism: Removal - Refitting) (MR 412, 51A, Side
opening element mechanisms),
-the exterior door handle (see Exterior door han-
dle: Removal - Refitting) (MR 412, 51A, Side ope-
ning element mechanisms),
-the front side door lock barrel (see Front side door
lock barrel: Removal - Refitting) (MR 412, 51A,
Side opening element mechanisms),
-the front side door lock (see Front side door lock:
Removal - Refitting) (MR 412, 51A, Side opening
element mechanisms),
-the front side door check strap (see Front side
door check strap: Removal - Refitting) (MR 412,
51A, Side opening element mechanisms).aRemove:
-the rivet (1) ,
-the front side door trim mounting bracket (1) ,
-the front door rubbing strip (see Front side door
protective strip: Removal - Refitting) (MR 412,
55A, Exterior protection),
-the wiring harness.
REBUILDING
REBUILDING OPERATION FOR PART
CONCERNED
aRefit:
-the wiring harness,
-the front door rubbing strip (see Front side door
protective strip: Removal - Refitting) (MR 412,
55A, Exterior protection),
-the front side door trim mounting bracket (1) ,
-the rivet (1) ,
-the front side door check strap (see Front side
door check strap: Removal - Refitting) (MR 412,
51A, Side opening element mechanisms),
-the front side door lock (see Front side door lock:
Removal - Refitting) (MR 412, 51A, Side opening
element mechanisms),
-the front side door lock barrel (see Front side door
lock barrel: Removal - Refitting) (MR 412, 51A,
Side opening element mechanisms), Note:
It is possible to carry out the str ipping operations
on the vehicle before removing the door.
119278
Page 207 of 209
48A-8
NON-SIDE OPENING ELEMENTS
Tailgate: Stripping - Rebuilding
48A
STRIPPING
aDescribed below is a special sequence of operations
for tailgate replacement.
STRIPPING OPERATION FOR PART CONCERNED
aRemove:
-the rear screen wiper arm (see Rear screen wiper
arm: Removal - Refitting) (MR 411, 85A,
Washing - Wiping),
-the tailgate trim (see Tailgate trim: Removal - Re-
fitting) (MR 412, 73A, Non-side opening elements
trim),
-the rear screen wiper motor (see Rear screen wi-
per motor: Removal - Refitting) (MR 411, 85A,
Washing - wiping),
-the tailgate lock (see Tailgate lock: Removal - Re-
fitting) (MR 412, 52A, Non-side opening element
mechanisms),
-the tailgate exterior door handle (see Tailgate ex-
terior opening control: Removal - Refitting) (MR
412, 52A, Non-side opening element mecha-
nisms),
-the high level brake light (see 3rd brake light: Re-
moval - Refitting) (MR 411, 81A, Rear lighting),
-the rear screen (see Rear screen: Removal - Re-
fitting) (MR 412, 54A, Windows),
-the wiring harness,
-the different tailgate blanking covers,
-the tailgate washer jet tube.aRemove:
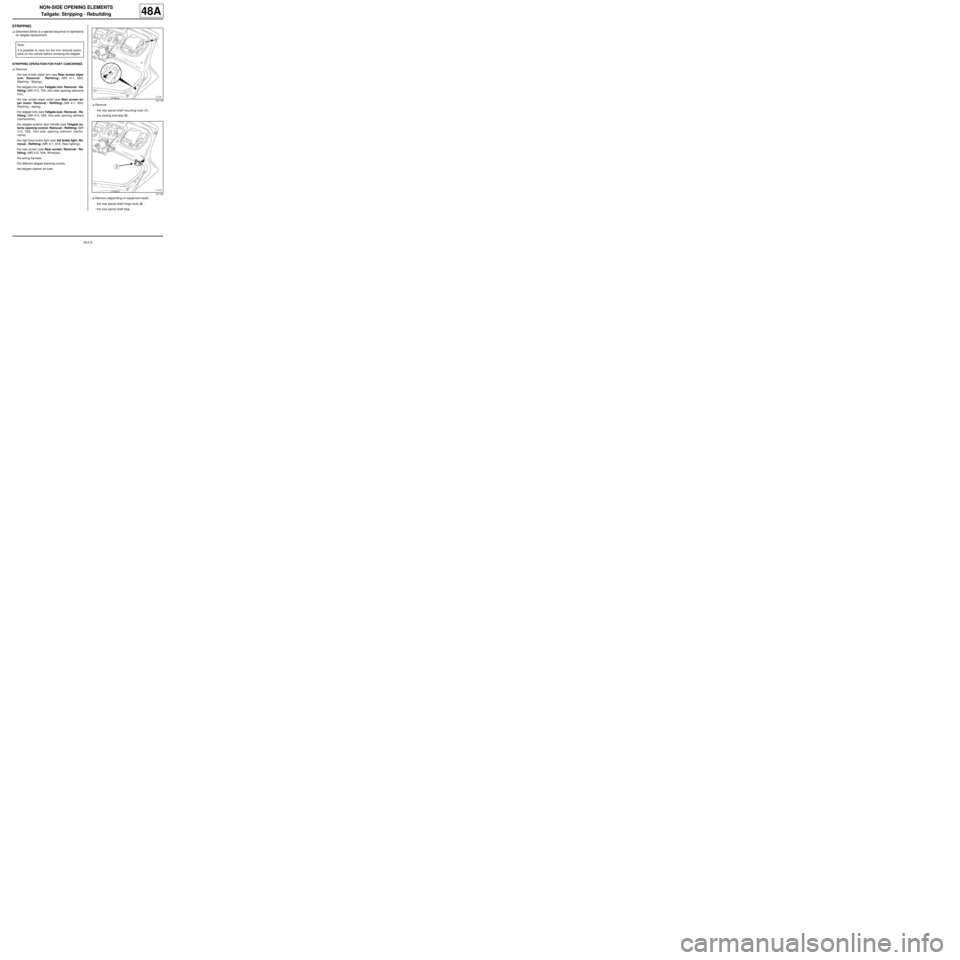
-the rear parcel shelf mounting hook (1) ,
-the closing end stop (2) .
aRemove (depending on equipment level):
-the rear parcel shelf hinge hook (3) ,
-the rear parcel shelf stop. Note:
It is possible to carry out the trim removal opera-
tions on the vehicle before removing the tailgate.
121149
121148
Page 208 of 209
48A-9
NON-SIDE OPENING ELEMENTS
Tailgate: Stripping - Rebuilding
48A
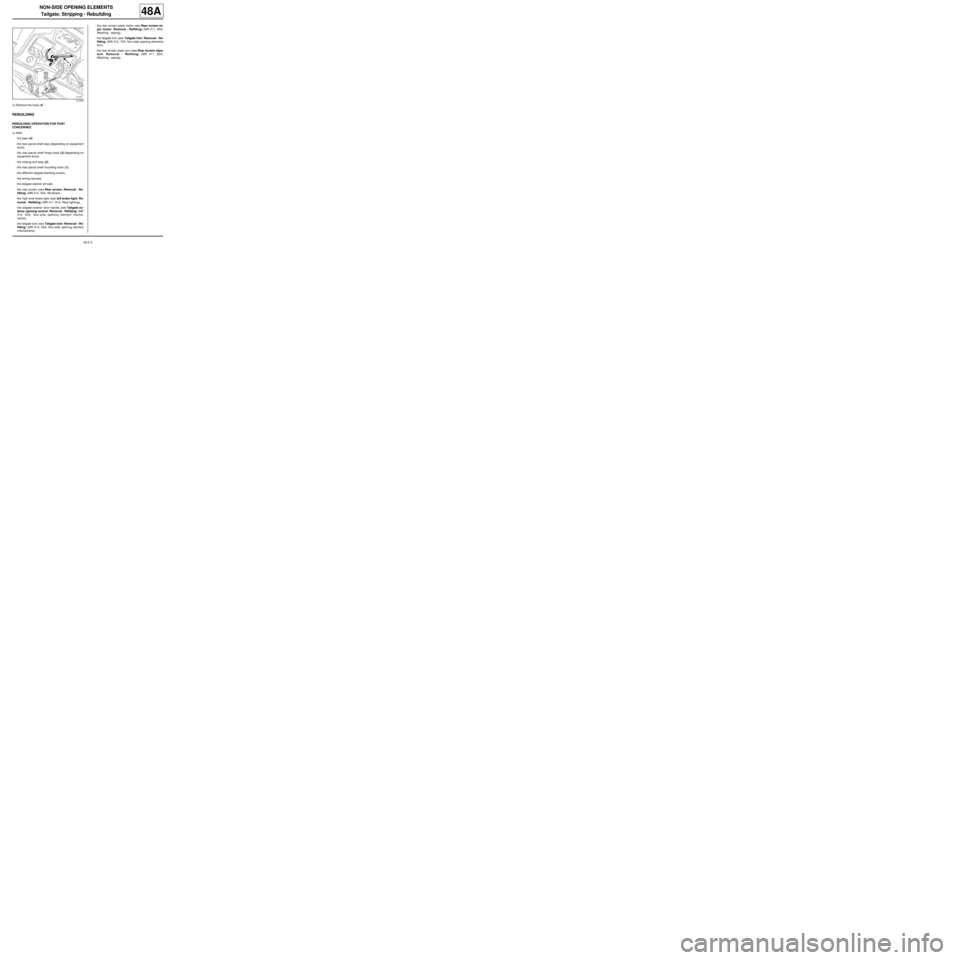
aRemove the hose (4) .
REBUILDING
REBUILDING OPERATION FOR PART
CONCERNED
aRefit:
-the pipe (4) ,
-the rear parcel shelf stop (depending on equipment
level),
-the rear parcel shelf hinge hook (3) (depending on
equipment level),
-the closing end stop (2) ,
-the rear parcel shelf mounting hook (1) ,
-the different tailgate blanking covers,
-the wiring harness,
-the tailgate washer jet tube,
-the rear screen (see Rear screen: Removal - Re-
fitting) (MR 412, 54A, Windows),
-the high level brake light (see 3rd brake light: Re-
moval - Refitting) (MR 411, 81A, Rear lighting),
-the tailgate exterior door handle (see Tailgate ex-
terior opening control: Removal - Refitting) (MR
412, 52A, Non-side opening element mecha-
nisms),
-the tailgate lock (see Tailgate lock: Removal - Re-
fitting) (MR 412, 52A, Non-side opening element
mechanisms),-the rear screen wiper motor (see Rear screen wi-
per motor: Removal - Refitting) (MR 411, 85A,
Washing - wiping),
-the tailgate trim (see Tailgate trim: Removal - Re-
fitting) (MR 412, 73A, Non-side opening elements
trim),
-the rear screen wiper arm (see Rear screen wiper
arm: Removal - Refitting) (MR 411, 85A,
Washing - wiping).
121220