relay RENAULT TWINGO RS 2009 2.G Transmission Workshop Manual
[x] Cancel search | Manufacturer: RENAULT, Model Year: 2009, Model line: TWINGO RS, Model: RENAULT TWINGO RS 2009 2.GPages: 135
Page 3 of 135
Contents
Clutch position sensor :
Removal - Refitting 21B-34
Solenoid valve assembly
pressure sensor: Removal -
Refitting 21B-36
Sequential gearbox engine
speed sensor: Removal -
Refitting 21B-38
Sequential gearbox:
Removal - Refitting 21B-40
Sequential gearbox
converter: Removal -
Refitting 21B-47
Sequential gearbox gear
lever: Removal - Refitting 21B-48
29A DRIVESHAFTS
Driveshaft: Precautions for
the repair 29A-1
Front left-hand driveshaft:
Removal - Refitting 29A-2
Front right-hand driveshaft:
Removal - Refitting 29A-8
Relay shaft bearing:
Removal - Refitting 29A-13
Front driveshaft gaiter, wheel
side: Removal - Refitting 29A-14
Front right-hand driveshaft
gaiter, gearbox side:
Removal - Refitting 29A-18
Front left-hand driveshaft
gaiter, gearbox side:
Removal - Refitting 29A-23 21B SEQUENTIAL GEARBOX
Page 71 of 135
21B-11
SEQUENTIAL GEARBOX
Electro-hydraulic unit: Removal - Refitting
D4F, and JH1
21B
The electro-hydraulic unit comprises the pump assem-
bly and the actuator module.
REMOVAL
I - REMOVAL PREPARATION OPERATION
aPosition the vehicle on a two-post lift (see Vehicle:
Towing and lifting) (MR 411, 02A, Lifting equip-
ment).
aRemove:
-the battery (see Battery: Removal - Refitting)
(MR 411, 80A, Battery),
-the sequential gearbox computer (see 21B, Se-
quential gearbox, Sequential gearbox convert-
er: Removal - Refitting, page 21B-47) ,-the battery tray (see Battery tray: Removal - Re-
fitting) (MR 411, 80A, Battery),
-the petrol injection computer (see Petrol injection
computer: Removal - Refitting) (MR 411, 17B,
Petrol injection).
aDetach from the petrol injection computer mounting:
-the cooling hose,
-the sequential gearbox computer wiring harness,
-the petrol injection computer wiring harness,
-the battery wiring harness. Special tooling required
Mot. 1390Suppor t for removal - refitting
of engine - gearbox assembly
Equipment required
Diagnostic tool
Tightening torquesm
left-hand suspended
engine mounting bolts21 N.m
left-hand suspended
engine mounting rubber
pad bolts62 N.m
left-hand suspended
engine mounting rubber
pad nut105 N.m
Note:
When replacing the electric pump assembly, always
replace the control relay.
IMPORTANT
Consult the safety and cleanliness advice and oper-
ation recommendations before carrying out any
repair (see 21B, Sequential gearbox, Sequential
gearbox: Precautions for the repair, page 21B-1)
.
Page 78 of 135
21B-18
SEQUENTIAL GEARBOX
Pump assembly: Removal - Refitting
D4F, and JH1
21B
The electro-hydraulic unit comprises the pump assem-
bly and the actuator module.
REMOVAL
I - REMOVAL PREPARATION OPERATION
aPosition the vehicle on a two-post lift (see Vehicle:
Towing and lifting) (02A, Lifting equipment).
aRemove:
-the battery (see Battery: Removal - Refitting)
(80A, Battery),
-the sequential gearbox computer (see 21B, Se-
quential gearbox, Sequential gearbox convert-
er: Removal - Refitting, page 21B-47) ,
-the battery tray (see Battery tray: Removal - Re-
fitting) (80A, Battery),-the petrol injection computer (see Petrol injection
computer: Removal - Refitting) (17B, Petrol in-
jection),
-the rear suspended engine mounting (see Lower
engine tie-bar: Removal - Refitting) (19D, En-
gine mounting),
-the front wheels (see Wheel: Removal - Refitting)
(35A, Wheels and tyres),
-the front wheel arch liners (see Front wheel arch
liner: Removal - Refitting) (55A, Exterior protec-
tion),
-the electro-hydraulic unit (see 21B, Sequential
gearbox, Electro-hydraulic unit: Removal - Re-
fitting, page 21B-11) .
II - OPERATION FOR REMOVAL OF PART
CONCERNED
aDisconnect the supply connector from the pump as-
sembly pump.
aDetach the pump assembly pump supply connector
from the electro-hydraulic unit connector mounting. Special tooling required
Ms. 583Pipe clamps .
Equipment required
Diagnostic tool
Tightening torquesm
high pressure pipe
unions14 N.m
Note:
When replacing the electric pump assembly, always
replace the control relay.
IMPORTANT
Consult the safety and cleanliness advice and oper-
ation recommendations before carrying out any
repair (see 21B, Sequential gearbox, Sequential
gearbox: Precautions for the repair, page 21B-1)
.
Note:
To discharge the accumulator and deactivate the
pump assembly pump, (see Fault finding -
Replacement of components) (21B, Sequential
gearbox).
Page 109 of 135
29A-1
DRIVESHAFTS
Driveshaft: Precautions for the repair
JB1 or JH1 or JH3 or JR5
29A
WARNING
A gearbox oil leak at the driveshaft may destroy it.
WARNING
Lubricate the base of the bearing with MOLYKOTE
to prevent the bear ing sticking.
Make sure that the O-ring is correctly positioned in
the base of the relay bearing, if the bearing has
one.
WARNING
Always replace seals whenever the driveshaft is
removed.
WARNING
Always replace the left-hand driveshaft lock ring, if
the driveshaft has one.
WARNING
In order to prevent irreversible damage to the front
hub bear ing:
-Do not loosen or tighten the driveshaft nut when
the wheels are on the ground.
-Do not place the vehicle with its wheels on the
ground when the driveshaft has been loosened or
removed.
Page 118 of 135
29A-10
DRIVESHAFTS
Front right-hand driveshaft: Removal - Refitting
JH3 or JR5
29A
REMOVAL
I - REMOVAL PREPARATION OPERATION
aPosition the vehicle on a two-post lift (see Vehicle:
Towing and lifting) (02A, Lifting equipment).
aRemove:
-the engine undertray,
-the front right-hand wheel (see Wheel: Removal -
Refitting) (35A, Wheels and tyres).
aDrain the gearbox (see 21A, Manual gearbox,
Manual gearbox oils: Draining - Filling, page
21A-2) .II - OPERATION FOR REMOVAL OF PART
CONCERNED
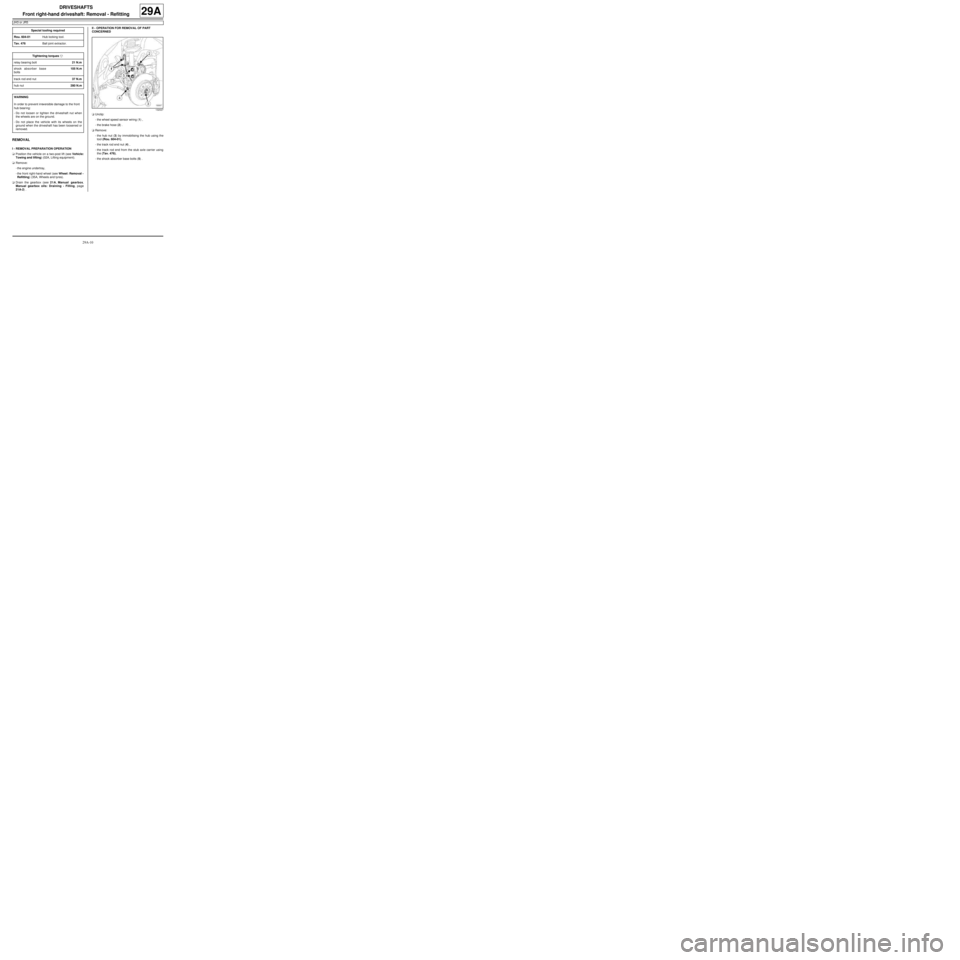
aUnclip:
-the wheel speed sensor wiring (1) ,
-the brake hose (2) .
aRemove:
-the hub nut (3) by immobilising the hub using the
tool (Rou. 604-01),
-the track rod end nut (4) ,
-the track rod end from the stub axle carrier using
the (Tav. 476),
-the shock absorber base bolts (5) . Special tooling required
Rou. 604-01Hub locking tool.
Tav. 476Ball joint extractor.
Tightening torquesm
relay bearing bolt21 N.m
shock absorber base
bolts105 N.m
track rod end nut37 N.m
hub nut280 N.m
WARNING
In order to prevent irreversible damage to the front
hub bear ing:
-Do not loosen or tighten the driveshaft nut when
the wheels are on the ground.
-Do not place the vehicle with its wheels on the
ground when the driveshaft has been loosened or
removed.
132027
Page 119 of 135
29A-11
DRIVESHAFTS
Front right-hand driveshaft: Removal - Refitting
JH3 or JR5
29A
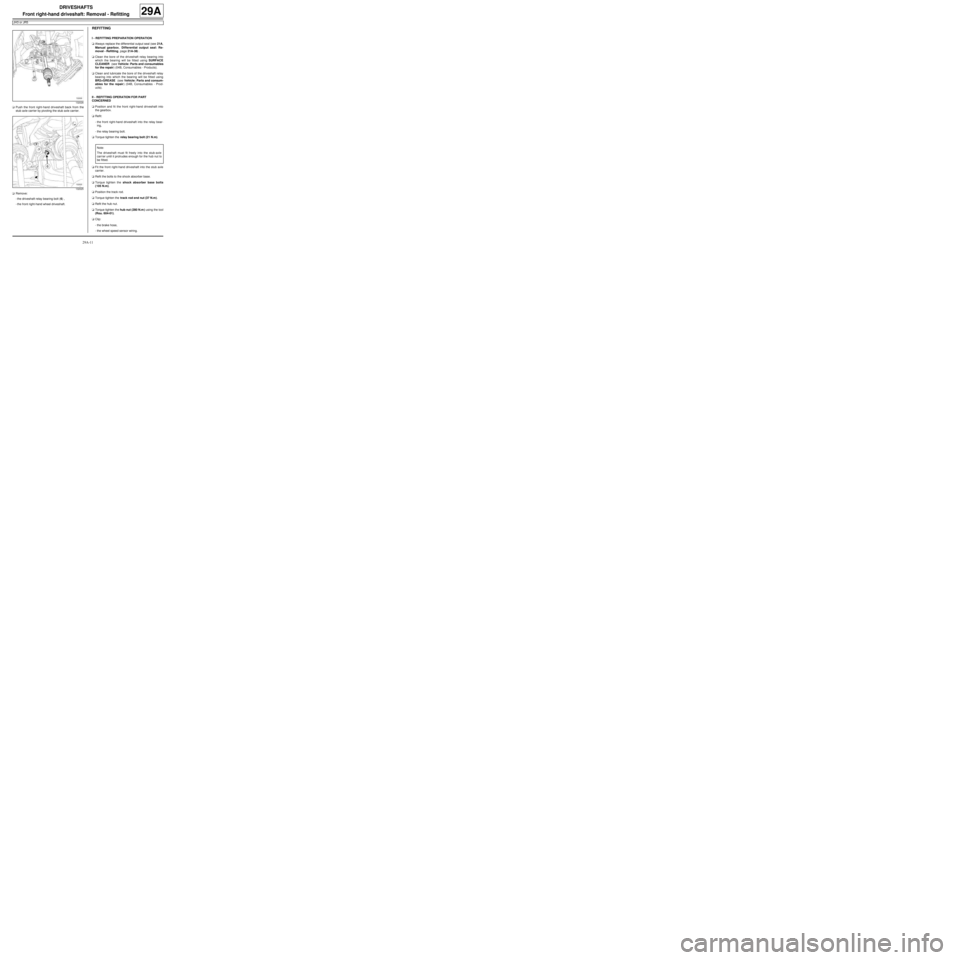
aPush the front right-hand driveshaft back from the
stub axle carrier by pivoting the stub axle carrier.
aRemove:
-the driveshaft relay bearing bolt (6) ,
-the front right-hand wheel driveshaft.
REFITTING
I - REFITTING PREPARATION OPERATION
aAlways replace the differential output seal (see 21A,
Manual gearbox, Differential output seal: Re-
moval - Refitting, page 21A-38) .
aClean the bore of the driveshaft relay bearing into
which the bearing will be fitted using SURFACE
CLEANER (see Vehicle: Parts and consumables
for the repair) (04B, Consumables - Products).
aClean and lubricate the bore of the driveshaft relay
bearing into which the bearing will be fitted using
BR2+GREASE (see Vehicle: Parts and consum-
ables for the repair) (04B, Consumables - Prod-
ucts).
II - REFITTING OPERATION FOR PART
CONCERNED
aPosition and fit the front right-hand driveshaft into
the gearbox.
aRefit:
-the front right-hand driveshaft into the relay bear-
ing,
-the relay bearing bolt.
aTorque tighten the relay bearing bolt (21 N.m).
aFit the front right-hand driveshaft into the stub axle
carrier.
aRefit the bolts to the shock absorber base.
aTorque tighten the shock absorber base bolts
(105 N.m).
aPosition the track rod.
aTorque tighten the track rod end nut (37 N.m).
aRefit the hub nut.
aTorque tighten the hub nut (280 N.m ) using the tool
(Rou. 604-01).
aClip:
-the brake hose,
-the wheel speed sensor wiring.
132026
132025
Note:
The driveshaft must fit freely into the stub-axle
carr ier until it protrudes enough for the hub nut to
be fitted.
Page 121 of 135
29A-13
DRIVESHAFTS
Relay shaft bearing: Removal - Refitting
JH3 or JR5
29A
REMOVAL
I - REMOVAL PREPARATION OPERATION
aPosition the vehicle on a two-post lift (see Vehicle:
Towing and lifting) (02A, Lifting equipment).
aRemove:
-the engine undertray bolts,
-the engine undertray.
aDrain the manual gearbox (see 21A, Manual gear-
box, Manual gearbox oils: Draining - Filling, page
21A-2) .
aRemove:
-the front right-hand wheel (see Wheel: Removal -
Refitting) (35A, Wheels and tyres),
-the front right-hand wheel driveshaft (see 29A,
Driveshafts, Front right-hand driveshaft: Re-
moval - Refitting, page 29A-8) .
aExtract the deflector using a press and an extractor.
II - OPERATION FOR REMOVAL OF PART
CONCERNED
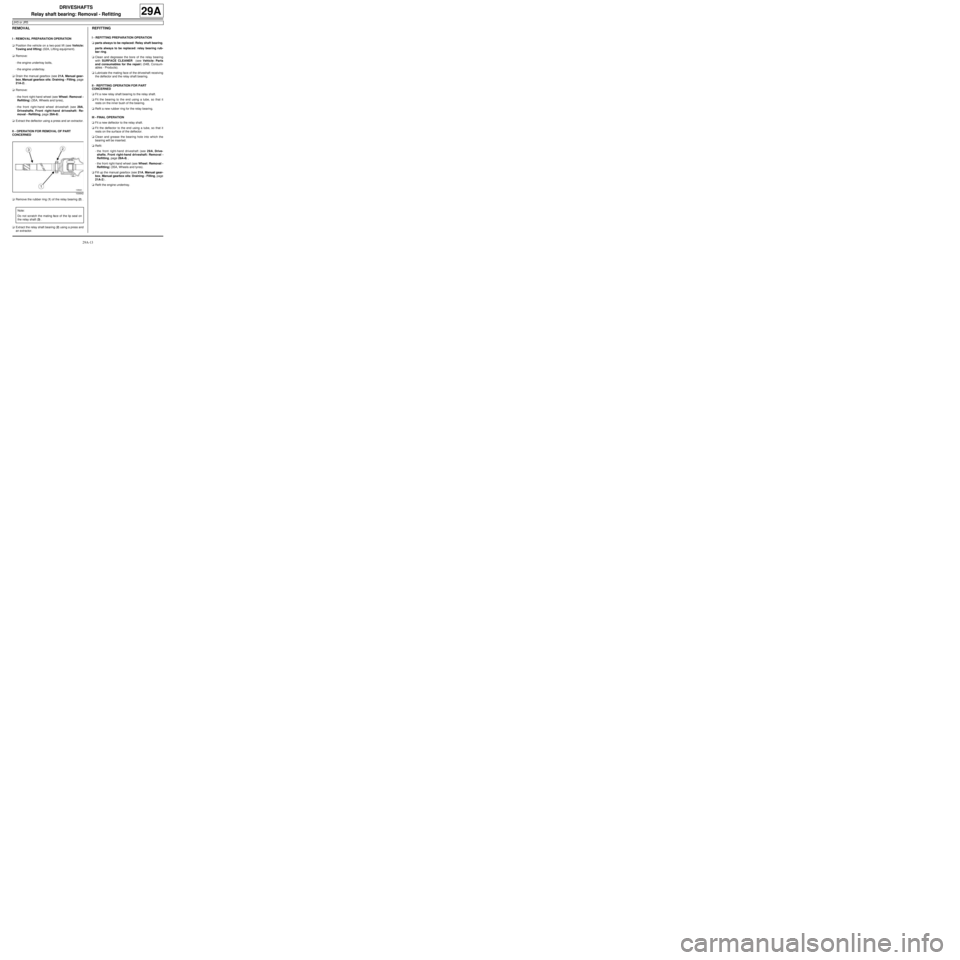
aRemove the rubber ring (1) of the relay bearing (2) .
aExtract the relay shaft bearing (2) using a press and
an extractor.
REFITTING
I - REFITTING PREPARATION OPERATION
aparts always to be replaced: Relay shaft bearing.
parts always to be replaced: relay bearing rub-
ber ring.
aClean and degrease the bore of the relay bearing
with SURFACE CLEANER (see Vehicle: Parts
and consumables for the repair) (04B, Consum-
ables - Products).
aLubricate the mating face of the driveshaft receiving
the deflector and the relay shaft bearing.
II - REFITTING OPERATION FOR PART
CONCERNED
aFit a new relay shaft bearing to the relay shaft.
aFit the bearing to the end using a tube, so that it
rests on the inner bush of the bearing.
aRefit a new rubber ring for the relay bearing.
III - FINAL OPERATION
aFit a new deflector to the relay shaft.
aFit the deflector to the end using a tube, so that it
rests on the surface of the deflector.
aClean and grease the bearing hole into which the
bearing will be inserted.
aRefit:
-the front right-hand driveshaft (see 29A, Drive-
shafts, Front right-hand driveshaft: Removal -
Refitting, page 29A-8) ,
-the front right-hand wheel (see Wheel: Removal -
Refitting) (35A, Wheels and tyres).
aFill up the manual gearbox (see 21A, Manual gear-
box, Manual gearbox oils: Draining - Filling, page
21A-2) .
aRefit the engine undertray.
100642
Note:
Do not scratch the mating face of the lip seal on
the relay shaft (3) .