eco RENAULT ZOE 2017 1.G User Guide
[x] Cancel search | Manufacturer: RENAULT, Model Year: 2017, Model line: ZOE, Model: RENAULT ZOE 2017 1.GPages: 220, PDF Size: 4.07 MB
Page 18 of 220
1.12
ELECTRIC VEHICLE: charging (5/8)
1
Avoid charging and parking your ve-
hicle in extreme temperatures (hot or
cold).
Under extreme conditions, charging
may take several minutes before start-
ing (time required for the traction bat-
tery to cool down or warm up).
When the vehicle is parked for more
than seven days in temperatures below
about -25°C, charging the traction bat-
tery can become impossible.
When the vehicle is parked for more
than three months with near zero
charge, charging the battery can
become impossible.
To preserve the service life of your trac-
tion battery, avoid parking the vehi-
cle for more than one month with high
charge, especially when the weather is
very hot.
Favour charging the traction battery
after driving and/or in mild tempera-
tures. Otherwise, charging may take a
longer period of time or even become
impossible.
In the absence of any protection
against overvoltage, you are recom-
mended not to charge the vehicle in
stormy weather (lightning, etc).
To avoid disturbing the
charging monitoring
system, do not install any
antistatic strip to the vehi-
cle.
Recommendations
– In high temperatures, try to park and recharge the vehicle in a shaded/
covered location.
– Charging can be performed in the rain or snow.
– Activating the air-conditioning in- creases the charge duration period.
Note:
If in a snowy environment, remove
snow from the vehicle charging area
before plugging in or disconnecting.
Snow in the socket may block the in-
sertion of the charging cord plug.
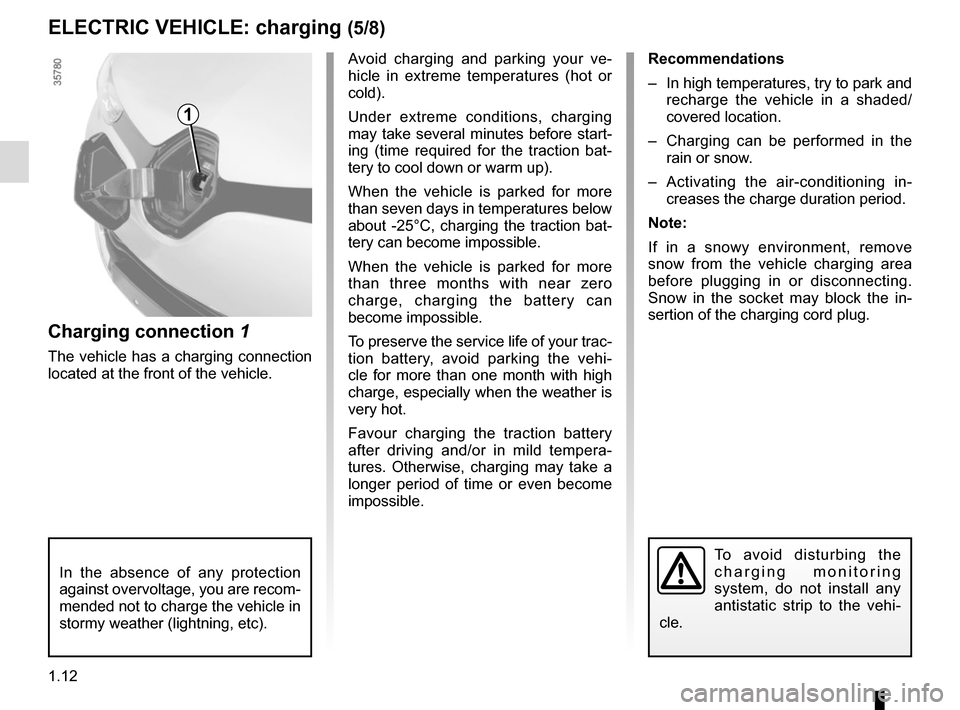
Charging connection 1
The vehicle has a charging connection
located at the front of the vehicle.
Page 20 of 220

1.14
During charging, the Z.E. warning
light 7 flashes blue slowly.
During charging, the following infor-
mation is displayed on the instrument
panel:
– the energy level on the battery warn-ing light 11;
– the battery refill rate;
ELECTRIC VEHICLE: charging (7/8)
11
12
– an estimate of the remaining charg- ing time (this is not displayed after
about 95% charge);
– the instrument panel background flashes blue;
– the warning light 12 indicates that
the cord is attached to the power
supply. At the end of a full charge, the Z.E.
warning light
7 will remain blue. After
a few seconds, the whole display
switches off on the instrument panel.
You do not need to wait until the charge
is at reserve levels to recharge your ve-
hicle.
Operating fault
Impossible to charge the battery
This can be due to charging pro-
grammed at a time that conflicts with
your instantaneous load demand.
Cancel the charging programming
(refer to the information on “Electric
vehicle: charging programming” in
Section 1).
If no charge is programmed, contact an
authorised dealer.
7
The traction battery charging time depends on the amount of energy remai\
ning
and the power delivered by the charging terminal. The information is displayed
on the instrument panel during charging. Please see the information on “\
Displays
and indicators” in Section 1.
In the event of a problem, we recommend that you replace it with an iden\
tical
cord. Please see an authorised dealer.
Page 21 of 220
1.15
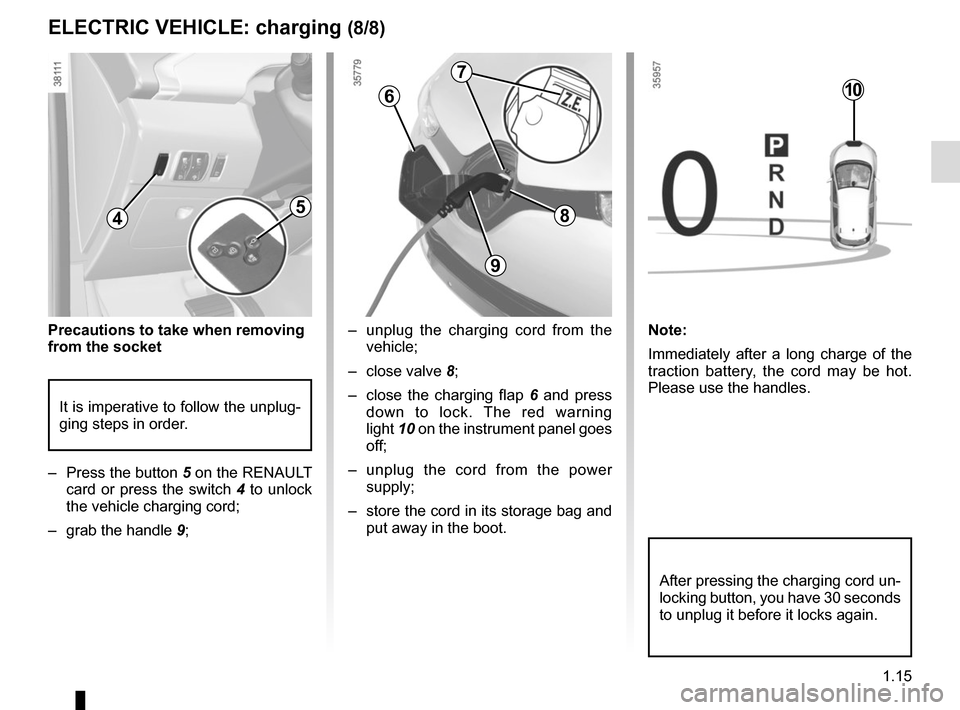
– unplug the charging cord from the vehicle;
– close valve 8;
– close the charging flap 6 and press
down to lock. The red warning
light 10 on the instrument panel goes
off;
– unplug the cord from the power supply;
– store the cord in its storage bag and put away in the boot.
After pressing the charging cord un-
locking button, you have 30 seconds
to unplug it before it locks again.
ELECTRIC VEHICLE: charging (8/8)
10
Precautions to take when removing
from the socket
– Press the button 5 on the RENAULT card or press the switch 4 to unlock
the vehicle charging cord;
– grab the handle 9; Note:
Immediately after a long charge of the
traction battery, the cord may be hot.
Please use the handles.
6
8
9
7
45
It is imperative to follow the unplug-
ging steps in order.
Page 29 of 220
1.23
HANDS-FREE RENAULT CARD: use (2/4)
2
3
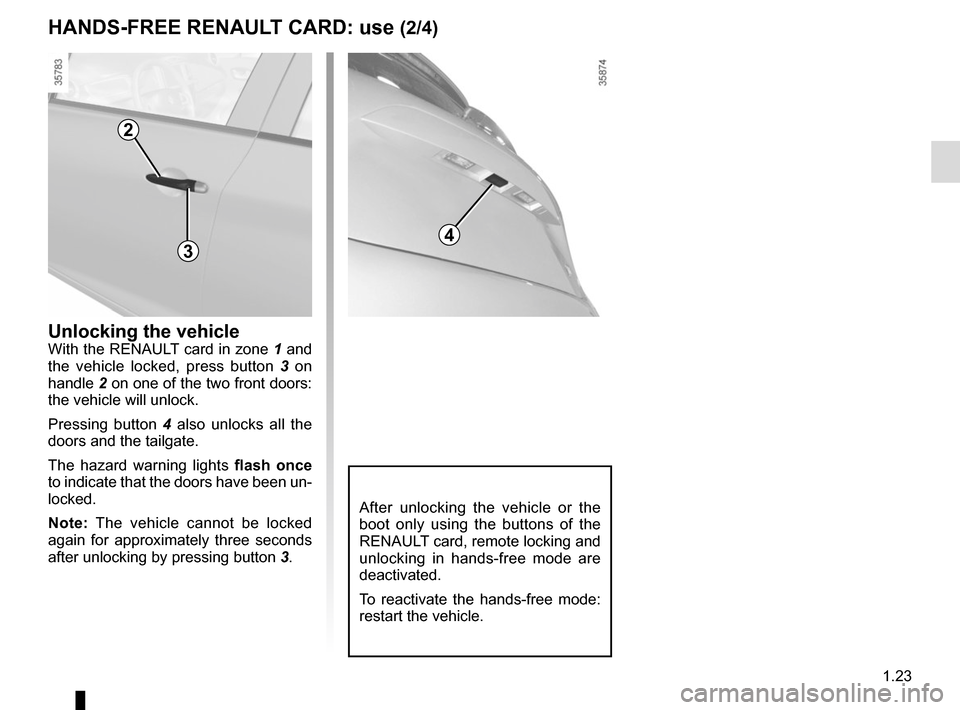
Unlocking the vehicleWith the RENAULT card in zone 1 and
the vehicle locked, press button 3 on
handle 2 on one of the two front doors:
the vehicle will unlock.
Pressing button 4 also unlocks all the
doors and the tailgate.
The hazard warning lights flash once
to indicate that the doors have been un-
locked.
Note: The vehicle cannot be locked
again for approximately three seconds
after unlocking by pressing button 3.
4
After unlocking the vehicle or the
boot only using the buttons of the
RENAULT card, remote locking and
unlocking in hands-free mode are
deactivated.
To reactivate the hands-free mode:
restart the vehicle.
Page 30 of 220
1.24
HANDS-FREE RENAULT CARD: use (3/4)
Locking the vehicle
There are three ways to lock the vehi-
cle: remotely, using button 3 , or using
the RENAULT card.
Remote locking
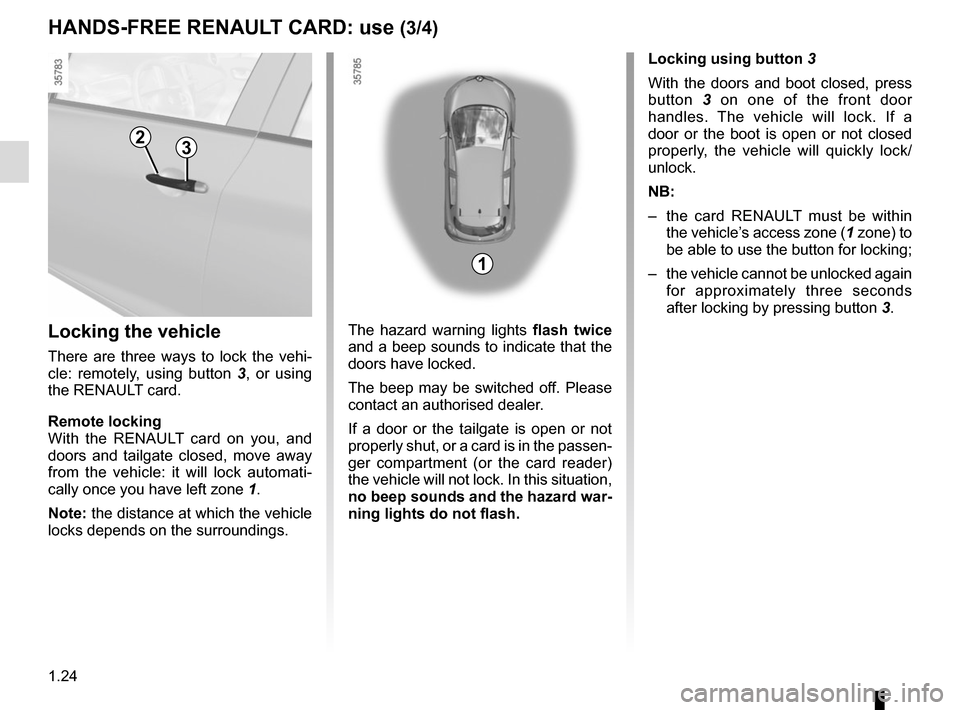
With the RENAULT card on you, and
doors and tailgate closed, move away
from the vehicle: it will lock automati-
cally once you have left zone 1.
Note: the distance at which the vehicle
locks depends on the surroundings. The hazard warning lights
flash twice
and a beep sounds to indicate that the
doors have locked.
The beep may be switched off. Please
contact an authorised dealer.
If a door or the tailgate is open or not
properly shut, or a card is in the passen-
ger compartment (or the card reader)
the vehicle will not lock. In this situation,
no beep sounds and the hazard war-
ning lights do not flash.
23
Locking using button 3
With the doors and boot closed, press
button 3 on one of the front door
handles. The vehicle will lock. If a
door or the boot is open or not closed
properly, the vehicle will quickly lock/
unlock.
NB:
– the card RENAULT must be within the vehicle’s access zone ( 1 zone) to
be able to use the button for locking;
– the vehicle cannot be unlocked again for approximately three seconds
after locking by pressing button 3.
1
Page 36 of 220
1.30
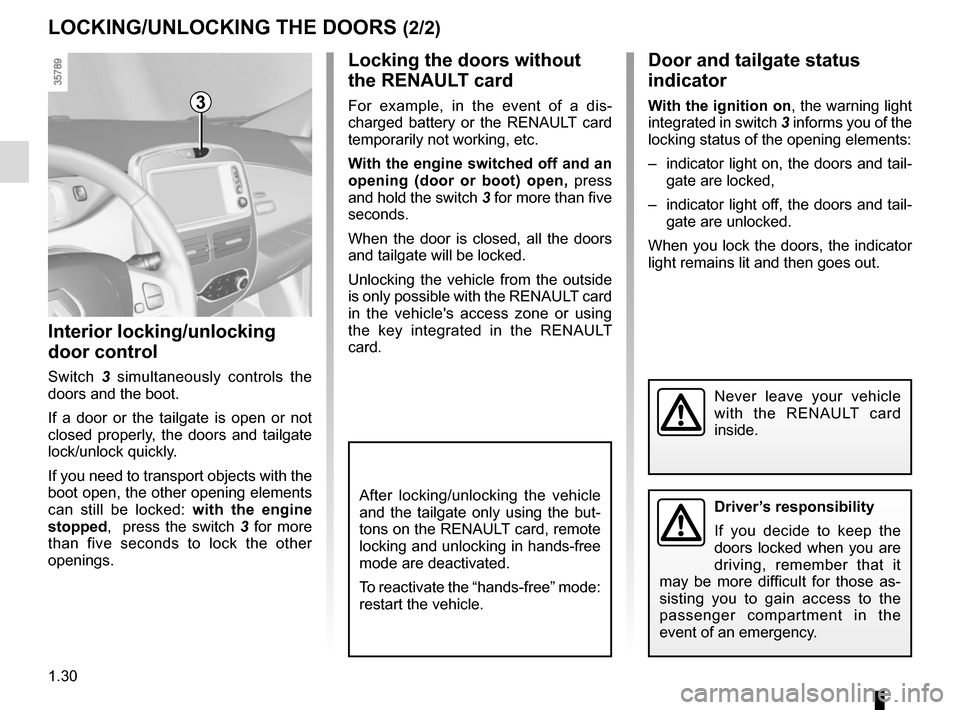
Locking the doors without
the RENAULT card
For example, in the event of a dis-
charged battery or the RENAULT card
temporarily not working, etc.
With the engine switched off and an
opening (door or boot) open, press
and hold the switch 3 for more than five
seconds.
When the door is closed, all the doors
and tailgate will be locked.
Unlocking the vehicle from the outside
is only possible with the RENAULT card
in the vehicle's access zone or using
the key integrated in the RENAULT
card.
LOCKING/UNLOCKING THE DOORS (2/2)
Interior locking/unlocking
door control
Switch 3 simultaneously controls the
doors and the boot.
If a door or the tailgate is open or not
closed properly, the doors and tailgate
lock/unlock quickly.
If you need to transport objects with the
boot open, the other opening elements
can still be locked: with the engine
stopped, press the switch 3 for more
than five seconds to lock the other
openings.
Door and tailgate status
indicator
With the ignition on , the warning light
integrated in switch 3 informs you of the
locking status of the opening elements:
– indicator light on, the doors and tail- gate are locked,
– indicator light off, the doors and tail- gate are unlocked.
When you lock the doors, the indicator
light remains lit and then goes out.
Never leave your vehicle
with the RENAULT card
inside.
After locking/unlocking the vehicle
and the tailgate only using the but-
tons on the RENAULT card, remote
locking and unlocking in hands-free
mode are deactivated.
To reactivate the “hands-free” mode:
restart the vehicle.
3
Driver’s responsibility
If you decide to keep the
doors locked when you are
driving, remember that it
may be more difficult for those as-
sisting you to gain access to the
passenger compartment in the
event of an emergency.
Page 37 of 220
1.31
AUTOMATIC LOCKING WHEN DRIVING
Activating/deactivating the
function
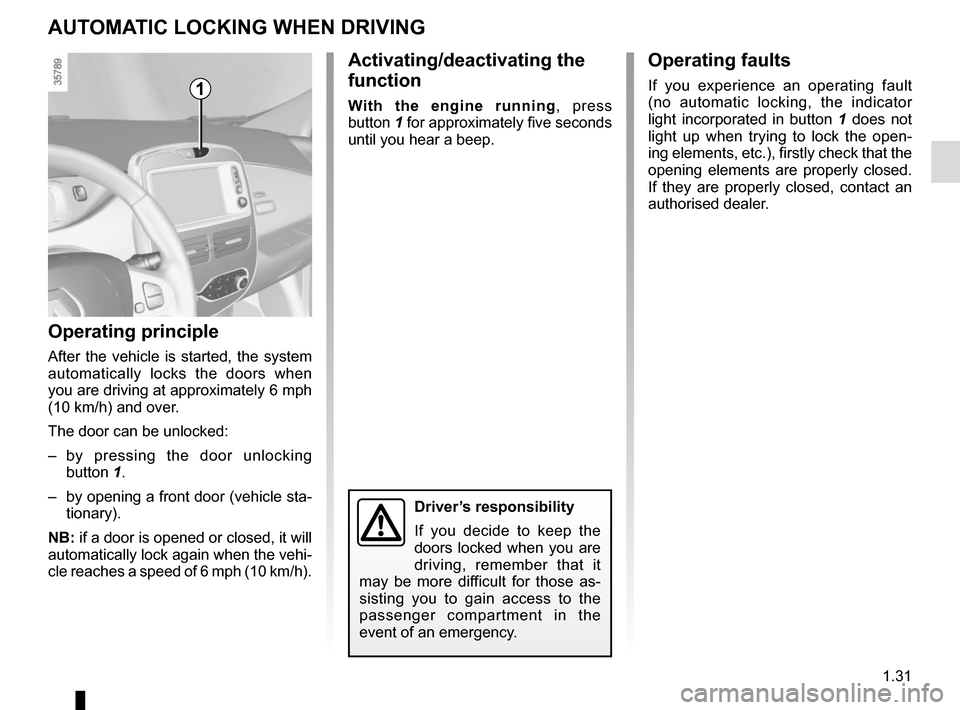
With the engine running, press
button 1 for approximately five seconds
until you hear a beep.
Operating principle
After the vehicle is started, the system
automatically locks the doors when
you are driving at approximately 6 mph
(10 km/h) and over.
The door can be unlocked:
– by pressing the door unlocking button 1.
– by opening a front door (vehicle sta- tionary).
NB: if a door is opened or closed, it will
automatically lock again when the vehi-
cle reaches a speed of 6 mph (10 km/h).
Operating faults
If you experience an operating fault
(no automatic locking, the indicator
light incorporated in button 1 does not
light up when trying to lock the open-
ing elements, etc.), firstly check that the
opening elements are properly closed.
If they are properly closed, contact an
authorised dealer.1
Driver’s responsibility
If you decide to keep the
doors locked when you are
driving, remember that it
may be more difficult for those as-
sisting you to gain access to the
passenger compartment in the
event of an emergency.
Page 45 of 220
1.39
METHODS OF RESTRAINT IN ADDITION TO THE FRONT SEAT BELTS (3/4)
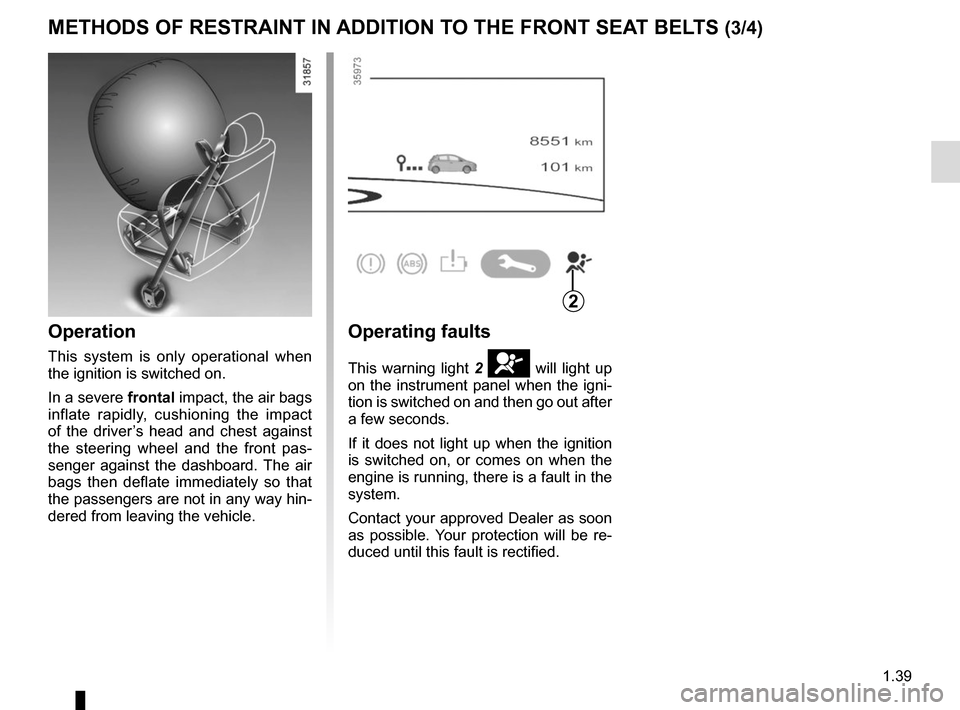
Operation
This system is only operational when
the ignition is switched on.
In a severe frontal impact, the air bags
inflate rapidly, cushioning the impact
of the driver’s head and chest against
the steering wheel and the front pas-
senger against the dashboard. The air
bags then deflate immediately so that
the passengers are not in any way hin-
dered from leaving the vehicle.
Operating faults
This warning light 2 å will light up
on the instrument panel when the igni-
tion is switched on and then go out after
a few seconds.
If it does not light up when the ignition
is switched on, or comes on when the
engine is running, there is a fault in the
system.
Contact your approved Dealer as soon
as possible. Your protection will be re-
duced until this fault is rectified.
2
Page 51 of 220
1.45
CHILD SAFETY: General information (2/2)
Using a child seat
The level of protection offered by the
child seat depends on its ability to re-
strain your child and on its installation.
Incorrect installation compromises the
protection it offers the child in the event
of harsh braking or an impact.
Before purchasing a child seat, check
that it complies with the regulations for
the country you are in and that it can
be fitted in your vehicle. Consult an ap-
proved dealer to find out which seats
are recommended for your vehicle.
Before fitting a child seat, read the
manual and respect its instructions. If
you experience any difficulties during
installation, contact the manufacturer
of the equipment. Keep the instructions
with the seat.Set a good example by always fas-
tening your seat belt and teaching
your child:
– to strap themselves in correctly;
– to always get in and out of the car at the kerb, away from busy traf-
fic.
Do not use a second-hand child
seat or one without an instruction
manual.
Check that there are no objects in
the vicinity of the child seat which
could impede its operation.
Never leave a child unat-
tended in the vehicle.
Check that your child is
always strapped in and that
the belt or safety harness used is
correctly set and adjusted. Avoid
wearing bulky clothing which could
cause the belts to slacken.
Never let your child put their head or
arms out of the window.
Check that the child is in the correct
position for the entire journey, espe-
cially if asleep.
Page 52 of 220
1.46
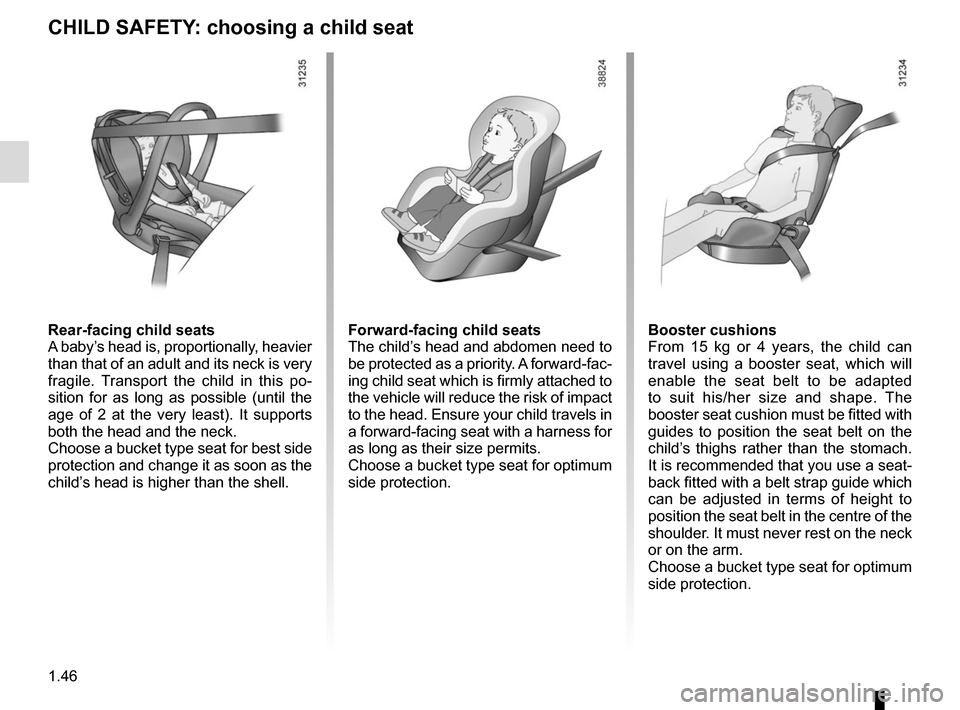
CHILD SAFETY: choosing a child seat
Rear-facing child seats
A baby’s head is, proportionally, heavier
than that of an adult and its neck is very
fragile. Transport the child in this po-
sition for as long as possible (until the
age of 2 at the very least). It supports
both the head and the neck.
Choose a bucket type seat for best side
protection and change it as soon as the
child’s head is higher than the shell.Forward-facing child seats
The child’s head and abdomen need to
be protected as a priority. A forward-fac-
ing child seat which is firmly attached to
the vehicle will reduce the risk of impact
to the head. Ensure your child travels in
a forward-facing seat with a harness for
as long as their size permits.
Choose a bucket type seat for optimum
side protection.Booster cushions
From 15 kg or 4 years, the child can
travel using a booster seat, which will
enable the seat belt to be adapted
to suit his/her size and shape. The
booster seat cushion must be fitted with
guides to position the seat belt on the
child’s thighs rather than the stomach.
It is recommended that you use a seat-
back fitted with a belt strap guide which
can be adjusted in terms of height to
position the seat belt in the centre of the
shoulder. It must never rest on the neck
or on the arm.
Choose a bucket type seat for optimum
side protection.