service indicator SATURN ION 2004 Owners Manual
[x] Cancel search | Manufacturer: SATURN, Model Year: 2004, Model line: ION, Model: SATURN ION 2004Pages: 380, PDF Size: 2.89 MB
Page 1 of 380
Seats and Restraint Systems........................... 1-1
Front Seats
............................................... 1-2
Rear Seats
............................................... 1-7
Safety Belts
.............................................. 1-8
Child Restraints
.......................................1-29
Air Bag Systems
......................................1-50
Restraint System Check
............................1-59
Features and Controls..................................... 2-1
Keys
........................................................ 2-3
Doors and Locks
....................................... 2-9
Windows
.................................................2-14
Theft-Deterrent Systems
............................2-17
Starting and Operating Your Vehicle
...........2-18
Mirrors
....................................................2-36
OnStar
®System
......................................2-43
Storage Areas
.........................................2-44
Sunroof
..................................................2-45
Instrument Panel............................................. 3-1
Instrument Panel Overview
.......................... 3-4
Climate Controls
......................................3-20
Warning Lights, Gages, and Indicators
........3-27
Message Center
.......................................3-41
Audio System(s)
.......................................3-46Driving Your Vehicle....................................... 4-1
Your Driving, the Road, and Your Vehicle
..... 4-2
Towing
...................................................4-31
Service and Appearance Care.......................... 5-1
Service
..................................................... 5-3
Fuel
......................................................... 5-5
Checking Things Under the Hood
...............5-10
Headlamp Aiming
.....................................5-47
Bulb Replacement
....................................5-48
Windshield Wiper Blade Replacement
.........5-57
Tires
......................................................5-58
Appearance Care
.....................................5-87
Vehicle Identi�cation
.................................5-94
Electrical System
......................................5-95
Capacities and Speci�cations
...................5-102
Maintenance Schedule..................................... 6-1
Maintenance Schedule
................................ 6-2
Customer Assistance and Information.............. 7-1
Customer Assistance and Information
........... 7-2
Reporting Safety Defects
............................ 7-9
Index................................................................ 1
2004 Saturn ION Owner ManualM
ProCarManuals.com
Page 147 of 380
Engine Coolant Temperature Gage
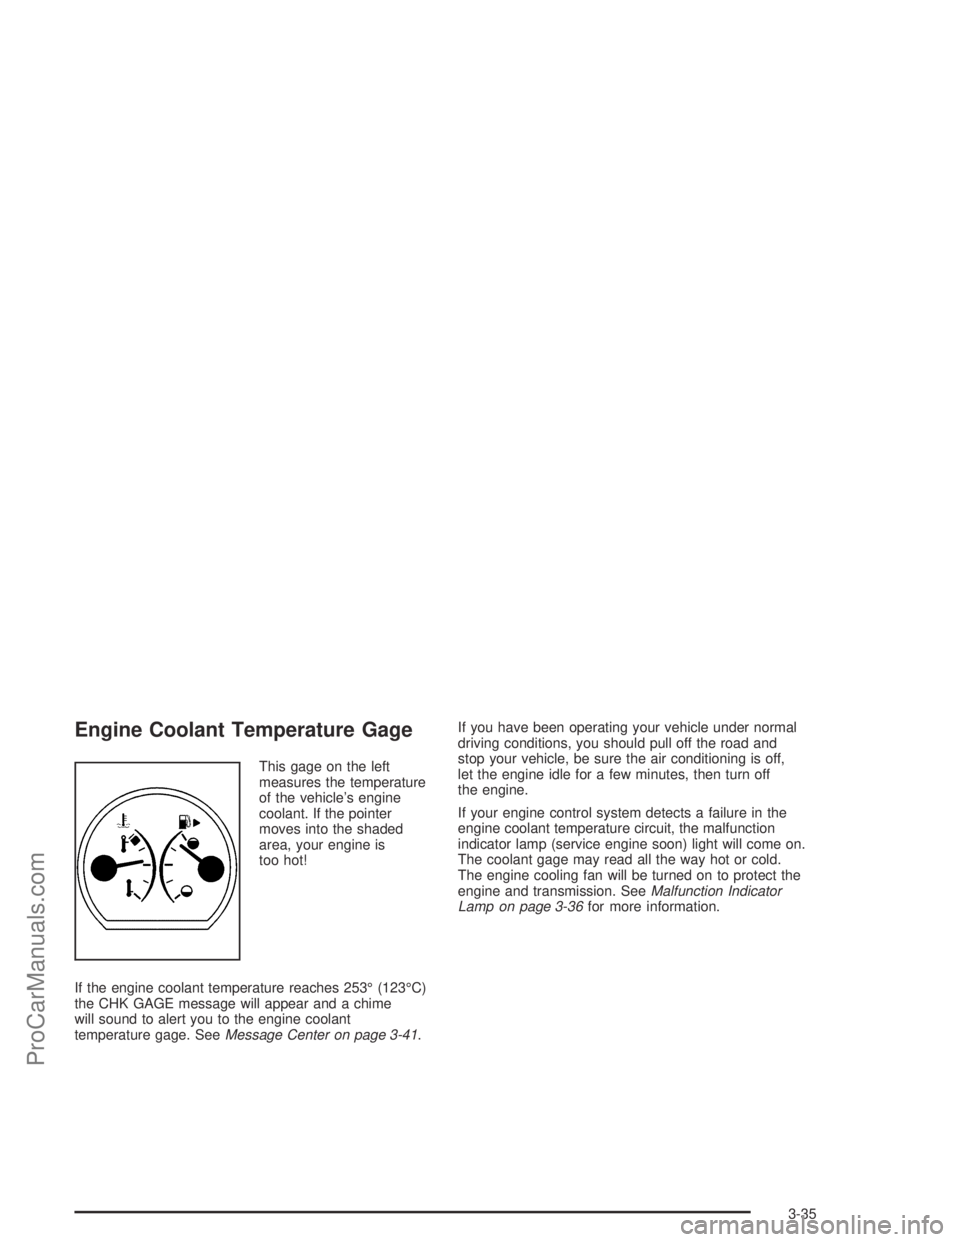
This gage on the left
measures the temperature
of the vehicle’s engine
coolant. If the pointer
moves into the shaded
area, your engine is
too hot!
If the engine coolant temperature reaches 253° (123°C)
the CHK GAGE message will appear and a chime
will sound to alert you to the engine coolant
temperature gage. SeeMessage Center on page 3-41.If you have been operating your vehicle under normal
driving conditions, you should pull off the road and
stop your vehicle, be sure the air conditioning is off,
let the engine idle for a few minutes, then turn off
the engine.
If your engine control system detects a failure in the
engine coolant temperature circuit, the malfunction
indicator lamp (service engine soon) light will come on.
The coolant gage may read all the way hot or cold.
The engine cooling fan will be turned on to protect the
engine and transmission. SeeMalfunction Indicator
Lamp on page 3-36for more information.
3-35
ProCarManuals.com
Page 148 of 380
Malfunction Indicator Lamp
Service Engine Soon Light
Your vehicle is equipped
with a computer which
monitors operation of the
fuel, ignition and emission
control systems.
This system is called OBD II (On-Board Diagnostics-
Second Generation) and is intended to assure that
emissions are at acceptable levels for the life of
the vehicle, helping to produce a cleaner environment.
The SERVICE ENGINE SOON light comes on to
indicate that there is a problem and service is required.
Malfunctions often will be indicated by the system
before any problem is apparent. This may prevent more
serious damage to your vehicle. This system is also
designed to assist your service technician in correctly
diagnosing any malfunction.
Notice:If you keep driving your vehicle with this
light on, after a while, your emission controls
may not work as well, your fuel economy may notbe as good and your engine may not run as
smoothly. This could lead to costly repairs that may
not be covered by your warranty.
Notice:Modi�cations made to the engine,
transaxle, exhaust, intake or fuel system of your
vehicle or the replacement of the original tires with
other than those of the same Tire Performance
Criteria (TPC) can affect your vehicle’s emission
controls and may cause this light to come on.
Modi�cations to these systems could lead to costly
repairs not covered by your warranty. This may
also result in a failure to pass a required Emission
Inspection/Maintenance test.
This light should come on, as a check to show you it is
working, when the ignition is on and the engine is
not running. If the light does not come on, have it
repaired. This light will also come on during a
malfunction in one of two ways:
Light Flashing— A mis�re condition has been
detected. A mis�re increases vehicle emissions
and may damage the emission control system on
your vehicle. Diagnosis and service may be
required.
Light On Steady— An emission control system
malfunction has been detected on your vehicle.
Diagnosis and service may be required.
3-36
ProCarManuals.com
Page 237 of 380
Notice:Your vehicle was not designed for fuel that
contains methanol. Do not use fuel containing
methanol. It can corrode metal parts in your fuel
system and also damage the plastic and rubber
parts. That damage would not be covered under
your warranty.
Some gasolines that are not reformulated for low
emissions may contain an octane-enhancing additive
called methylcyclopentadienyl manganese tricarbonyl
(MMT); ask the attendant where you buy gasoline
whether the fuel contains MMT. General Motors does
not recommend the use of such gasolines. Fuels
containing MMT can reduce the life of spark plugs and
the performance of the emission control system may
be affected. The malfunction indicator lamp may turn on.
If this occurs, return to your authorized Saturn retailer
for service.Fuels in Foreign Countries
If you plan on driving in another country outside the
United States or Canada, the proper fuel may be hard
to �nd. Never use leaded gasoline or any other fuel
not recommended in the previous text on fuel. Costly
repairs caused by use of improper fuel would not
be covered by your warranty.
To check the fuel availability, ask an auto club, or
contact a major oil company that does business in the
country where you will be driving.
5-7
ProCarManuals.com
Page 270 of 380

Brake Wear
Your vehicle has front disc brakes and rear drum brakes.
Disc brake pads have built-in wear indicators that make
a high-pitched warning sound when the brake pads
are worn and new pads are needed. The sound
may come and go or be heard all the time your vehicle
is moving (except when you are pushing on the
brake pedal �rmly).
{CAUTION:
The brake wear warning sound means that
soon your brakes will not work well. That
could lead to an accident. When you hear the
brake wear warning sound, have your vehicle
serviced.
Notice:Continuing to drive with worn-out brake
pads could result in costly brake repair.
Some driving conditions or climates may cause a brake
squeal when the brakes are �rst applied or lightly
applied. This does not mean something is wrong with
your brakes.Properly torqued wheel nuts are necessary to help
prevent brake pulsation. When tires are rotated, inspect
brake pads for wear and evenly tighten wheel nuts in
the proper sequence to Saturn speci�cations.
The rear drum brakes do not have wear indicators,
but if you ever hear a rear brake rubbing noise, have the
rear brake linings inspected immediately. Also, the
rear brake drums should be removed and inspected
each time the tires are removed for rotation or changing.
When you have the front brake pads replaced, have
the rear brakes inspected, too.
Brake linings should always be replaced as complete
axle sets.Brake Pedal Travel
See your retailer if the brake pedal does not return to
normal height, or if there is a rapid increase in pedal
travel. This could be a sign of brake trouble.
Brake Adjustment
Every time you make a moderate brake stop, your brakes
adjust for wear. If you rarely make a moderate or heavier
stop, then your brakes might not adjust correctly. If you
drive in that way, then — very carefully — make a few
moderate brake stops about every 1,000 miles
(1 600 km), so your brakes will adjust properly.
5-40
ProCarManuals.com
Page 373 of 380
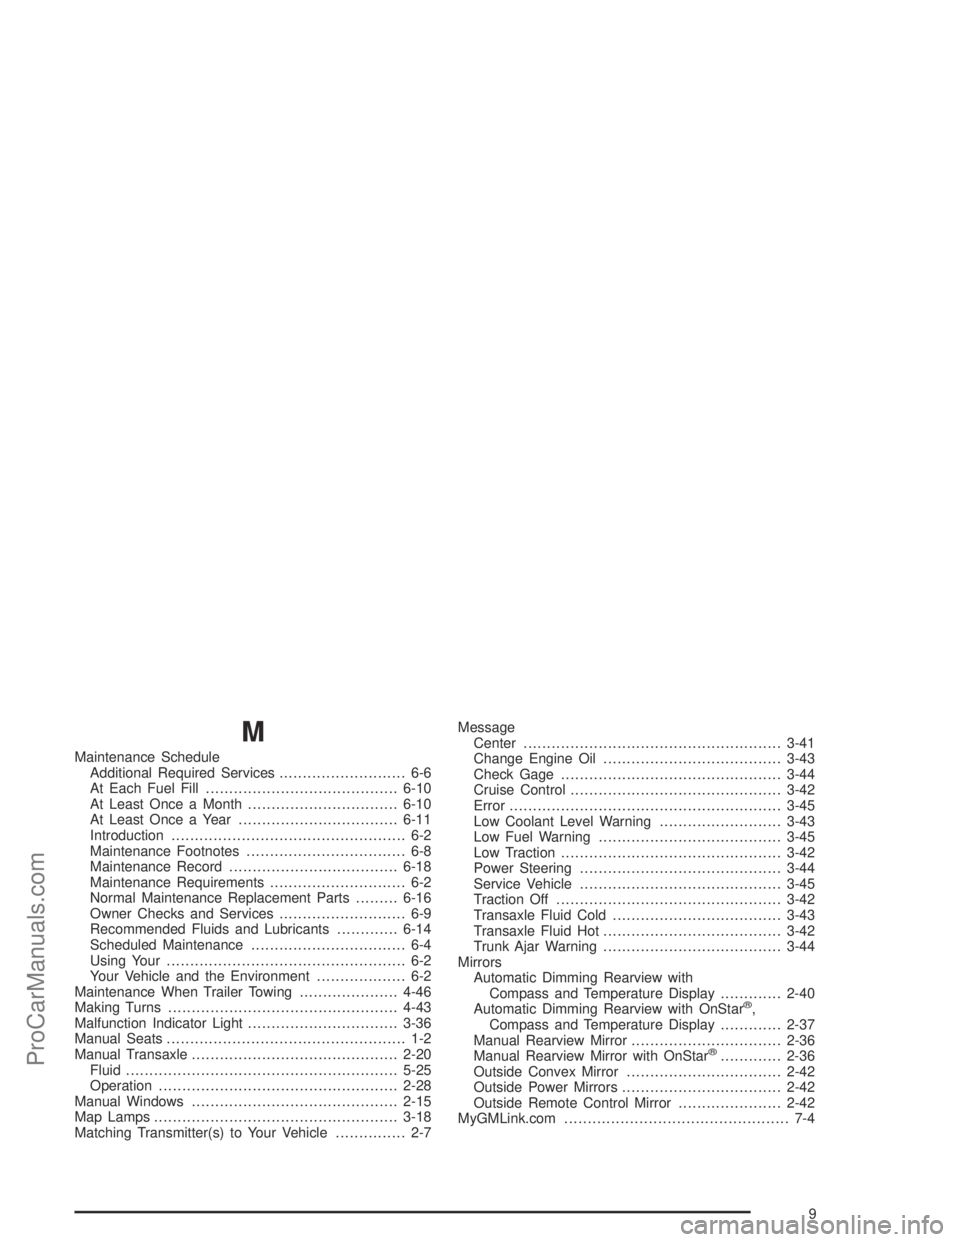
M
Maintenance Schedule
Additional Required Services........................... 6-6
At Each Fuel Fill.........................................6-10
At Least Once a Month................................6-10
At Least Once a Year..................................6-11
Introduction.................................................. 6-2
Maintenance Footnotes.................................. 6-8
Maintenance Record....................................6-18
Maintenance Requirements............................. 6-2
Normal Maintenance Replacement Parts.........6-16
Owner Checks and Services........................... 6-9
Recommended Fluids and Lubricants.............6-14
Scheduled Maintenance................................. 6-4
Using Your................................................... 6-2
Your Vehicle and the Environment................... 6-2
Maintenance When Trailer Towing.....................4-46
Making Turns.................................................4-43
Malfunction Indicator Light................................3-36
Manual Seats................................................... 1-2
Manual Transaxle............................................2-20
Fluid..........................................................5-25
Operation...................................................2-28
Manual Windows............................................2-15
Map Lamps....................................................3-18
Matching Transmitter(s) to Your Vehicle............... 2-7Message
Center.......................................................3-41
Change Engine Oil......................................3-43
Check Gage...............................................3-44
Cruise Control.............................................3-42
Error..........................................................3-45
Low Coolant Level Warning..........................3-43
Low Fuel Warning.......................................3-45
Low Traction...............................................3-42
Power Steering...........................................3-44
Service Vehicle...........................................3-45
Traction Off................................................3-42
Transaxle Fluid Cold....................................3-43
Transaxle Fluid Hot......................................3-42
Trunk Ajar Warning......................................3-44
Mirrors
Automatic Dimming Rearview with
Compass and Temperature Display.............2-40
Automatic Dimming Rearview with OnStar
®,
Compass and Temperature Display.............2-37
Manual Rearview Mirror................................2-36
Manual Rearview Mirror with OnStar
®.............2-36
Outside Convex Mirror.................................2-42
Outside Power Mirrors..................................2-42
Outside Remote Control Mirror......................2-42
MyGMLink.com................................................ 7-4
9
ProCarManuals.com
Page 379 of 380
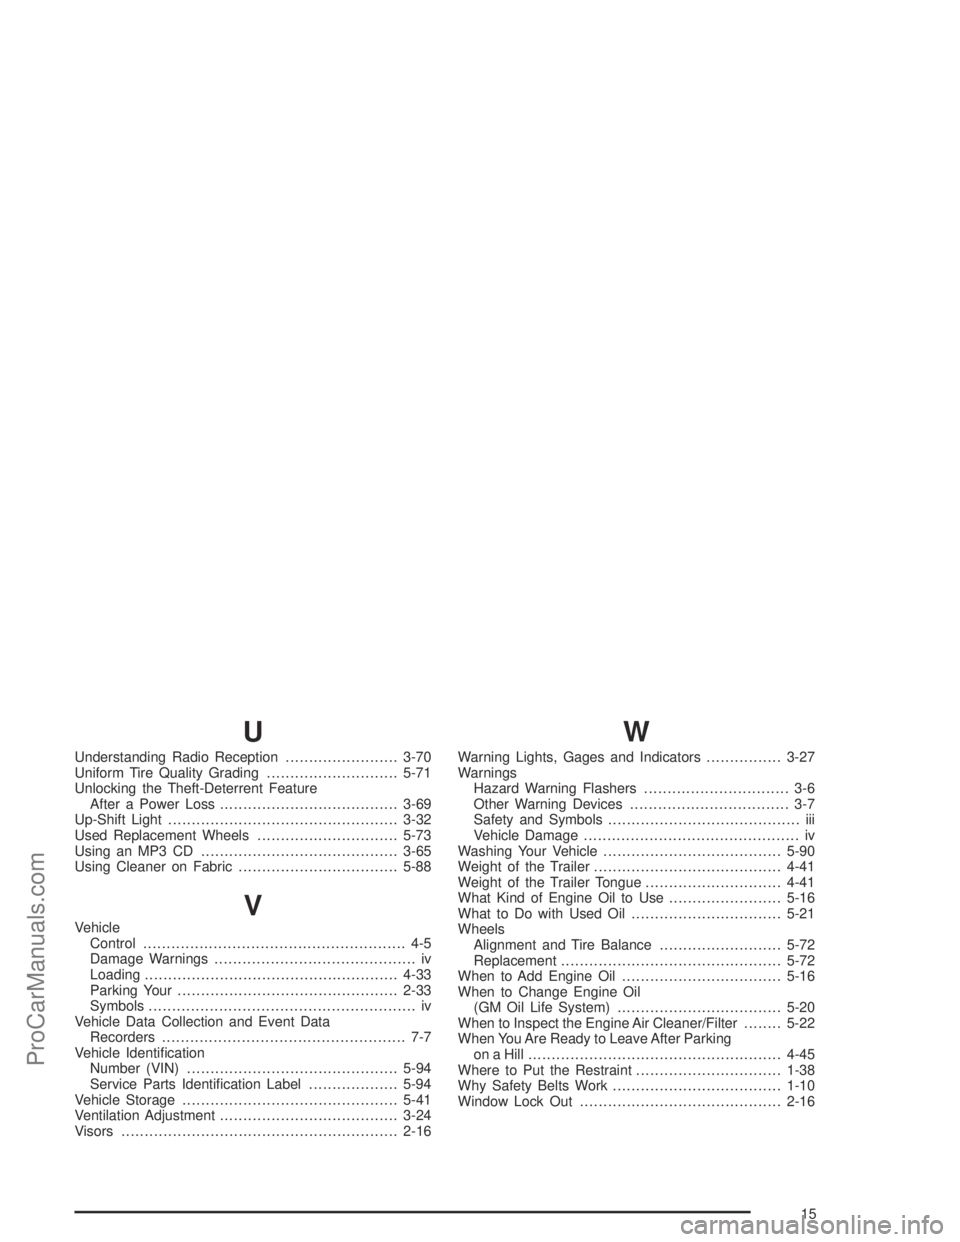
U
Understanding Radio Reception........................3-70
Uniform Tire Quality Grading............................5-71
Unlocking the Theft-Deterrent Feature
After a Power Loss......................................3-69
Up-Shift Light.................................................3-32
Used Replacement Wheels..............................5-73
Using an MP3 CD..........................................3-65
Using Cleaner on Fabric..................................5-88
V
Vehicle
Control........................................................ 4-5
Damage Warnings........................................... iv
Loading......................................................4-33
Parking Your...............................................2-33
Symbols......................................................... iv
Vehicle Data Collection and Event Data
Recorders.................................................... 7-7
Vehicle Identi�cation
Number (VIN).............................................5-94
Service Parts Identi�cation Label...................5-94
Vehicle Storage..............................................5-41
Ventilation Adjustment......................................3-24
Visors...........................................................2-16
W
Warning Lights, Gages and Indicators................3-27
Warnings
Hazard Warning Flashers............................... 3-6
Other Warning Devices.................................. 3-7
Safety and Symbols......................................... iii
Vehicle Damage.............................................. iv
Washing Your Vehicle......................................5-90
Weight of the Trailer........................................4-41
Weight of the Trailer Tongue.............................4-41
What Kind of Engine Oil to Use........................5-16
What to Do with Used Oil................................5-21
Wheels
Alignment and Tire Balance..........................5-72
Replacement...............................................5-72
When to Add Engine Oil..................................5-16
When to Change Engine Oil
(GM Oil Life System)...................................5-20
When to Inspect the Engine Air Cleaner/Filter........5-22
When You Are Ready to Leave After Parking
on a Hill......................................................4-45
Where to Put the Restraint...............................1-38
Why Safety Belts Work....................................1-10
Window Lock Out...........................................2-16
15
ProCarManuals.com