remote control SATURN L-SERIES 2005 Owners Manual
[x] Cancel search | Manufacturer: SATURN, Model Year: 2005, Model line: L-SERIES, Model: SATURN L-SERIES 2005Pages: 330, PDF Size: 2.4 MB
Page 63 of 330
Keys...............................................................2-2
Remote Keyless Entry System.........................2-3
Remote Keyless Entry System Operation...........2-4
Doors and Locks.............................................2-7
Door Locks....................................................2-7
Power Door Locks..........................................2-8
Delayed Locking.............................................2-8
Programmable Automatic Door Locks................2-8
Rear Door Security Locks................................2-9
Lockout Protection..........................................2-9
Trunk..........................................................2-10
Windows........................................................2-12
Manual Windows..........................................2-12
Power Windows............................................2-13
Sun Visors...................................................2-14
Theft-Deterrent Systems..................................2-14
Passlock
®....................................................2-14
Starting and Operating Your Vehicle................2-15
New Vehicle Break-In....................................2-15
Ignition Positions..........................................2-16Starting Your Engine.....................................2-17
Automatic Transaxle Operation.......................2-18
Parking Brake..............................................2-22
Shifting Into Park (P).....................................2-23
Shifting Out of Park (P).................................2-24
Parking Over Things That Burn.......................2-25
Engine Exhaust............................................2-25
Running Your Engine While You
Are Parked...............................................2-26
Mirrors...........................................................2-27
Manual Rearview Mirror.................................2-27
Outside Remote Control Mirror.......................2-27
Outside Power Mirrors...................................2-27
Outside Convex Mirror...................................2-28
Outside Heated Mirrors..................................2-28
Storage Areas................................................2-28
Glove Box...................................................2-28
Center Console Storage Area.........................2-28
Assist Handles.............................................2-29
Sunroof.........................................................2-29
Section 2 Features and Controls
2-1
ProCarManuals.com
Page 72 of 330
Trunk
{CAUTION:
It can be dangerous to drive with the trunk lid
open because carbon monoxide (CO) gas can
come into your vehicle. You cannot see or
smell CO. It can cause unconsciousness and
even death. If you must drive with the trunk lid
open or if electrical wiring or other cable
connections must pass through the seal
between the body and the trunk lid:
Make sure all other windows are shut.
Turn the fan on your heating or cooling
system to its highest speed and select the
control setting that will force outside air
into your vehicle. See Climate Control
System in the Index.
If you have air outlets on or under the
instrument panel, open them all the way.
SeeEngine Exhaust on page 2-25.
Trunk Lid Release
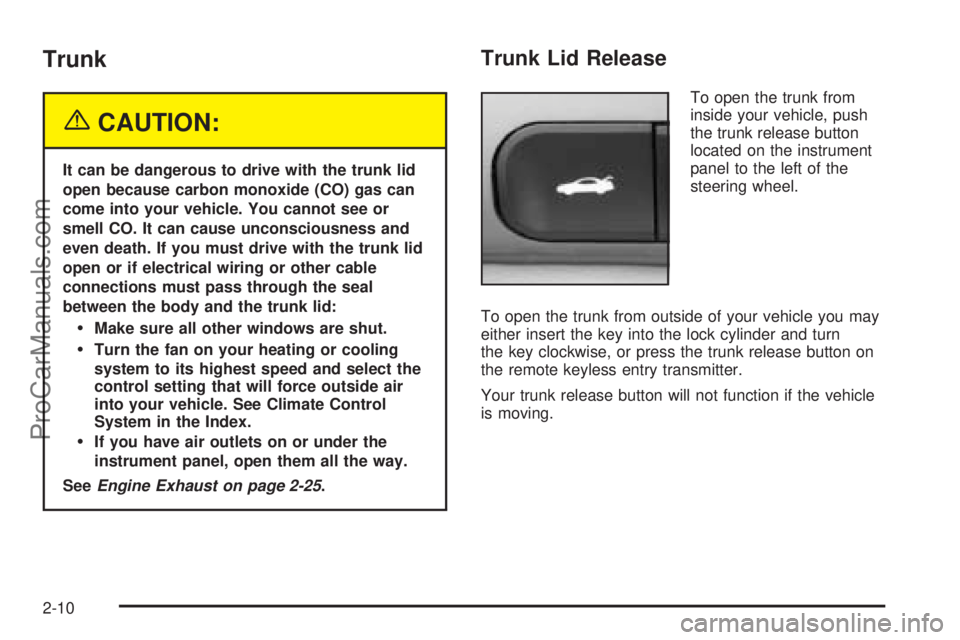
To open the trunk from
inside your vehicle, push
the trunk release button
located on the instrument
panel to the left of the
steering wheel.
To open the trunk from outside of your vehicle you may
either insert the key into the lock cylinder and turn
the key clockwise, or press the trunk release button on
the remote keyless entry transmitter.
Your trunk release button will not function if the vehicle
is moving.
2-10
ProCarManuals.com
Page 89 of 330

Mirrors
Manual Rearview Mirror
If the vehicle has this mirror, while sitting in a
comfortable driving position, adjust the mirror so you
can see clearly behind the vehicle. Grip the mirror in the
center to move it up or down and side to side. The
day/night adjustment, located at the bottom of the mirror,
allows adjustment to lessen glare from the lamps
behind you. Pull the lever for daytime use; push it for
night use.
Outside Remote Control Mirror
If the vehicle has this feature, adjust the driver’s side
outside mirror to the desired direction by moving
the control, located on the driver’s door. To adjust the
passenger’s side outside mirror, move the control
located on the passenger’s door. Adjust each mirror so
that the driver can see the side of the vehicle and
the area beside and behind it.
Outside Power Mirrors
If the vehicle has this
feature, the outside power
mirror control is located
on the driver’s door.
Use the selector switch located above the round touch
pad to choose either the driver’s or passenger’s
outside mirror. To adjust the mirror press the round
touch pad in the desired direction.
Adjust each mirror so that the side of the vehicle and
the area beside and behind it are visible while sitting in a
comfortable driving position.
2-27
ProCarManuals.com
Page 144 of 330

Rear Seat Entertainment System
Your vehicle may have a DVD Rear Seat Entertainment
(RSE) system. The RSE system works with the
vehicles audio system and includes a DVD radio, a
video display screen, two sets of wireless headphones,
and a remote control.
Before You Drive
The RSE system is designed for rear seat passengers
only. The driver cannot safely view the video screen
while driving and should not try to do so.
In severe or extreme weather conditions the RSE
system may or may not work until the temperature is
within the operating range. The operating range for the
RSE system is above−4°F (−20°C) or below
140°F (60°C). If the temperature of your vehicle is
outside of this range, heat or cool the vehicle until the
temperature is within the operating range of the
RSE system. To resume operation, shut off the RSE,
pull down the video screen and then heat or cool
the vehicle until the temperature is within the
operating range.
Headphones
The RSE system includes two sets of wireless
headphones. The headphones are used to listen to the
DVD radio or an auxiliary device connected to the
RCA jacks. The wireless headphones have an ON/OFF
switch and a volume control.
To use the headphones, turn the switch, located on the
left side, to ON. An indicator light located on the
headphones will illuminate. If the light does not illuminate,
the batteries may need to be replaced. See “Battery
Replacement” later in this section for more information.
Switch the headphones to OFF when not in use.
3-52
ProCarManuals.com
Page 146 of 330
To use the auxiliary function, connect a camcorder or
a video game unit to the RCA jacks and turn on the
auxiliary device. If you want to view a DVD, insert the
DVD into the DVD player. The system will automatically
switch to DVD and start to play. To switch between the
auxiliary device and the DVD, press the SOURCE button
on the DVD player or on the remote control. See “DVD
Player” and “Remote Control” later in this section for
more information.
Audio Output
Only one audio source can be heard through the
speakers at one time.
Audio from the radio, cassette, or CD player will be
heard through all speakers when the front audio system
is being used.
Sound from the DVD player or an auxiliary device can
be heard through all speakers when the front audio
system is off and a DVD auxiliary device is playing.
To hear the DVD or an auxiliary device when the front
audio system is on, use the headphones.
Video Screen
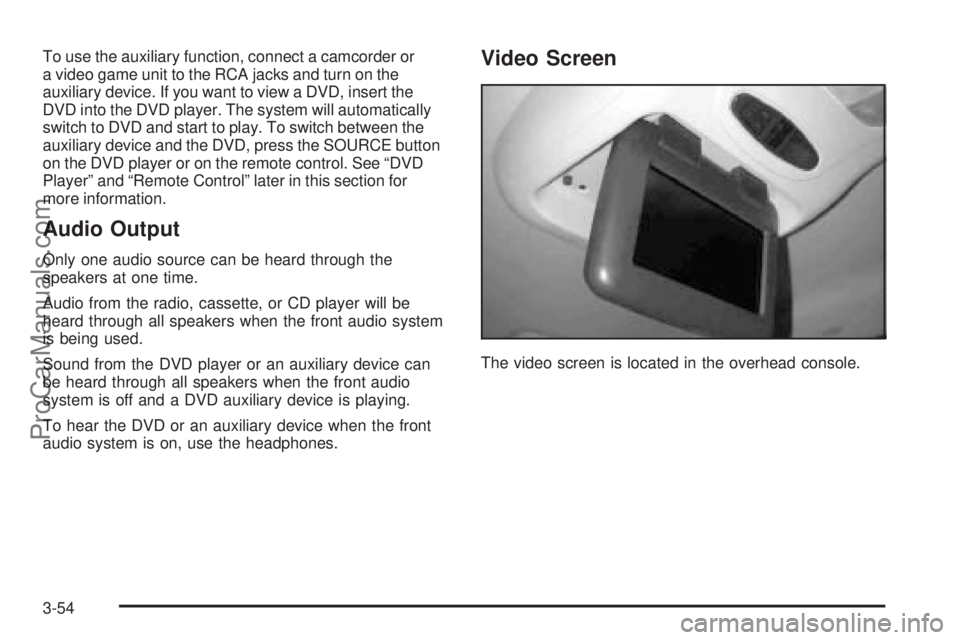
The video screen is located in the overhead console.
3-54
ProCarManuals.com
Page 147 of 330
To use the video screen, do the following:
1. Push forward on the release button and the screen
will fold down.
2. Pull the screen toward you and adjust its position
as desired.
When the video screen is not in use, push it up into its
locked position.
If a DVD is playing and the screen is raised to its
locked position, the screen will shut off, but the DVD
will continue to play through the previously selected
audio source.
Notice:Directly touching the video screen may
damage it. Do not touch the screen. See “Cleaning
the Video Screen” later in this section for more
information.DVD Player
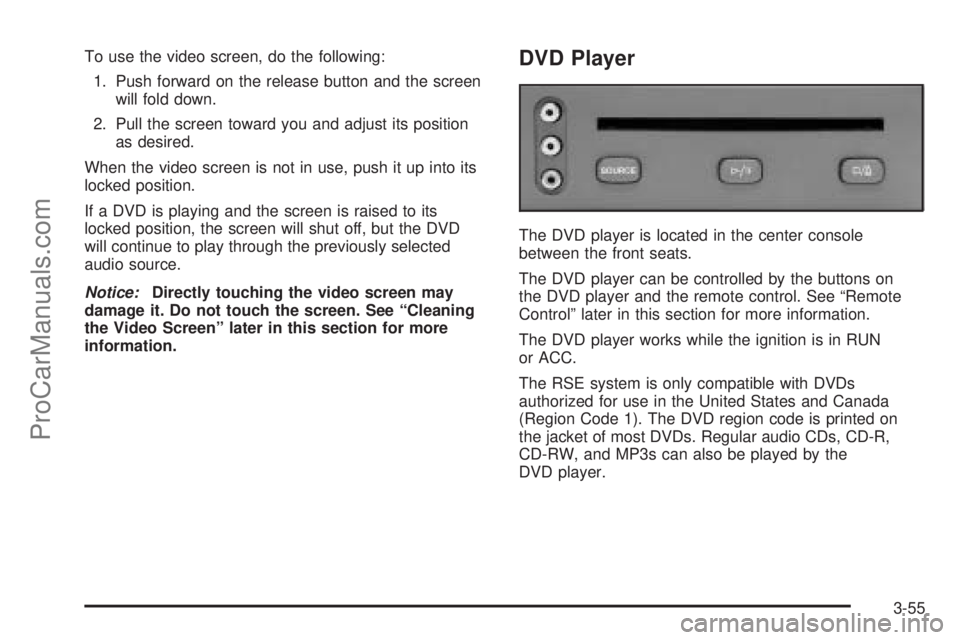
The DVD player is located in the center console
between the front seats.
The DVD player can be controlled by the buttons on
the DVD player and the remote control. See “Remote
Control” later in this section for more information.
The DVD player works while the ignition is in RUN
or ACC.
The RSE system is only compatible with DVDs
authorized for use in the United States and Canada
(Region Code 1). The DVD region code is printed on
the jacket of most DVDs. Regular audio CDs, CD-R,
CD-RW, and MP3s can also be played by the
DVD player.
3-55
ProCarManuals.com
Page 148 of 330
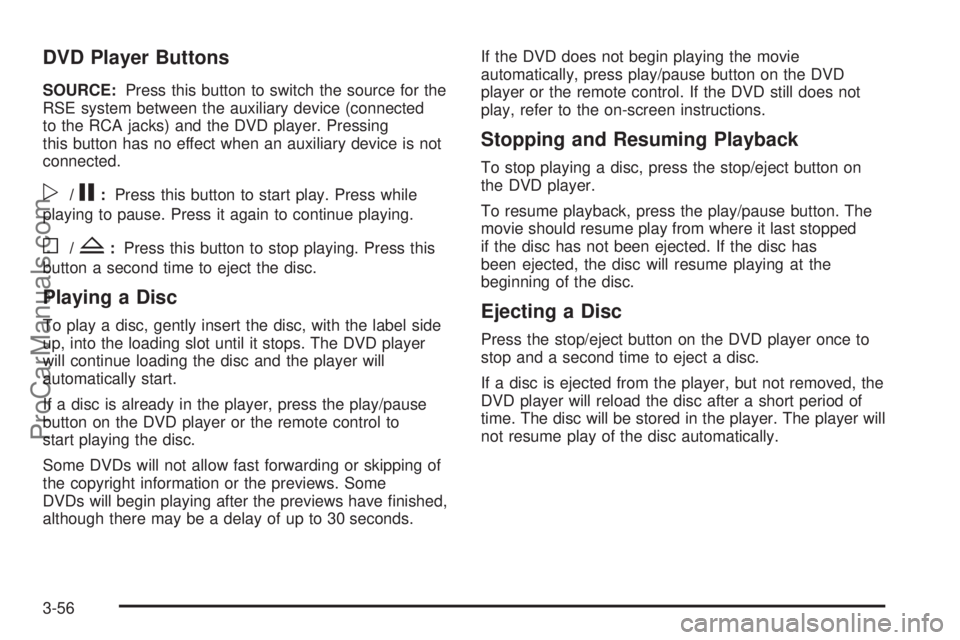
DVD Player Buttons
SOURCE:Press this button to switch the source for the
RSE system between the auxiliary device (connected
to the RCA jacks) and the DVD player. Pressing
this button has no effect when an auxiliary device is not
connected.
p/j:Press this button to start play. Press while
playing to pause. Press it again to continue playing.
o/Z:Press this button to stop playing. Press this
button a second time to eject the disc.
Playing a Disc
To play a disc, gently insert the disc, with the label side
up, into the loading slot until it stops. The DVD player
will continue loading the disc and the player will
automatically start.
If a disc is already in the player, press the play/pause
button on the DVD player or the remote control to
start playing the disc.
Some DVDs will not allow fast forwarding or skipping of
the copyright information or the previews. Some
DVDs will begin playing after the previews have finished,
although there may be a delay of up to 30 seconds.If the DVD does not begin playing the movie
automatically, press play/pause button on the DVD
player or the remote control. If the DVD still does not
play, refer to the on-screen instructions.
Stopping and Resuming Playback
To stop playing a disc, press the stop/eject button on
the DVD player.
To resume playback, press the play/pause button. The
movie should resume play from where it last stopped
if the disc has not been ejected. If the disc has
been ejected, the disc will resume playing at the
beginning of the disc.
Ejecting a Disc
Press the stop/eject button on the DVD player once to
stop and a second time to eject a disc.
If a disc is ejected from the player, but not removed, the
DVD player will reload the disc after a short period of
time. The disc will be stored in the player. The player will
not resume play of the disc automatically.
3-56
ProCarManuals.com
Page 149 of 330
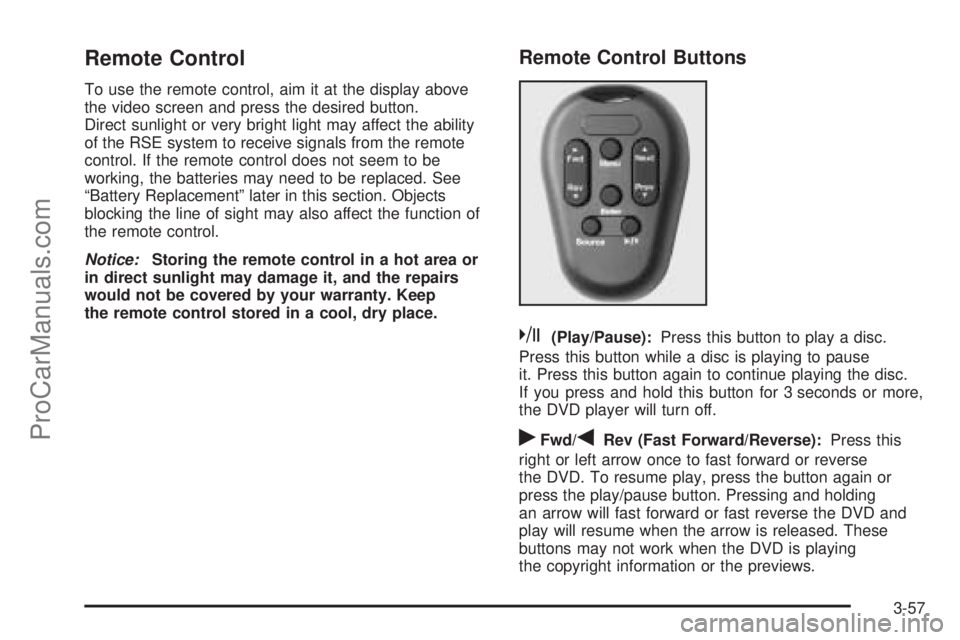
Remote Control
To use the remote control, aim it at the display above
the video screen and press the desired button.
Direct sunlight or very bright light may affect the ability
of the RSE system to receive signals from the remote
control. If the remote control does not seem to be
working, the batteries may need to be replaced. See
“Battery Replacement” later in this section. Objects
blocking the line of sight may also affect the function of
the remote control.
Notice:Storing the remote control in a hot area or
in direct sunlight may damage it, and the repairs
would not be covered by your warranty. Keep
the remote control stored in a cool, dry place.
Remote Control Buttons
k(Play/Pause):Press this button to play a disc.
Press this button while a disc is playing to pause
it. Press this button again to continue playing the disc.
If you press and hold this button for 3 seconds or more,
the DVD player will turn off.
rFwd/qRev (Fast Forward/Reverse):Press this
right or left arrow once to fast forward or reverse
the DVD. To resume play, press the button again or
press the play/pause button. Pressing and holding
an arrow will fast forward or fast reverse the DVD and
play will resume when the arrow is released. These
buttons may not work when the DVD is playing
the copyright information or the previews.
3-57
ProCarManuals.com
Page 150 of 330
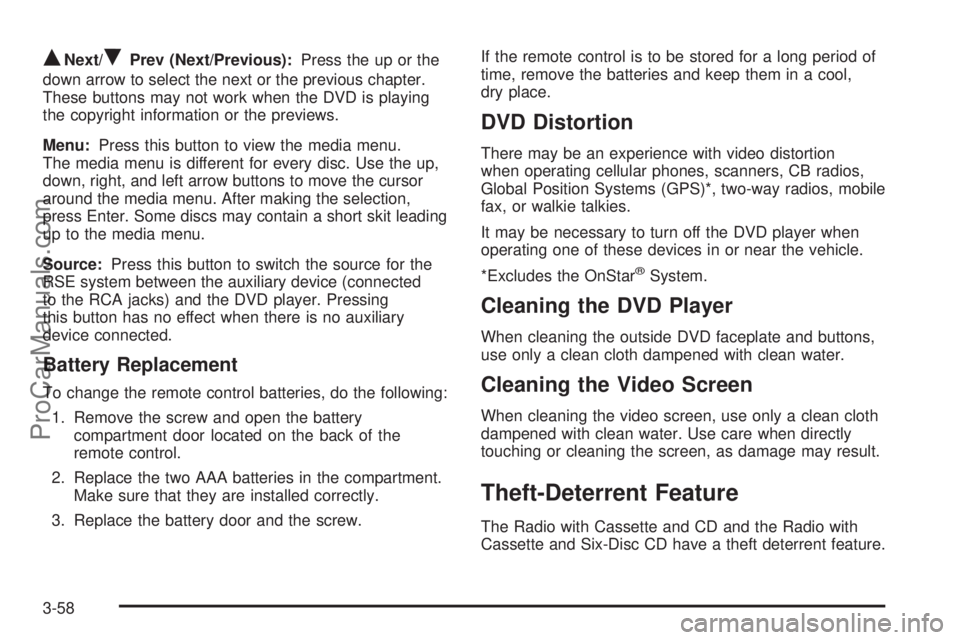
QNext/RPrev (Next/Previous):Press the up or the
down arrow to select the next or the previous chapter.
These buttons may not work when the DVD is playing
the copyright information or the previews.
Menu:Press this button to view the media menu.
The media menu is different for every disc. Use the up,
down, right, and left arrow buttons to move the cursor
around the media menu. After making the selection,
press Enter. Some discs may contain a short skit leading
up to the media menu.
Source:Press this button to switch the source for the
RSE system between the auxiliary device (connected
to the RCA jacks) and the DVD player. Pressing
this button has no effect when there is no auxiliary
device connected.
Battery Replacement
To change the remote control batteries, do the following:
1. Remove the screw and open the battery
compartment door located on the back of the
remote control.
2. Replace the two AAA batteries in the compartment.
Make sure that they are installed correctly.
3. Replace the battery door and the screw.If the remote control is to be stored for a long period of
time, remove the batteries and keep them in a cool,
dry place.
DVD Distortion
There may be an experience with video distortion
when operating cellular phones, scanners, CB radios,
Global Position Systems (GPS)*, two-way radios, mobile
fax, or walkie talkies.
It may be necessary to turn off the DVD player when
operating one of these devices in or near the vehicle.
*Excludes the OnStar
®System.
Cleaning the DVD Player
When cleaning the outside DVD faceplate and buttons,
use only a clean cloth dampened with clean water.
Cleaning the Video Screen
When cleaning the video screen, use only a clean cloth
dampened with clean water. Use care when directly
touching or cleaning the screen, as damage may result.
Theft-Deterrent Feature
The Radio with Cassette and CD and the Radio with
Cassette and Six-Disc CD have a theft deterrent feature.
3-58
ProCarManuals.com
Page 326 of 330

Maintenance Schedule (cont.)
Recommended Fluids and Lubricants.............6-13
Scheduled Maintenance................................. 6-4
Using Your................................................... 6-2
Your Vehicle and the Environment................... 6-2
Malfunction Indicator Light................................3-31
Manual Lumbar Controls.................................... 1-3
Manual Passenger Seat.................................... 1-2
Manual Windows............................................2-12
Map Lamps....................................................3-16
Mirrors
Manual Rearview Mirror................................2-27
Outside Convex Mirror.................................2-28
Outside Heated Mirrors................................2-28
Outside Power Mirrors..................................2-27
Outside Remote Control Mirror......................2-27
MyGMLink.com................................................ 7-4
N
New Vehicle Break-In......................................2-15
Normal Maintenance Replacement Parts............6-14
O
Odometer......................................................3-24
Odometer, Trip...............................................3-24
Off-Road Recovery..........................................4-13Oil
Change Engine Oil Light...............................3-34
Engine.......................................................5-13
Pressure Light.............................................3-33
Older Children, Restraints................................1-26
Online Owner Center........................................ 7-4
Other Warning Devices...................................... 3-6
Outlet Adjustment............................................3-20
Outside
Convex Mirror.............................................2-28
Heated Mirrors............................................2-28
Power Mirrors.............................................2-27
Remote Control Mirror..................................2-27
Owner Checks and Services.............................. 6-9
Owners, Canadian............................................... ii
P
Park (P)
Shifting Into................................................2-23
Shifting Out of............................................2-24
Parking
Brake........................................................2-22
Over Things That Burn.................................2-25
Passenger Compartment Air Filter.....................3-21
Passing.........................................................4-13
Passlock
®......................................................2-14
Power............................................................. 1-2
Accessory Outlets........................................3-16
Door Locks.................................................. 2-8
8
ProCarManuals.com