light SATURN VUE 2007 Workshop Manual
[x] Cancel search | Manufacturer: SATURN, Model Year: 2007, Model line: VUE, Model: SATURN VUE 2007Pages: 470, PDF Size: 3.1 MB
Page 181 of 470

Fuel Gage
When the ignition is on,
the fuel gage tells you
about how much
fuel you have left in
your tank.
When the indicator nears empty, the low fuel light
will come on. You still have a little fuel left, but
you should get more soon. SeeLow Fuel Warning
Light on page 181for more information.
Here are four things that some owners ask about.
None of these mean a condition exists with
your fuel gage:
At the service station, the fuel pump shuts off
before the gage reads full.
It takes a little more or less fuel to �ll up than
the gage indicated. For example, the gage
may have indicated the tank was half full,
but it actually took a little more or less than
half the tank’s capacity to �ll the tank.
The gage moves a little when you turn a
corner or speed up.
The gage takes a few seconds to stabilize
after the ignition is turned on, and will go
back to empty when you turn the ignition off.
For your fuel tank capacity, seeCapacities and
Speci�cations on page 414.
Low Fuel Warning Light
The light next to the fuel
gage will come on
brie�y when you are
starting the engine.
This light also comes on when the fuel tank is low
on fuel. When you add fuel the light should go
off. If it doesn’t, have your vehicle serviced.
181
ProCarManuals.com
Page 193 of 470
Playing the Radio
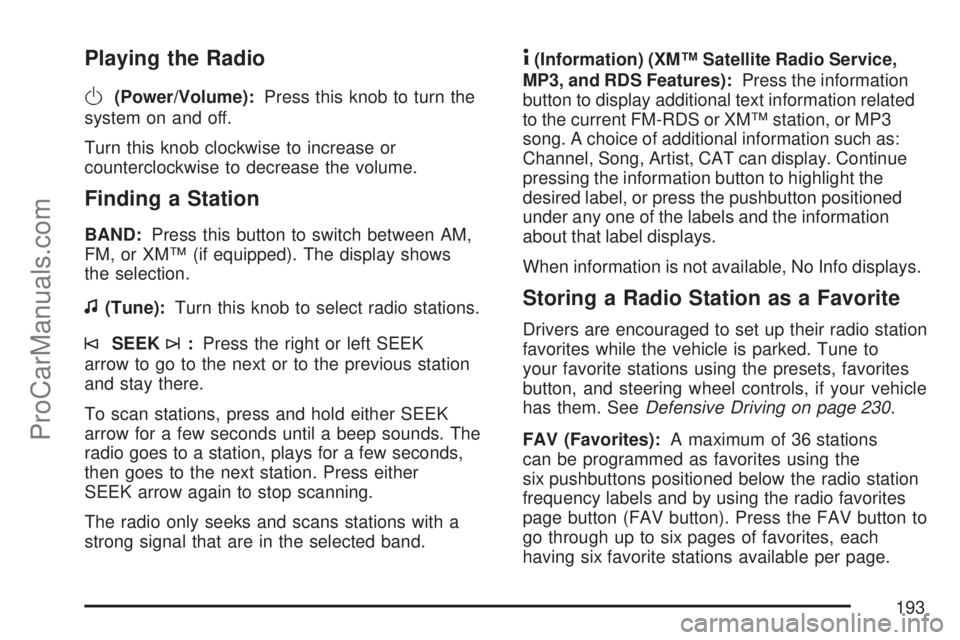
O
(Power/Volume):Press this knob to turn the
system on and off.
Turn this knob clockwise to increase or
counterclockwise to decrease the volume.
Finding a Station
BAND:Press this button to switch between AM,
FM, or XM™ (if equipped). The display shows
the selection.
f(Tune):Turn this knob to select radio stations.
©SEEK¨:Press the right or left SEEK
arrow to go to the next or to the previous station
and stay there.
To scan stations, press and hold either SEEK
arrow for a few seconds until a beep sounds. The
radio goes to a station, plays for a few seconds,
then goes to the next station. Press either
SEEK arrow again to stop scanning.
The radio only seeks and scans stations with a
strong signal that are in the selected band.
4(Information) (XM™ Satellite Radio Service,
MP3, and RDS Features):Press the information
button to display additional text information related
to the current FM-RDS or XM™ station, or MP3
song. A choice of additional information such as:
Channel, Song, Artist, CAT can display. Continue
pressing the information button to highlight the
desired label, or press the pushbutton positioned
under any one of the labels and the information
about that label displays.
When information is not available, No Info displays.
Storing a Radio Station as a Favorite
Drivers are encouraged to set up their radio station
favorites while the vehicle is parked. Tune to
your favorite stations using the presets, favorites
button, and steering wheel controls, if your vehicle
has them. SeeDefensive Driving on page 230.
FAV (Favorites):A maximum of 36 stations
can be programmed as favorites using the
six pushbuttons positioned below the radio station
frequency labels and by using the radio favorites
page button (FAV button). Press the FAV button to
go through up to six pages of favorites, each
having six favorite stations available per page.
193
ProCarManuals.com
Page 194 of 470
Each page of favorites can contain any
combination of AM, FM, or XM™ (if equipped)
stations. To store a station as a favorite, perform
the following steps:
1. Tune to the desired radio station.
2. Press the FAV button to display the page
where you want the station stored.
3. Press and hold one of the six pushbuttons
until a beep sounds. When that pushbutton
is pressed and released, the station that was
set, returns.
4. Repeat the steps for each pushbutton radio
station you want stored as a favorite.
The number of favorites pages can be setup using
the MENU button. To setup the number of
favorites pages, perform the following steps:
1. Press the MENU button to display the radio
setup menu.
2. Press the pushbutton located below the
FAV 1-6 label.3. Select the desired number of favorites pages
by pressing the pushbutton located below the
displayed page numbers.
4. Press the FAV button, or let the menu time out,
to return to the original main radio screen
showing the radio station frequency labels and
to begin the process of programming your
favorites for the chosen amount of numbered
pages.
Setting the Tone
(Bass/Midrange/Treble)
BASS/MID/TREB (Bass, Midrange, or Treble):
To adjust bass, midrange, or treble, press the tune
knob until the tone control labels display. Continue
pressing to highlight the desired label, or press the
pushbutton positioned under the desired label.
Turn the tune knob clockwise or counterclockwise
to adjust the highlighted setting. The highlighted
setting can also be adjusted by pressing either the
SEEK, FWD (forward), or REV (reverse) button
until the desired levels are obtained. If a station’s
frequency is weak, or has static, decrease the
treble.
194
ProCarManuals.com
Page 195 of 470
To quickly adjust bass, midrange, or treble to the
middle position, press the pushbutton positioned
under the BASS, MID, or TREB label for more
than two seconds. A beep sounds and the level
adjusts to the middle position.
To quickly adjust all tone and speaker controls
to the middle position, press the tune knob for more
than two seconds until a beep sounds.
EQ (Equalization):Press this button to select
preset equalization settings.
To return to the manual mode, press the EQ
button until Manual displays or start to manually
adjust the bass, midrange, or treble by pressing
the tune knob.Adjusting the Speakers (Balance/Fade)
BAL/FADE (Balance/Fade):To adjust balance or
fade, press the tune knob until the speaker control
labels display. Continue pressing to highlight the
desired label, or press the pushbutton positioned
under the desired label. Turn the tune knob
clockwise or counterclockwise to adjust the
highlighted setting. The highlighted setting can also
be adjusted by pressing either the SEEK, FWD, or
REV button until the desired levels are obtained.
To quickly adjust balance or fade to the middle
position, press the pushbutton positioned under the
BAL or FADE label for more than two seconds.
A beep sounds and the level adjusts to the
middle position.
To quickly adjust all speaker and tone controls to
the middle position, press the tune knob for more
than two seconds until a beep sounds.
195
ProCarManuals.com
Page 211 of 470

Rear Seat Entertainment System
Your vehicle may have a DVD Rear Seat
Entertainment (RSE) system. The RSE system
works with the vehicle’s audio system and includes
a radio that accepts CD audio or DVD video, a
video display screen, two sets of wireless
headphones, and a remote control.
Before You Drive
The RSE is designed for rear seat passengers
only. The driver cannot safely view the video
screen while driving and should not try to do so.
In severe or extreme weather conditions the
RSE system might not work until the temperature
is within the operating range. The operating
range for the RSE system is above−4°F (−20°C)
or below 140°F (60°C). If the temperature of
your vehicle is outside of this range, heat or cool
the vehicle until the temperature is within the
operating range of the RSE system.
Headphones
The RSE includes two sets of wireless
headphones that are only dedicated to this
system. These headphones are used to listen
to the radio with CD and DVD or an auxiliary
device connected to the RCA jacks. The wireless
headphones have an ON/OFF switch and a
volume control.
To use the headphones, turn the switch to ON.
An indicator light on the headphones comes on.
If the light does not come on, the batteries
might need to be replaced. See “Battery
Replacement” later in this section for more
information. Switch the headphones to OFF
when not in use.
The infrared transmitters are located in the display
below the video screen. The headphones shut
off automatically to save the battery power if the
DVD system is shut off or if the headphones
are out of range of the transmitters for more than
three minutes. If you move too far forward or
step out of the vehicle, the headphones lose the
audio signal.
211
ProCarManuals.com
Page 212 of 470
To adjust the volume on the headphones, use the
volume control located on the right side.
Notice:Do not store the headphones in heat
or direct sunlight. This could damage the
headphones and repairs will not be covered by
your warranty. Keep the headphones stored
in a cool, dry place.
Battery Replacement
To change the batteries, do the following:
1. Slide open the battery door located on the left
side of the headphones.
2. Replace the two AAA batteries in the
compartment. Make sure that they are
installed correctly, using the diagram on the
inside of the battery compartment.
3. Slide the battery door shut.
If the headphones are to be stored for a long
period of time, remove the batteries and keep them
in a cool, dry place.
Stereo RCA Jacks
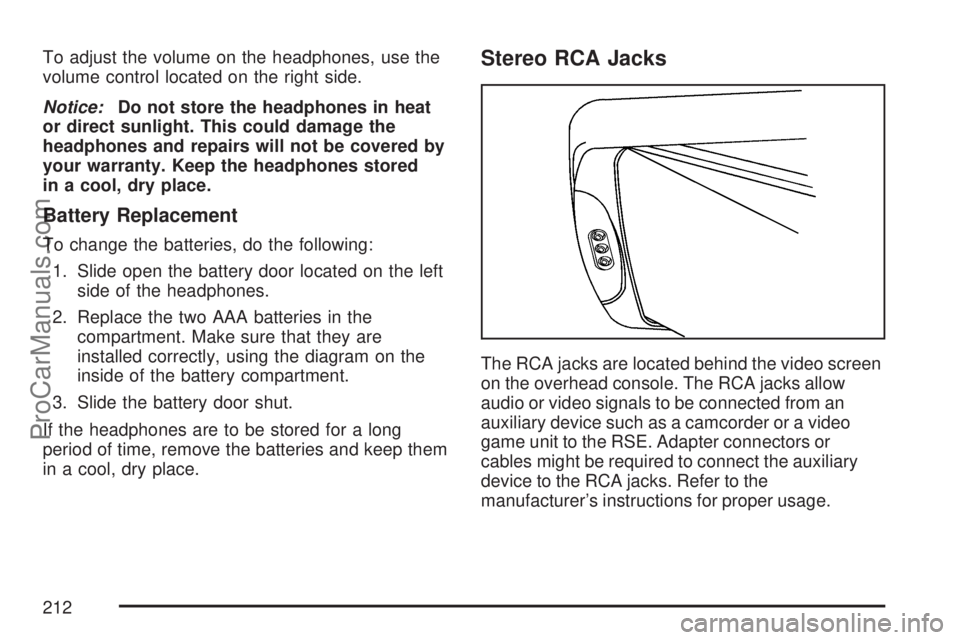
The RCA jacks are located behind the video screen
on the overhead console. The RCA jacks allow
audio or video signals to be connected from an
auxiliary device such as a camcorder or a video
game unit to the RSE. Adapter connectors or
cables might be required to connect the auxiliary
device to the RCA jacks. Refer to the
manufacturer’s instructions for proper usage.
212
ProCarManuals.com
Page 217 of 470
DVD Display Buttons
Once a DVD is inserted, a screen display menu
shows several tag options for DVD playing. Press
the pushbuttons located under any desired tag
option during DVD playback. See the tag options
listed below for more information:
r/j(Play/Pause):Press either the play or
pause icon displayed on the radio system,
to toggle between pausing or restarting playback
of a DVD. If the forward arrow is showing on
display, the system is in pause mode. If the pause
icon is showing on display, the system is in
playback mode.
c(Stop):Press this button to stop playing,
rewinding, or fast forwarding a DVD.
r(Enter):Press this button to select the
choices that are highlighted in any menu.
y(Menu):Press this button to access the DVD
menu. The DVD menu is different on every
DVD. Use the pushbuttons located under the
navigation arrows to navigate the cursor through
the DVD menu. After making a selection press the
enter button. This button only operates when
using a DVD.Nav (Navigate):Press this button to display
directional arrows for navigating through
the menus.
q(Return):Press this button to exit the current
active menu and return to the previous menu.
This button operates only when a DVD is playing
and a menu is active.
Playing a Disc
To play a disc, gently insert the disc, with the label
side up, into the loading slot. The player starts
loading the disc into the system and display
“Loading Disc” on the video screen. At the same
time, the radio displays a softkey menu of options.
The �rst option tag located on the left-hand side of
the menu options, displays alternately the play or
pause symbols. This indicates the system is loading
the disc or is not yet ready to accept a play button
press. The displayed symbol arrow remains until
the disc is completely loaded or Promos and
Copyright information has ended. The time can vary
depending on the discs media type and format.
Once the DVD is loaded into the system, a pause
icon displays instead of the forward arrow. This
indicates the system is in play mode, and the disc
automatically starts playback.
217
ProCarManuals.com
Page 219 of 470

Ejecting a Disc
Press the eject button on the radio to eject the disc.
If a disc is ejected from the radio, but not removed,
the radio reloads the disc after a short period of
time. The disc is stored in the radio. The radio does
not resume play of the disc automatically.
Remote Control
To use the remote control, aim it at the transmitter
window below the video screen and press the
desired button. Direct sunlight or very bright light
could affect the ability of the RSE transmitter to
receive signals from the remote control. If the
remote control does not seem to be working, the
batteries might need to be replaced. See “Battery
Replacement” later in this section. Objects blocking
the line of sight could also affect the function of the
remote control.
The DVD player can only be turned on by pressing
the DVD/AUX button on the radio.
Notice:Storing the remote control in a hot
area or in direct sunlight can damage it,
and the repairs will not be covered by your
warranty. Keep the remote control stored in a
cool, dry place.
Remote Control Buttons
O(Power):Press this button to turn the RSE
screen on and off (also powers up the DVD player
if a disc is loaded).
P(Illumination):Press this button to turn the
remote control backlight on. The backlight
times out after seven to ten seconds if no other
button is pressed while the backlight is on.
v(Title):Press this button to return the DVD to
the main menu of the DVD.
219
ProCarManuals.com
Page 220 of 470
y(Main DVD Menu):Press this button to access
the DVD menu. The DVD menu is different on every
DVD. Use the up, down, left, and right arrow
buttons to move the cursor around the DVD menu.
After making a selection press the enter button.
This button only operates when using a DVD.
n,q,p,o(Menu Navigation Arrows):Use
the arrow buttons to navigate through a menu.
r(Enter):Press this button to select the
choices that are highlighted in any menu.
z(Display Menu):Press this button to adjust
the color, tint, brightness, contrast, and display
mode (normal, full, or zoom). The dynamic range
compression feature can be used to reduce
loud audio and increase low audio produced by
some DVDs.
q(Return):Press this button to exit the current
active menu and return to the previous menu.
This button operates only when a DVD is playing
and a menu is active.
e(Audio):Press this button to display a menu
that only appears when a DVD is playing. The
format and content of this function varies for
each disc.
{(Subtitle):Press this button to turn on
subtitles and to move through subtitle options
when a DVD is playing. The format and content of
this function varies for each disc.
|(Camera Angle):Press this button to
change camera angles on DVDs that have this
feature when a DVD is playing. The format
and content of this function varies for each disc.
r(Fast Reverse):Press this button to fast
reverse the DVD or CD. To stop fast reversing,
press this button again. This button might not work
when the DVD is playing the copyright information
or the previews.
SRCE (Source):Press this button to switch
between the DVD player and an auxiliary source.
[(Fast Forward):Press this button to fast
forward the DVD or CD. To stop fast forwarding,
press this button again. This button might not work
when the DVD is playing the copyright information
or the previews.
c(Stop):Press this button to stop playing,
rewinding, or fast forwarding a DVD. Press this
button twice to return to the beginning of the DVD.
220
ProCarManuals.com
Page 225 of 470

Care of Your CDs and DVDs
Handle CDs carefully. Store them in their original
cases or other protective cases and away from
direct sunlight and dust. The CD player scans the
bottom surface of the disc. If the surface of a CD is
damaged, such as cracked, broken, or scratched,
the CD does not play properly or not at all. If the
surface of a CD is soiled, take a soft, lint free cloth
or dampen a clean, soft cloth in a mild, neutral
detergent solution mixed with water, and clean it.
Make sure the wiping process starts from the center
to the edge.
Do not touch the bottom side of a CD while
handling it; this could damage the surface. Pick up
CDs by grasping the outer edges or the edge of
the hole and the outer edge.
Care of the CD and DVD Player
The use of CD lens cleaners for CDs is not
advised, due to the risk of contaminating the lens
of the CD optics with lubricants internal to the
CD mechanism.
Fixed Mast Antenna
The �xed mast antenna can withstand most car
washes without being damaged. If the mast should
ever become slightly bent, straighten it out by
hand. If the mast is badly bent, replace it.
Check occasionally to make sure the mast is still
tightened to the antenna base. If tightening is
required, tighten by hand.
XM™ Satellite Radio
Antenna System
The XM™ Satellite Radio antenna is located on
the roof of your vehicle. Keep this antenna clear of
snow and ice build up for clear radio reception.
A vehicle with a sunroof might not get the
best performance from the XM™ system if the
sunroof is open.
Loading items onto the roof of your vehicle can
interfere with the performance of the XM™ system.
Make sure the XM™ Satellite Radio antenna is
not obstructed.
225
ProCarManuals.com