light SATURN VUE 2007 User Guide
[x] Cancel search | Manufacturer: SATURN, Model Year: 2007, Model line: VUE, Model: SATURN VUE 2007Pages: 470, PDF Size: 3.1 MB
Page 90 of 470

Restraint System Check
Checking the Restraint Systems
Now and then, make sure the safety belt reminder
light and all your belts, buckles, latch plates,
retractors and anchorages are working properly.
Look for any other loose or damaged safety
belt system parts. If you see anything that might
keep a safety belt system from doing its job, have
it repaired. SeeCare of Safety Belts on page 402
for more information.
Torn or frayed safety belts may not protect you in
a crash. They can rip apart under impact forces.
If a belt is torn or frayed, get a new one right away.Also look for any opened or broken airbag covers,
and have them repaired or replaced. The airbag
system does not need regular maintenance.
Notice:If you damage the covering for the
driver’s or the right front passenger’s airbag,
or the side impact airbag covering (if equipped)
on the ceiling near the side windows, the airbag
may not work properly. You may have to replace
the airbag module in the steering wheel, both
the airbag module and the instrument panel for
the right front passenger’s airbag, or side
impact airbag module and ceiling covering for
roof-mounted side impact airbags (if equipped.)
Do not open or break the airbag coverings.
90
ProCarManuals.com
Page 91 of 470

Replacing Restraint System Parts
After a Crash
{CAUTION:
A crash can damage the restraint systems
in your vehicle. A damaged restraint
system may not properly protect the
person using it, resulting in serious injury
or even death in a crash. To help make
sure your restraint systems are working
properly after a crash, have them inspected
and any necessary replacements made as
soon as possible.
If you have had a crash, do you need new belts or
LATCH system parts?
After a very minor collision, nothing may be
necessary. But if the belts were stretched, as they
would be if worn during a more severe crash,
then you need new parts.
If the LATCH system was being used during a
more severe crash, you may need new LATCH
system parts.If belts are cut or damaged, replace them.
Collision damage also may mean you will need to
have LATCH system, safety belt or seat parts
repaired or replaced. New parts and repairs may
be necessary even if the belt or LATCH system
was not being used at the time of the collision.
If an airbag in�ates, you will need to replace airbag
system parts. See the part on the airbag system
earlier in this section.
If the frontal airbags in�ate you will also need to
replace the driver and front passenger’s safety belt
retractor assembly. Be sure to do so. Then the
new retractor assembly will be there to help protect
you in a collision.
After a crash you may need to replace the driver
and front passenger’s safety belt retractor
assemblies, even if the frontal airbags have not
deployed. The driver and front passenger’s safety
belt retractor assemblies contain the safety belt
pretensioners. Have your safety belt pretensioners
checked if your vehicle has been in a collision,
or if your airbag readiness light stays on after
you start your vehicle or while you are driving.
SeeAirbag Readiness Light on page 165.
91
ProCarManuals.com
Page 108 of 470

Passlock®
Your vehicle is equipped with the
Passlock®theft-deterrent system.
This light will come on
for the theft-deterent
system.
Passlock
®is a passive theft-deterrent system.
Passlock®enables fuel if the ignition lock cylinder is
turned with a valid key. If a correct key is not used
or the ignition lock cylinder is tampered with, fuel is
disabled.During normal operation, the security light will go
off approximately �ve seconds after the key is
turned to RUN following an engine start.
If the engine stalls and the security light �ashes,
wait until the light stops �ashing before trying
to restart the engine. Remember to release the
key from START as soon as the engine starts.
If the engine is running and the security light comes
on, you will be able to restart the engine if you turn
the engine off. However, your Passlock
®system
is not working properly and must be serviced by
your retailer. Your vehicle is not protected by
Passlock
®at this time. You may also want to
check the fuses, seeFuses and Circuit Breakers
on page 409. See your retailer for service. Also,
seeRoadside Assistance Program on page 445for
more information.
108
ProCarManuals.com
Page 110 of 470

If you have an automatic transaxle, the ignition
switch cannot be turned to LOCK unless the shift
lever is in PARK (P).
Notice:Using a tool to force the key from
the ignition switch could cause damage
or break the key. Use the correct key and turn
the key only with your hand. Make sure the
key is all the way in. If it is, turn the steering
wheel left and right while you turn the key
hard. If none of this works, then your vehicle
needs service.
{CAUTION:
If you have a manual transaxle removing
the key from the ignition switch will lock
the steering column and result in a loss
of ability to steer the vehicle. This could
cause a collision. If you need to turn the
engine off while the vehicle is moving,
turn the key to ACC.ACC (Accessory):This position operates some
of your electrical accessories. It unlocks the
steering wheel and ignition.
R(RUN):This is the position the switch returns to
after you start your engine and release the switch.
The switch stays in RUN when the engine is
running. But even when the ignition is not running,
you can use RUN to operate your electrical
accessories and to display some warning and
indicator lights.
The battery could be drained if you leave the key in
the ACC or RUN position with the engine off. You
may not be able to start your vehicle if the battery is
allowed to drain for an extended period of time.
/(START):This position starts the engine. When
the engine starts, release the key. The ignition
switch will return to RUN for normal driving.
110
ProCarManuals.com
Page 116 of 470

DRIVE (D):This position is for normal driving with
the automatic transaxle. It provides the best fuel
economy for your vehicle. If you need more power
for passing, and you are:
Going less than about 35 mph (55 km/h), push
your accelerator pedal about halfway down.
Going about 35 mph (55 km/h), push
your accelerator all the way down.
Downshifting the transaxle in slippery road
conditions could result in skidding, see “Skidding”
underLoss of Control on page 245.
INTERMEDIATE (I):This position is also used
for normal driving. However, it reduces vehicle
speed without using your brakes for slight
downgrades where the vehicle would otherwise
accelerate due to steepness of grade. If constant
upshifting or downshifting occurs while driving up
steep hills, this position can be used to preventrepetitive types of shifts. You might choose
INTERMEDIATE (I) instead of DRIVE (D) when
driving on hilly, winding roads and when towing
a trailer, so that there is less shifting between
gears.
LOW (L):This position reduces vehicle speed
more than INTERMEDIATE (I) without actually
using your brakes. You can use it on very steep
hills, or in deep snow or mud. If the shift lever
is put in LOW (L), the transaxle will not shift into
LOW (L) until the vehicle is going slowly enough.
Notice:Spinning the tires or holding the
vehicle in one place on a hill using only the
accelerator pedal may damage the transaxle.
If you are stuck, do not spin the tires. When
stopping on a hill, use the brakes, or parking
brake to hold the vehicle in place.
116
ProCarManuals.com
Page 118 of 470

Shift Speeds
{CAUTION:
If you skip a gear when you downshift,
you could lose control of your vehicle.
You could injure yourself or others.
Do not shift down more than one gear
at a time when you downshift.
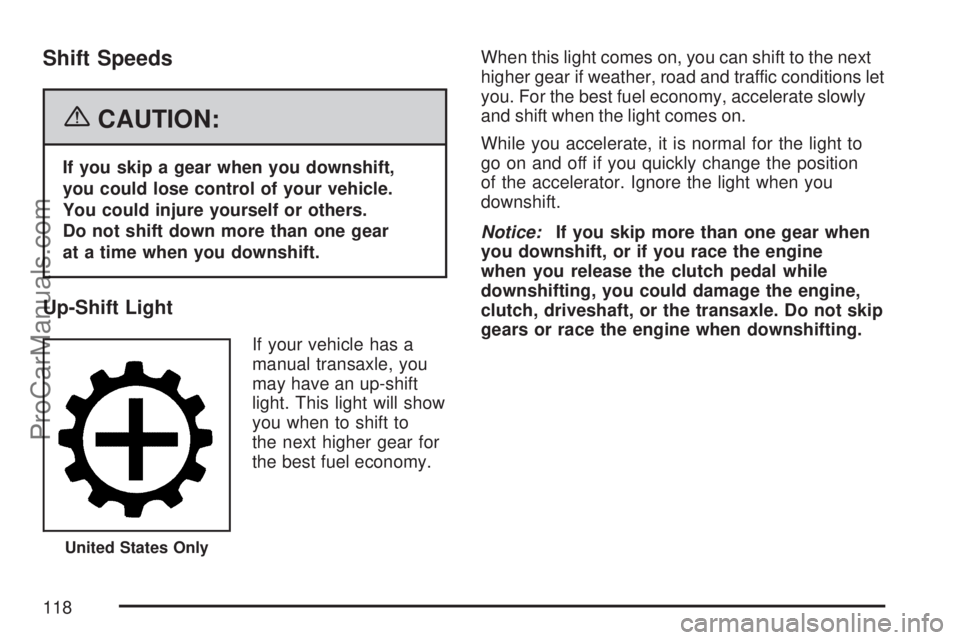
Up-Shift Light
If your vehicle has a
manual transaxle, you
may have an up-shift
light. This light will show
you when to shift to
the next higher gear for
the best fuel economy.When this light comes on, you can shift to the next
higher gear if weather, road and traffic conditions let
you. For the best fuel economy, accelerate slowly
and shift when the light comes on.
While you accelerate, it is normal for the light to
go on and off if you quickly change the position
of the accelerator. Ignore the light when you
downshift.
Notice:If you skip more than one gear when
you downshift, or if you race the engine
when you release the clutch pedal while
downshifting, you could damage the engine,
clutch, driveshaft, or the transaxle. Do not skip
gears or race the engine when downshifting.
United States Only
118
ProCarManuals.com
Page 119 of 470

Parking Brake
The parking brake lever is located to the right of
the driver’s seat.To set the parking brake, hold the brake pedal
down and pull up on the parking brake lever. If the
ignition is on, the brake system warning light will
come on.
To release the parking brake, hold the brake pedal
down. Pull the parking brake lever up until you
can press the release button. Hold the release
button in as you move the brake lever all the
way down.
Make sure to release the parking brake before
driving the vehicle.
Notice:Driving with the parking brake on
can overheat the brake system and cause
premature wear or damage to brake system
parts. Verify that the parking brake is fully
released and the brake warning light is
off before driving.
119
ProCarManuals.com
Page 125 of 470

Mirrors
Automatic Dimming Rearview
Mirror with OnStar
®, Compass
and Temperature Display
When on, an automatic dimming mirror
automatically dims to the proper level to
minimize glare from lights behind you after dark.
The mirror also includes a dual display in the
upper right corner of the mirror face. The compass
reading and the outside temperature will both
appear in the display at the same time.
P(On/Off):This is the on/off button.
Automatic Dimming Mirror Operation
The automatic dimming mirror function is turned
on automatically each time the ignition is started.
To operate the automatic dimming mirror, do
the following:
1. Make sure the indicator light, located to the left
of the on/off button, is on. If it’s not, press and
hold the on/off button until the light comes on,
indicating that the mirror is in automatic
dimming mode.
2. Turn off the automatic dimming mirror function
by pressing and holding the on/off button until
the indicator light turns off.
Temperature and Compass Display
Press the on/off button, located to the far left, brie�y
to turn the comp/temp display on or off.
If the display reads CAL, the compass needs
to be calibrated. See the information following
on calibration.
125
ProCarManuals.com
Page 131 of 470

How OnStar®Service Works
In order to provide you with OnStar®services,
your vehicle’s OnStar®system has the capability
of recording and transmitting vehicle information.
This information is automatically sent to an
OnStar
®Call Center at the time of an OnStar®
button press, Emergency button press or if
your airbags or AACN system deploys. The vehicle
information usually includes your GPS location
and, in the event of a crash, additional information
regarding the accident that your vehicle has
been involved in (e.g. the direction from which
your vehicle was hit). When you use the Virtual
Advisor feature of OnStar
®Hands-Free Calling,
your vehicle also sends OnStar®your GPS
location so that we can provide you with
location-based services.
OnStar
®service cannot work unless your vehicle is
in a place where OnStar®has an agreement with a
wireless service provider for service in that area.
OnStar
®service also cannot work unless you are
in a place where the wireless service provider
OnStar
®has hired for that area has coverage,
network capacity and reception when the service is
needed, and technology that is compatible with theOnStar
®service. Not all services are available
everywhere, particularly in remote or enclosed
areas, or at all times.
OnStar
®service that involves location information
about your vehicle cannot work unless GPS
satellite signals are unobstructed and available
in that place as well.
Your vehicle must have a working electrical
system (including adequate battery power) for the
OnStar
®equipment to operate. There are other
problems OnStar®cannot control that may prevent
OnStar®from providing OnStar®service to you
at any particular time or place. Some examples are
damage to important parts of your vehicle in an
accident, hills, tall buildings, tunnels, weather
or wireless phone network congestion.
Your Responsibility
You may need to increase the volume of your radio
to hear the OnStar®advisor. If the light next to the
OnStar®buttons is red, this means that your system
is not functioning properly and should be checked
by your dealer/retailer. If the light appears clear (no
light is appearing), your OnStar
®subscription has
expired. You can always press the OnStar®button
to con�rm that your OnStar®equipment is active.
131
ProCarManuals.com
Page 137 of 470

Instrument Panel Overview........................ 140
Hazard Warning Flashers.......................... 142
Horn.......................................................... 142
Tilt Wheel.................................................. 142
Turn Signal/Multifunction Lever.................. 143
Turn and Lane-Change Signals................. 143
Headlamp High/Low-Beam Changer.......... 144
Flash-to-Pass............................................ 144
Windshield Wipers..................................... 144
Windshield Washer.................................... 145
Rear Window Wiper/Washer...................... 146
Cruise Control........................................... 146
Headlamps................................................ 149
Daytime Running Lamps (DRL)................. 150
Automatic Headlamp System..................... 151
Fog Lamps................................................ 152
Interior Lamps........................................... 152
Instrument Panel Brightness...................... 152
Dome Lamp.............................................. 153
Entry Lighting............................................ 153
Map Lamps............................................... 153
Footwell Lamps......................................... 153
Battery Run-Down Protection..................... 154
Accessory Power Outlet(s)........................ 154
Cigarette Lighter........................................ 155Climate Controls......................................... 155
Climate Control System............................. 155
Outlet Adjustment...................................... 159
Passenger Compartment Air Filter............. 159
Warning Lights, Gages, and Indicators..... 161
Instrument Panel Cluster........................... 162
Speedometer and Odometer...................... 163
Trip Odometer........................................... 163
Tachometer............................................... 164
Safety Belt Reminder Light........................ 164
Passenger Safety Belt Reminder Light....... 165
Airbag Readiness Light............................. 165
Passenger Airbag Status Indicator............. 166
Battery Warning Light................................ 169
Up-Shift Light............................................ 169
Brake System Warning Light..................... 170
Anti-Lock Brake System Warning Light...... 171
Traction Control System (TCS)
Warning Light........................................ 172
Low Traction Light..................................... 173
Engine Coolant Temperature
Warning Light........................................ 173
Engine Coolant Temperature Gage............ 174
Low Coolant Warning Light....................... 174
Section 3 Instrument Panel
137
ProCarManuals.com