catalytic converter Seat Arona 2018 Owner's Manual
[x] Cancel search | Manufacturer: SEAT, Model Year: 2018, Model line: Arona, Model: Seat Arona 2018Pages: 316, PDF Size: 6.77 MB
Page 73 of 316
The essentials
Attach the tow rope or the tow bar only to the
t o
wline anc
horages provided or a towing
bracket.
Notes for the driver of the towing vehicle
● The tow rope must be taut before you drive
off.
● Rel
ease the clutch very carefully when start-
ing the v
ehicle (manual gearbox), or acceler-
ate gently (automatic gearbox).
Driving style
Towing requires some experience, especially
when using a tow rope. Both drivers should
realise how difficult it is to tow a vehicle. In-
experienced drivers should not attempt to
tow.
Do not pull too hard with the towing vehicle
and take care to avoid jerking the tow rope.
When towing on an unpaved road, there is al-
ways a risk of overloading and damaging the
anchorage points.
The ignition of the vehicle being towed must
be switched on to prevent the steering wheel
from locking and also to allow the use of the
turn signals, horn, windscreen wipers and
washers.
Place the gear lever in neutral on vehicles
with a manual gearbox. With an automatic
gearbox, place the lever in N. The brake servo only works when the engine
is ru
nning. When not running, you must ap-
ply considerably more pressure to the brake
pedal.
As the power assisted steering does not work
if the engine is not running, you will need
more strength to steer than you normally
would.
››› in General information on page 100
››› page 100 Tow-starting
If the engine will not start, first try starting it
u
s
in
g the battery of another vehicle
››› page 71. You should only attempt to tow-
start a vehicle if charging the battery does
not work. This is done by leveraging wheel
movement.
When tow-starting a vehicle with a petrol en-
gine, do not tow it more than a short dis-
tance, otherwise unburned fuel can enter the
catalytic converter.
However, if your vehicle has to be tow-star-
ted:
● Engage 2 nd
or 3 rd
ge
ar.
● Keep the clutch pressed down. ●
Switc
h the ignition on.
● Once both vehicles are moving, release the
clutc
h.
● As soon as the engine starts, press the
clutc
h and move the gear lever into neutral.
This helps to prevent driving into the towing
vehicle.
››› in General information on page 100
››› page 100 How to jump start
Jump l e
a
ds The jump lead must have a sufficient wire
c
r
o
ss section.
If the engine fails to start because of a dis-
charged battery, the battery can be connec-
ted to the battery of another vehicle to start
the engine.
Jump leads
Jump leads must comply with standard DIN
72553 (see cable manufacturer's instruc-
tions). The wire cross section must be at least
25 mm 2
for petrol engines and at least
35 mm 2
for diesel engines. » 71
Page 103 of 316
Self-help
WARNING
The risk of accidents is high when tow-start-
ing, f or e
xample, the towed vehicle can easily
be driven into the towing vehicle. CAUTION
If there is no oil in the gearbox or no lubricant
in the autom atic
transmission the car may
only be towed with the driven wheels lifted
clear of the road, or transported on a special
car transporter or trailer. CAUTION
Do not tow a vehicle for more than 50 m in at-
tempt t
o start it. There is risk of damage to
the catalytic converter. Note
● Ple a
se observe related legal requirements.
● Switch on the hazard warning lights of both
vehicl
es. However, observe any regulations
to the contrary.
● The tow rope must not be twisted. Other-
wise the fr
ont tow line anchorage could be
pulled off the vehicle. Indications for tow-starting
Vehicle's should not generally be tow-star-
t
ed.
The jump s
tart should be used instead
››› page 71. For technical reasons, towing the following
vehicl
es is not allowed:
● Vehicles with an automatic gearbox.
● If the vehicle battery is discharged, be-
cause in
vehicles with the Keyless Access
locking and ignition system the steering re-
mains locked and the electronic parking
brake cannot be deactivated nor can the elec-
tronic lock of the steering column be re-
leased if they are activated.
● If the battery is flat, it is possible that the
engine contr
ol units may not operate correct-
ly.
However, if the vehicle must absolutely be
tow-started (in the case of manual gearbox-
es):
● Engage the 2nd or 3rd gear.
● Keep the clutch pressed down.
● Switch on the ignition and the hazard warn-
ing lights.
● Once both
vehicles are moving, release the
clutc
h.
● Once the engine starts, press the clutch
and diseng
age the gear to avoid colliding
with the towing vehicle. Note
The vehicle can only be tow-started if the
electr onic
parking brake and, if appropriate,
the electronic lock of the steering column are deactivated. If the vehicle has no power sup-
ply
or ther
e is an electric system fault, the
engine must be tow-started to deactivate the
electronic parking brake and the electronic
lock of the steering column. 101
Technical data
Advice
Operation
Emergencies
Safety
Page 123 of 316
Instruments and warning/control lamps
Normal temperature
If in norm
al
operations, the diodes light up
until the central zone, it means that the en-
gine has reached operating temperature. At
high outside temperatures and when making
the engine work hard, the diodes may contin-
ue lighting up and reach the upper zone. This
is no cause for concern, provided the control
lamp does not light up on the instrument
panel digital display.
Heat range
When the diodes light up in the upper area of
the display and the control lamp appears
on the instrument panel display, the coolant
temperature is excessive ››› page 278. CAUTION
● To en s
ure a long useful life for the engine,
avoid high revs, driving at high speed and
making the engine work hard for approxi-
mately the first 15 minutes when the engine
is cold. The phase until the engine is warm al-
so depends on the outside temperature. If
necessary, use the engine oil temperature*
››› page 42 as a guide.
● Additional lights and other accessories in
front of
the air inlet reduce the cooling effect
of the coolant. At high outside temperatures
and high engine loads, there is a risk of the
engine overheating.
● The front spoiler also ensures proper distri-
bution of the c
ooling air when the vehicle is moving. If the spoiler is damaged this can re-
duce the c
oo
ling effect, which could cause
the engine to overheat. Seek specialist assis-
tance. Fuel level
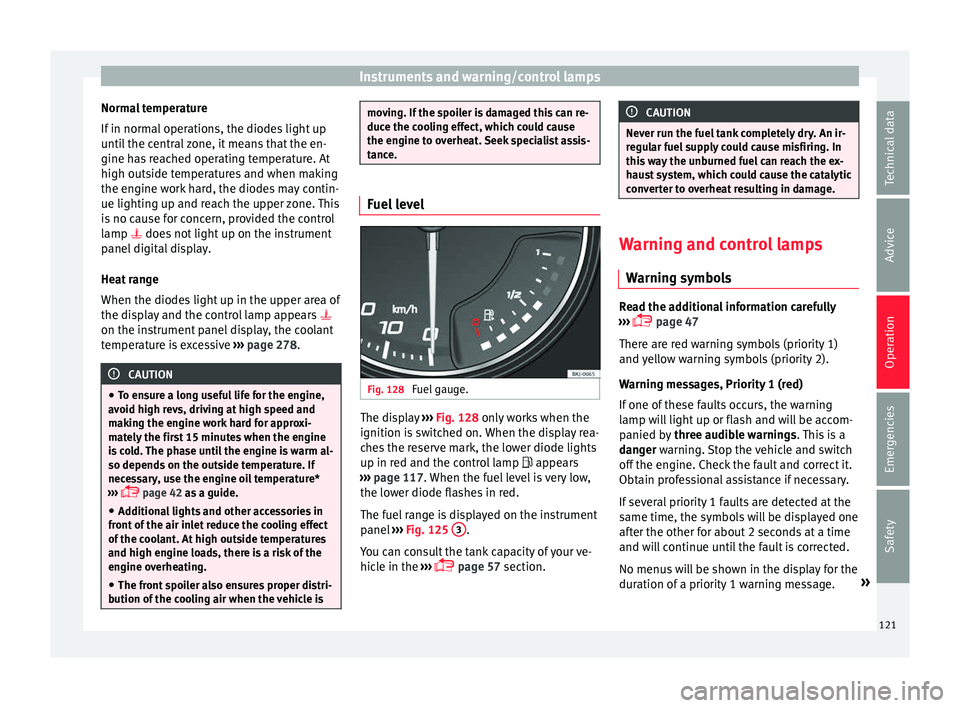
Fig. 128
Fuel gauge. The display
››
› Fig. 128
only works when the
ignition is switched on. When the display rea-
ches the reserve mark, the lower diode lights
up in red and the control lamp appears
››› page 117. When the fuel level is very low,
the lower diode flashes in red.
The fuel range is displayed on the instrument
panel ››› Fig. 125 3 .
Y ou c
an c
onsult the tank capacity of your ve-
hicle in the ›››
page 57 section. CAUTION
Never run the fuel tank completely dry. An ir-
re gu
lar fuel supply could cause misfiring. In
this way the unburned fuel can reach the ex-
haust system, which could cause the catalytic
converter to overheat resulting in damage. Warning and control lamps
Warnin g symbo
ls Read the additional information carefully
› ›
›
page 47
There are red warning symbols (priority 1)
and yellow warning symbols (priority 2).
Warning messages, Priority 1 (red)
If one of these faults occurs, the warning
lamp will light up or flash and will be accom-
panied by three audible warnings. This is a
danger warning. Stop the vehicle and switch
off the engine. Check the fault and correct it.
Obtain professional assistance if necessary.
If several priority 1 faults are detected at the
same time, the symbols will be displayed one
after the other for about 2 seconds at a time
and will continue until the fault is corrected.
No menus will be shown in the display for the
duration of a priority 1 warning message. »
121
Technical data
Advice
Operation
Emergencies
Safety
Page 150 of 316
Operation
All turn signals flash simultaneously when
the h az
ar
d warning lights are switched on.
The two turn signal turn signal lamps
and the turn signal lamp in the switch will
flash at the same time. The simultaneous
hazard warning lights also work when the ig-
nition is switched off. WARNING
● The risk of
an accident increases if your ve-
hicle breaks down. Always use the hazard
warning lights and a warning triangle to draw
the attention of other road users to your sta-
tionary vehicle.
● Due to the high temperatures that the cata-
lytic con
verter can reach, never park in an
area where the catalytic converter could come
into contact with highly inflammable materi-
als, for example dry grass or spilt petrol. This
could start a fire. Note
● The batt er
y will run down if the hazard
warning lights are left on for a long time,
even if the ignition is switched off.
● The use of the hazard warning lights de-
scribed her
e is subject to the relevant statu-
tory requirements. Interior lights
R el
at
ed video Fig. 149
Convenience Lighting of instruments and controls
The lighting level of instruments, controls
and di
s
p
lays can be adjusted through the
Easy Connect system using the button
and the S
ET
TINGS function button
› ›
›
page 34.
The instrument lighting (some dials and nee-
dles), the centre console lighting and the
lighting of the displays are regulated by a
photodiode incorporated in the instrument
panel.
The instrument lighting (needles) is switched
on when the ignition is on and the light is
off. The instrument lighting is dimmed auto-
matically as the daylight starts to fade. It
goes out completely when ambient light is
very low. This function is intended to remind
the driver to switch on the dipped beam headlights in good time when light condi-
tions bec
ome poor.
Interior and reading lights Read the additional information carefully
›› ›
page 33
Luggage compartment lighting
The light is activated when the rear lid is
open, even when the ignition and lights are
turned off. For this reason, ensure that the
rear lid is always closed.
Ambient light*
The ambient light lights up the area of the
centre console and the footwell area and, de-
pending on the version, the front door panels
as well.
It will be switched on at full brightness when
the doors are opened and the lights will be
dimmed during driving, when the light selec-
tor is in the , or position.
The brightness of the ambient light* can be
adjusted through the Easy Connect menu, as
can colour, in versions with lighting on the
front door panel (the button and the func-
tion b utt
on
SETTINGS > background
lighting ›››
page 34).
148
Page 176 of 316
Operation
If the engine does not start immediately,
sw it
c
h the starter off after 10 seconds and try
again after half a minute. If the engine still
does not start, the fuel pump fuse should be
checked ››› page 104, Fuses. WARNING
● Never s t
art or run the engine in unventila-
ted or closed rooms. The exhaust gases con-
tain carbon monoxide, an odourless and col-
ourless poisonous gas. Risk of fatal acci-
dents. Carbon monoxide can cause loss of
consciousness and result in death.
● Never leave the vehicle unattended if the
engine is
running.
● Never use “cold start sprays”, they could
explode or c
ause the engine to run at high
revs. Risk of injury. CAUTION
● When the engine i s
cold, you should avoid
high engine speeds, driving at full throttle
and over-loading the engine. Risk of engine
damage.
● The vehicle should not be pushed or towed
more than 50 metr
es to start the engine. Un-
burnt fuel could enter the catalytic converter
and damage it.
● Before attempting to push-start or tow a ve-
hicle in or
der to start it, you should first try to
start it using the battery of another vehicle.
Please observe and follow the notes on the
››› page 71, How to jump start. For the sake of the environment
Do not warm-up the engine by running the
engine w ith the
vehicle stationary. Start off
immediately, driving gently. This helps the
engine reach operating temperature faster
and reduces emissions. Starting diesel engines
The engine can only be started using a genu-
ine S
EA
T key with its correct code.
– Move the gearbox lever to the neutral posi-
tion and depre s
s the clutch pedal thor-
oughly and hold it in this position for the
starter to turn the engine on.
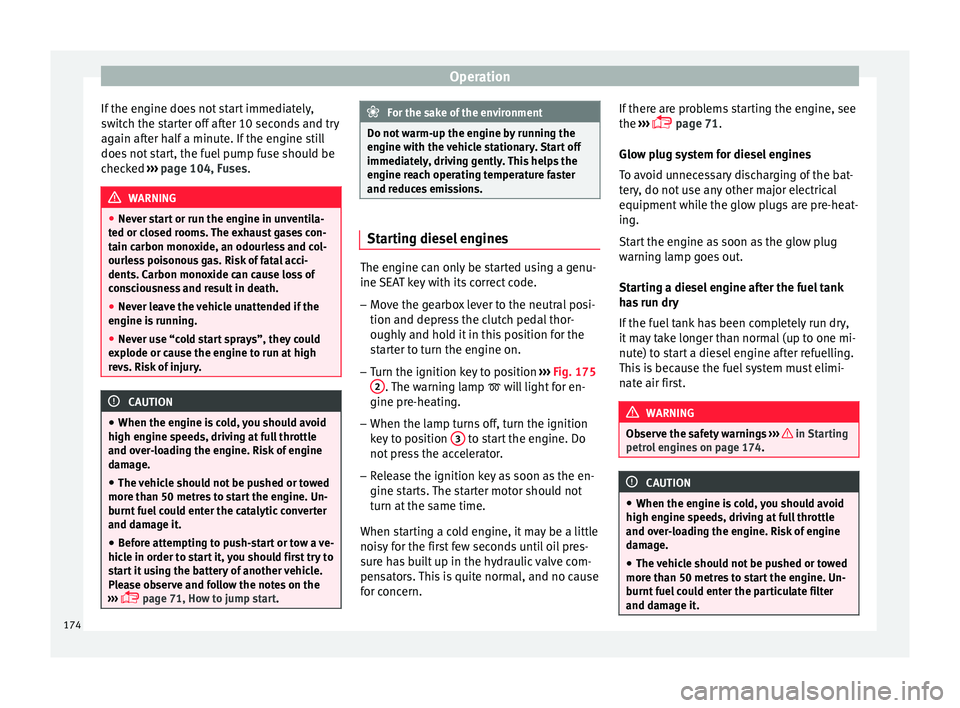
– Turn the ignition key to position ›››
Fig. 175
2 . The warning lamp
wi
l l light for en-
gine pre-heating.
– When the lamp turns off, turn the ignition
key t
o position 3 to start the engine. Do
not pr
e
ss the accelerator.
– Release the ignition key as soon as the en-
gine star
ts. The starter motor should not
turn at the same time.
When starting a cold engine, it may be a little
noisy for the first few seconds until oil pres-
sure has built up in the hydraulic valve com-
pensators. This is quite normal, and no cause
for concern. If there are problems starting the engine, see
the
›››
page 71.
Glow plug system for diesel engines
To avoid unnecessary discharging of the bat-
tery, do not use any other major electrical
equipment while the glow plugs are pre-heat-
ing.
Start the engine as soon as the glow plug
warning lamp goes out.
Starting a diesel engine after the fuel tank
has run dry
If the fuel tank has been completely run dry,
it may take longer than normal (up to one mi-
nute) to start a diesel engine after refuelling.
This is because the fuel system must elimi-
nate air first. WARNING
Observe the safety warnings ›››
in Starting
petro l
engines on page 174. CAUTION
● When the engine i s
cold, you should avoid
high engine speeds, driving at full throttle
and over-loading the engine. Risk of engine
damage.
● The vehicle should not be pushed or towed
more than 50 metr
es to start the engine. Un-
burnt fuel could enter the particulate filter
and damage it. 174
Page 180 of 316
Operation
driving or if you restart it immediately after
swit
c
hing it off.
● If the engine is cold, avoid high engine
speeds, p
ushing the engine too hard and rap-
id acceleration.
● Do not start the engine by pushing the ve-
hicle or t
owing it. Unburnt fuel could enter
the catalytic converter and damage it. Note
● Do not wait
until the engine warms up with
the vehicle stationary; if you have good visi-
bility through the windows, start driving im-
mediately. This helps the engine reach oper-
ating temperature faster and reduces emis-
sions.
● Electrical components with a high power
cons
umption are switched off temporarily
when the engine starts.
● When starting with a cold engine, noise
level
s may briefly increase. This is quite nor-
mal, and no cause for concern.
● When the outside temperature is below
+5°C (+41°F), if the en
gine is diesel, some
smoke may appear under the vehicle when
the fuel-operated auxiliary heater is on. Stopping the engine
3 Valid for vehicles: with starter button
StepSwitch off the engine with the starter
button
››› page 176.
1.Stop the vehicle completely ››› .
2.Press and hold the brake pedal until the step
4 is performed.
3.If you are driving an automatic vehicle, place
the selector lever in position P.
4.Apply the handbrake ››› page 180.
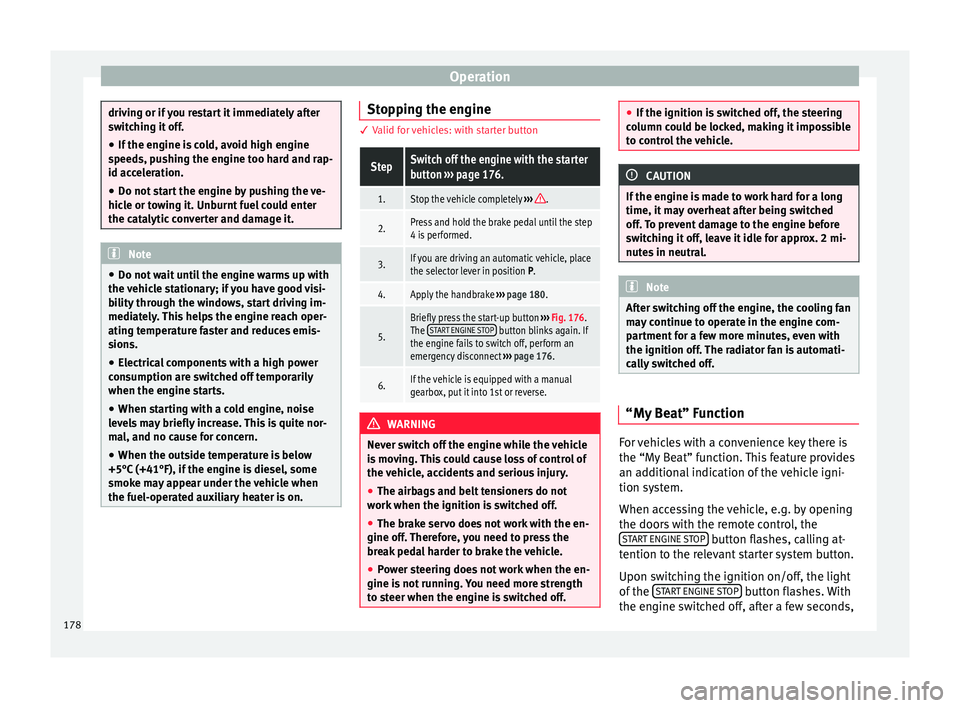
5.
Briefly press the start-up button ››› Fig. 176.
The START ENGINE STOP button blinks again. If
the engine fails to switch off, perform an
emergency disconnect ››› page 176.
6.If the vehicle is equipped with a manual
gearbox, put it into 1st or reverse. WARNING
Never switch off the engine while the vehicle
is mo
ving. This could cause loss of control of
the vehicle, accidents and serious injury.
● The airbags and belt tensioners do not
work when the ignition i
s switched off.
● The brake servo does not work with the en-
gine off. Ther
efore, you need to press the
break pedal harder to brake the vehicle.
● Power steering does not work when the en-
gine is not
running. You need more strength
to steer when the engine is switched off. ●
If the ignition i s
switched off, the steering
column could be locked, making it impossible
to control the vehicle. CAUTION
If the engine is made to work hard for a long
time, it ma
y overheat after being switched
off. To prevent damage to the engine before
switching it off, leave it idle for approx. 2 mi-
nutes in neutral. Note
After switching off the engine, the cooling fan
ma y
continue to operate in the engine com-
partment for a few more minutes, even with
the ignition off. The radiator fan is automati-
cally switched off. “My Beat” Function
For vehicles with a convenience key there is
the “M
y
B
eat” function. This feature provides
an additional indication of the vehicle igni-
tion system.
When accessing the vehicle, e.g. by opening
the doors with the remote control, the START ENGINE STOP button flashes, calling at-
t ention t
o the r
elevant starter system button.
Upon switching the ignition on/off, the light
of the START ENGINE STOP button flashes. With
the en gine sw
it
ched off, after a few seconds,
178
Page 202 of 316
Operation
lower and you will prevent the clutch plate
from bein
g d
amaged.
● On descents, use the engine brake, chang-
ing to the g
ear that is more suitable for the
slope. Fuel consumption will be “zero” and
the brakes will not suffer. Engine management and emis-
sion c
ontr
ol system
Introduction WARNING
● Bec au
se of the high temperatures which
can occur in the exhaust purification system
(catalytic converter or diesel particulate fil-
ter), do not park the vehicle where the ex-
haust can come into contact with flammable
materials under the car (e.g. on grass or at
the forest edge). Fire hazard!
● Do not apply wax underneath the vehicle
around the ar
ea of the exhaust system: Fire
hazard! Note
While the control lamps , , or re-
m ain lit, ther
e may be engine problems, fuel
consumption may increase and the engine
may lose power. Catalytic converter
To maintain the useful life of the catalytic
con
v
erter
– Use only unleaded petrol with petrol en-
gines, as
lead damages the catalytic con-
verter.
– Do not let the fuel get too low in the tank.
– For engine oil changes, do not replenish
with too muc
h engine oil ››› page 277, Top-
ping up engine oil.
– Never tow the vehicle to start it, use jump
lea
ds if necessary ›››
page 71.
If you notice misfiring, uneven running or
loss of power when the vehicle is moving, re-
duce speed immediately and have the vehi-
cle inspected at the nearest specialised
workshop. In general, the exhaust warning
lamp will light up when any of the described
symptoms occur ›››
page 121. If this hap-
pens, unburnt fuel can enter the exhaust sys-
tem and escape into the environment. The
catalytic converter can also be damaged by
overheating. CAUTION
Never run the fuel tank completely dry be-
cau se the irr
egularity of the fuel supply may
cause ignition problems. This allows unburnt
fuel to enter the exhaust system, which could
cause overheating and damage the catalytic
converter. For the sake of the environment
Even when the emission control system is
work in
g perfectly, there may be a smell of
sulphur from the exhaust gas under some
conditions. This depends on the sulphur con-
tent of the fuel used. Quite often the problem
can be solved by changing to another brand
of fuel. Diesel particulate filter
3 App
lies to vehicles with diesel engine
The die
sel engine particulate filter eliminates
most of the soot from the exhaust gas sys-
tem. Under normal driving conditions, the fil-
ter cleans itself. The diesel particulate filter is
cleaned automatically without need for indi-
cation by the warning lamp . This may be
noticed because the engine idle speed in-
creases and an odour may be detected.
If automatic filter purification cannot be car-
ried out (because only short trips are taken,
for example), soot will accumulate on the fil-
ter and the Diesel particulate filter warning
lamp will switch on.
Facilitate the automatic filter cleaning proc-
ess by driving in the following manner: drive
for approximately 15 minutes at a minimum
speed of 60 km/h (37 mph) in 4th or 5th gear
(automatic gearbox: gear S). Maintain the en-
gine speed at approximately 2,000 rpm. The
rise in temperature causes the soot on the
200
Page 203 of 316
Driving
filter to burn. On completion of the cleaning
the w arnin
g l
amp will switch off. If the warn-
ing lamp does not switch off, go immediately
to a specialised workshop to rectify the prob-
lem.
Engine management* This warning lamp monitors the engine man-
agement
sy
stem for petrol engines.
The warning lamp (Electronic Power Con-
trol) lights up when the ignition is switched
on while system operation is being verified. It
should go out once the engine is started.
If there is a fault in the electronic engine
management system while you are driving,
this warning lamp will light up. Take the vehi-
cle to a specialised workshop as soon as
possible and have the engine checked.
Emission control system* Control lamp
fla
she
s:
When there is misfiring that can damage the
catalytic converter. Reduce speed and drive
carefully to the nearest specialised workshop
to have the engine checked. The control lamp
lights up:
If
a fault has developed during driving which
has reduced the quality of the exhaust gas
(e.g. lambda probe fault). Reduce speed and
drive carefully to the nearest specialised
workshop to have the engine checked.
Engine pre-heating/fault system* The warning lamp lights up to show that the
glow p
lug
s are preheating the diesel engine.
The control lamp lights up
If the control lamp lights up when the en-
gine is started it means that the glow plugs
are preheating. The engine can be started
straight away when the lamp switches off.
Control lamp flashes
If a fault develops in the engine management
system while you are driving, the glow plug
system lamp will flash . Take the vehicle to
a specialised workshop as soon as possible
and have the engine checked. Driving tips
Drivin g abr
oad To drive abroad, the following must be taken
into c
on
sideration:
● For vehicles fitted with a catalytic converter
ensur
e that unleaded petrol is available for
the journey. See chapter ››› page 269, Fuel.
Automobile organisations will have informa-
tion about service station networks selling
unleaded fuel.
● In some countries, it is possible that your
car model i
s not sold, and therefore some
spare parts are not available or the technical
services may only be able to carry out limited
repairs.
SEAT importers and distributors will gladly
provide information about the technical prep-
aration that your vehicle requires and also
about necessary maintenance and repair
possibilities.
Adhesive strips for headlights
In countries where vehicles drive on the other
side of the road to your home country, the
asymmetric dipped beam may dazzle drivers
of oncoming vehicles. »
201
Technical data
Advice
Operation
Emergencies
Safety
Page 272 of 316
Advice
The following titles appear on the corre-
s pondin
g a
dhesive on the fuel tank flap:
Super unleaded 95 octane or normal 91 oc-
tane unleaded petrol
We recommend you use super 95 octane pet-
rol. If this is not available: normal 91 octane
petrol, with a slight decrease in power.
Super unleaded petrol with a minimum of 95
octanes
You should use super petrol with a minimum
of 95 octanes.
If super is not available, in an emergency you
may refuel with normal 91 octane petrol. In
this case only use moderate engine speeds
and a light throttle. Refuel with super as soon
as possible.
Super unleaded 98 octane or super 95 oc-
tane unleaded petrol
We recommend you use super plus 98 octane
petrol. If this is not available: super 95 oc-
tane petrol, with a slight decrease in power.
If super is not available, in an emergency you
may refuel with normal 91 octane petrol. In
this case only use moderate engine speeds
and a light throttle. Refuel with super as soon
as possible. Petrol additives
The quality of the f
uel influences the behav-
iour, power and service life of the engine.
This is why the petrol you use should carry
suitable additives already included by the
petrol industry, free of metals. These addi-
tives will help to prevent corrosion, keep the
fuel system clean and prevent deposits from
building up in the engine.
If good-quality petrol with metal-free addi-
tives is not available or engine problems
arise, the necessary additives must be added
when refuelling ››› .
Not al
l
petrol additives have been shown to
be effective. The use of unsuitable petrol ad-
ditives may cause significant damage to the
engine and the catalytic converter. Metal ad-
ditives should never be used. Metal additives
may also be contained in petrol additives for
improving anti-detonation ratings or octane
ratings ››› .
S EA
T r
ecommends “genuine Volkswagen
Group Fuel Additives for petrol engines”.
These additives can be bought at SEAT deal-
ers, where information on how to use them
can also be obtained. CAUTION
● Do not r ef
uel if the filler indicates that the
fuel contains metal. LRP ( lead replacement
petrol) fuels contain high concentrations of metal additives. Using them may damage the
engine!
● Nev er r
efuel with fuels containing a large
proportion of
ethanol (for example, E50, E85).
This could damage the fuel system.
● Just filling one full tank of leaded fuel or
fuel c
ontaining other metal additives would
seriously impair the efficiency of the catalytic
converter.
● Only use fuel additives that have been ap-
prov
ed by SEAT. Octane boosting or anti-
knock additives may contain metal additives
that could seriously damage the engine or
the catalytic converter. These additives must
not be used.
● High engine speed and full throttle can
damag
e the engine when using petrol with an
octane rating lower than the correct grade for
the engine. Note
● You m a
y use petrol with a high octane num-
ber than the one recommended for your en-
gine.
● In those countries where unleaded petrol is
not avai
lable, you may refuel with a fuel with
a low lead content. Diesel fuel
Please note the information on the inside of
the f
uel
t
ank flap.
270
Page 279 of 316

Checking and refilling levels
If the warning lamp flashes although the oil
l ev
el
is correct, stop driving. Do not even run
the engine at idle speed! Obtain technical as-
sistance.
Checking oil level
If the warning lamp is yellow the engine
oil level should be checked as soon as possi-
ble. Top up the oil at the next opportunity
››› page 277.
Oil level sensor faulty*
If the yellow warning lamp flashes, take
the vehicle to a specialised workshop to have
the oil level sensor checked. Until then it is
advisable to check the oil level every time
you refuel.
Checking engine oil level Fig. 238
Engine oil dipstick. Read the additional information carefully
› ›
›
page 58
Checking oil level
– Park the vehicle in a horizontal position.
– Briefly run the engine at idle speed until
the operating t
emperature is reached and
then stop.
– Wait for about two minutes.
– Pull out the dipstick. Wipe the dipstick with
a cle
an cloth and insert it again, pushing it
in as far as it will go.
– Then pull it out again and check the oil lev-
el. T
op up with engine oil if necessary.
Depending on how you drive and the condi-
tions in which the vehicle is used, oil con-
sumption can be up to 0.5 l/1000 km. Oil
consumption is likely to be higher for the first
5,000 km. For this reason the engine oil level
must be checked at regular intervals, prefera-
bly when filling the tank and before a jour-
ney. WARNING
Any work carried out in the engine compart-
ment or on the en gine mu
st be carried out
cautiously.
● When working in the engine compartment,
alwa
ys observe the safety warnings
››› page 273. CAUTION
If the oil level is above area ›››
Fig. 238 A , do
not s t
art the engine. This could result in dam-
age to the engine and catalytic converter.
Contact a Technical Service. Topping up engine oil
Read the additional information carefully
›› ›
page 58
Before opening the bonnet, read and observe
the warnings ››› in Safety notes for work in
the en gine c
omp
artment on page 273.
The position of the filler neck is shown in the
corresponding engine compartment image
››› page 275.
Engine oil specification ›››
page 59. WARNING
Oil is highly inflammable! Ensure that no oil
come s
into contact with hot engine compo-
nents when topping up. CAUTION
If the oil level is above area ›››
Fig. 238 A , do
not s t
art the engine. This could result in dam-
age to the engine and catalytic converter.
Contact a specialised workshop. » 277
Technical data
Advice
Operation
Emergencies
Safety