audio Seat Exeo ST 2009 MEDIA SYSTEM 1.0
[x] Cancel search | Manufacturer: SEAT, Model Year: 2009, Model line: Exeo ST, Model: Seat Exeo ST 2009Pages: 124, PDF Size: 6.27 MB
Page 31 of 124
Drives
30•Never leave your memory stick or MP3 player in the vehicle in case of
extreme temperatures.Note
Please refer to the manufacturer's operating instructions for important infor-
mation on how to use your memory stick or MP3 player.Connecting a memory stick / MP3 player
For problem-free operation, use only approved memory sticks
and MP3 players.– Switch on the navigation system.
– Switch the audio source for the navigation system to radio.
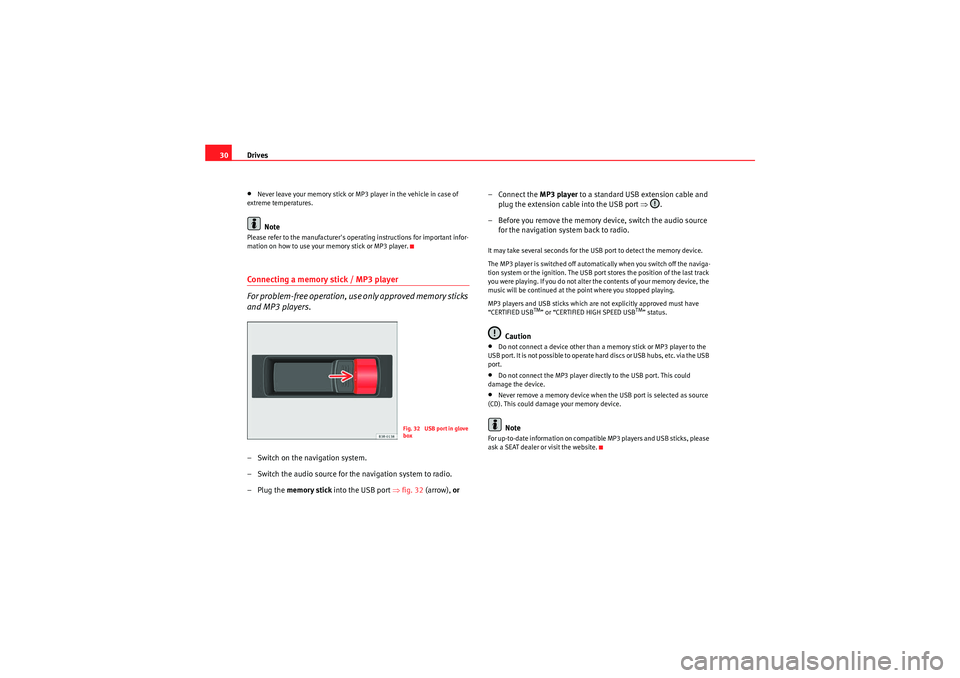
–Plug the memory stick into the USB port ⇒fig. 32 (arrow), or – Connect the
MP3 player to a standard USB extension cable and
plug the extension cable into the USB port ⇒.
– Before you remove the memory device, switch the audio source for the navigation system back to radio.
It may take several seconds for the USB port to detect the memory device.
The MP3 player is switched off automatically when you switch off the naviga-
tion system or the ignition. The USB port stores the position of the last track
you were playing. If you do not alter the contents of your memory device, the
music will be continued at the point where you stopped playing.
MP3 players and USB sticks which are not explicitly approved must have
“CERTIFIED USB
TM” or “CERTIFIED HIGH SPEED USB
TM” status.
Caution
•Do not connect a device other than a memory stick or MP3 player to the
U S B p o r t . I t is n o t p o ss i b l e to o p e ra t e h a r d d is cs o r U S B h u b s , e t c . v i a t h e U S B
port.•Do not connect the MP3 player directly to the USB port. This could
damage the device.•Never remove a memory device when the USB port is selected as source
(CD). This could damage your memory device.Note
For up-to-date information on compatible MP3 players and USB sticks, please
ask a SEAT dealer or visit the website.
Fig. 32 USB port in glove
box
Media System 1.0_EN.book Seite 30 Donnerstag, 10. September 2009 1:52 13
Page 33 of 124
Drives
32Aux-in connectionIntroduction
A portable player can be plugged into the AUX-IN connection
via a 3.5 mm jack plug.The Aux-in socket is located in the centre console. It is compatible with port-
able players with a 3.5 mm jack plug. It cannot be guaranteed that all port-
able players will function without any problems.
Caution
•Very high or very low temperatures (a common occurrence in the vehicle
interior) may cause damage to portable players and/or impair their perform-
ance. Please do not leave your portable player in the vehicle in case of
extreme temperatures.•Never store important data on portable players. SEAT is not liable in any
manner for any data or files that may be damaged or lost.Note
Please refer to the operating instructions of your portable player for important
information on its operation.Connecting portable player– Switch on your vehicle navigation system.
– Switch the audio source for the navigation system to radio. – Connect the portable player to
a 3.5 mm jack plug and plug the
extension cable into the Aux-in socket.
– Before you remove the memory device, switch the audio source for the navigation system back to radio.
Start the portable player by switching the audio source to AUX-IN mode
⇒page 45. After the player has been detected successfully, the display will
show External audio source is active .
You can select the audio files using the controls on the portable player. The
volume can be adjusted via the navigation system in your vehicle, the multi-
function steering wheel* and the portable player.
WARNING
Today's driving conditions require your full attention. As the driver, you
bear the responsibility for road safety. Never operate a portable player
while driving - this could result in an accident!
Note
•We recommend setting the output level of the portable player to about
70 percent of maximum. Before adjusting the volume via the navigation
system in your vehicle, you should first use the volume adjuster of the port-
able player.•Using a portable player with the engine switched off will drain the
battery.
Media System 1.0_EN.book Seite 32 Donnerstag, 10. September 2009 1:52 13
Page 45 of 124
CD/MP3
44CD/MP3IntroductionTraffic programme
Audio playback can be interrupted for traffic news announce-
ments.Switching traffic programme on and off:
– Switch the option Traffic programme under Setup Radio
⇒ page 41 or Setup Info ⇒page 112 on or off as desired. The TP
symbol is lit in the status line ⇒page 18 when the traffic
programme is activated.
Cancelling a traffic news announcement:
– Select Cancel on the display or briefly press the knob to suppress
the traffic report being heard at that time. The audio playback will
then be continued.If the traffic programme function is activated, the audio playback will be inter-
rupted for traffic news announcements.
All following traffic announcements will cut in even after cancelling a running
announcement.
Selecting CD/MP3
Press the button to activate the CD functions in the
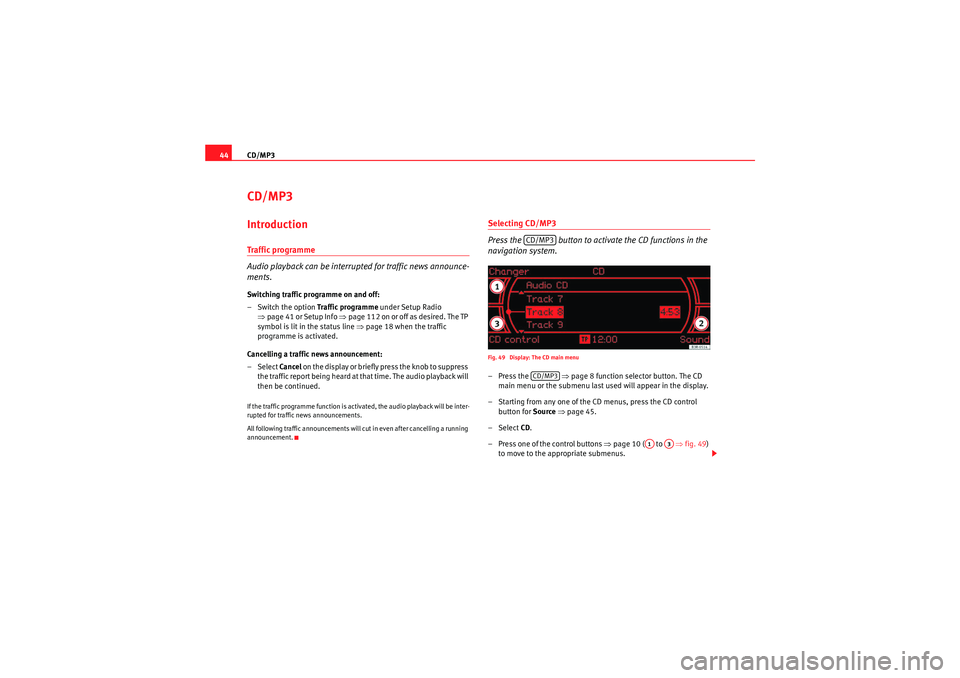
navigation system.Fig. 49 Display: The CD main menu–Press the ⇒ page 8 function selector button. The CD
main menu or the submenu last used will appear in the display.
– Starting from any one of the CD menus, press the CD control button for Source ⇒ page 45.
– Select CD .
– Press one of the control buttons ⇒page 10 ( to ⇒fig. 49 )
to move to the appropriate submenus.
CD/MP3CD/MP3
A1
A3
Media System 1.0_EN.book Seite 44 Donnerstag, 10. September 2009 1:52 13
Page 46 of 124
CD/MP345
Operating
RADIO, CD/MP3
TEL (telephone)
NAV, INFO
SETUP
The CD Menu has the following options:
The SETUP CD function has the following submenus:
Note
If your vehicle has the corresponding equipment, you can select CD tracks on
the instrument panel display
⇒page 47 using the multi-function steering
wheel*.Control button: SourceSelecting an audio source– Starting from any one of the CD menus, press the control button for Source .
– Use the rotary pushbutton to select the desired device.Depending on vehicle equipment, the following options are available:•CD•AUX*
Various submenus are available, depending on the equipment selected.Note
•Sound settings can be adjusted individually for each piece of equipment
⇒ page 53.•The audio source selected is shown in the title line of the display.
Control button
functions ⇒page 44,
fig. 49
CD submenus
Changer *
CD 1 to CD 6 (CD changer)
CD (internal CD drive)
Sound ⇒ page 53
Balance
Fader
Treble
Bass
GALA*
Volume settings
CD Control
Rewind
Forward
Next
Previous
Display tracks
Name CD
a)
Shuffle
Info (name)
b)
a)Valid for audio CDs.b)Valid for MP3 CDs.
Setup CD submenus
Press the
button while in
CD mode ⇒page 52.
Display track (MP3)
A1A2A3SETUP
Media System 1.0_EN.book Seite 45 Donnerstag, 10. September 2009 1:52 13
Page 48 of 124
CD/MP347
Operating
RADIO, CD/MP3
TEL (telephone)
NAV, INFO
SETUP
Starting a CD from the dash panel displaySelecting CD track (CD player activated):
– Press the button on the multi-function steering wheel
⇒page 14 until TR appears at the top of the dash panel display.
– Scroll and press the left thumbwheel on the multi-function steering wheel to select the CD track.
Selecting CD track (CD player deactivated):
– Press the function selector button.
– Press the button on the multi-function steering wheel ⇒page 14 until TR appears at the top of the dash panel display.
– Scroll and press the left thumbwheel on the multi-function steering wheel to select the CD track.
Start fast forward:
– Keep the left thumbwheel on the multi-function steering wheel ⇒page 14 pressed down.
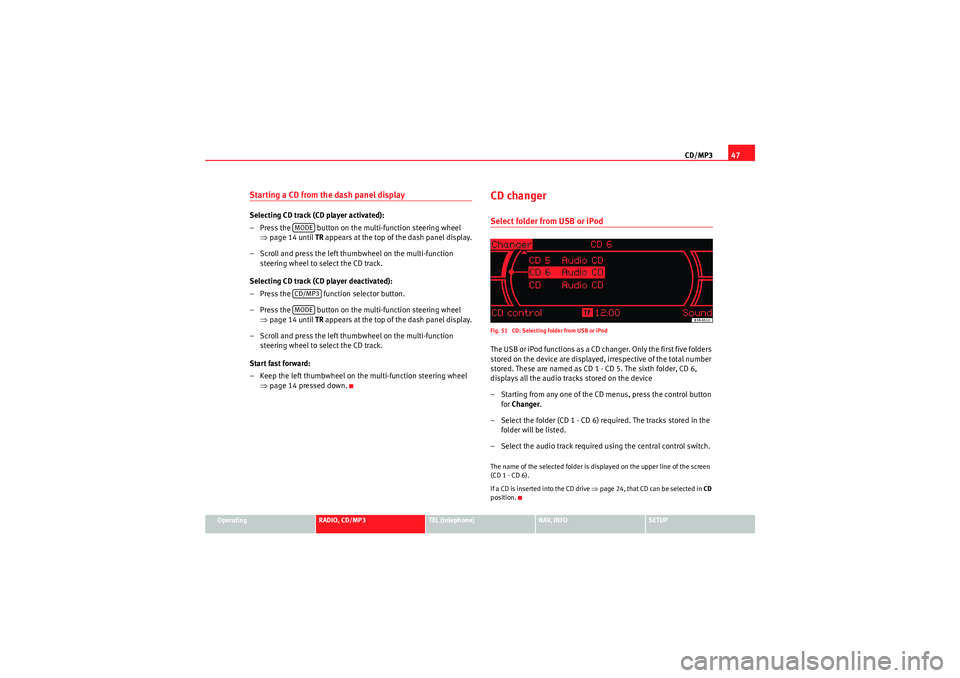
CD changerSelect folder from USB or iPodFig. 51 CD: Selecting folder from USB or iPodThe USB or iPod functions as a CD changer. Only the first five folders
stored on the device are displayed, irrespective of the total number
stored. These are named as CD 1 - CD 5. The sixth folder, CD 6,
displays all the audio tracks stored on the device
– Starting from any one of the CD menus, press the control button
for Changer .
– Select the folder (CD 1 - CD 6) required. The tracks stored in the folder will be listed.
– Select the audio track required using the central control switch.The name of the selected folder is displayed on the upper line of the screen
(CD 1 - CD 6).
If a CD is inser ted into the CD drive ⇒page 24, that CD can be selected in CD
position.
MODECD/MP3MODE
Media System 1.0_EN.book Seite 47 Donnerstag, 10. September 2009 1:52 13
Page 50 of 124
CD/MP349
Operating
RADIO, CD/MP3
TEL (telephone)
NAV, INFO
SETUP
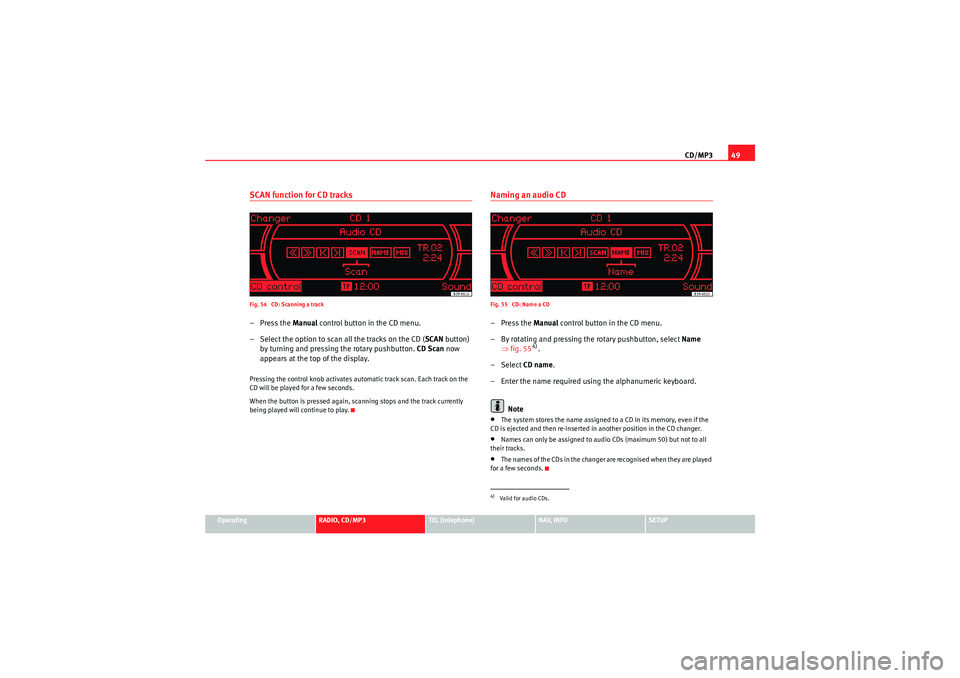
SCAN function for CD tracksFig. 54 CD: Scanning a track–Press the Manual control button in the CD menu.
– Select the option to scan all the tracks on the CD ( SCAN button)
by turning and pressing the rotary pushbutton. CD Scan now
appears at the top of the display.Pressing the control knob activates automatic track scan. Each track on the
CD will be played for a few seconds.
When the button is pressed again, scanning stops and the track currently
being played will continue to play.
Naming an audio CDFig. 55 CD: Name a CD–Press the Manual control button in the CD menu.
– By rotating and pressing the rotary pushbutton, select Name
⇒ fig. 55
4).
– Select CD name.
– Enter the name required using the alphanumeric keyboard.
Note
•The system stores the name assigned to a CD in its memory, even if the
CD is ejected and then re-inserted in another position in the CD changer.•Names can only be assigned to audio CDs (maximum 50) but not to all
their tracks.•The names of the CDs in the changer are recognised when they are played
for a few seconds.4)Valid for audio CDs.
Media System 1.0_EN.book Seite 49 Donnerstag, 10. September 2009 1:52 13
Page 51 of 124

CD/MP3
50Delete stored CD nameFig. 56 CD: Delete stored CD name–Press the Manual control button in the CD menu.
– Select Name.
– Select Delete a CD ⇒ fig. 56
5).
– Select the name to be deleted.
Delete all stored CD namesFig. 57 CD: Deleting all stored CD names–Press the Manual control button in the CD menu.
– Select Name .
– Select Delete all CDs ⇒ fig. 57
6).
– Select yes to delete all names from the list.
5)Valid for audio CDs.
6)Valid for audio CDs.
Media System 1.0_EN.book Seite 50 Donnerstag, 10. September 2009 1:52 13
Page 52 of 124

CD/MP351
Operating
RADIO, CD/MP3
TEL (telephone)
NAV, INFO
SETUP
CD shuffle ("mix")
CD tracks can also be played in random order.Fig. 58 CD: Random–Press the Manual control button in the CD menu.
– Select Mix by turning and pressing the rotary pushbutton. CD -
Mix now appears at the top of the screen.CD mix must be set separately for audio CDs and MP3 CDs.
MP3 CD infoFig. 59 CD: Info–Press the Manual control button in the CD menu.
– Select Info by turning the ro tary pushbutton
7).
The following information is displayed for each track on MP3 CDs:•Artist•Album•Track•File
If there is no ID3 tag, only the file name will be shown.7)Valid for MP3 CDs.
Media System 1.0_EN.book Seite 51 Donnerstag, 10. September 2009 1:52 13
Page 54 of 124

Sound settings53
Operating
RADIO, CD/MP3
TEL (telephone)
NAV, INFO
SETUP
Sound settingsBasic sound settingsFig. 61 Example: Sound output setting (balance)
Fig. 62 Example: Sound output adjustment (balance)– Starting from any one of the audio or SETUP menus, press the
control button for Sound .
– Select the desired sound setting (e.g. balance) ⇒ fig. 61 using
the control knob. – Rotate the specific control knob in the sound settings menu (e.g.
balance) ⇒fig. 62 to set the sound to your liking.
– Confirm the selection by pressing the rotary pushbutton.
The following sound settings are available:•Balance (left/right volume relationship)•Fader (front/rear sound relationship)•Treble•Bass•GALA*•Volume settings of other functions
The sound setting for treble and bass apply to the operating mode currently
active. The balance and fader settings are independent for the operating
mode.
For example, if you change the bass setting while playing a CD, this will have
no effect on the radio sound settings.Note
In vehicles equipped with a VDA-compatible telephone, the balance of the
equipment should be set to an intermediate level for better sound quality.
Media System 1.0_EN.book Seite 53 Donnerstag, 10. September 2009 1:52 13
Page 55 of 124
Sound settings
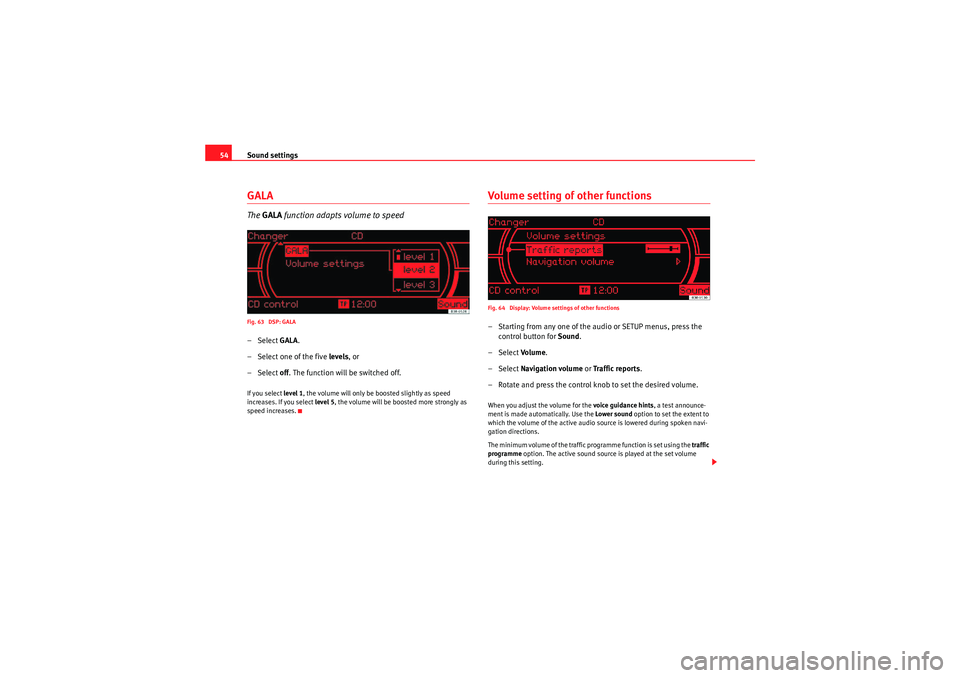
54GALAThe GALA function adapts volume to speedFig. 63 DSP: GALA– Select GALA.
– Select one of the five levels, or
– Select off. The function will be switched off.If you select level 1, the volume will only be boosted slightly as speed
increases. If you select level 5, the volume will be boosted more strongly as
speed increases.
Volume setting of other functionsFig. 64 Display: Volume settings of other functions– Starting from any one of the audio or SETUP menus, press the control button for Sound.
– Select Volu m e .
– Select Navigation volume or Traffic reports .
– Rotate and press the control knob to set the desired volume.When you adjust the volume for the voice guidance hints , a test announce-
ment is made automatically. Use the Lower sound option to set the extent to
which the volume of the active audio source is lowered during spoken navi-
gation directions.
The minimum volume of the traffic programme function is set using the traffic
programme option. The active sound source is played at the set volume
during this setting.
Media System 1.0_EN.book Seite 54 Donnerstag, 10. September 2009 1:52 13